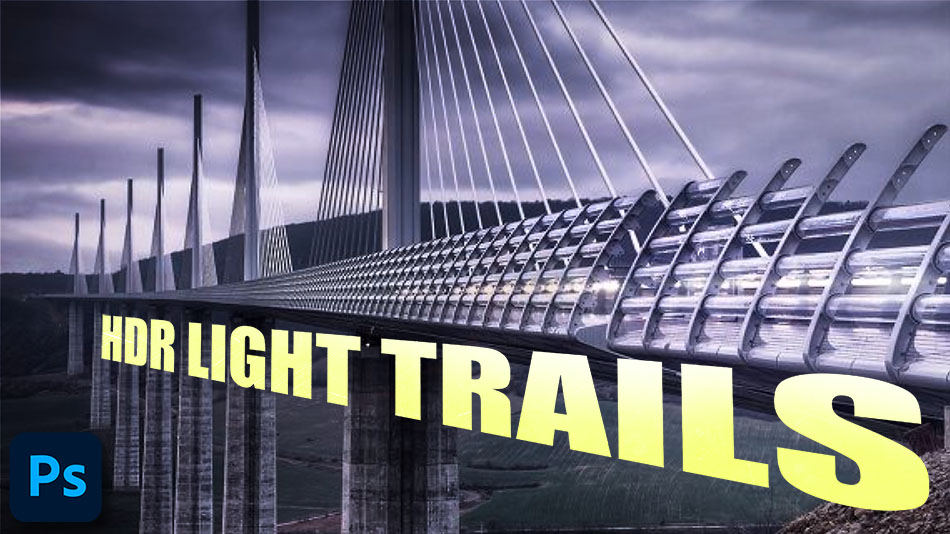
Tutorial – How to use light trails in HDR photography
Light trails in HDR photography can bring a wonderfully dynamic element to an image. Yet, for users of Photomatix, of which there are many, light trails can sometimes be challenging to work with. The software, for some reason or another, leaves us with what looks like some sort of sinister tear in the space-time continuum where the light trails should be.

Typical Photomatix Output

Fortunately, there is an incredibly simple technique we can employ to seamlessly add the original light trails back into the HDR image. I was shown this technique by an excellent photographer who I met in Paris, called Beboy. To learn more, you can watch the video tutorial below or continue reading the text.
Some people try to mask backlight trails in Photoshop using layer masks. Not only is this time-consuming, blending the original exposures with the HDR can lead to inconsistent textures and light, which give an often patchy look to images.
An easier way to do this is to work with Blend modes – more specifically, the Blend mode Lighten.
Firstly import your Photomatix output into Photoshop. I’ll be working with the image below. To the right, on the bridge, you’ll see some light trails.
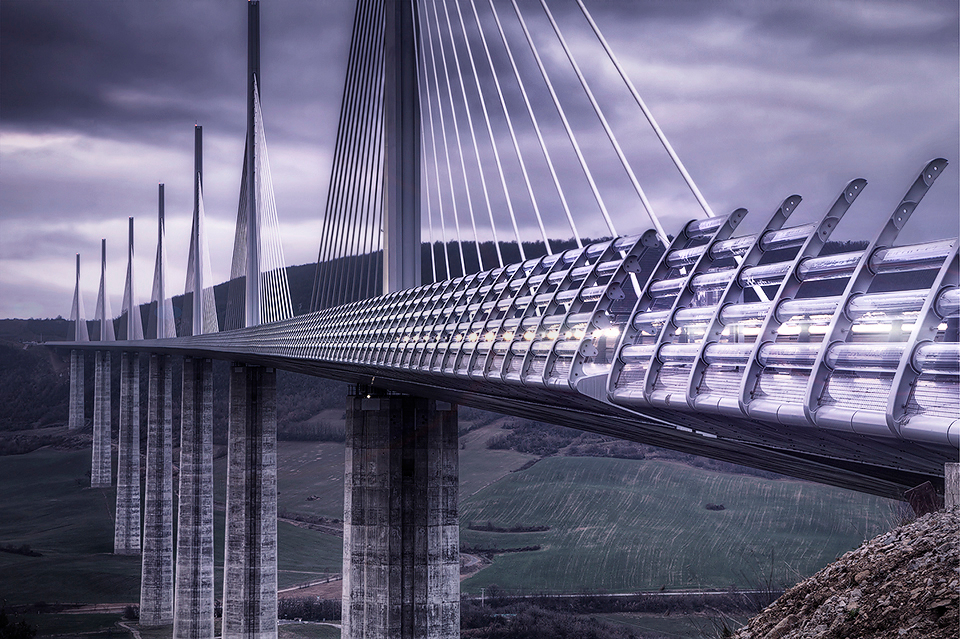
This is the Photomatix output:

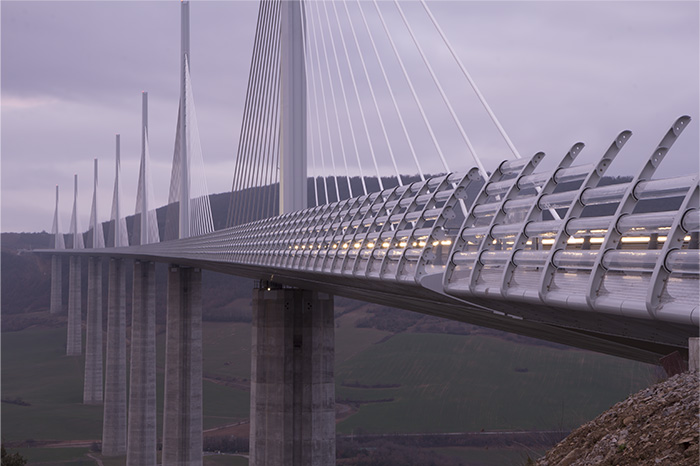
This is the original, normally exposed image with the light trails to the right
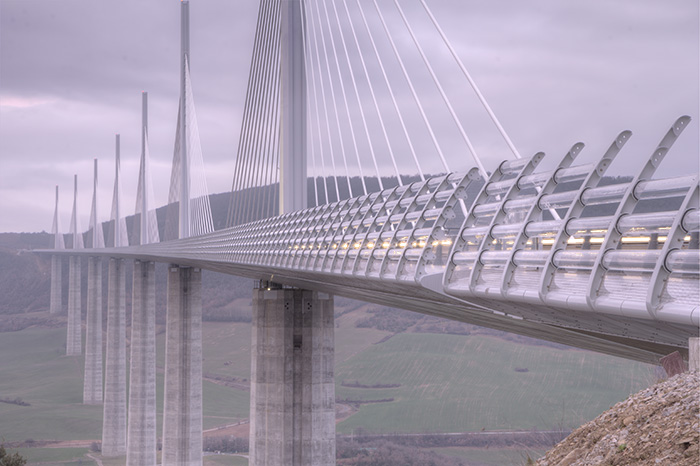
Firstly, pull your normally exposed image into Photoshop and place it on top of the HDR image. Make sure the two are aligned. Next, go along to the Blend mode option in the Layers panel. You’ll see the word Normal. Click on that and go up to Lighten. Click on Lighten. Finished!
Blend Mode

Final image after changing the Blend mode
That was easy! However, there’s one important thing to remember with this technique, your Photomatix output must be brighter than your normally exposed image, with the exception of the light trails. To do that simply raise the Gamma option slightly in Photomatix.
By the way, you can do this with multiple images to blend light trails from different areas, which is often necessary because sometimes it’s difficult to get it all in a couple of shots. And, this technique is not limited to just light trails in HDR Photography. Try it with fireworks, laser shows, and anything where you want to blend in an area that is particularly bright.
Thank you for reading this article on Light trails in HDR photography. Be sure to sign up for our newsletter for more tutorials and great offers.
Enter your email below and join our community of more than 100,000 photographers who have also
Subscribed to our newsletter.
Downloaded our FREE Photoshop Course.
Got our FREE Easy Panel for Photoshop.
And, have our FREE Essential Guide To Luminosity Masks E-Book.
To go directly to any of our products, simply click on the image below.


