How Many Exposures Do I Need For Exposure Blending?
How many exposures to take, and the EV difference between exposures is one of the first things people consider when they begin their journey into digital blending. Getting it right in-camera is an absolute must. Otherwise, you may return home with a set of exposures that won’t give you the options needed to create a balanced image. We’ll cover a lot of

If you wish to experiment with this, I would really appreciate it if you included my name (Jimmy McIntyre) and www.shutterevolve.com when you publish your image. If you post your published image on our Facebook page I’d be happy to check it out.
How Many Exposures Do I Need For Exposure Blending? Things to know:
EV difference means how many stops between each exposure. For example, 7 exposures with an EV difference of 1 could look something like this: -3, -2, -1, 0, +1, +2, +3.
Exposure Blending refers to any method of manually blending exposures in Photoshop. This article will be referring to luminosity mask exposure blending mainly.
For anyone interested in why I prefer digital blending to HDR software, feel free to check out this article: Why Use Luminosity Masks in Exposure Blending
If you’re brand new to luminosity masks, I wrote a beginner’s tutorial for 500px that may be useful: The Basics Of Luminosity Masks In Digital Blending
Finally, with this link, you can download my free luminosity mask actions.
Enter your email below and join our community of more than 100,000 photographers who receive regular tutorials and have also

Subscribed to our newsletter,
Downloaded our FREE Photoshop Course
Got our FREE Easy Panel for Photoshop
And have our FREE Essential Guide To Luminosity Masks E-Book
No Secret Formula to Exposure Blending
As with everything in photography, there’s no secret formula here. The first thing you must consider is making sure that the range of exposures you take has captured the entire range of light within the scene. In other words, your brightest exposure has detail in the darkest areas, whereas your darkest exposure has information in the brightest areas. Sometimes 2 exposures are all that is needed, sometimes 5 – it all depends on the scene.
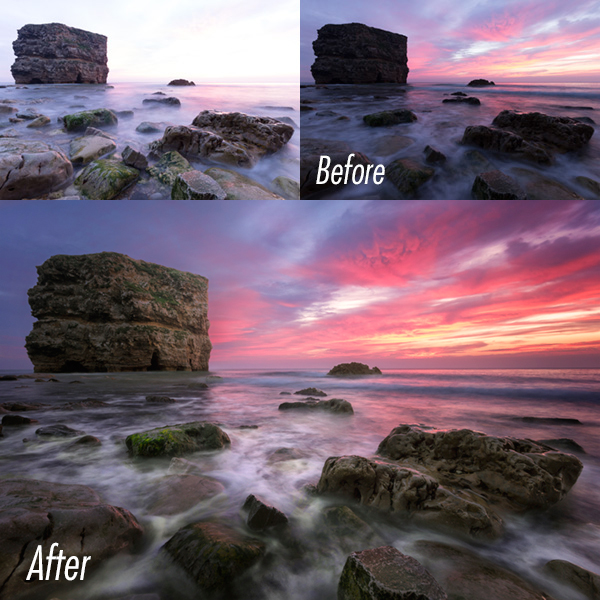
Example Exposures
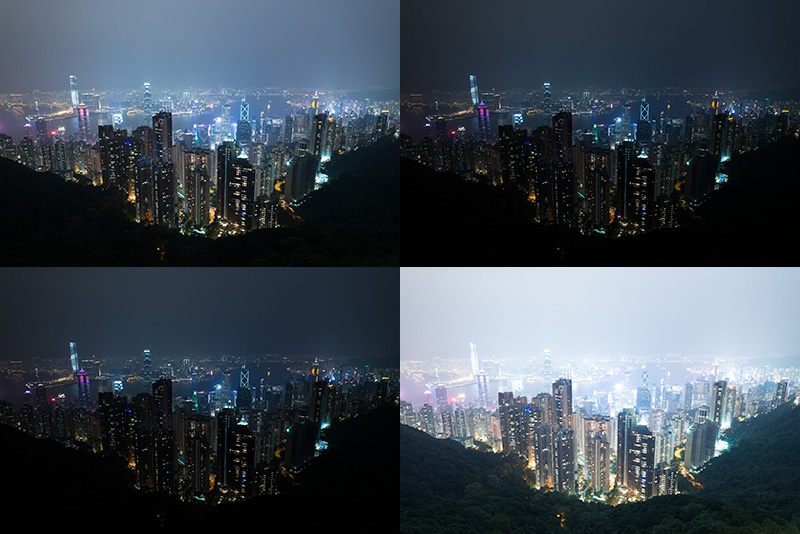
In the images above, the top left-hand image is the base exposure. There are also two lower exposures to control the highlights, and one brighter exposure to recover the shadows.
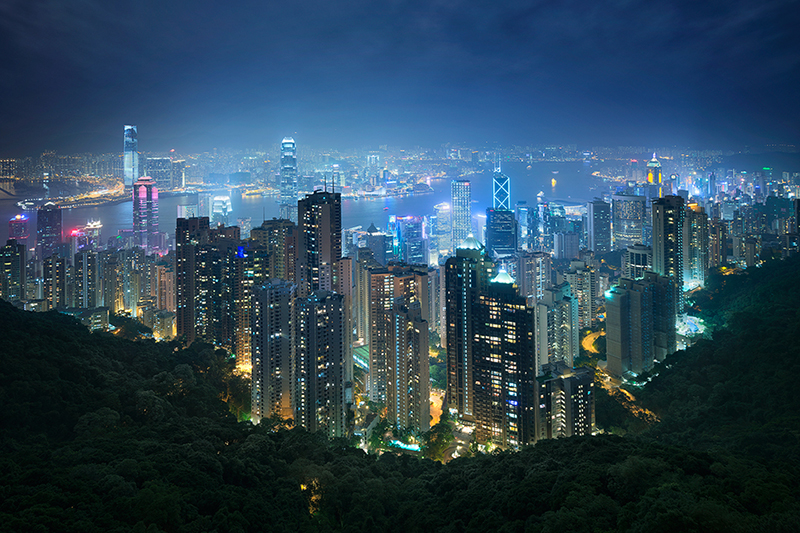
The Final Blend Using Luminosity Masks
What is EV Difference?
You must also consider the EV difference between your exposures. The smaller the difference between exposures, the smoother the blending process can be. If you take 2 exposures for a highly contrasting scene and they are 7 stops of light apart, for example, -3 & +3, this will be incredibly difficult to blend because they are too contrasting. The 2 exposures simply couldn’t fit together.
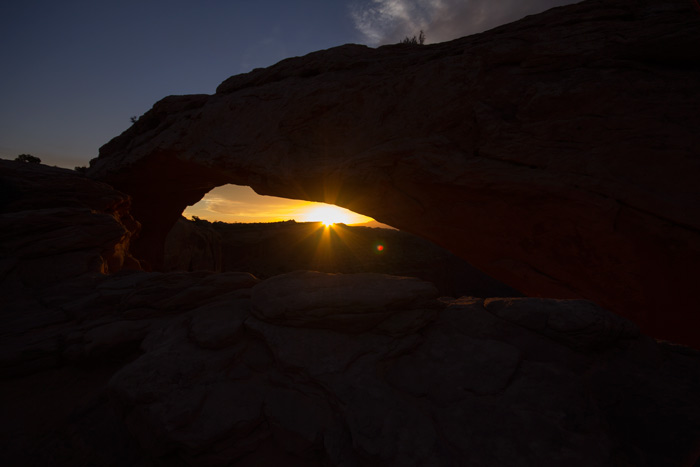
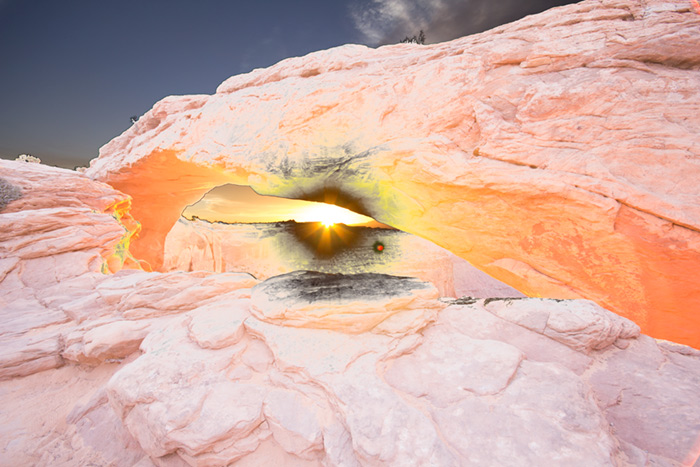
Like the images below
-3 exposure
+3 Exposure
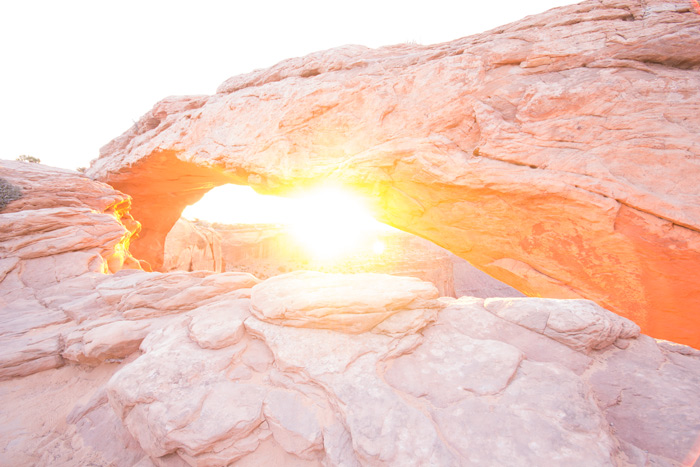
The attempt at blending the exposures
How To Get It Right Most Of The Time
A quick method of getting it right, most of the time, is by shooting a wide range of exposures (usually 9 stops will cover most scenes) with an EV difference of 1. That way you’ll capture the entire range of light in a scene, and the differences between exposures will be close enough to smoothly blend the exposures.
Most of the time you won’t need all of the exposures for the blending process. But having more exposures to choose from makes the process easier and gives you more options.
Below I’m going to show you 2 different scenes that required completely different workflows:
Scene 1 – Marsden Rock – Learn How To Create This Image
When shooting this scene, I captured two exposures 4 stops apart. I used the darkest exposure as the base layer, and blended in a brighter exposure, by intersecting multiple Darks masks, so that I could recover some information in the rocks. Admittedly, I could have taken another exposure, 1 stop darker, to recover more of the sky, but I was able to recover the sky in the darker exposure in Adobe Camera Raw.
This wasn’t an intensely contrasting scene so 2 exposures were enough to get the image I wanted.
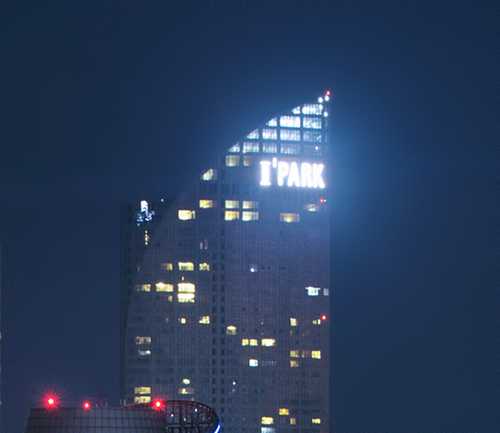
Scene 2 – Busan Skyline
The image below is a 3-tile vertical panorama that was created using 21 exposures, most of which were used to enhance the car trails. One of the challenges of this image is controlling the highlights in the I’Park sign in the tallest building, slightly to the left.
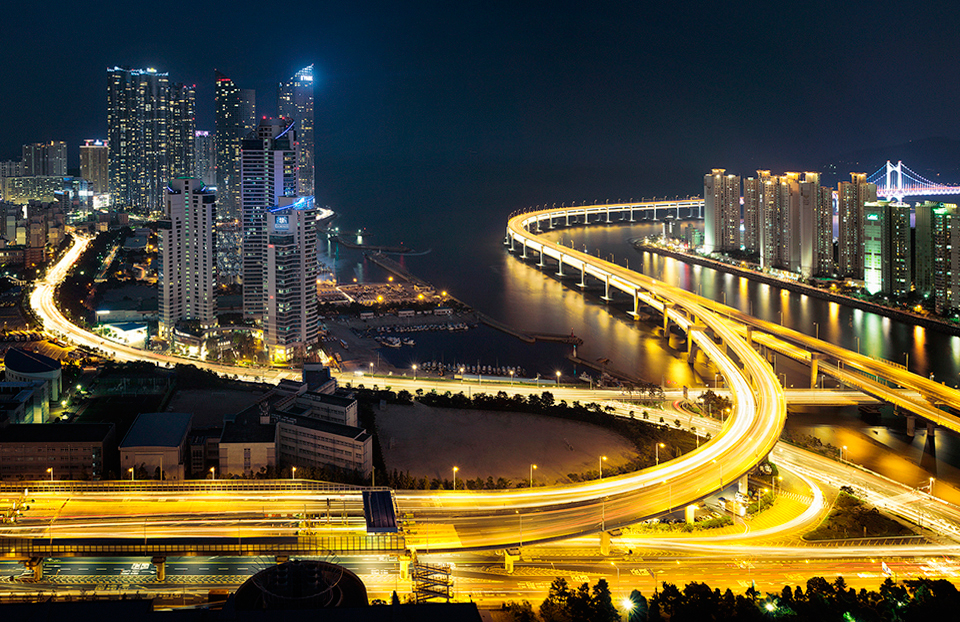
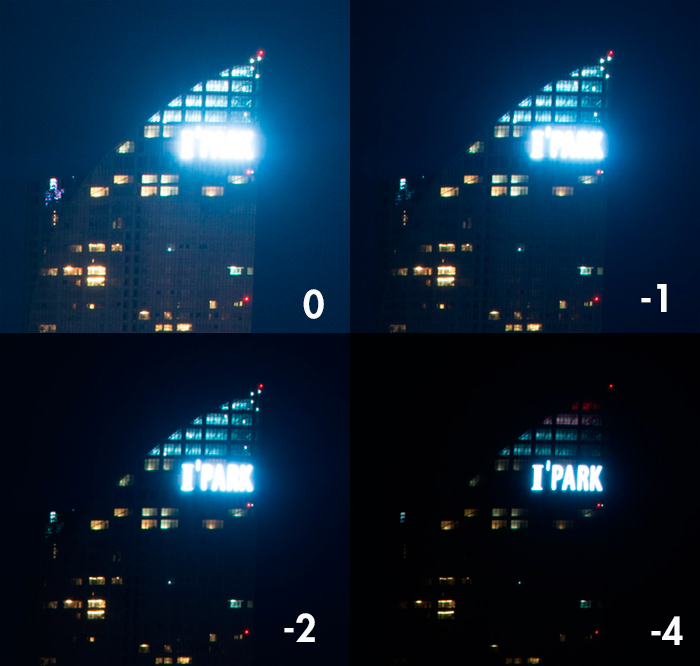
This is what I would class as a reasonably contrasting scene. To control these highlights I shot 5 exposures with a difference of 1 stop. In the end, I used four of those exposures.
Exposures
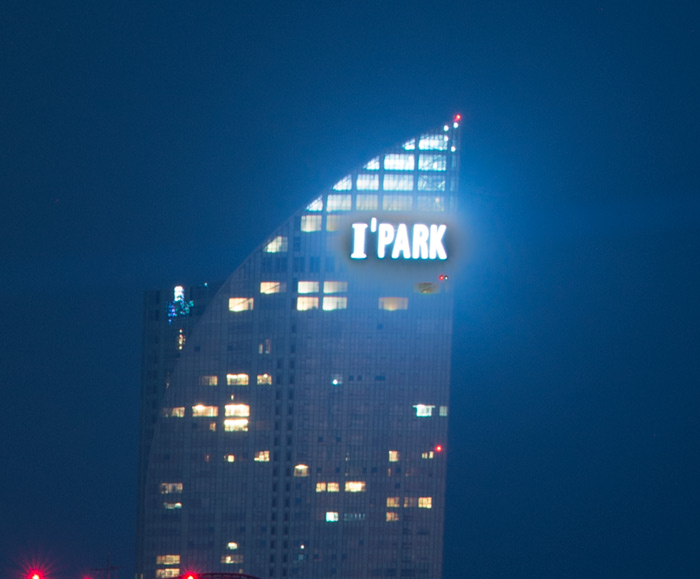
After gently blending each exposure at a low opacity of around 15%, using a Darks 2 mask, I was able to bring some nice balance to the image.
After exposure blending (and full workflow applied)
This is what Brights 2 mask looked like (minus the banding)
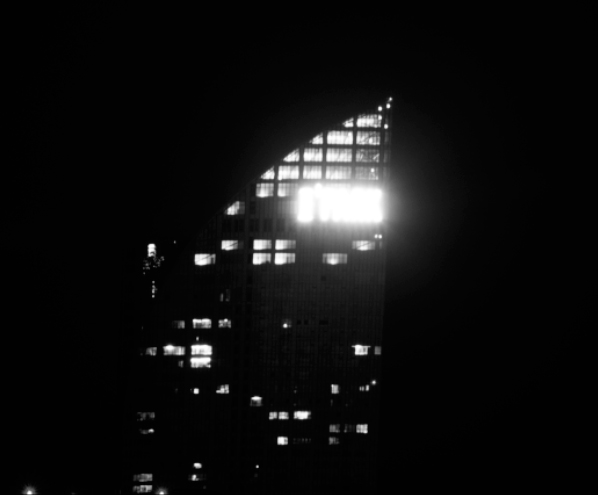
What would this image look like if I used just 2 exposures?
Using Darks 2 again, I blended the -4 exposure into the 0 exposure to show you how unnatural the blending would look. Essentially, the sign is fine, but the glow around the sign has now become a dark halo. The glow around the sign on the 0 exposure is very strong, while it is almost non-existent on the -4 exposure. That is why combining these two exposures is far more challenging.
I hope this article has cleared up any difficulties you may have had in this area. Getting it right in-camera is a must. When faced with a scene where you’re unsure, shoot as many brackets as necessary to cover the range of light in that scene and make sure those brackets are no more than 1 stop apart.
If you’d like to take your digital blending skills to a whole new level, check out The Art of Digital Blending course.
To go directly to any of our products, simply click on the image below.


