Adding Fog to an Image in Photoshop
Getting out of bed early in the morning, to capture a sleepy image, with overlying fog can be an absolute treat. As we can’t rely on the weather it might be handy for us to know how to add fog or mist. Adding such an element to our images can completely transform them. Fog adds a dreamy effect and mysticism which can be such a complementary addition to almost any photo. If it wasn’t present at the same moment that you were, why not try adding fog to an image in photoshop by following this video tutorial by Tom Norske.

Our Review
This tutorial has been created by Tom Norske of https://tomnoske.com/. Tom is a Filmmaker, Photographer and Digital artist from Melbourne, Australia. He shoots wedding films. But beyond that, he also works with tourism boards, creates content on YouTube & instagram, And host the podcast Reel life.
In this tutorial, Tom really simplifies his process. Again I have found other tutorials on the same subject, but I like the strength and the effect that this workflow leaves behind. Let’s take you through Tom’s process step by step
Enter your email below and join our community of more than 100,000 photographers who receive regular tutorials and have also

Subscribed to our newsletter,
Downloaded our FREE Photoshop Course
Got our FREE Easy Panel for Photoshop
And have our FREE Essential Guide To Luminosity Masks E-Book
Adding Fog to an Image in Photoshop
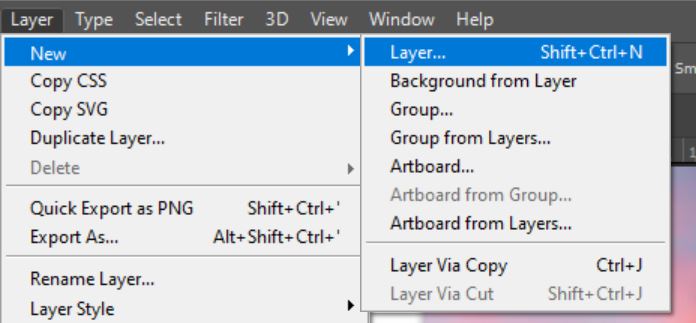
1. Add a new layer.
2. Edit the new layer in Quick Mask mode.

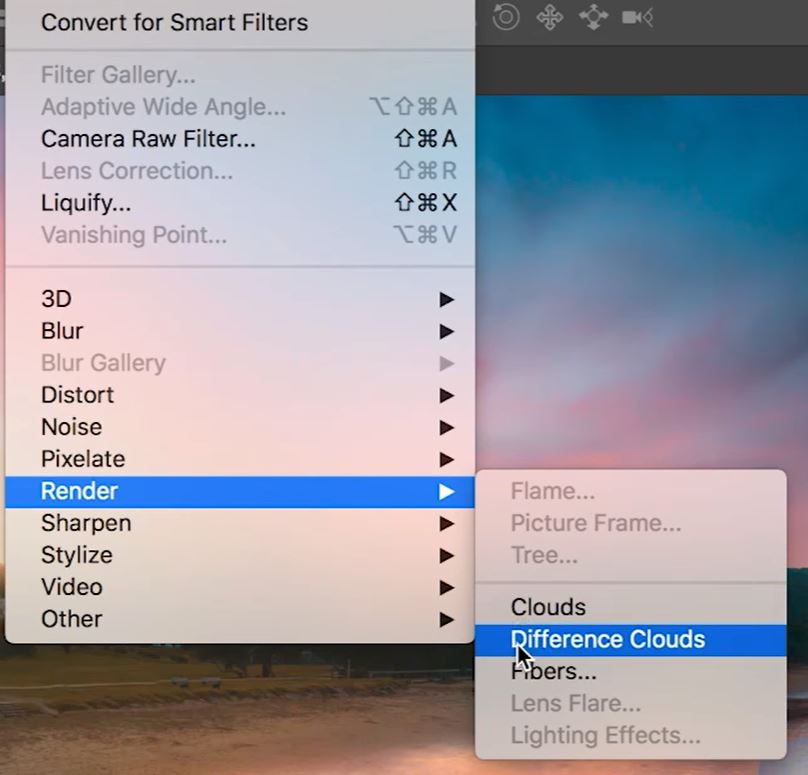
3. Add a Difference Clouds filter by going to Filters>Render>Difference Clouds.
4. Exit Quick Mask Mode

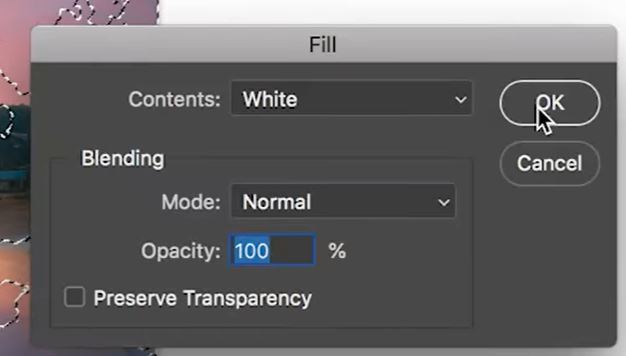
5. Press Shift+Backspace to fill the layer with white.
6. Press Ctrl+D or Cmd+D to deselect the active selection.
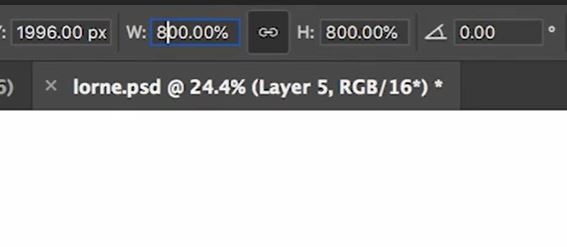
7. Press Crtl+T or Cmd+T to Transform this layer.
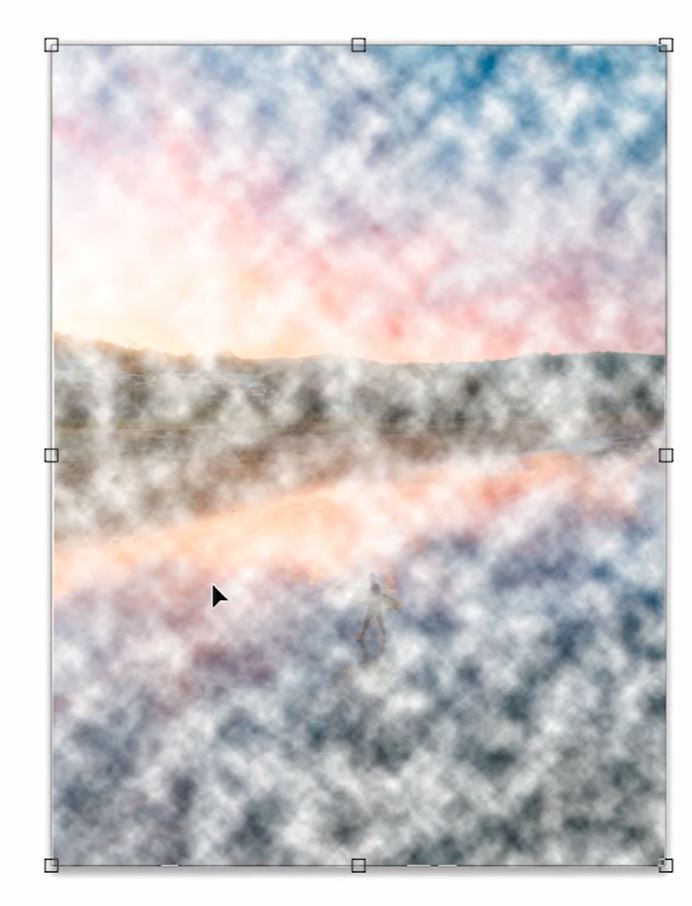
8. Expand this layer by 800-1000%.
9. Take the rectangular marquee tool and drag a selection over the visible portion. Once you have an active selection, press Ctrl+C (Cmd+C) then Ctrl+V (Cmd+V) to copy and paste your selection into a new layer.

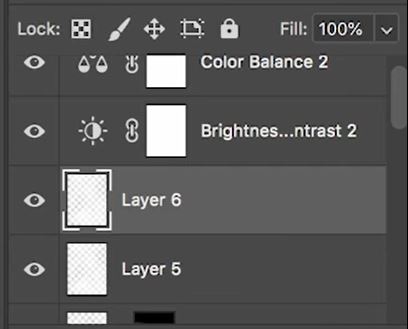
10. Then delete the original fog layer.
11. Now add a mask to the new layer.
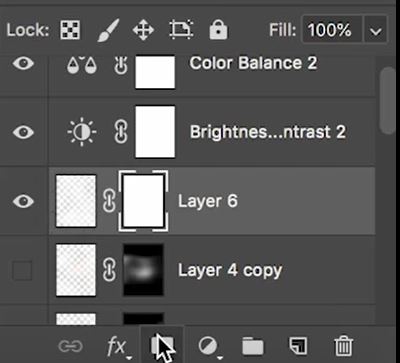
12. Invert the mask you added by pressing Ctrl+I (Cmd+I). Tom has used ‘fill’ to hide the mask by pressing Ctrl+backspace (Cmd+backspace).

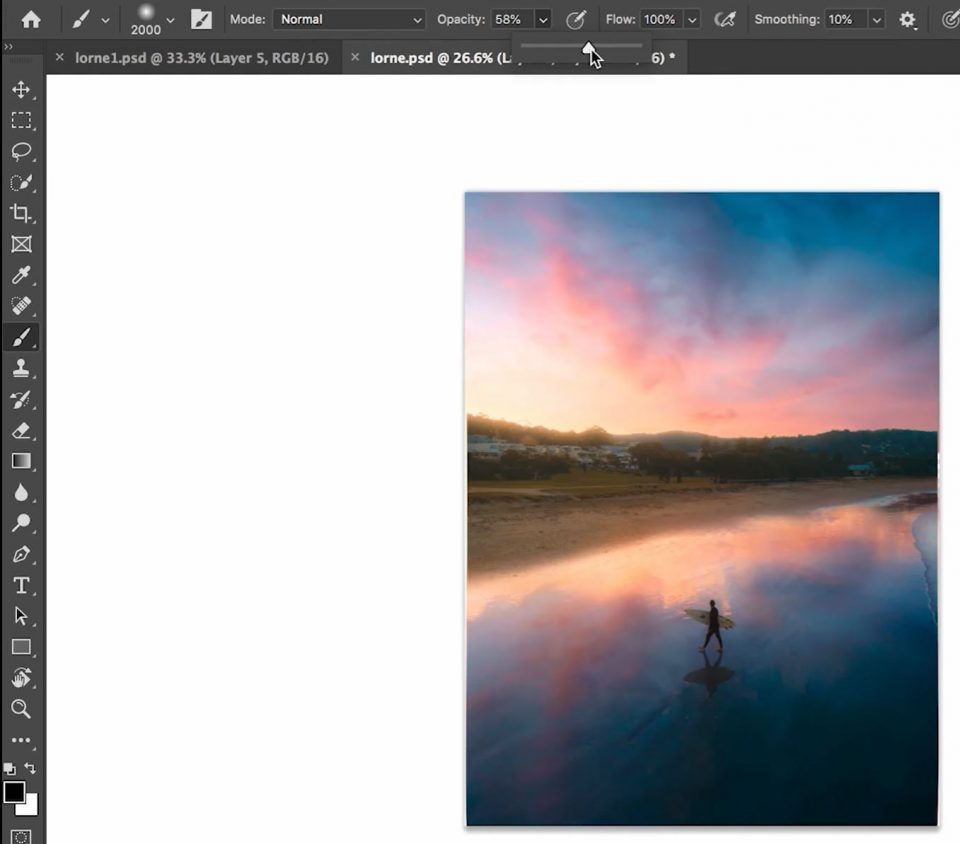
13. Select the Brust tool with a white foreground colour. With various brush size, opacity, and flow, begin to paint in you mask in areas you want to reveal fog.
14. You can use the Transform tool to add some perspective to your fog layer.
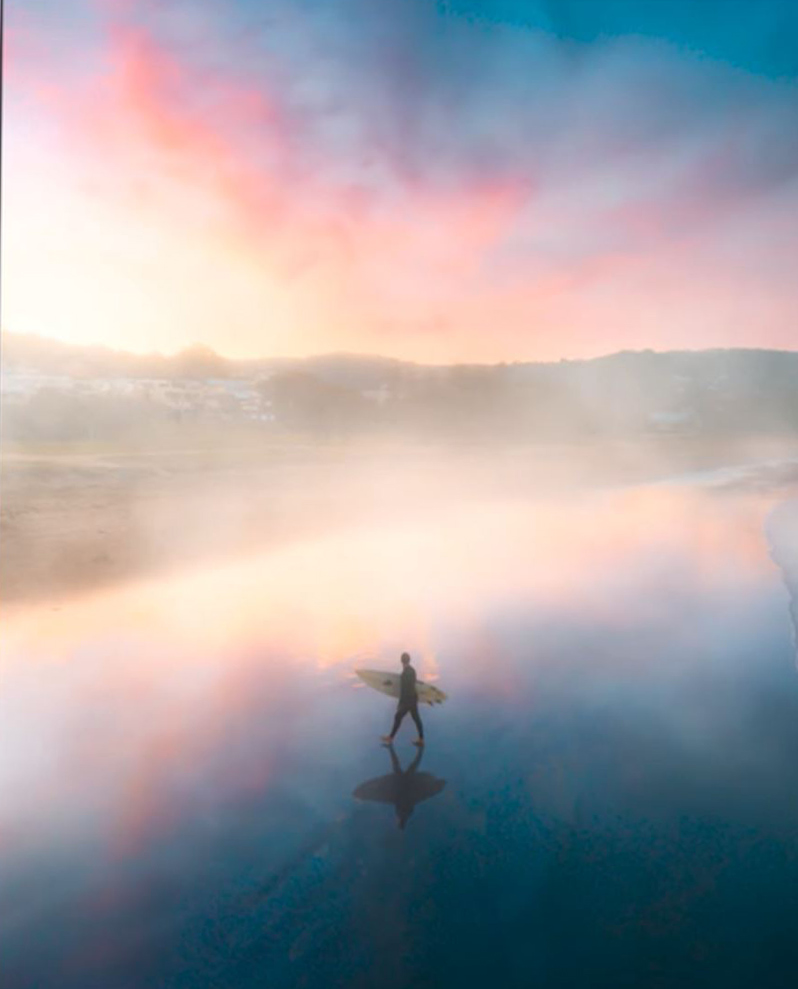
Look at the transformation in these images.
[compare]
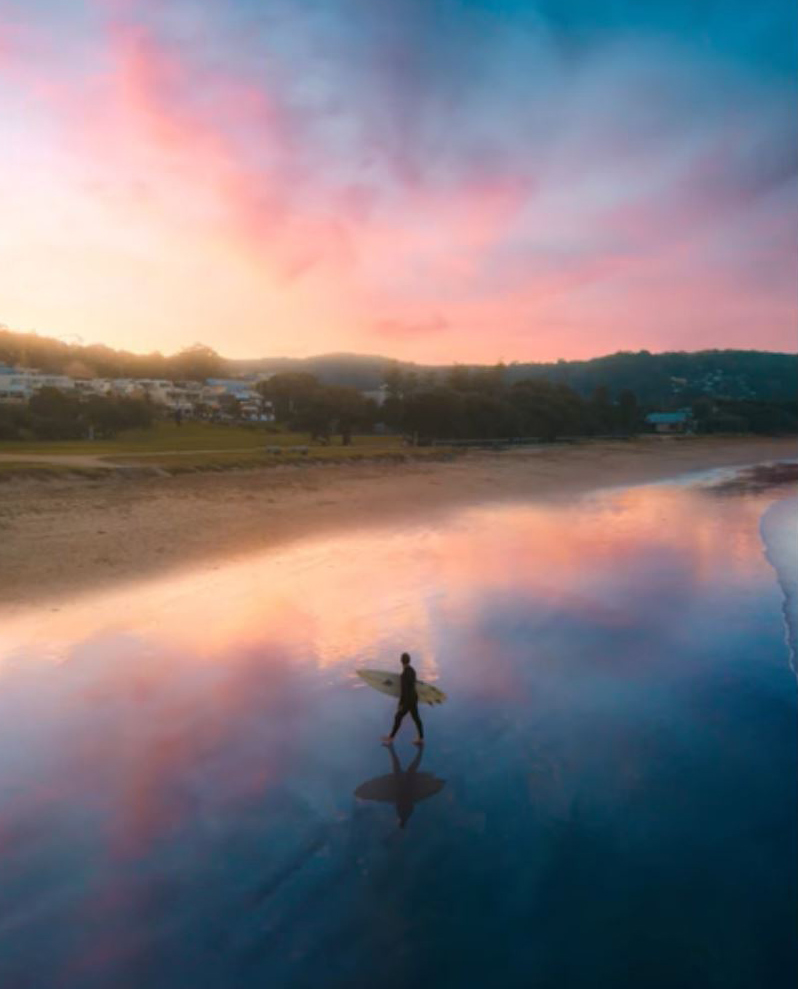
[/compare]
[compare]

[/compare]
Thank you for reading this article on Adding fog to an image in Photoshop, You might also be interested in the articles below. Be sure to sign up for our newsletter for more tutorials and great offers.
Enter your email below and join our community of more than 100,000 photographers who have also
Subscribed to our newsletter.
Downloaded our FREE Photoshop Course.
Got our FREE Easy Panel for Photoshop.
And, have our FREE Essential Guide To Luminosity Masks E-Book.
Additional Resources
If you enjoyed this post you might also like our tutorial on How To Edit A Foggy, Moody Landscape In Photoshop.