How To Plan And Take Astrophotography Shots
This Article on How To Plan And Take Astrophotography Shots is by Steve Bell. If you would like to write for us, please read here.
What is Astro Photography?
There are two types of astrophotography. One involves spending many hours locked onto a single point in the night sky, gathering as much information as you can, then using a variety of software to bring the image to life. It can take a huge amount of time to create just one image and also involves being perfectly polar aligned, using a guide scope as well as your imaging camera. Lugging lots of equipment to your chosen dark sky area and oh did I mention that you need to take dark, flat and bias images as well!!! On the other hand, you can find a suitable landscape, point the camera at the sky and bingo you have an image. Ok, it’s not quite as simple as that but by knowing a few basics and having a good workflow, you will soon be producing decent images.
I have tried both types of Astro Photography and even bought myself an astro modified dslr. Whilst each has their own appeal, I will only be covering the later. It is worth mentioning though that some of the techniques and software used will be applicable for deep sky imaging. We will also cover post-processing and I will share my workflow. In the interest of simplicity, let’s call the first type of Astro Photography that I described, “Deep Sky” and the second we will call “Dark Skies”.
What Do I Need For Astrophotography
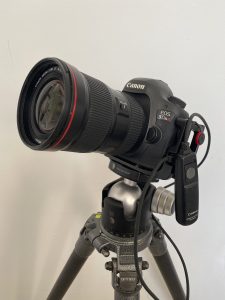
If you own a DSLR or Mirrorless camera, a wide-angle lens and a tripod then you already have everything that you need to get started. The wider and faster the lens the better, but even if you just have a standard kit lens that came with your camera it will still take great images. You are going to be taking long-exposure images so a tripod is an absolute must. A word of advice here. There are a huge variety of tripods on the market which range massively in price. I know the temptation when you are starting is get a cheap one-off E-bay or Amazon, trust me when I say they just won’t last, they will leave you frustrated in that they are not stable enough. You will have spent a lot of money on your camera and lenses, so don’t compromise, buy the best that you can afford.
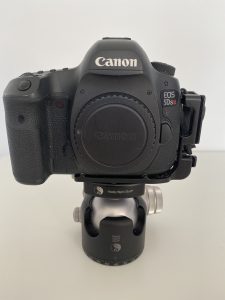
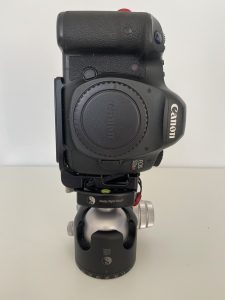
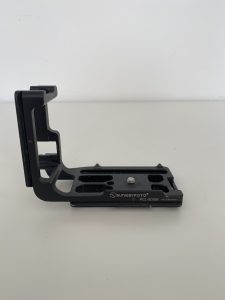
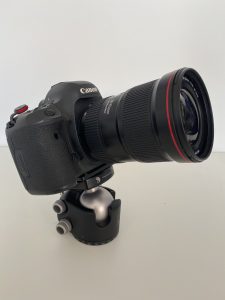
Also, always check that the tripod is going to be able to take the weight of your camera and lens. Tripod head-wise, then I have found that a ball head gives the best results as you can switch between landscape and portrait a lot easier. Again, make sure the ball head can handle the weight of your camera set up. All of my cameras have L Brackets attached and the ball heads are swiss arca compatible which makes things even easier, especially in the dark.

Enter your email below and join our community of more than 100,000 photographers who receive regular tutorials and have also

Subscribed to our newsletter,
Downloaded our FREE Photoshop Course
Got our FREE Easy Panel for Photoshop
And have our FREE Essential Guide To Luminosity Masks E-Book
Setting Up For Astrophotography
Knowing how to set your equipment up, especially in the dark is by far the most important aspect of taking a great dark sky image. There are a few steps that you will need to follow.
- Step 1 – Make sure that your camera is set to manual mode.
- Step 2 – Zoom your lens out to its widest focal length (you will need to know what this is to avoid star trailing which I will explain in the next section)
- Step 3 – Set your aperture to the fastest setting it has. I usually shoot at f2.8 but if your lens only goes to f3.5, f4, f5.6 then put it onto that setting.
- Step 4 – Make sure that you have turned off any image stabilization on the camera or lens.
- Step 5 – Turn off long exposure noise reduction in your camera menu.
- Step 6 – Turn your iso up to a minimum of 3200 or even 6400.
- Step 7 – Focus your lens. Ok now, this is the tricky part and the one that most people find daunting. Below are a few techniques that you can use.
- If you can see a street or house light that is more than 200m away, then point your camera at it and focus in the same way that you would do during the day. The light should be bright enough for your camera to focus on.
- Look for a bright star or planet in the sky. At the time of writing then Jupiter is really bright in the Southern Skies and your lens should be able to focus on it. Anyone will do.
- Put your camera onto live view and then look for a star in the sky. You may need to zoom in with your lens and then digitally zoom in. Once you find a star then adjust your focus ring until the star ends up like a pinprick on the screen. If you have zoomed in with your lens, move it back to its widest setting without touching the focus ring.
- Step 8 – Make sure that your lens is not on autofocus, it needs to be on manual. If you don’t then when you try to take an image the camera will try to autofocus again and you will need to repeat the process.
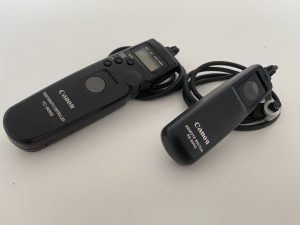
- Step 9 – Make sure you have put your camera onto a 2 second or 10 second delay before it takes an image. This will ensure that any camera shake is minimized before the exposure starts. If you have a remote shutter release, then even better.
- Step 10 – Point your camera in the direction that you want to take your image. I will cover planning later.
The 500 Rule
Understanding the 500 rule is really important. The earth is constantly rotating on its axis as we orbit the sun. As a result, the stars look like they are moving in the sky. If you have ever looked at where the Plough is on a dark evening before you go to bed and then look at it again when you wake up, it is in a totally different part of the sky. We, therefore, have to compensate for this movement which taking a photo. You can purchase star trackers and other pieces of equipment that will enable you to take much longer images with longer focal lengths but in this article, we will keep thigs as simple as possible.
Using the 500 rule is really simple. All you have to do is divide the focal length of your lens into 500 and bingo, that gives you the maximum time that you can set your exposure for without getting any star trailing.
Here is an example: –
The focal length that you are shooting at is 24mm. The maths would be: –
500 / 24 = 20.833 – obviously we can set the shutter speed to 0.8333 of a second so we always round down to the nearest second that your camera will allow. If this example it would be a 20 second exposure.
- Please note – the 500 rule was developed for 35mm film camera and there is a lot of debate online around its continued validity with DSLR’s. The attached link takes you to the Astrobackyard page when the subject is covered in much more detail.
https://astrobackyard.com/the-500-rule/
Later in this article, I will cover stacking photos to reduce the noise in your final image. This is a technique that I am now using for all of my Milkyway photos. By doing this I am now shooting at much higher ISO’s but am also reducing my shutter speed which has the effect of creating even sharper stars. Shooting at 16mm the 500 rule would indicate that a shutter speed of 31.25 seconds could be achieved on a full-frame camera. Using ISO 6400 on the darkest of nights, my shutter speed is usually 15 seconds, which by default negates the debate around if the 500 rule is still relevant.
Crop Sensor v Full Frame
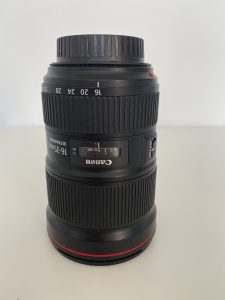
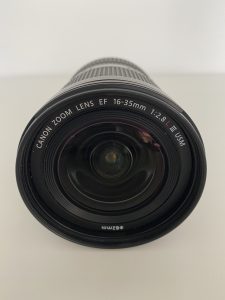
One important point to note is that if you are shooting on a crop sensor camera as opposed to a full-frame camera but are not using a dedicated crop sensor lens then you will need to take the crop sensor multiplication into account. Let’s say, you are using a canon 80d camera (which has a crop sensor). You have 2 lenses, the first is a 16-50mm EF-S lens that came with the camera. You have also treated yourself to a 16-35mm L lens. The EF-S lens is specifically designed for a crop sensor and as such the 16 – 50mm focal length is what the camera will shoot at. As such you can use the 500-rule example above. However, the 16-35mm lens is the focal length that would be given on a full-frame camera. This lens will still work perfectly on your camera but there are now additional maths to do.
On a Canon camera, the crop sensor is 1.6 times smaller than a full frame sensor. On Nikon it is 1.5 and this is critically important. It is one of the most common mistakes that I see photographers who are new to dark sky imaging making.
You need to do the following maths now, to avoid any trailing. For this example, we will use 16mm.
FULL-FRAME CAMERAS – If doing the maths in the same way that we did in. the first example, then it would be: –
500 / 16 = 31.25 – which we would round down to 30 seconds.
CROP SENSOR CAMERAS – However, as we are shooting on a crop sensor the actual maths is: –
500 / (16 *1.6) = 19.53 seconds. We would round this down to the nearest setting we have on our camera which would usually be 15 seconds. As you can see, we have had to half the exposure time to avoid star trailing. Just to expand on the (16 * 1.6) part of the equation.
16 is the focal length but we have to compensate for the crop sensor, so we are multiplying this by 1.6 which gives an effective focal length of 25.6mm. The 25.6 is what we need to divide into 500.
It is therefore really important that you know if the lens that you are shooting with is designed of a full-frame or crop sensor camera and do the maths accordingly. I know that I may have laboured this point somewhat, but it is really important for you to understand to get the best results from the start.
Enter your email below and join our community of more than 100,000 photographers who receive regular tutorials and have also
Subscribed to our newsletter,
Downloaded our FREE Photoshop Course
Got our FREE Easy Panel for Photoshop
And have our FREE Essential Guide To Luminosity Masks E-Book
Where To Go And When?
The great thing about shooting the stars is that so long as you have clear skies you can go whenever you want to. The more experienced you get then the more planning you are likely to do to capture the images that you want to.
Each month we go through different moon phases. Starting off with the new moon when there is no moon visible. Over the next couple of weeks, the crescent shape of the moon gradually gets bigger and bigger until it reaches a full moon. This part of the moons cycle is known as a waxing moon. Once it is past the full moon stag, the crescent shape will become smaller and small until it totally disappears and the whole cycle starts again. This moon phase is known as a waning moon. It is really important to know what stage the moon is in as the amount of light that it generates, totally saturates the sky and the number of stars that are visible diminishes greatly. When I shoot the Milky way then I try to shoot on nights when there is little or no moon at all.
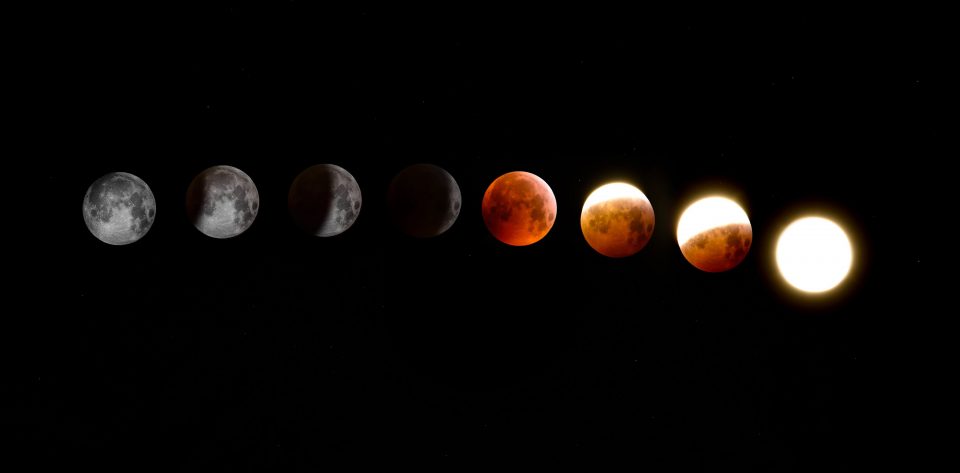
There is an abundance of online resources available that will tell you the various stages of the moon.
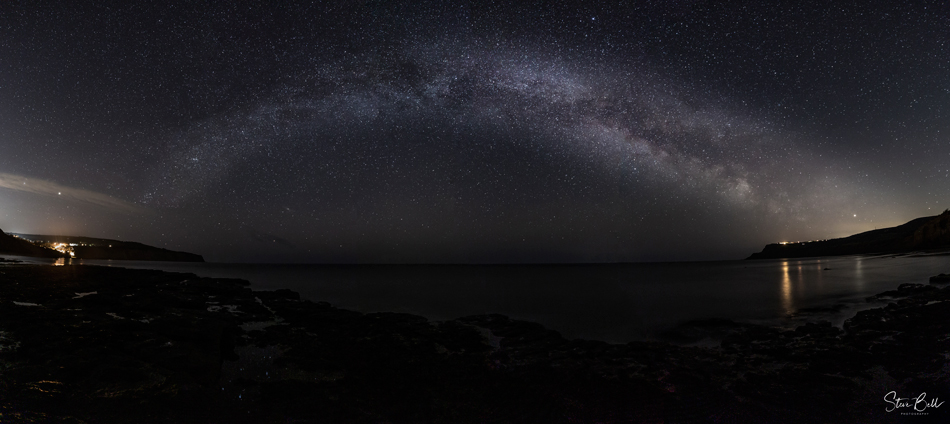
Like any good landscape image then you want to have something of interest throughout all of the images. Having a strong foreground in my opinion makes for a much better composition. Thankfully we don’t need to wait until it gets dark to go and look for compositions. This can be done during the day; indeed I would recommend this approach for a couple of reasons. Firstly it gives you the opportunity to frame and compose your image, so when it gets dark you already know that the composition will work. Secondly, it will allow you to familiarise yourself with the surroundings, identify any hazards which will enable you to take your images with a much greater degree of safety.
The great news is that we can predict with absolute certainty where the stars will be in the sky at any given time. There are a number of apps that you can use to assist you with this, and it makes planning your shoot so much easier. I use the following: –
- The Photographer’s Ephemeris
- Stellarium
- PhotoPills
- Sky Guide
All are available through the various app stores and are either free or available at a small cost. On Youtube there are great instructional videos to get the most out of them. Using these apps will allow you to plan your shoot weeks, months or even years in advance.
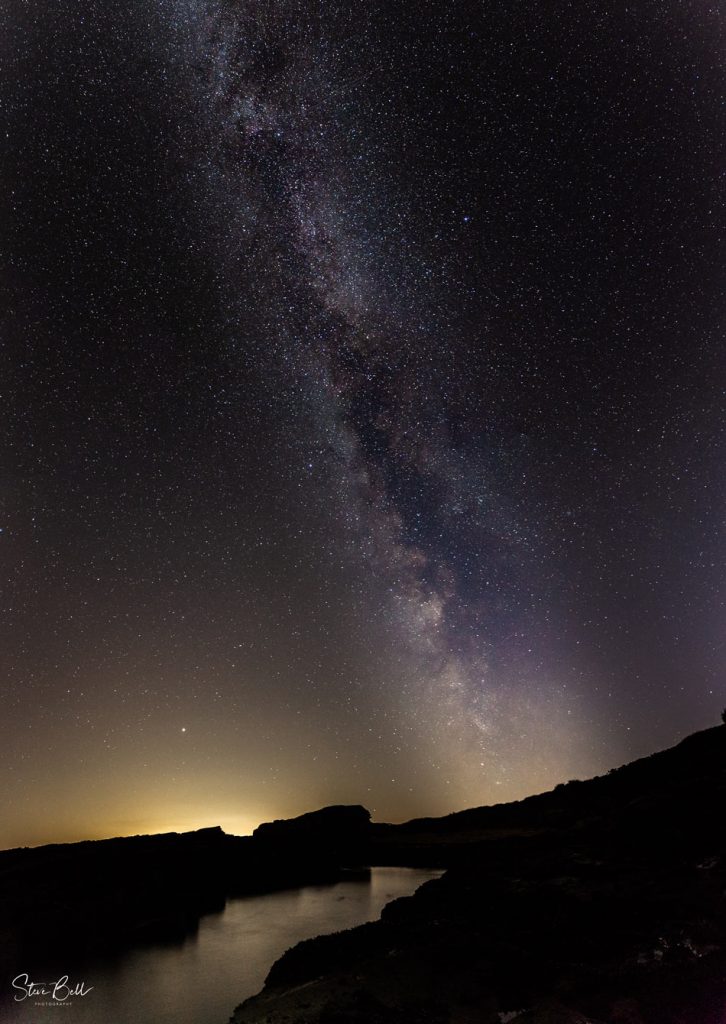
All of the above apps will also show where the Milky Way will be in the sky at any given time. This then allows you to create your compositions well in advance.
For weather forecasting I use 2 different apps:
- Clear Outside – this has been designed by astronomers and I have found it extremely accurate. Not only does it give you the % cloud cover at low, medium and high levels, it also shows wind, dew point, humidity, moon phases and the Bortle * Index for your chosen location. This is a free app.
- Bortle Index – this is used to measure light pollution in any given location. For great dark sky images, you want to be under the darkest skies possible. Light pollution has the same effect as the moon as it saturates the sky and you see far less stars.
Weather Radar – gives a good indication of what will be happening over the coming hours and provides real-time satellite data.
Bringing It All Together.
Ok so you have planned where and when you are going to shoot. You have found a great composition and know that the Milky Way will be over a certain landmark at a specific time. The forecast is for clear skies with no moon. You know how to set your camera up and focus by following the steps previously outlined. It’s now time to take your image.
(One vital piece of equipment that I haven’t mentioned is a head torch. Two reasons you will need one. Firstly, it allows you to keep your hands free and secondly you can also do some light painting which we will come onto. Ideally buy one which has a red-light facility on it. Using the red-light function will protect your night vision and allow you to see the stars in much more detail.)
For the basic settings to get you started, I would go to these default settings.
- Aperture – the fastest your lens will go to.
- Shutter speed – the longest the 500 rule will allow you to take.
- ISO – anywhere between 3200 and 6400
- White Balance – just shoot in automatic
- Shoot in RAW as opposed to JPG.
This will get you started and produce images you will be happy with in the first instance. You will probably find that when you get your images back home to process that there is a lot of noise due to the high ISO that you have been using and I will now go into some more advanced techniques to reduce this. However, as a first step I would suggest just getting comfortable with taking images of dark skies.
If you enjoyed this article you’ll be delighted to learn that this is just part 1 of a 2 part series by Steve Bell. In the second part, we will be looking at Steve’s Astrophotography post procession workflow.
Thank you for reading this article How To Plan And Take Astrophotography Shots, You might also be interested in the articles below. Be sure to sign up for our newsletter for more tutorials and great offers.
Enter your email below and join our community of more than 100,000 photographers who have also
Subscribed to our newsletter.
Downloaded our FREE Photoshop Course.
Got our FREE Easy Panel for Photoshop.
And, have our FREE Essential Guide To Luminosity Masks E-Book.
Other online recourses for Astrophotography Planning
PHOTOGRAPHERS EPHEMERIS YOUTUBE
Lens Guide and Recommendations -ASTROPHOTOGRAPHY 101