How To Dehaze and Color Correct In Photoshop
Haze, unfortunately, is something that we all occasionally have to overcome. It can be caused by a light fog or mist and even with fine showers that mix with ambient lighting to soften your image and add an unwanted color hue. Often you can find a good subject to take a photo of and not see any haze with the naked eye, but your camera will produce a hazy image. This is because haze can also hide in the ultra-violet spectrum, which we can’t see. There’s no need to discard those images anymore. We can dehaze and color correct with ease by following this quick tutorial.

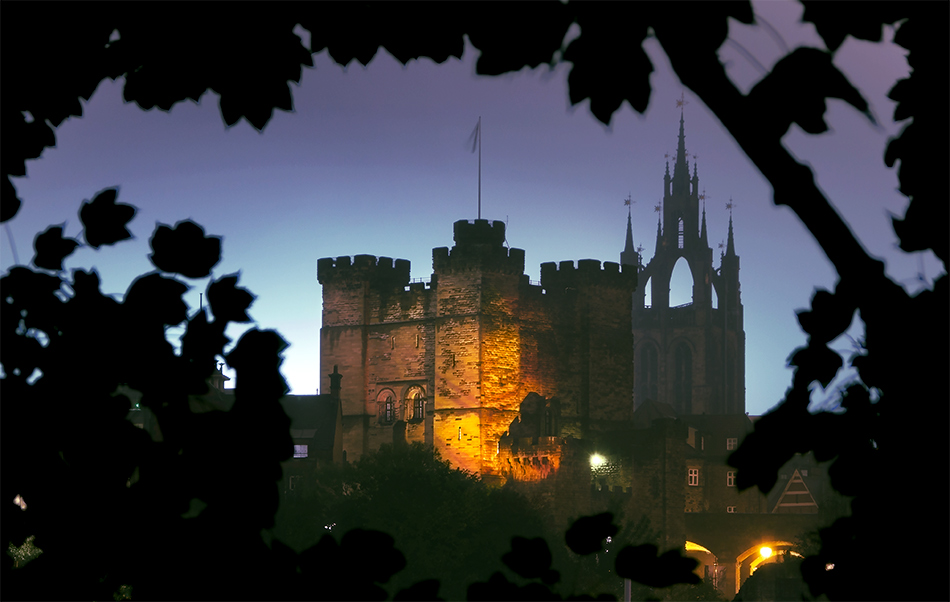
This example image
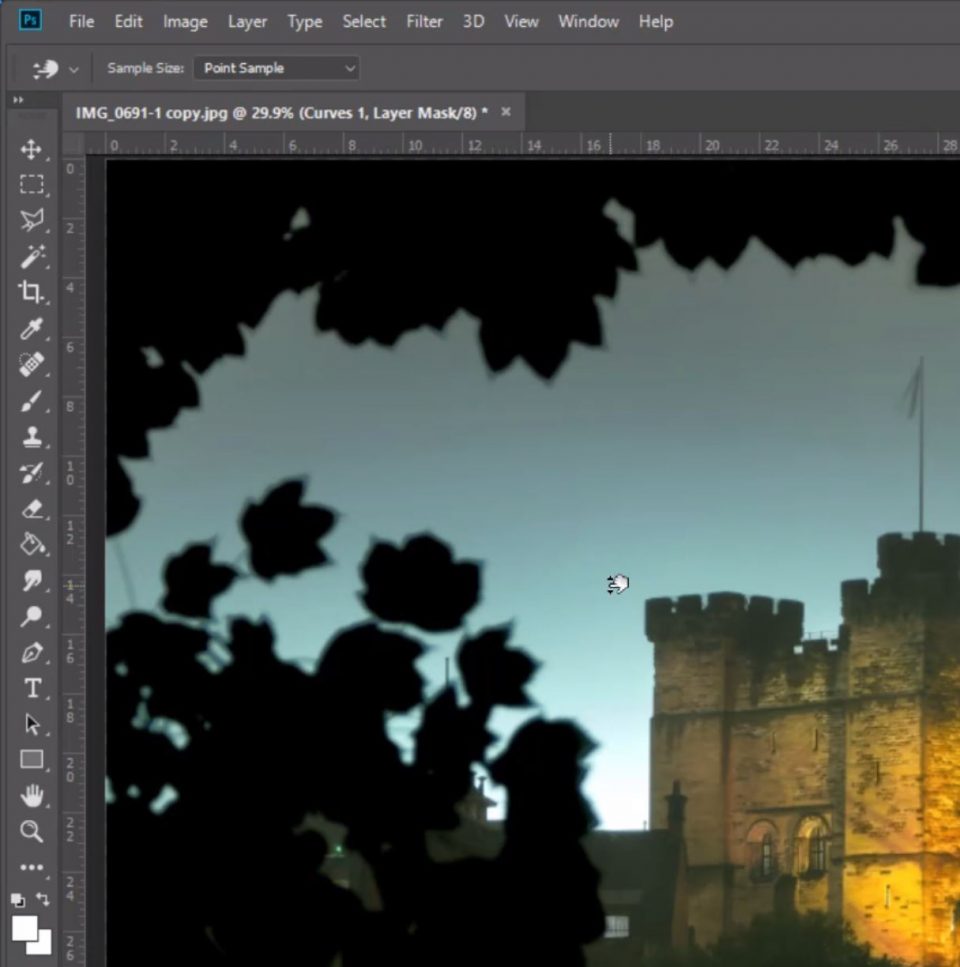
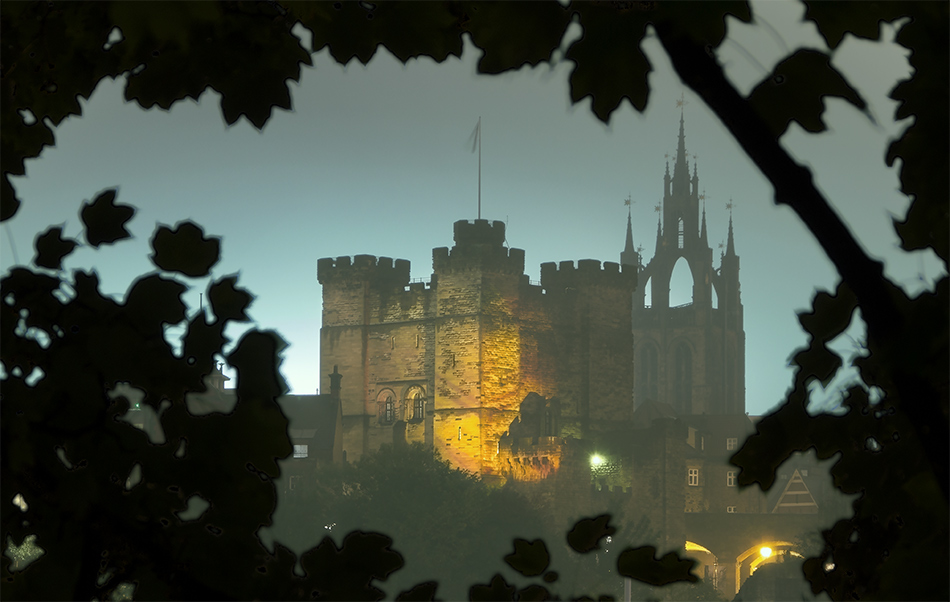
The photo we have used in this tutorial to dehaze and color correct was taken on a very dark and wet night. I was on the south side of the banks of the River Tyne with the Castle on the north side approximately 400 meters away. Because of the relentless fine rain and the ambient light which was added to by the stadium lights behind the castle, the image came out very hazy and with a green hue. I was happy with the composition, so I sought to try to remove the opaque haze that had been caused by elements. This is how I did it.
Enter your email below and join our community of more than 100,000 photographers who receive regular tutorials and have also

Subscribed to our newsletter,
Downloaded our FREE Photoshop Course
Got our FREE Easy Panel for Photoshop
And have our FREE Essential Guide To Luminosity Masks E-Book
Step-By-Step Guide to Dehaze and Color Correct
1. First duplicate the Base Layer and then hide it so we are working with the copy.

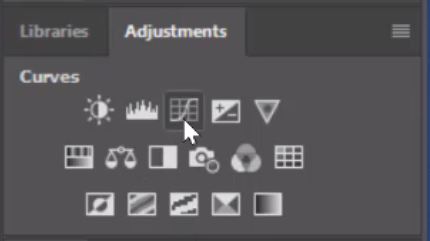
2. Open a new Curves Adjustment Layer by clicking on the Curves icon.
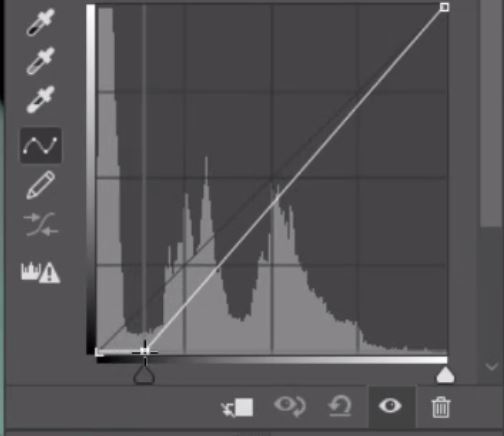
3. Select the bottom left point and drag it right to darken the shadows.
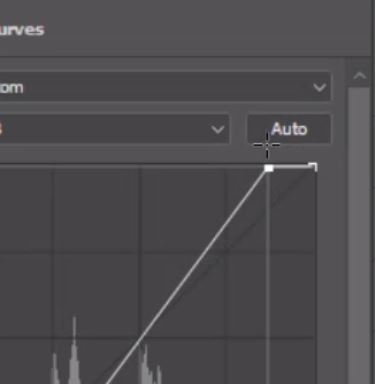
4. Do the opposite, grab the point in the upper right corner and drag it left to brighten the highlights.
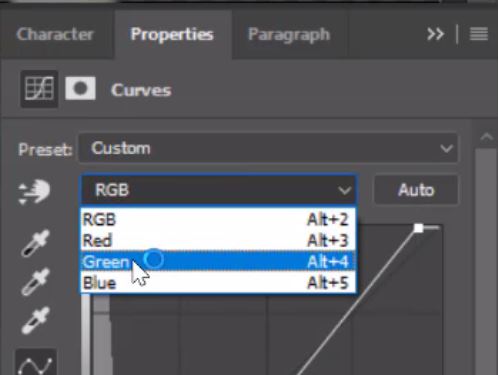
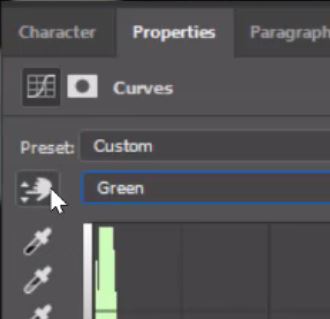
5. Because our haze has a green hue, we will select the Green channel to adjust first.
6. Select this tool which will allow you to click and drag to adjust the curves in specific areas.
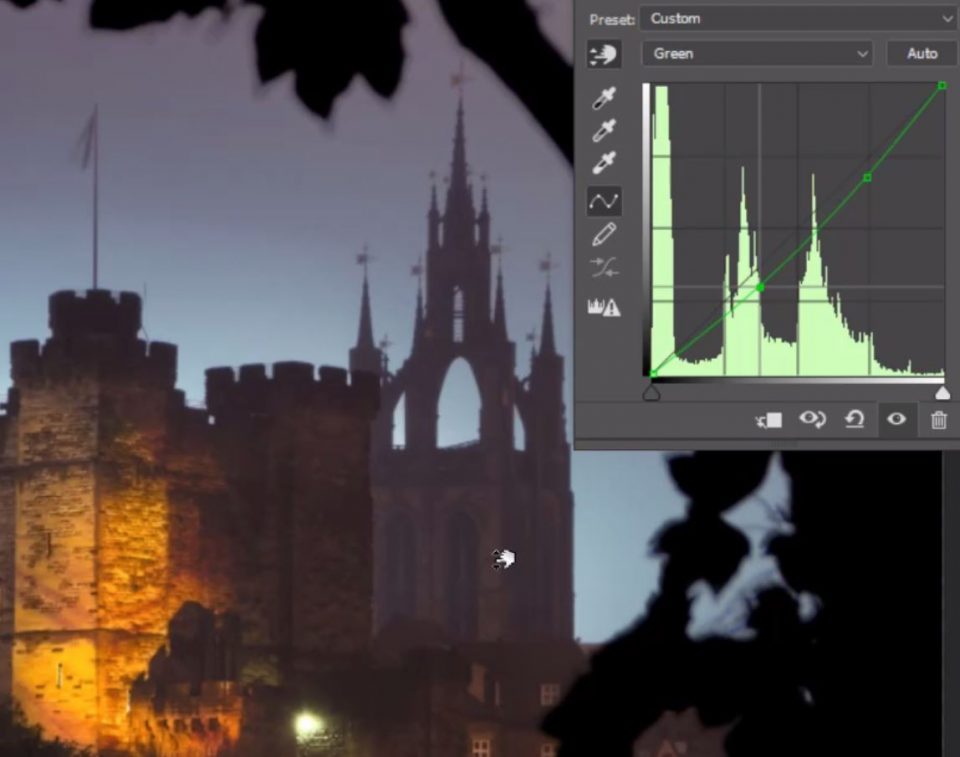
7. Click and hold on an area that has a strong green hue in the highlights and drag down to lower the green saturation.
8. Now do the same in an area that has a strong green hue in the shadows.
9. Repeat the same process with the Red Channel.
I wanted to increase the reds in the highlights of the castle so I dragged my cursor up in that area.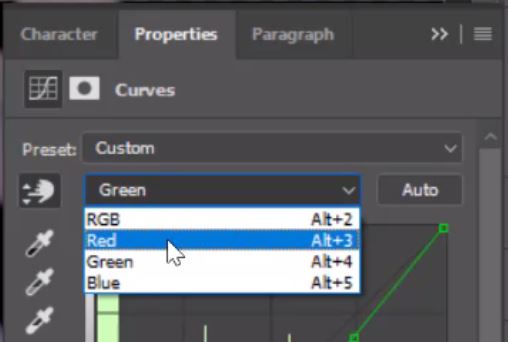
10. Repeat the same process with the Blue Channel.
Like with the reds adjustment, I increased the blue saturation in the sky by dragging upwards in that area.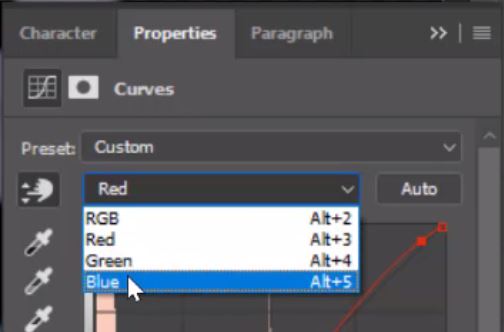
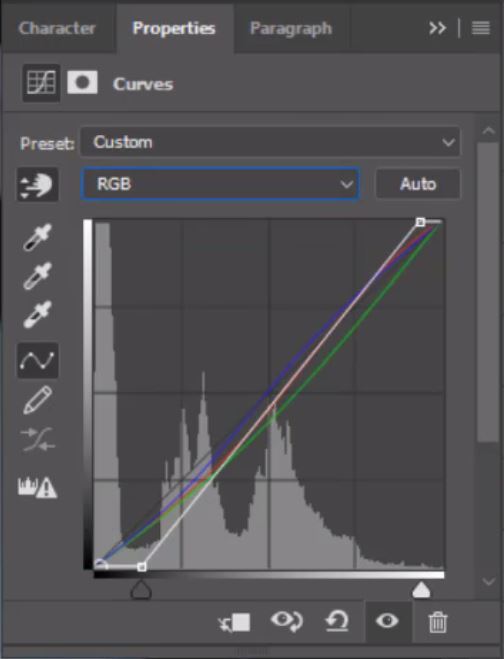
11. You can see all the adjustments when you go back to RGB. Notice how all the curves now follow different paths.
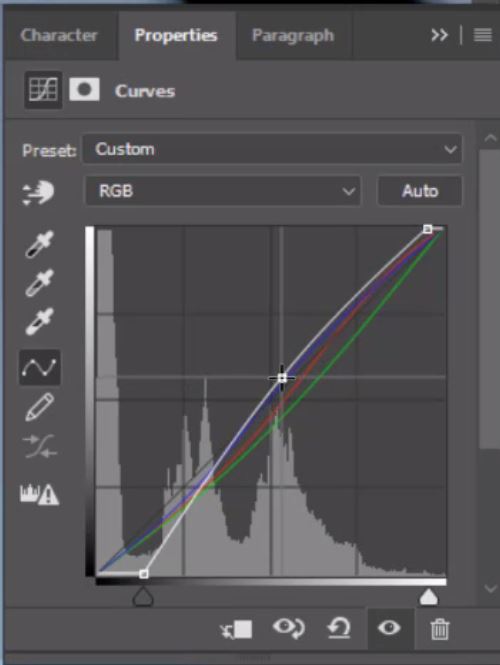
12. One last adjustment to brighten the overall mid tones to bring out some more detail in the buildings.
Compare the before and after images and you can see for yourself. Using a curves adjustment layer to cut through haze can be very effective indeed.
[compare]
[/compare]
Thank you for reading this article How To Dehaze and Color Correct In Photoshop, You might also be interested in the articles below. Be sure to sign up for our newsletter for more tutorials and great offers.
Enter your email below and join our community of more than 100,000 photographers who have also
Subscribed to our newsletter.
Downloaded our FREE Photoshop Course.
Got our FREE Easy Panel for Photoshop.
And, have our FREE Essential Guide To Luminosity Masks E-Book.
Additional Resources
This tutorial showed how to remove a haze from your images. Fog is a different story altogether. Fortunately, as part of our challenge Jimmy series, we showed you How To Edit A Foggy, Moody Landscape In Photoshop.
Online Resources
As always with photoshop there are more than one way to achieve something, here is an alternative method to Dehaze a Photo in Photoshop.
Another interesting method is to use different blend modes as demonstrated in this tutorial Haze-Dehaze.