Difference Between Mean and Median Stack Modes
There are several different stack modes in Photoshop, in this article we’re going to look at the difference between Mean and Median Stack modes. They’re both used for the same purpose which is to blend together multiple images to create a composite. As a result, they help reduce noise and enhance details by focus stacking. If there are moving objects in the frames you can remove them by selecting the correct stack mode, or make them really blurry by choosing the wrong stack mode.
Two of the most commonly used stack modes in Photoshop are the Mean and Median Stack Modes. They both produce very different results, find out how to use them and what the differences are in this quick video tutorial.

The Difference Between Mean and Median
Mean:
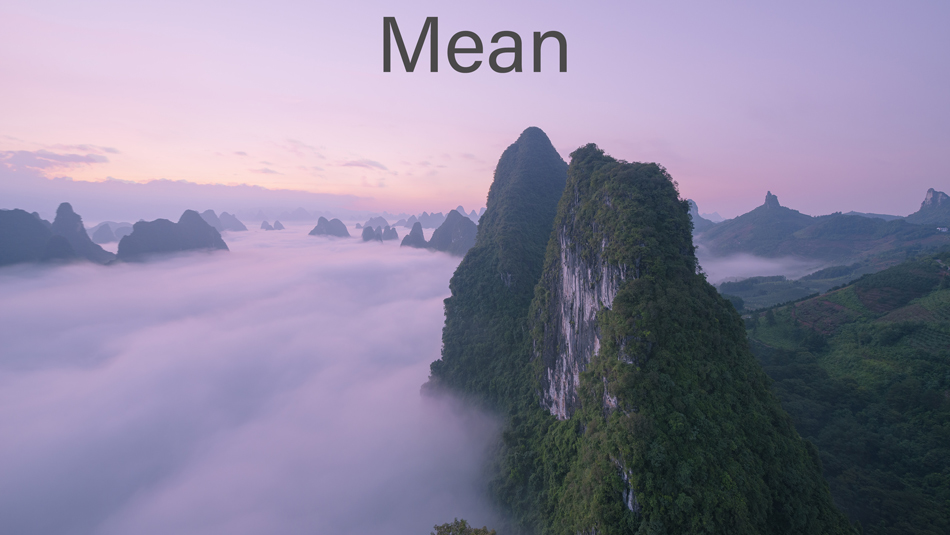
The Mean is the average. If you had 10 layers, 9 were red and 1 was blue, the mean would consist of 9 parts red and 1 part blue. When we have a detailed image this will soften the image as it will blend the colour of each stacked pixel to find the average colour tone and show us the average pixel. This works wonderfully if you want a soft long exposure type image. The downside is that any moving objects in any of the frames will be visible as a blur.
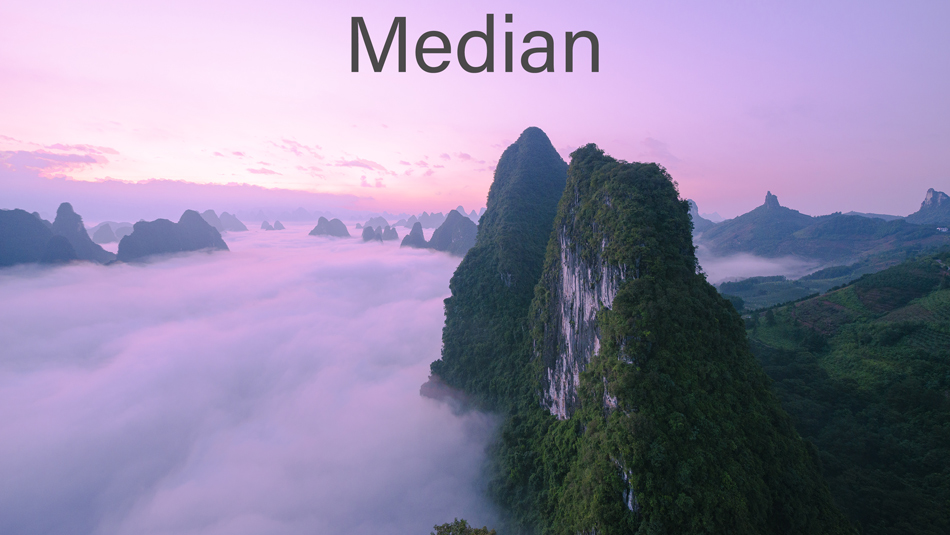
Median:
The Median will give you the middle. Using the same scenario of 9 red layers and 1 blue layer. The middle value would be red as it far outweighs the blue, so you will only see red. With more detailed images whichever tone is dominant will show through, this is a great way to enhance detail and remove moving objects.
Enter your email below and join our community of more than 100,000 photographers who receive regular tutorials and have also

Subscribed to our newsletter,
Downloaded our FREE Photoshop Course
Got our FREE Easy Panel for Photoshop
And have our FREE Essential Guide To Luminosity Masks E-Book
Mean or Median for stacked Images
We used 9 layers to show how to stack and blend, and to show the difference between Mean and Median.
To get all of the images into Photoshop as layers we used Raya Pro’s stack function then uses Align to ensure the multiple layers were aligned.
1. Select the top layer then hold down the Shift key and click on the bottom layer to select all of the layers.

2. Right-click on one of the selected layers and choose Convert to Smart Object.

3. Once your layers have been converted to a Smart Object you should only now see one layer and the layer thumbnail should have the following icon on it.


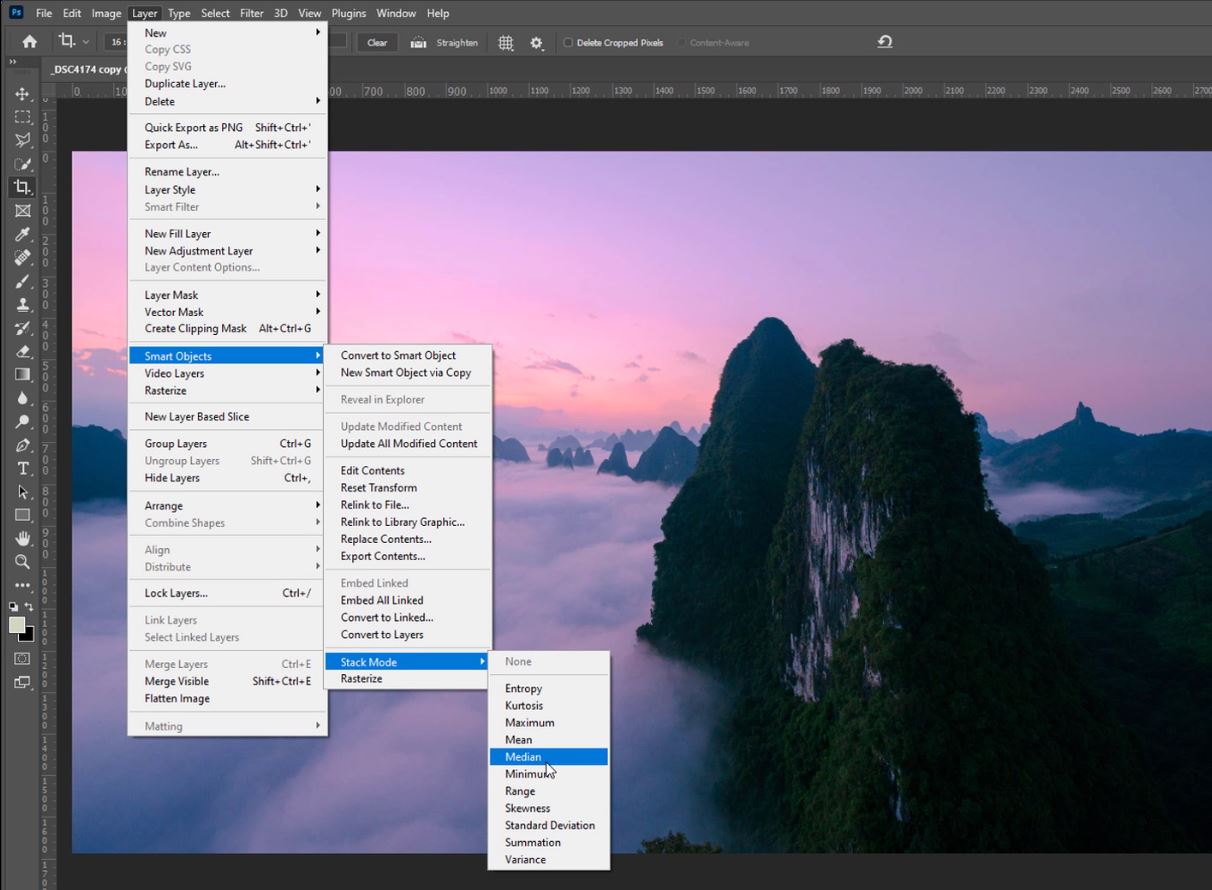
4. Now go to the Layer menu, scroll down the list until you get to Smart Object and hover over it.
5. A new sub-menu will appear and near the bottom, you will find Stack Modes, when you hover over this you will see the different stack modes available.
6. To create a soft blended image, select the Mean option to stack your images.

7. For a sharper image choose the Median stack mode.
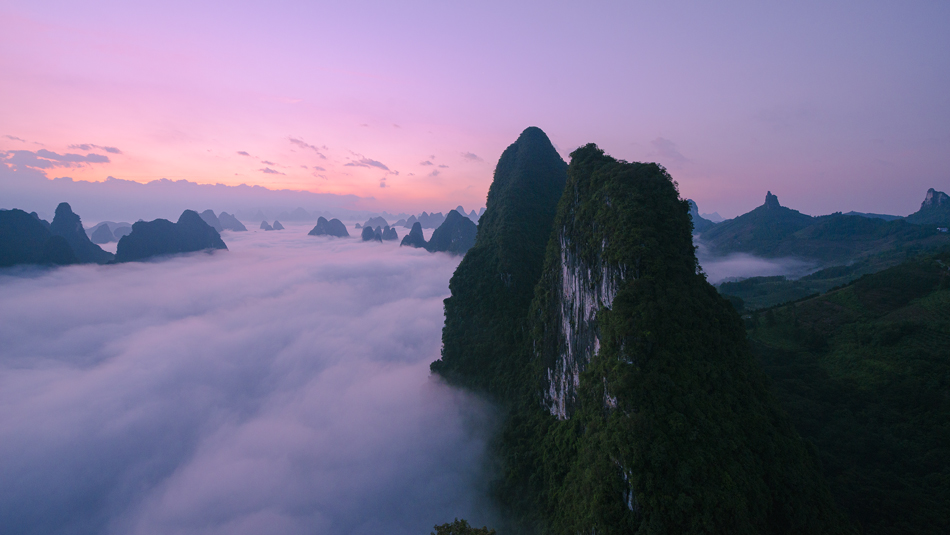
Here you will see the different effect that both stack modes have on the same image. Here is the original image.
Compared with images that have been merged using Mean and Median Stack Modes in Photoshop.
Thank you for reading this article on Supersize Using Super-Resolution in Photoshop, be sure to sign up for our newsletter for more tutorials and great offers.

Enter your email below and join our community of more than 100,000 photographers who have also
Subscribed to our newsletter.
Downloaded our FREE Photoshop Course.
Got our FREE Easy Panel for Photoshop.
And, have our FREE Essential Guide To Luminosity Masks E-Book.
FREE Photoshop Course

The Art Of Photography

Raya Pro for Photoshop

Other Articles That Might Interest You
How to Stack Star Photos to Reduce Noise in Photoshop
Solving common photography problems using Image Stacks
How to Remove People from Images with Median Stack
Noise Reduction with Smart Object Stack Modes