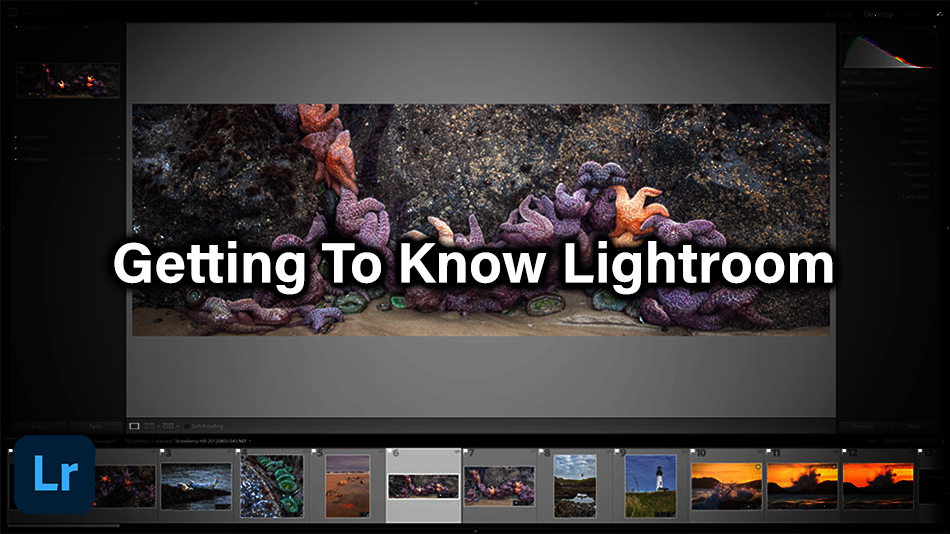
Getting to Know Lightroom Basic Editing
This guide to Getting to Know Lightroom Basic Editing is by Mike Ince. If you would like to write for us, please read here.
Let’s take a stroll through Lightroom. Lightroom works great for basic to intermediate photo editing, along with working through multiple photo sessions fast. We also know it is very efficient with a multitude of options for each person to use to sort their entire catalog. But we also know sometimes you want to get down and dirty with your editing! Sometimes this involves luminosity masks, astrophotography, compositions, plugins and more. The truth is, you can have the best of both worlds! Today, we will dive into Lightroom basics and talk about a photo’s roundtrip from Lightroom into Photoshop, and back into Lightroom, to keep all your files and photos organized and tidy.
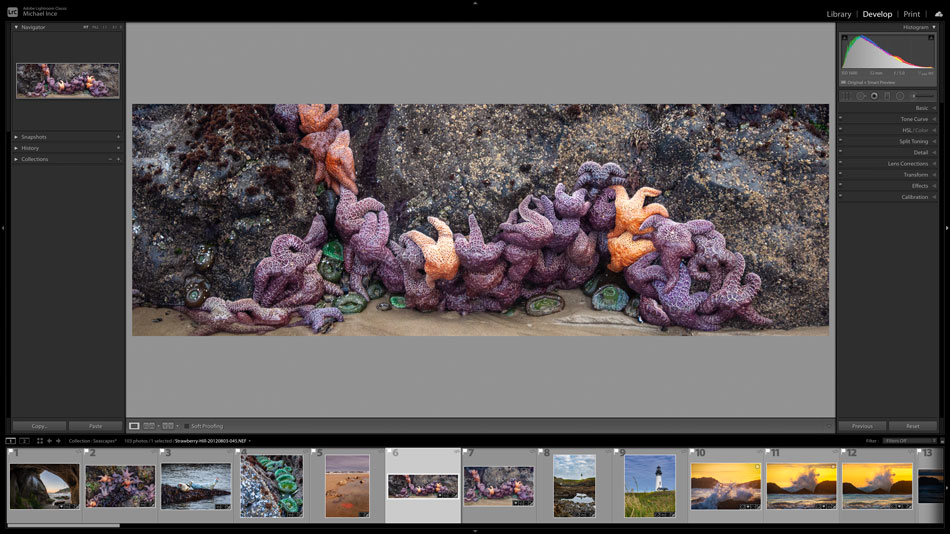
Let’s assume you have your photos imported into Lightroom. Now, the question is where to start with the editing process. The develop module is going to be the best place to begin.
Enter your email below and join our community of more than 100,000 photographers who receive regular tutorials and have also

Subscribed to our newsletter,
Downloaded our FREE Photoshop Course
Got our FREE Easy Panel for Photoshop
And have our FREE Essential Guide To Luminosity Masks E-Book
An Overview of Getting To Know Lightroom
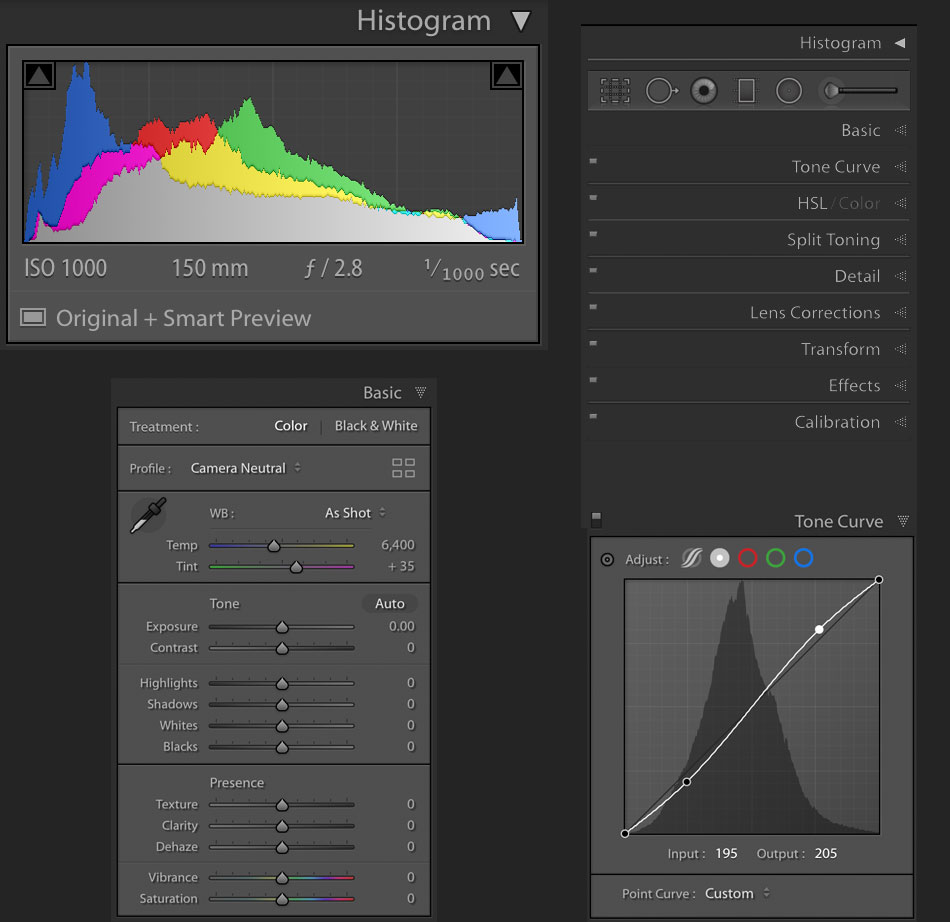
Histogram
The almighty histogram is at the top of the develop module. And like in any situation in the filed or in the digital lightroom, you should keep an eye on this. This is the sure-fire way to ensure you are not losing data and do not have under/overexposed photos.
Tools and Basic
Next comes the tools, which consist of Crop, Spot Removal, Red-Eye Reduction, Graduated Filter, Radial Filter, and finally, your typical Adjustment Brush. Note that the filters and brushes allow you to to make your adjustments within specific areas of your photo, also known as localized adjustments.
Below, you will see the basic adjustment sliders that you are most likely familiar with. Shadows, Highlights, Whites, Blacks, etc. reside here. Along with, of course, White Balance, Contrast, and Exposure. These would be global adjustments affecting the entire photo.
At the bottom, Lightroom has some presence such as Clarity, Texture, Dehaze, and Saturation/Vibrance. This basic panel is where you should lay the groundwork for your photo. The goal is to get your histogram situated nicely, and have a sense of direction to where you are taking the final edit.
As a side note, check out the profiles up top in the basics panel. You can start your photo by applying a profile from Adobe or your camera maker. For example, I often begin with Camera Neutral. All profiles can get to the same finish point at the end of the day. If you want a quick way to see the difference in profiles, choose a predominately red image to view the various profiles for fun.
Tone Curve
If you have seen the tone curve in Photoshop, then this will be just as familiar. Not quite as extensive, but you can do all the basics and a little more. S curves, adjust the darkest darks, and lightest lights, etc. Recently Adobe added a few more options here. You can now access the curves of your RGB channels. You can plot points as well!
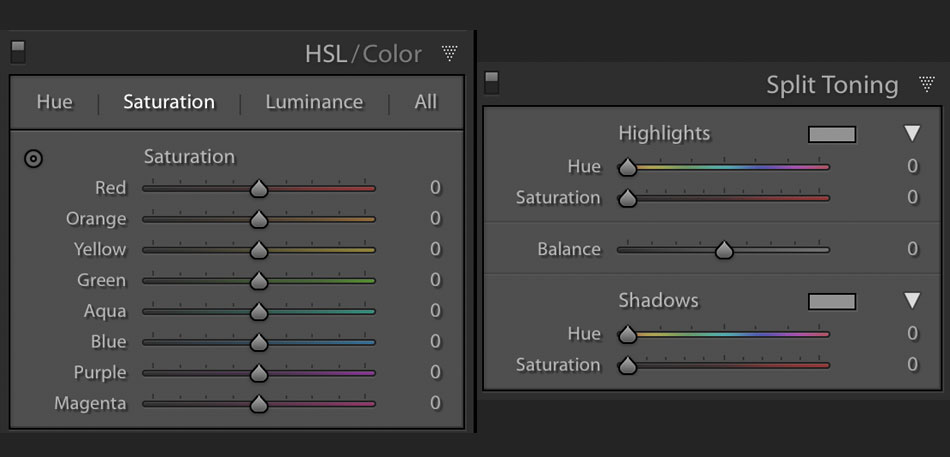
HSL/Color
Here we can start some color grading, local color shifts, and adjust a specific color hue, its saturation, or its luminosity.
Split Toning
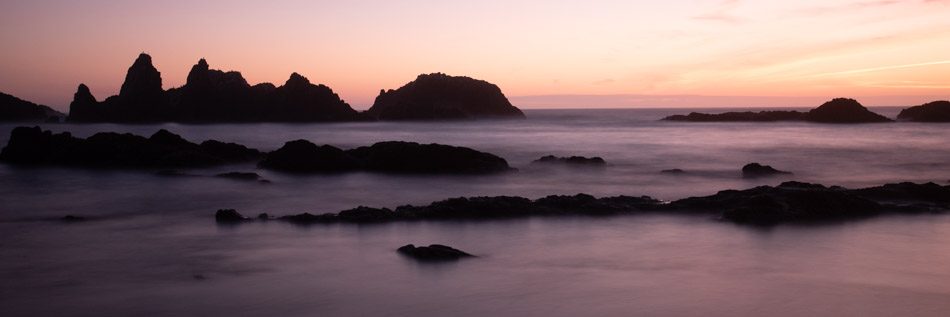
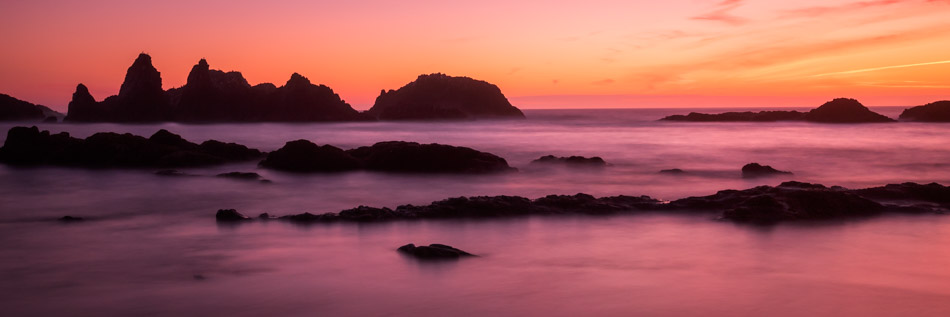
The magic of split toning! One of my favorites. This can help bring a photo together by adding color to your shadows and highlights. Subtly is key. In my image below on the Oregon coast, I captured a decent sunset and made it into something much more pleasing for myself. Check out the image with and without split toning.
Detail
You will find some well-known adjustment sliders here. This is where your sharpening and noise reduction are done. In my opinion, the Lightroom noise reduction is one of the best out there (compared to dedicated software) so try some NR here if you haven’t. The sharpening works well too, especially for typical everyday edits. Portrait and wildlife photographers may prefer PS due to the amount of control and options you have in there.
Lens Correction
Exactly what it says here. Many profiles already exist, and Adobe is pretty good about adding new lenses reasonably fast. You can also adjust color fringing and chromatic aberration here.
Transform
You can fix some lens distortion issues here, such as wide-angle issues within architecture and landscapes. There are also some automated and guided options that can be handy with the right photos.
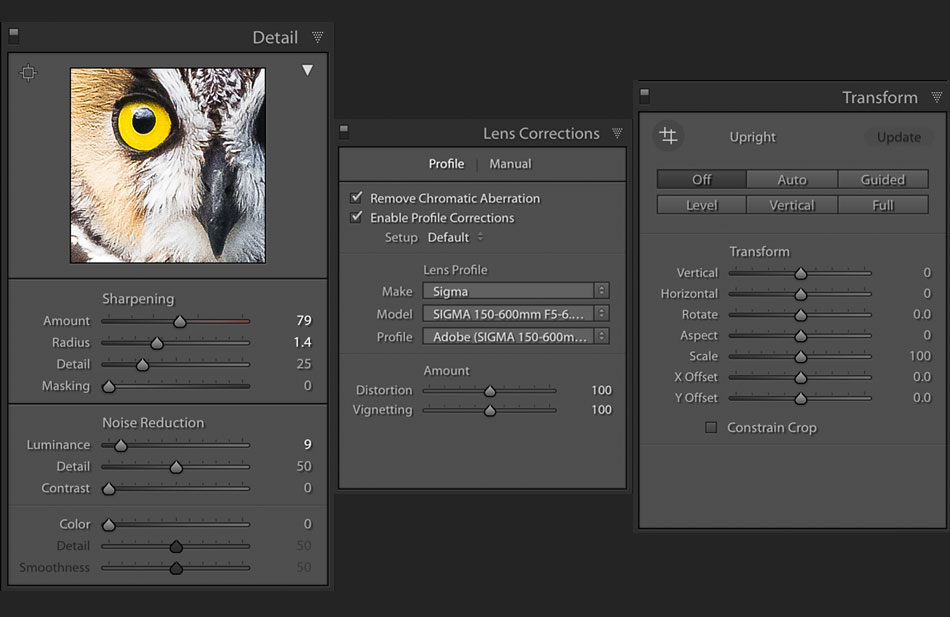
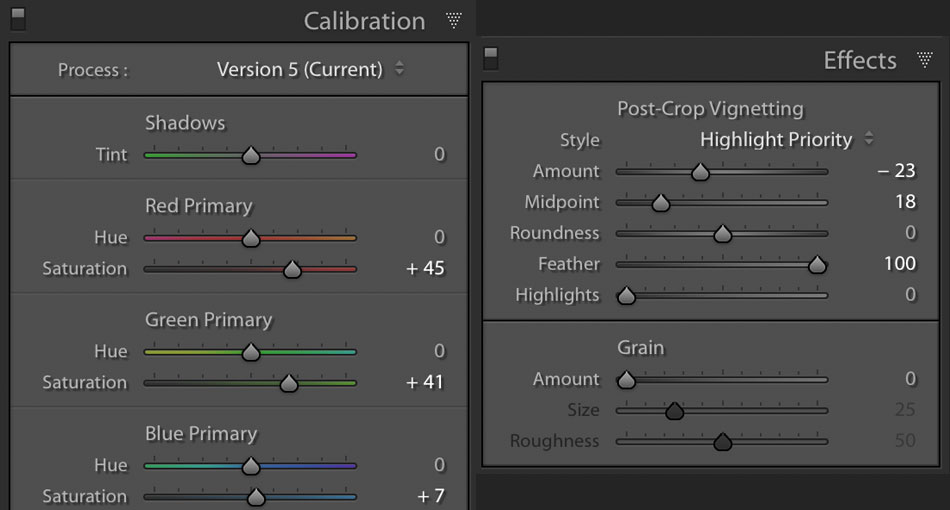
Effects
You can add some vignettes to your photos here. It also has some grain options. With both, you have quite a bit of control with the sliders, which is nice.
Calibration
Like the split toning panel, this one isn’t visited by everyone either. However, photographers who love to be meticulous with their colors and enjoy creative edits need to play with this panel. It’s a quick way to change the hue and saturation of your RGB colors, which can add wonders to enhancing your blues in the sky or add some kick to your forest landscapes.
And Finally, Editing in Photoshop (and Back to Lightroom)
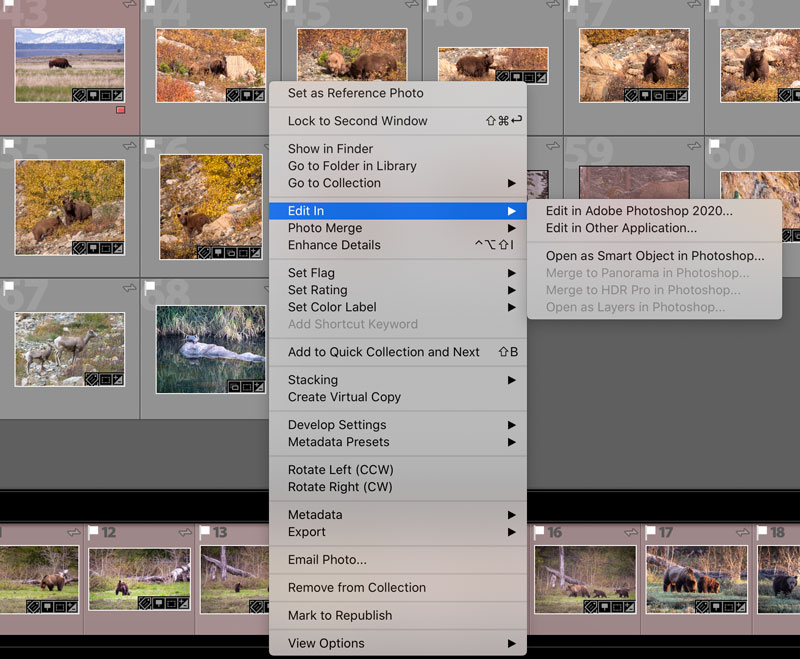
Now that you have sorted and edited some of your photos in Lightroom, you may decide you want to go into photoshop for some final touches or deep dive editing. This is no problem! You can run into photoshop to use Raya Pro; you can do some advanced sharpening or any other needs you feel PS would be better suited for. The trick is to open the photo you want to edit from Lightroom right here. Right-click on an image and select “Open in Adobe Photoshop…” Once you do this, the connection is made. No matter what you decide to do in Photoshop when finished, all you have to do is “save” (as opposed to “save as”) and you will see this version appear right in Lightroom next to your original image.
A Few Tips For Processing:
1. You can also open your image as a smart object for non-destructive editing.
2. Even if you add layer upon layer in your photoshop edit, this will all save to the file you are now saving into Lightroom. So if you want to come back and edit this file later, with edits and layers, then open it from Lightroom to keep the connection. Just be aware, these files can get huge very fast.
3. You can even open multiple photos within Photoshop from Lightroom into one document with layered images. Think star trails or photo stacking here, for it’s usage.
4. If for some reason, you want to save a copy of the PS file, or it gets misplaced, you can always import it again to the same original location, via Lightroom once again.
When using the develop module, Lightroom was designed with the editing process throughout. So it’s advised to tweak the module in order from top to bottom for a nice workflow. Having said that, rules are meant to be broken. So if you have to return to a slider you already visited, then that’s entirely up to you!
If you have not given Lightroom a try yet, I suggest you try getting to know Lightroom. It’s incredible for sorting your library of photography and is extremely proficient for most of your editing needs. And when it’s not, you can seamlessly run those into Photoshop as needed while keeping your files neatly organized!
Thank you for reading this article on Getting To Know Lightroom Basics in Photoshop, be sure to sign up for our newsletter for more tutorials and great offers.
Enter your email below and join our community of more than 100,000 photographers who have also
Subscribed to our newsletter.
Downloaded our FREE Photoshop Course.
Got our FREE Easy Panel for Photoshop.
And, have our FREE Essential Guide To Luminosity Masks E-Book.
More Lightroom Tutorials
11 Steps for Basic Portrait Editing in Lightroom – A Beginner’s Guide
Lightroom Tutorials: How to Use Lightroom to Edit Photos
How To Edit Your Photos Like A Pro In Lightroom