How To Blur Edges In Photoshop
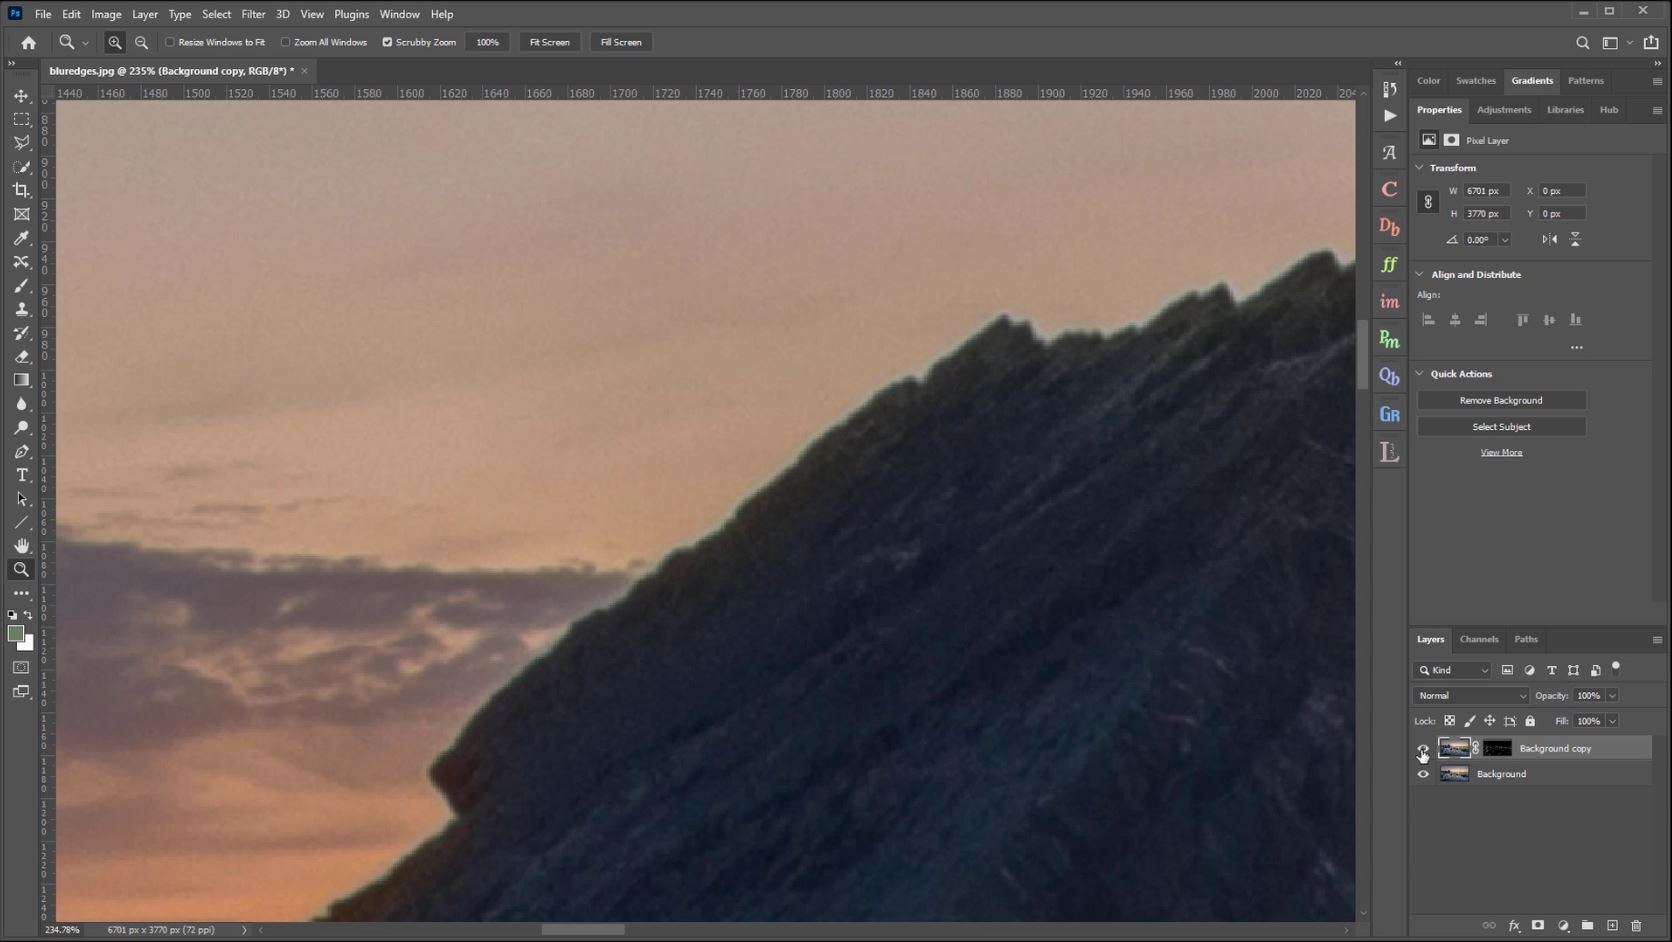
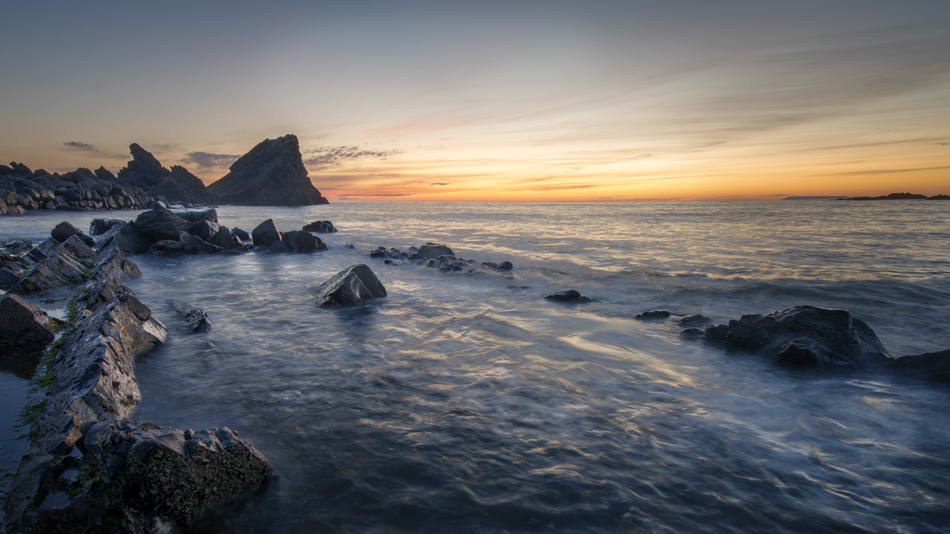
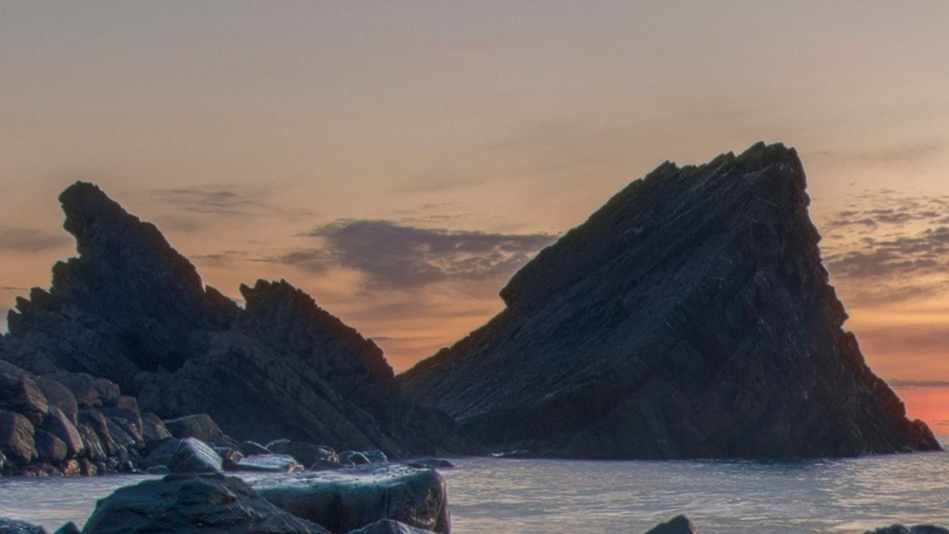
Have you wondered how to blur edges in Photoshop? If some of the edges in your image seem a bit harsh, follow this tutorial for a quick fix. In this Seascape image, we have some jagged rocks in the background that we will soften the edges of. We’ll look at the Photoshop method and the faster way to do this with Raya Pro. We’ve also included a FREE Action for you to download.

Step-By-Step Instructions To Blur Edges In Photoshop
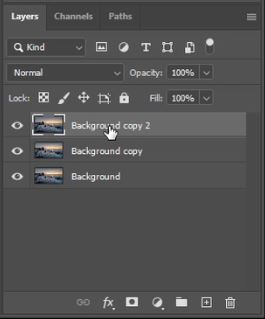
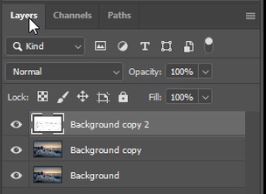
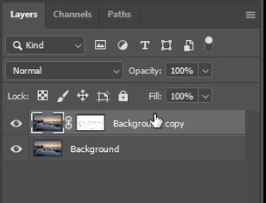
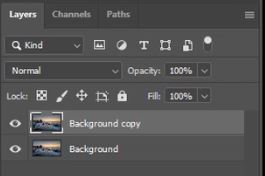
1. The first thing we need to do is to duplicate our Background layer twice.

2. Select the top layer.
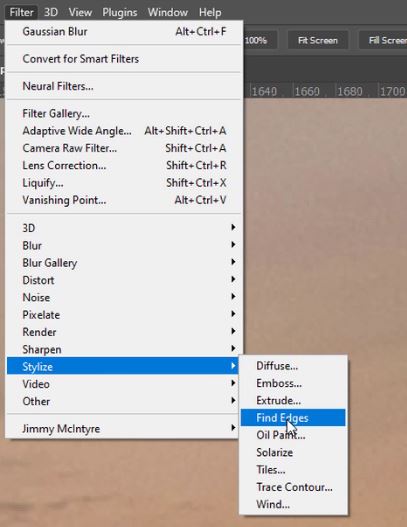
3. Go up to the Filter menu and chose Stylize > Find Edges.
4. Desaturate this layer by pressing Ctrl+Shift+U (PC) or Cmd+Shift+U (Mac).
– Tutorial continued below –
Enter your email below and join our community of more than 100,000 photographers who receive regular tutorials and have also

Subscribed to our newsletter,
Downloaded our FREE Photoshop Course
Got our FREE Easy Panel for Photoshop
And have our FREE Essential Guide To Luminosity Masks E-Book
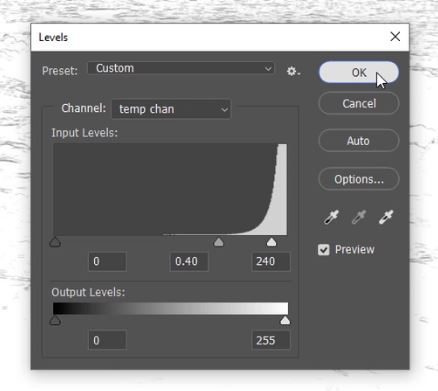
5. Bring up a Levels adjustment by pressing Ctrl+L (PC) or Cmd+L (Mac).
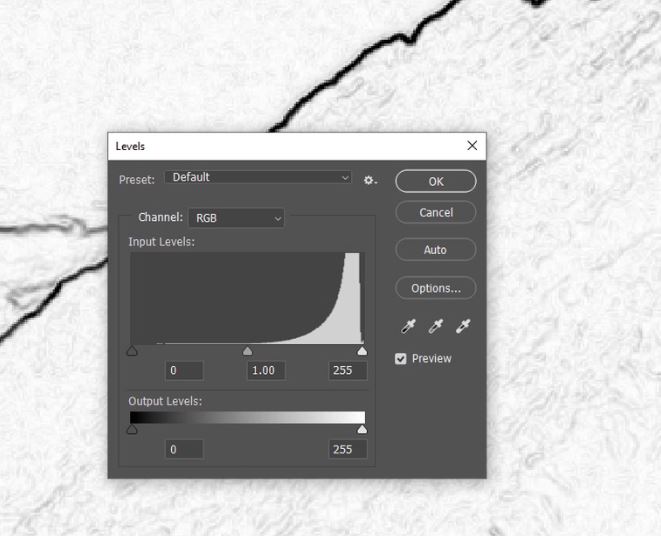
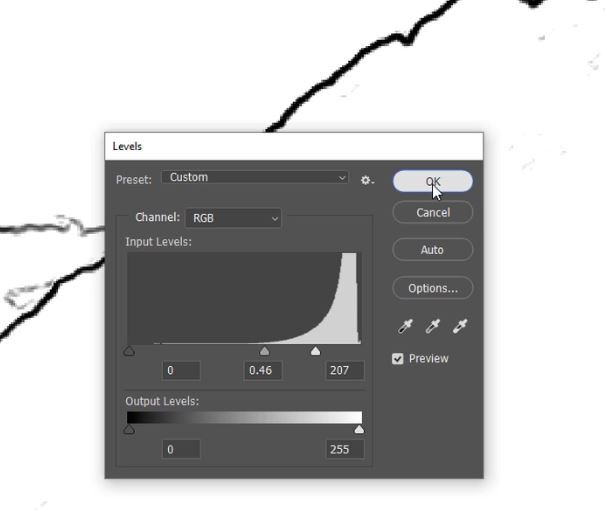
6. Adjust the sliders to reduce the detail of the layer and make the edge bold.
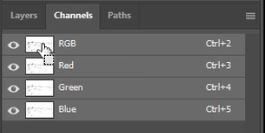
7. Go to the Channels panel.
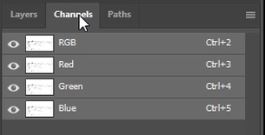
8. Hold down the Ctrl (PC) or Cmd (Mac) key and click on the RGB thumbnail.
9. Go back to the Layers panel.
10. Select the middle layer.
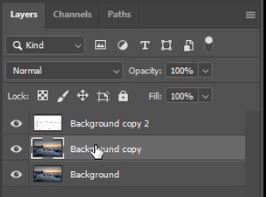
11. Now, add a new layer mask.

12. We don’t need the top layer anymore so we can delete it.

13. Select the layer with the mask.
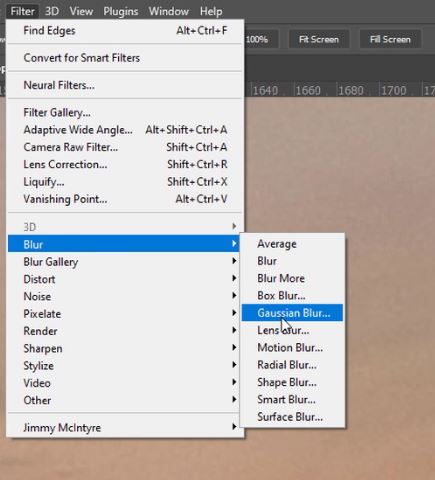
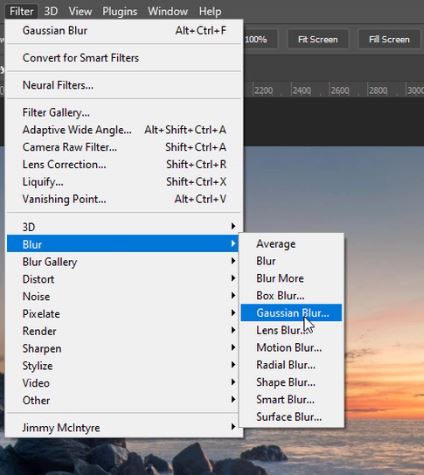
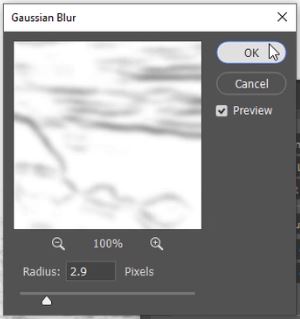
14. Got to the Filter menu again, but this time select Blur > Gaussian Blur.
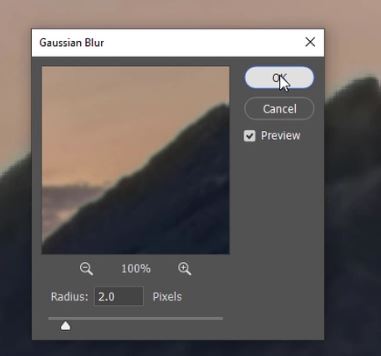
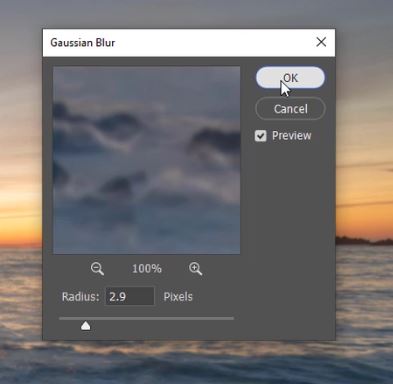
15. Because we’re only applying a subtle softening to the edges we only need a small radius.
16. The whole image has blurred except for the edge. This is because our mask is the wrong way round.

17. Select the mask thumbnail and press Crtl+I (PC) or Cmd+I (Mac) to invert the layer mask.

18. Now the only area that is affected by the blur are the edges. That is How to Blur Edges in Photoshop.
[compare]

[/compare]
How To Blur Edges in Photoshop Using Raya Pro
1. The first thing we need to do is to duplicate our Background layer.
2. Select the top layer and go to the Filter menu and select Blur > Gaussian Blur.
3. Apply a small radius to give a subtle blur.
4. Now open Instamask and click on Edge M.
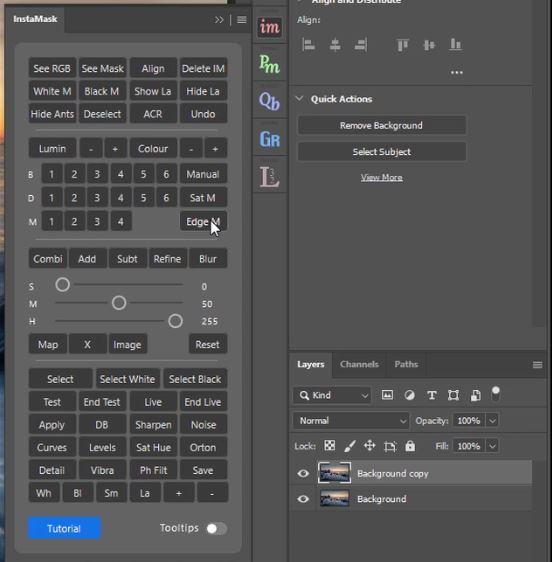
5. Adjust the Levels sliders to increase the boldness of the edges outline.
6. Add a small Gaussian Blur to smoothly blend the edges of the mask.
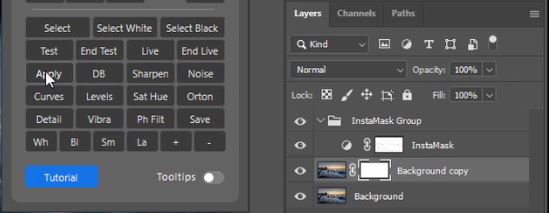
7. Select the top layer or layer that you want to apply the mask to and click on Apply.
8. Select the mask thumbnail and press Crtl+I (PC) or Cmd+I (Mac) to invert the layer mask.

[compare]

 [/compare]
Thank you for reading this article on Supersize Using Super-Resolution in Photoshop, be sure to sign up for our newsletter for more tutorials and great offers.
Hurry Up!

Enter your email below and join our community of more than 100,000 photographers who have also
Subscribed to our newsletter.
Downloaded our FREE Photoshop Course.
Got our FREE Easy Panel for Photoshop.
And, have our FREE Essential Guide To Luminosity Masks E-Book.
FREE Photoshop Course

The Art Of Photography

Raya Pro for Photoshop

More About Blur Edges in Photoshop
Learn How to Blur Edges in Photoshop
Find Out How to Blur Edges in Photoshop
Getting Smooth Edges in Photoshop
How To Blur The Edges Of A Photo In Photoshop
How To Blur Edges In Photoshop