How To Make Colours Glow in Photoshop
Adding a soft glow to colours in your image can be an excellent way of drawing the viewer’s attention. It can give your images a soft and subtle shift or a fantasy feel, depending on the severity of your adjustments. This technique in photoshop will adjust colour vibrancy and saturation. Then by combining luminosity masks, filters, and blending modes we can make a targeted adjustment on specific color ranges to make the colours glow. Follow along with this free video tutorial to find out How To Make Colours Glow in Photoshop.
Making Colors Glow in Photoshop
1. To start we add a New Adjustment Layer by clicking on the following icon at the bottom of the Layers panel.

2. The Adjustment Layer that we will use first is Vibrance.

3. In the Vibrance layer Properties window click on the mask icon.

4. Set the Feather to 20px.

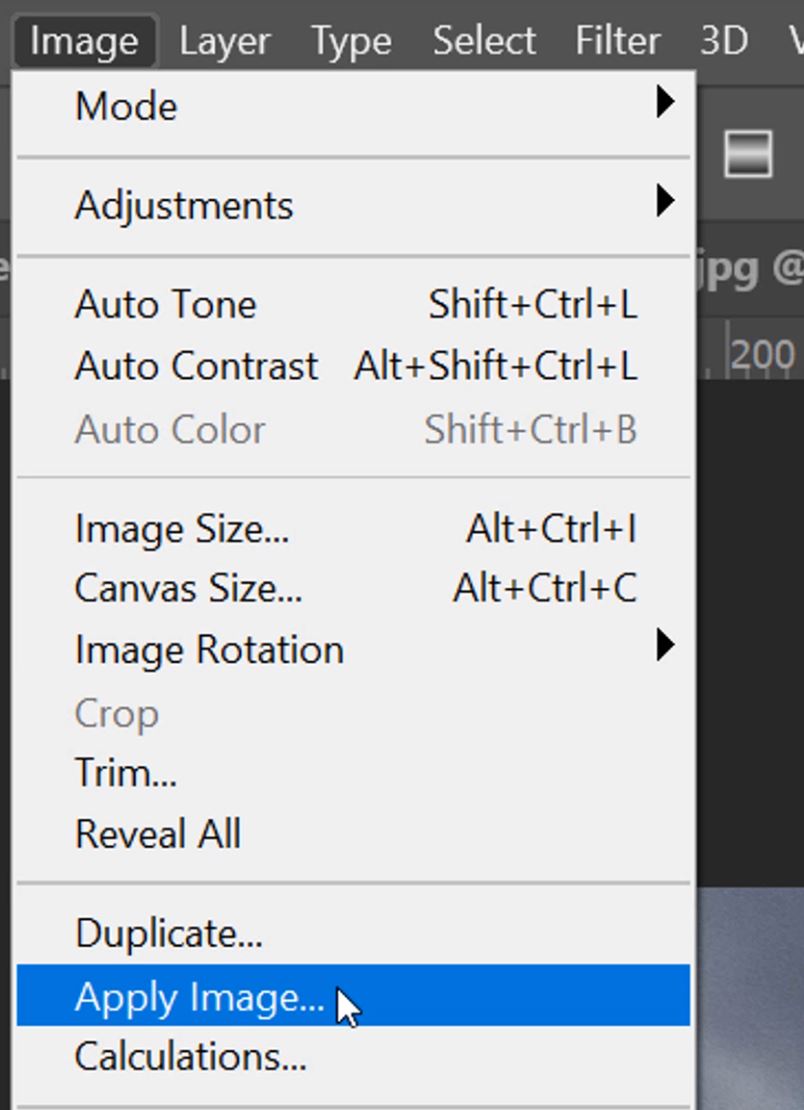
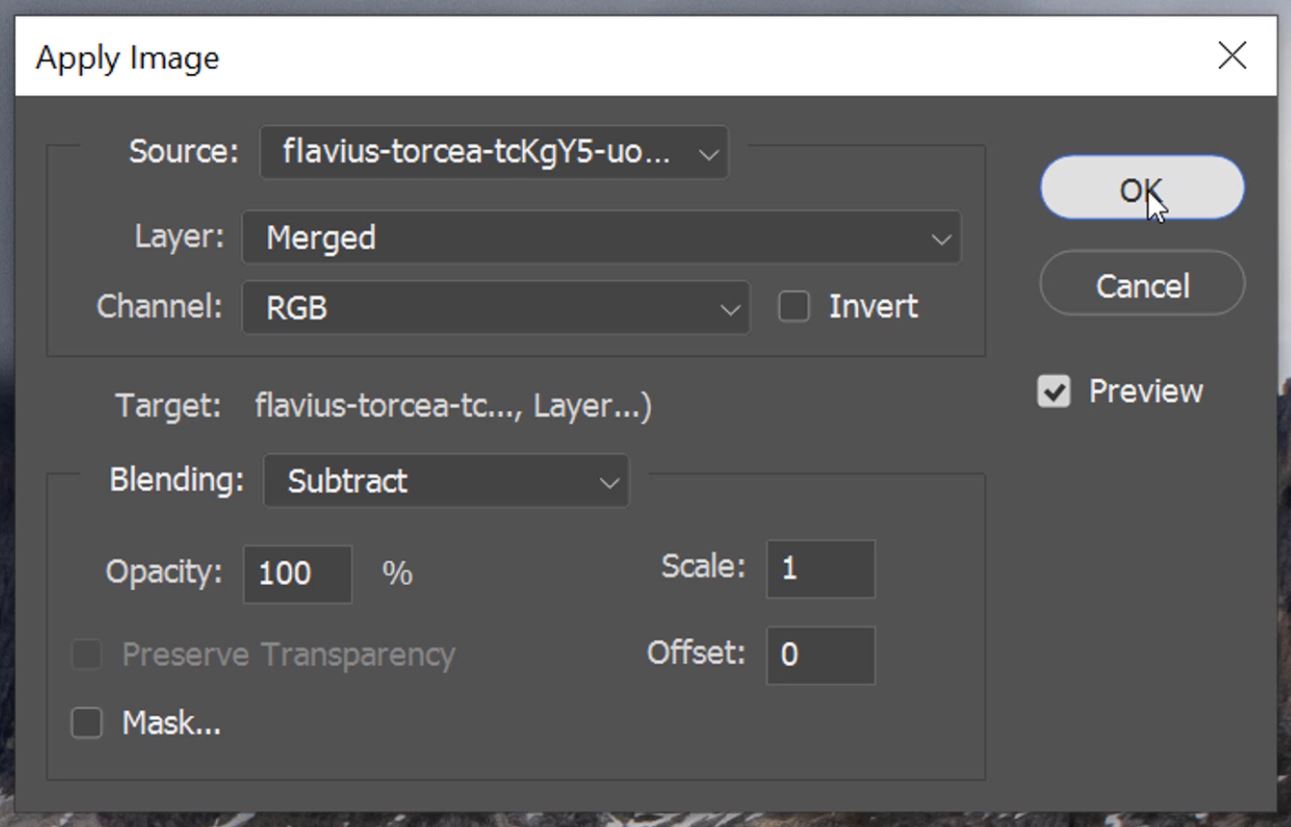
5. Now we need to go to the Image menu and select Apply Image.
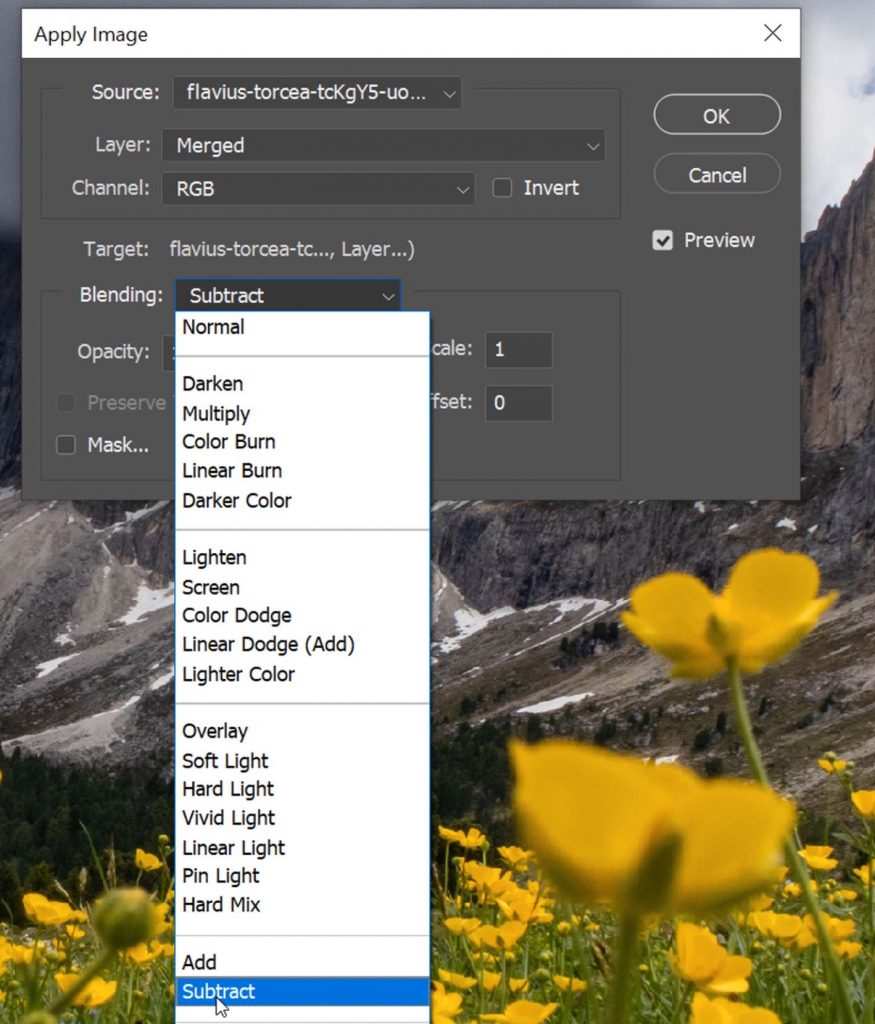
6. In the Blending option select Subtract.
– Tutorial continued below –
Enter your email below and join our community of more than 100,000 photographers who receive regular tutorials and have also

Subscribed to our newsletter,
Downloaded our FREE Photoshop Course
Got our FREE Easy Panel for Photoshop
And have our FREE Essential Guide To Luminosity Masks E-Book
Glowing Colors Tutorial Continued
7. Make sure your settings are the same as ours and click on OK.
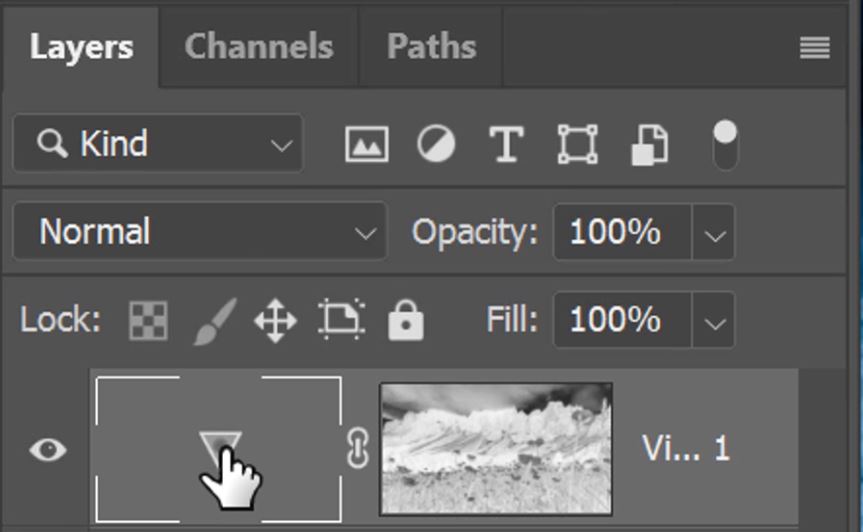
8. Now click on the Vibrance layer adjustment icon in the layers panel.
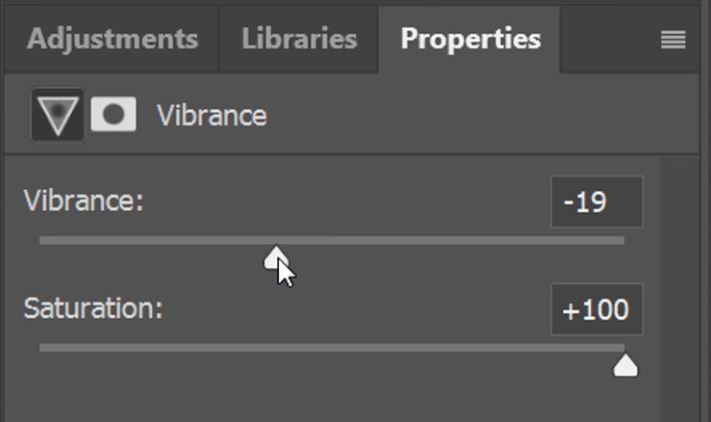
9.In the Vibrance layer Properties Adjust the Saturation and Vibrance sliders to boost the colours that you want to make glow.
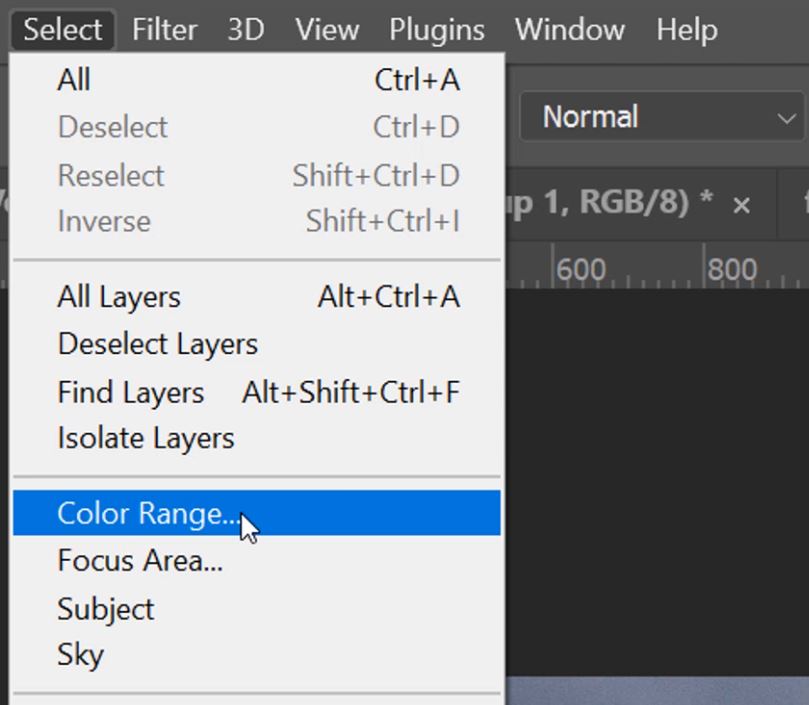
10. Now go to the Select menu and choose Color Range.
11. Click on the first Eyedropper tool to select the colour that you want to glow.

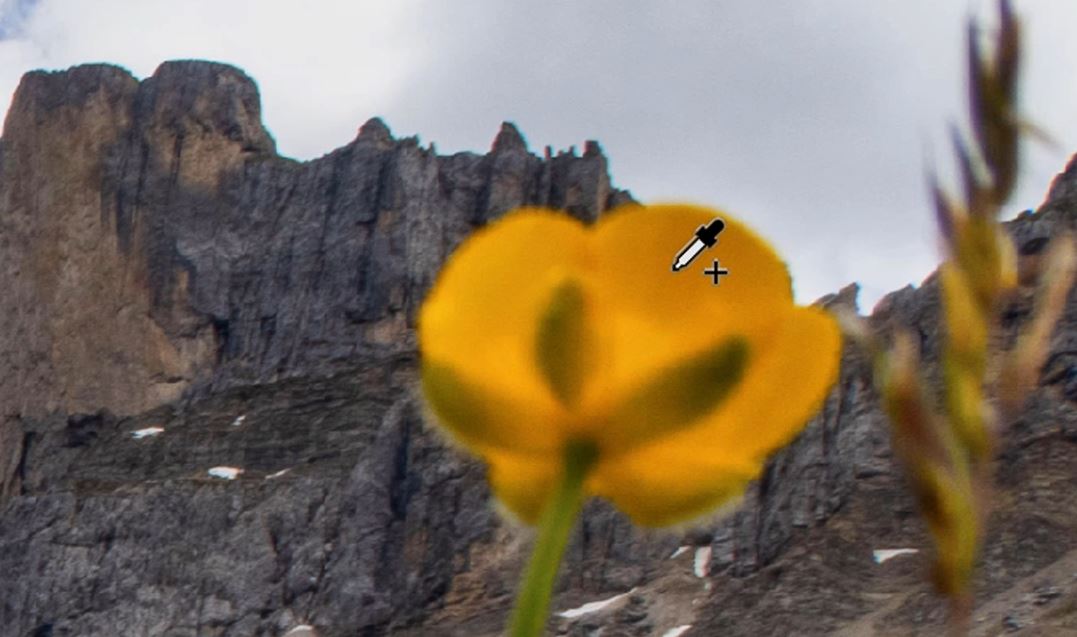
12. Now, with the eyedropper tool selected click on the colour that you want to target.

13. Now choose the Eyedropper tool with the + symbol next to it to add to the colour selection.
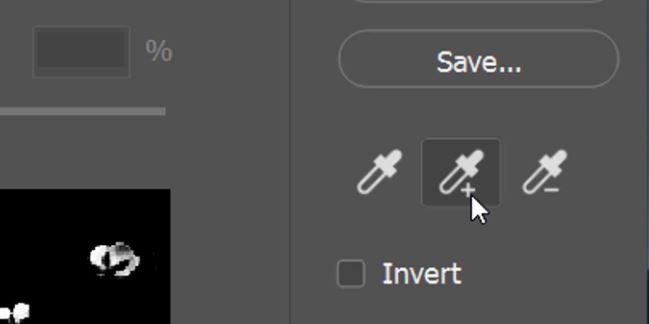
14. Click in several places where there are similar tones from the first colour you chose at step 12, this will help define the colour range to be affected.
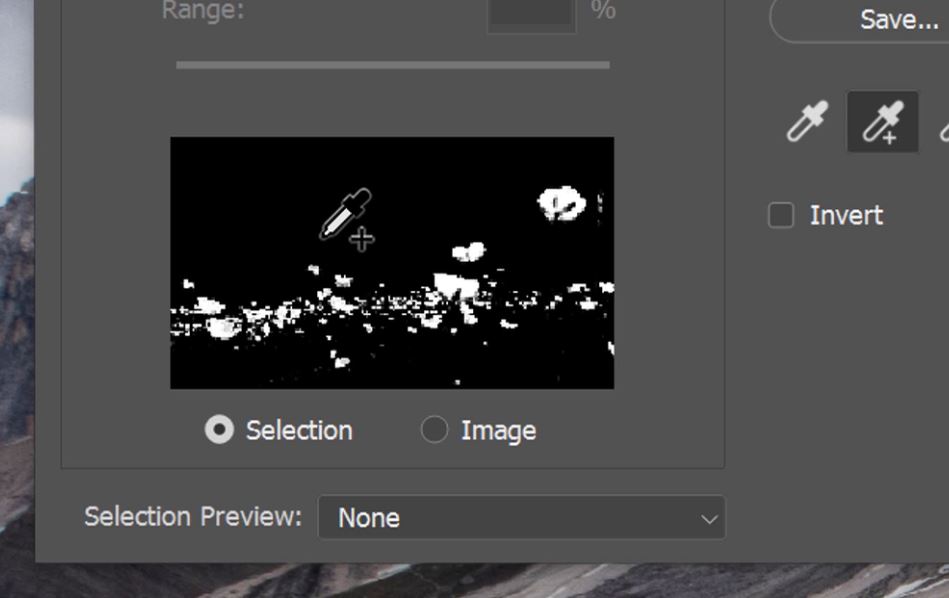
15. Your selection will appear in the Color Range window. Whatever is white will be selected.
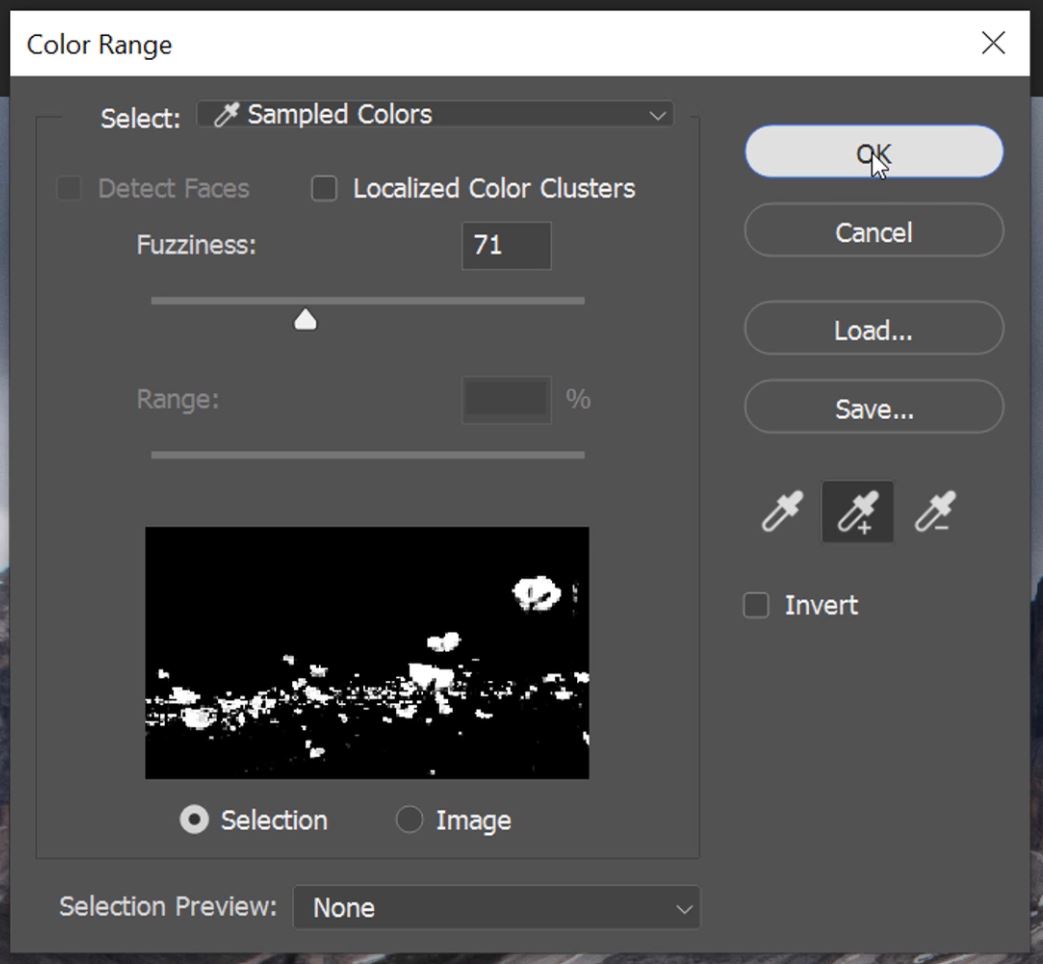
16. Once you’ve built a good selection click OK.
17. Your selection will be shown by the shimmering black and white outline or marching ants.
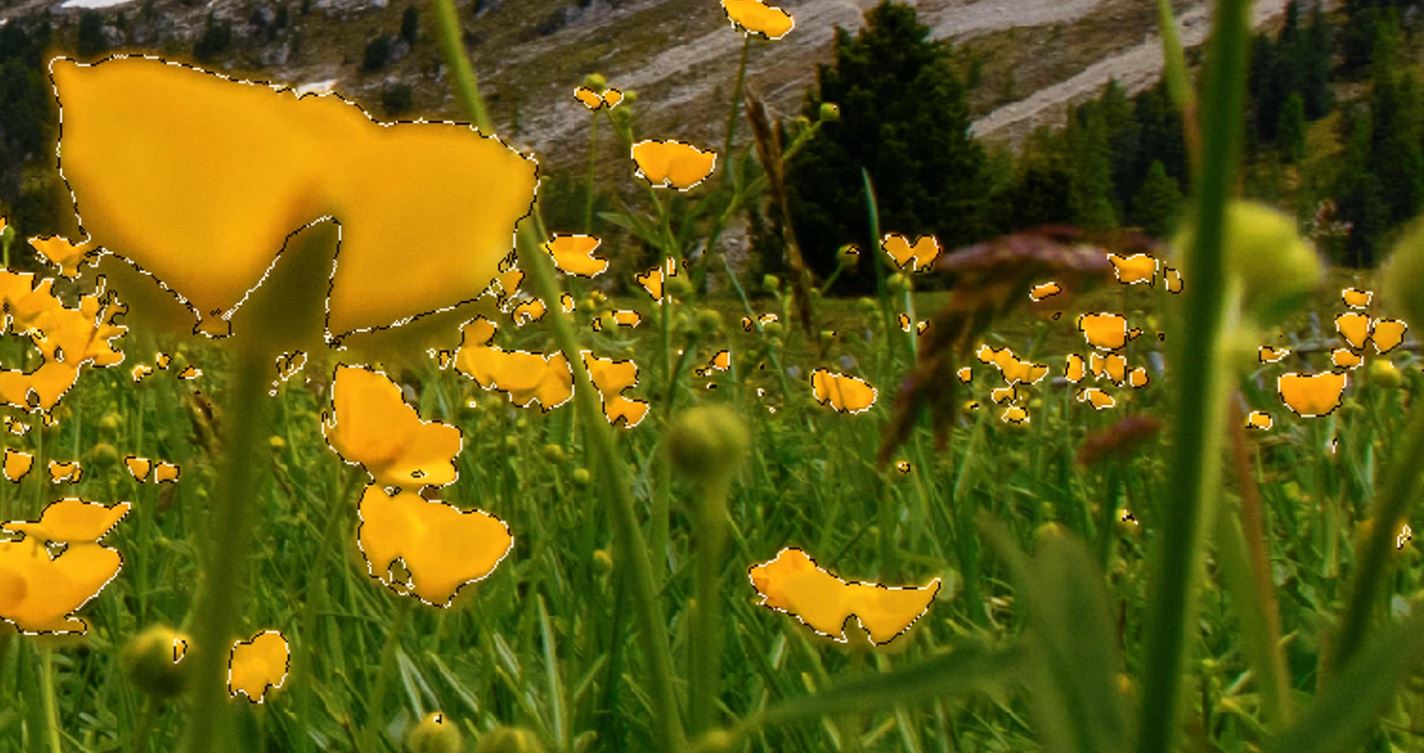
18. Now, click on the add a New Adjustment Layer icon again.

19. This time, select Curves from the various options.
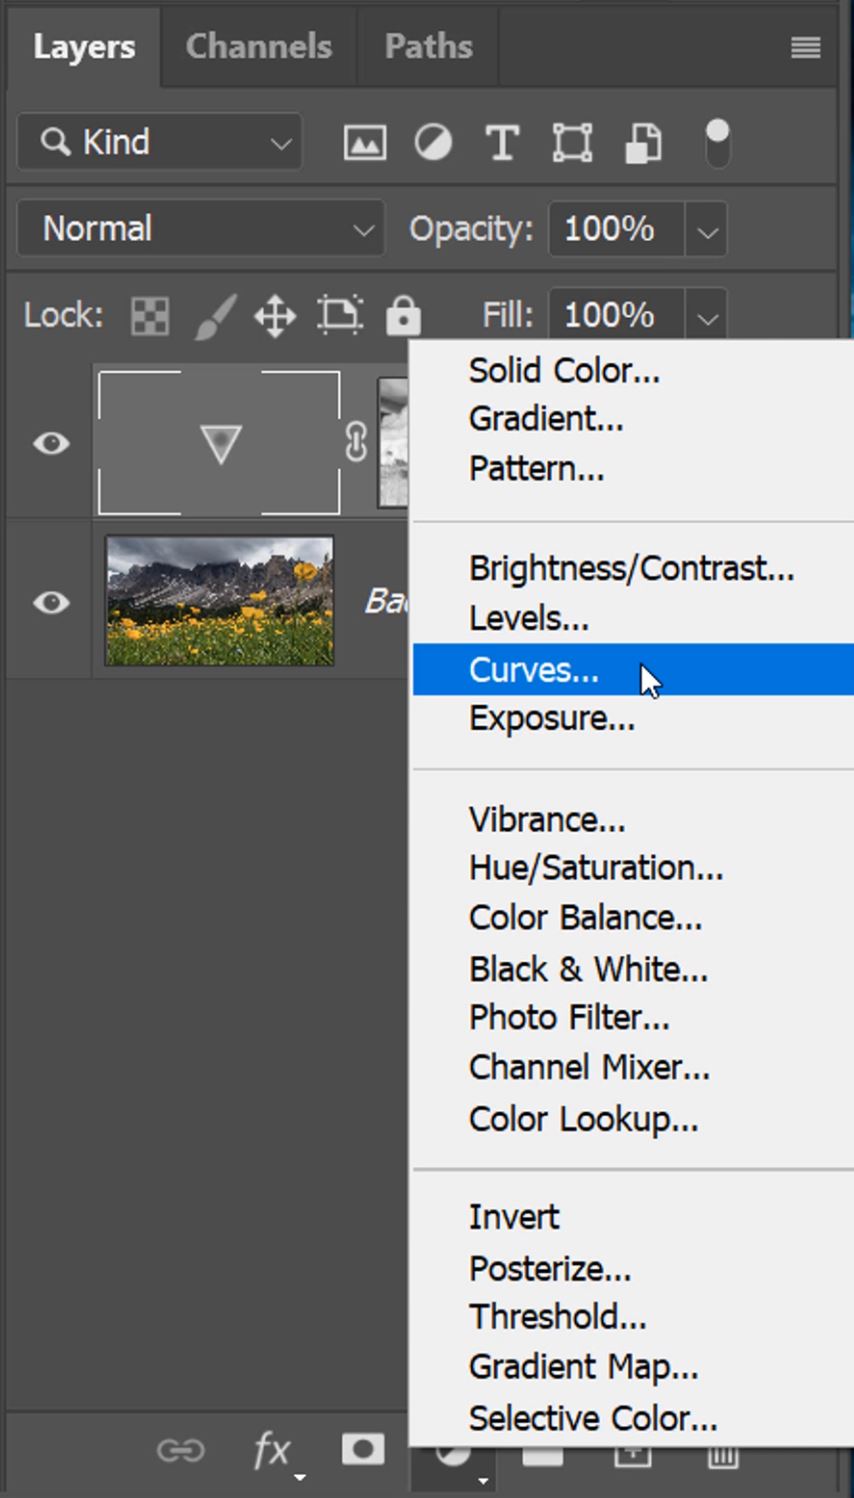
20. A new Curves layer will be created with a Mask applied based on your Color Range selection. Hold down Alt (PC) or Option (Mac) and click on the mask to view it.
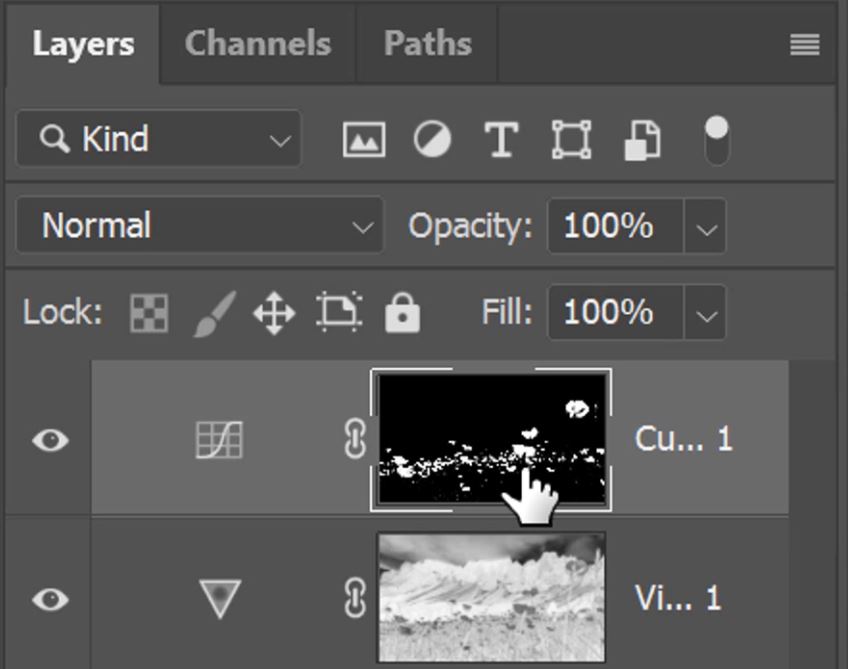
21. Go to the Filter menu and then Blur > Gaussian Blur.

22. Adjust the Radius slider to soften the selection so it remains close to white, but that the edges softly fade away. Click OK when you’re happy with the blur Radius.
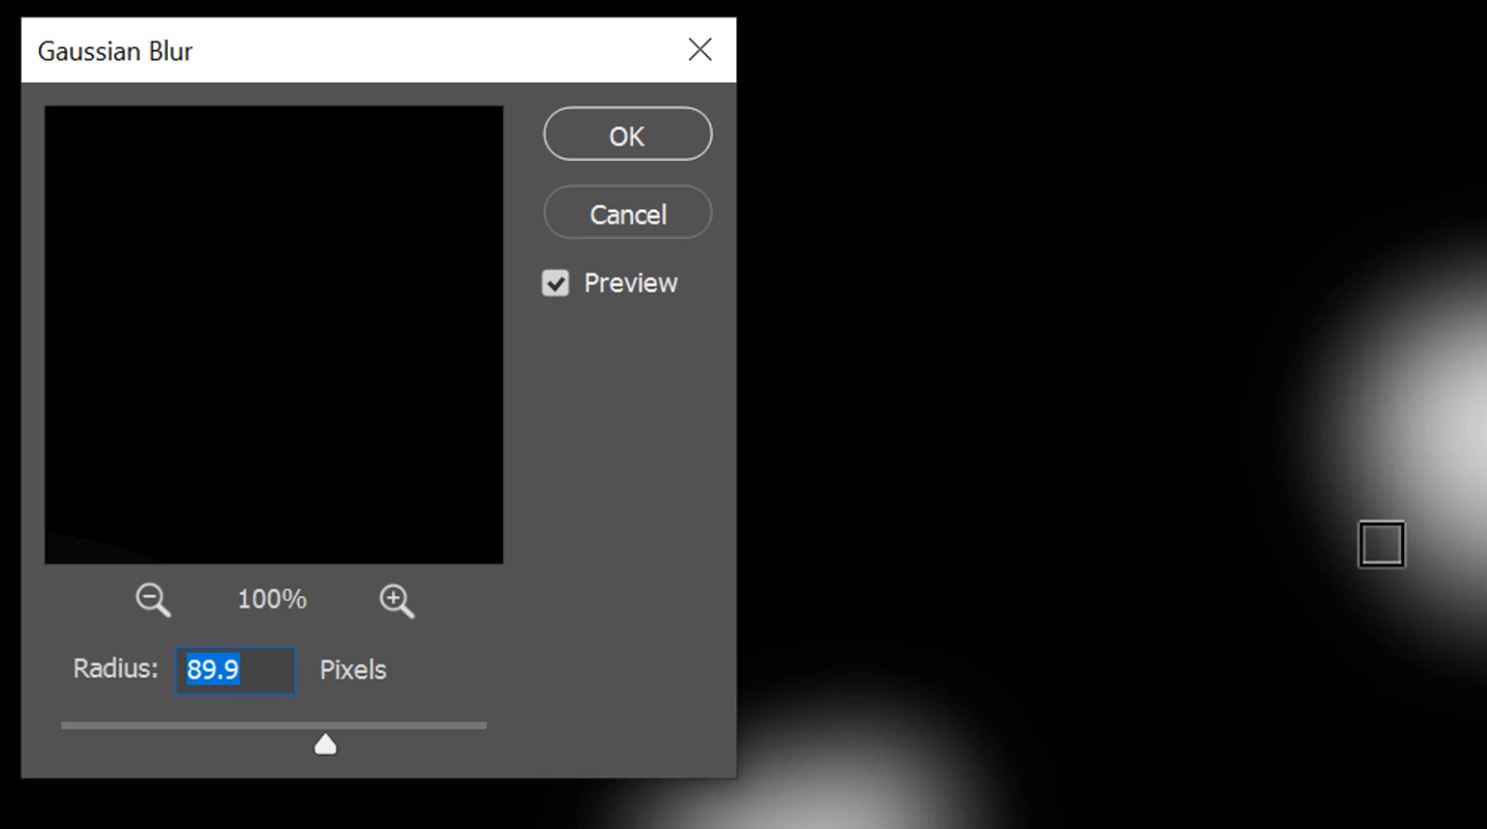
23. Click on the Curves icon in the Layers panel.
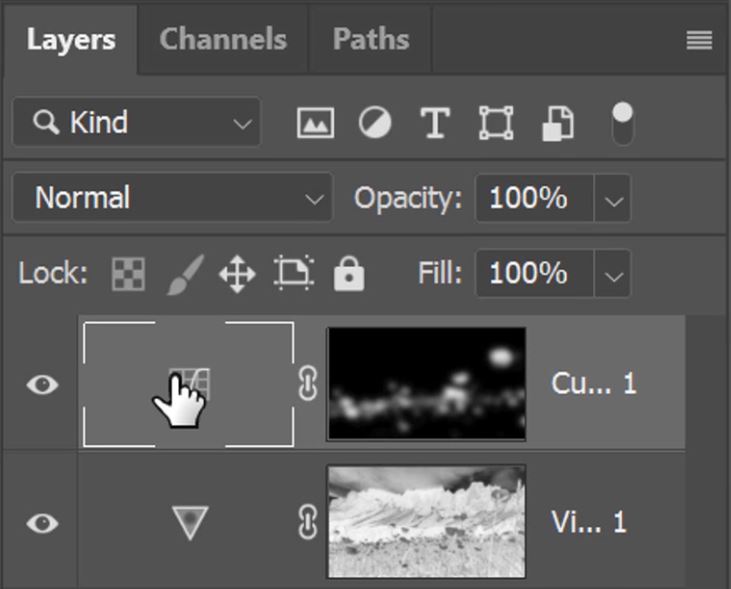
24. Now the final step. In the Curves adjustment Properties panel left-click and hold down the mouse button on the middle of the diagonal line, now drag it upwards to brighten the mid-tones and make colours glow in Photoshop.
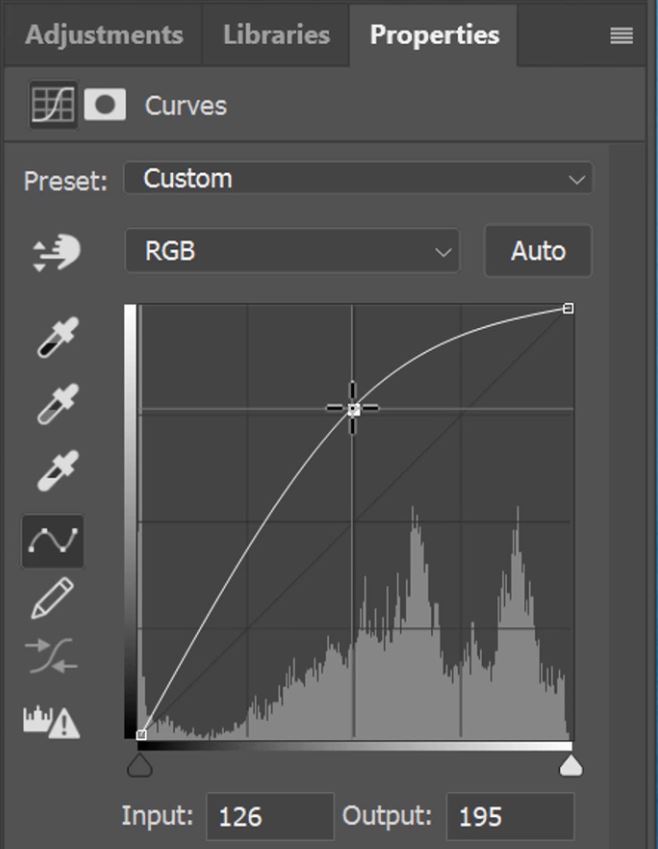
That is how you make colours glow in Photoshop.
TIP: To intensify the glow, select the curves layer and press Crtl+J (PC) or Cmd+J (Mac). Now change the duplicated Curves layer Blending mode to Screen.
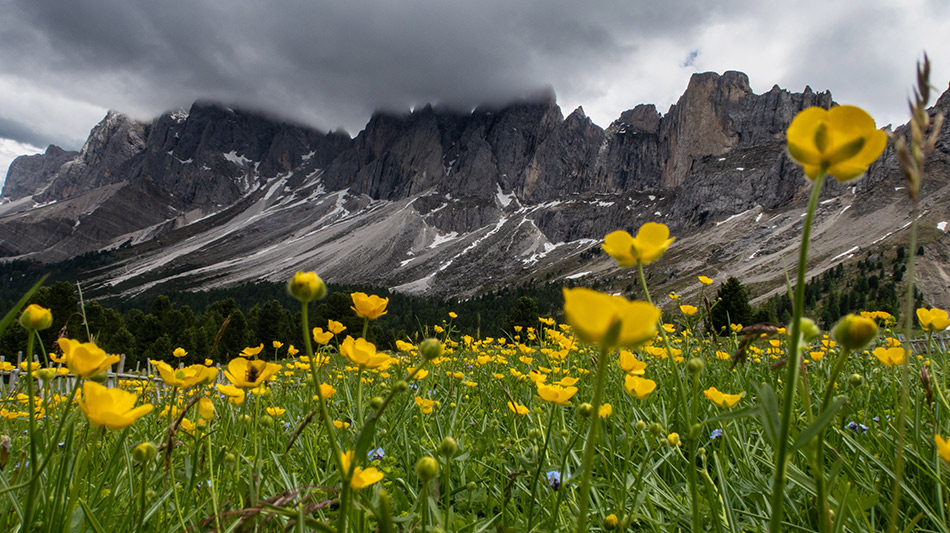
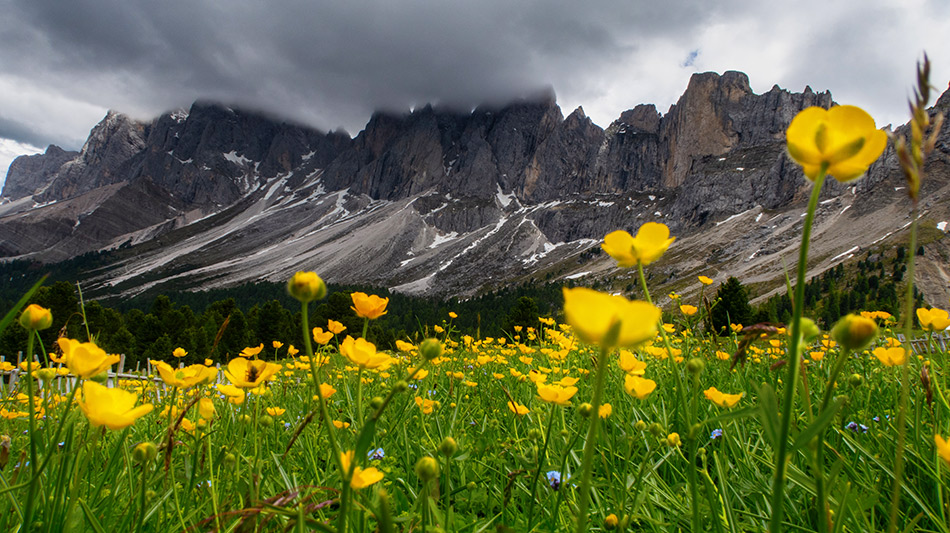
Photo by Flavius Torcea on Unsplash
More articles on Color Glowing in Photoshop
Create a Glow Effect in Photoshop
How to Apply Cyberpunk Style Color Grading & Neon Effects to Your Photos
How To Add A Glow To Photographs In Photoshop
