How To Make It Look Like Winter in Photoshop
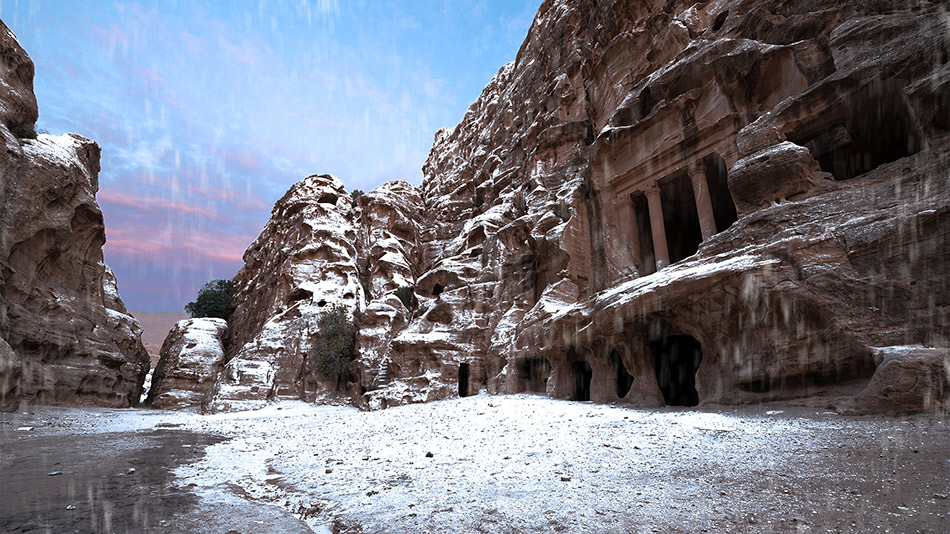
Let’s look at a really quick technique to creating a winter scene from almost any landscape image. The image we have chosen is from Jordan, although it does occasionally snow in Jordan it didn’t on this day. This image also demonstrates how well this technique works, even in the desert. We have added snow to the ground and ledges, as well as some hints of falling snow. If you can’t follow with the video, please see the written step-by-step guide below. I hope you enjoy this 2-minute tutorial on How To Make It Look Like Winter in Photoshop.

Step-By-Step Guide To Making a Winter Scene in Photoshop
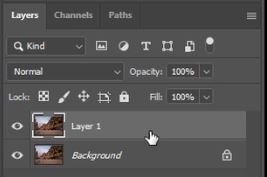
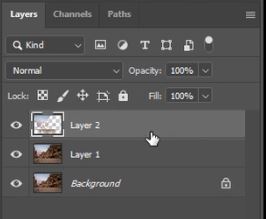
1. The first thing to do is to duplicate our background layer by pressing Ctrl+J or Cmd+J.
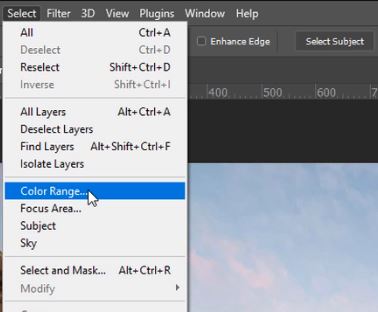
2. Then go to Select > Color Range.
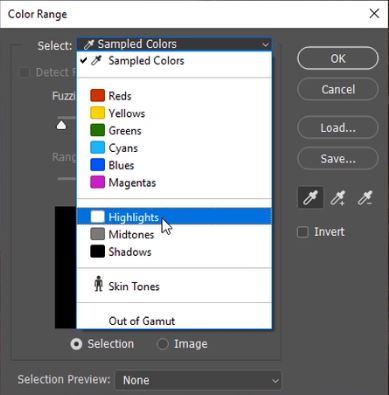
3. Select Highlights from the drop-down list.
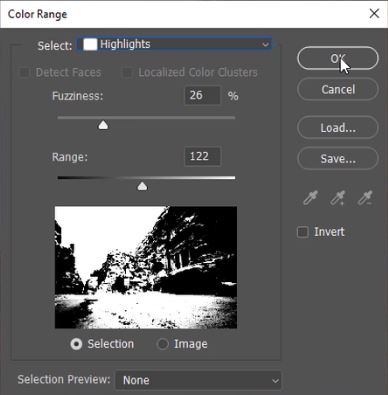
4. Adjust the Fuzziness and Range to select where snow might lay.
5. Duplicate the selection into a new layer by pressing Ctrl+J or Cmd+J.
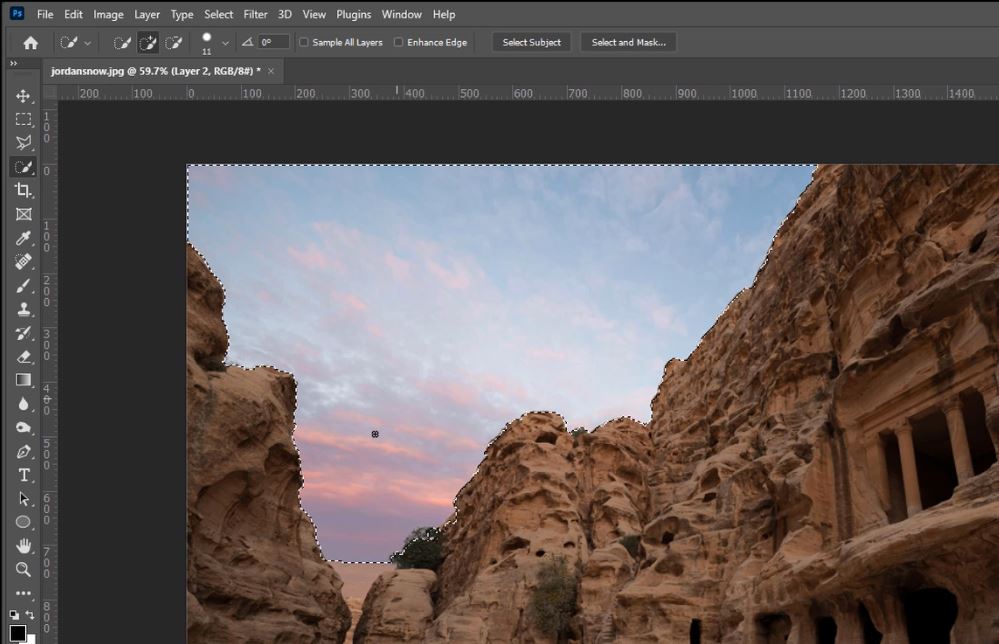
6. Using the Quick Selection tool I’ve made a selection of the sky and pressed Delete to remove it.
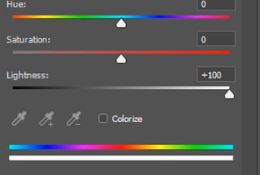
7. Now we add a Hue/Saturation layer.

8. Create a clipping mask.

9. Increase the Lightness to 100.
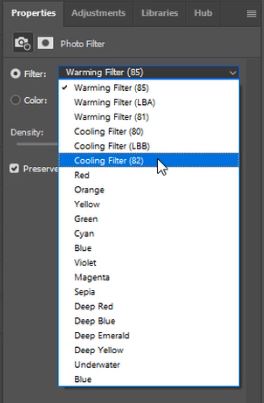
10. To make the scene colder I’ve added a Photo Filter.

11. I chose Cooling Filter (82) from the drop-down list.
12. Add a new layer to make the snowfall.

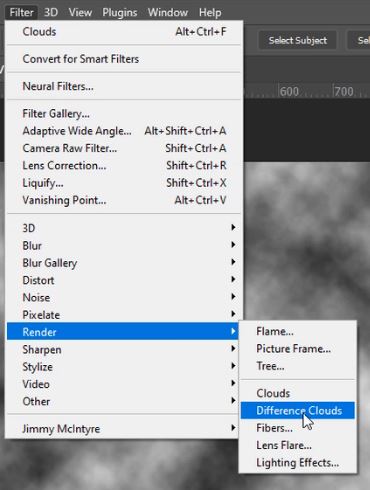
13. Go to Filter > Render > Clouds.

14. Now go to Filter > Render > Difference Clouds.
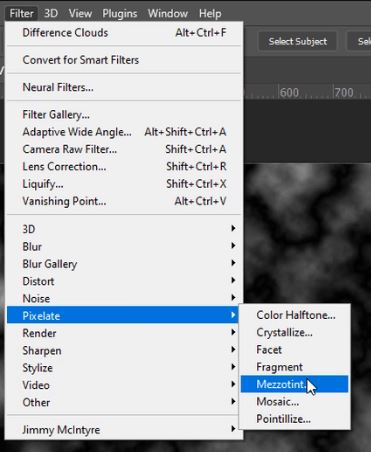
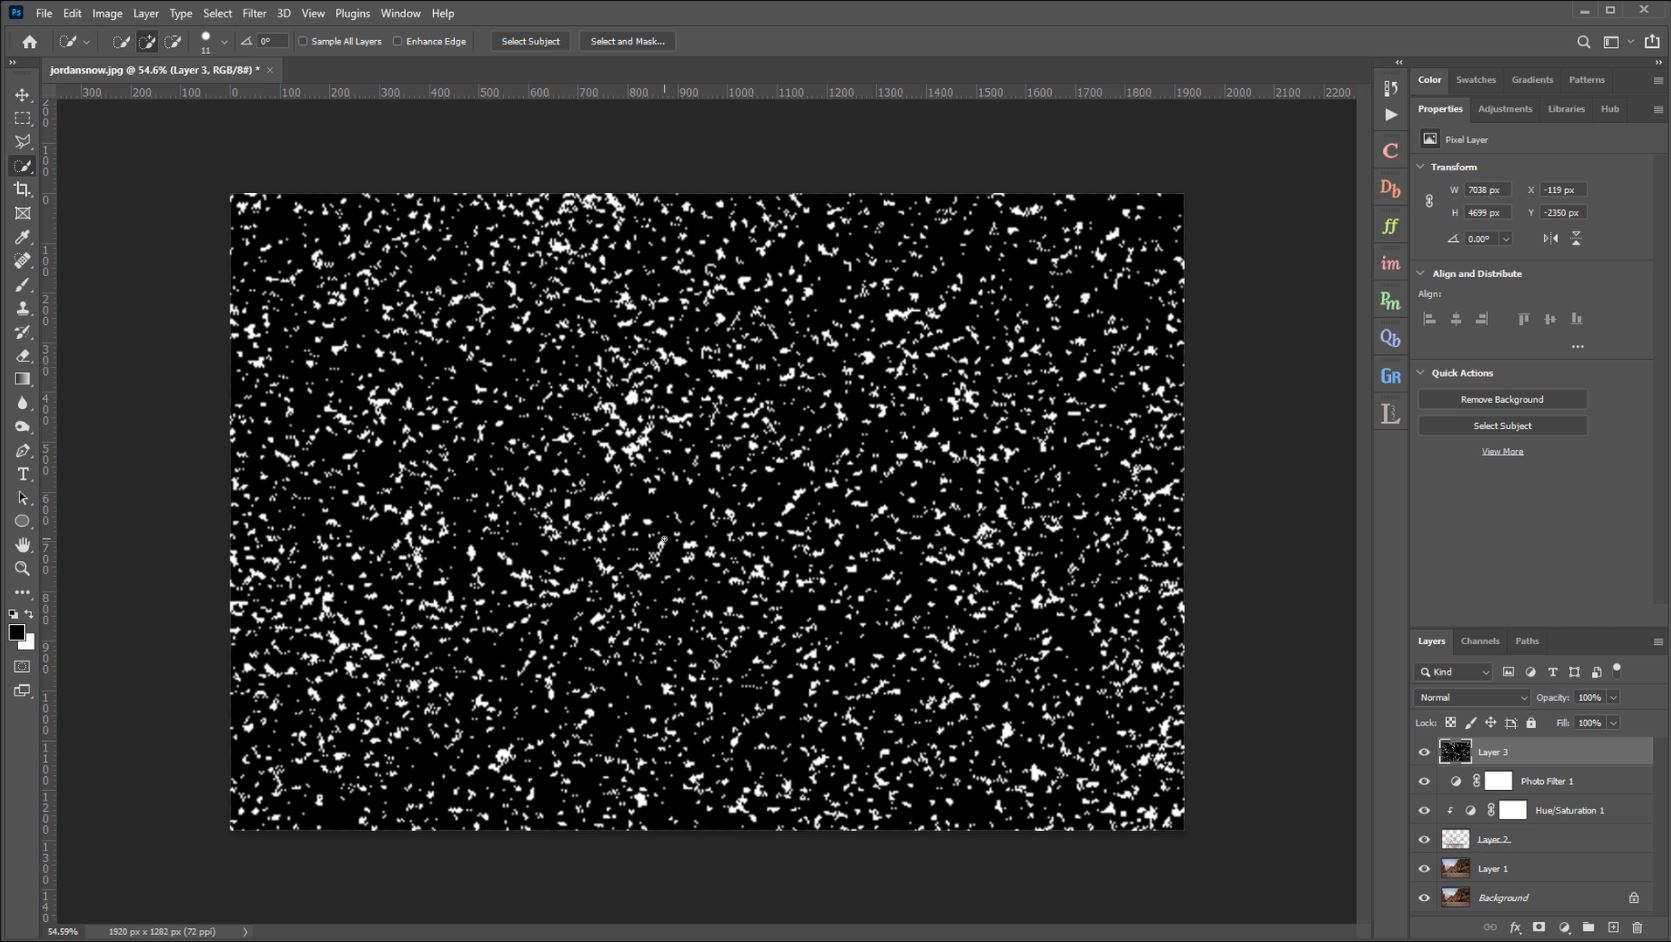
15. Go to Filter > Pixelate > Mezzotint.
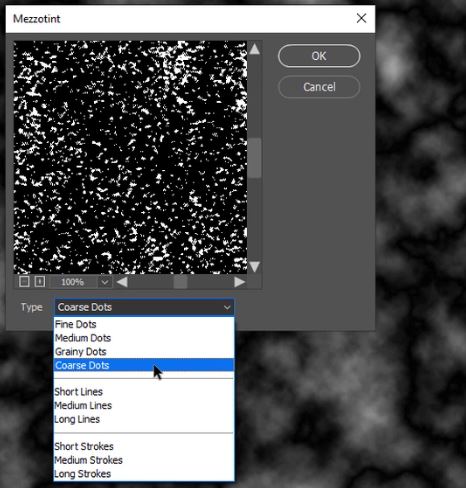
16. Choose Coarse Dots as the Type and click OK.
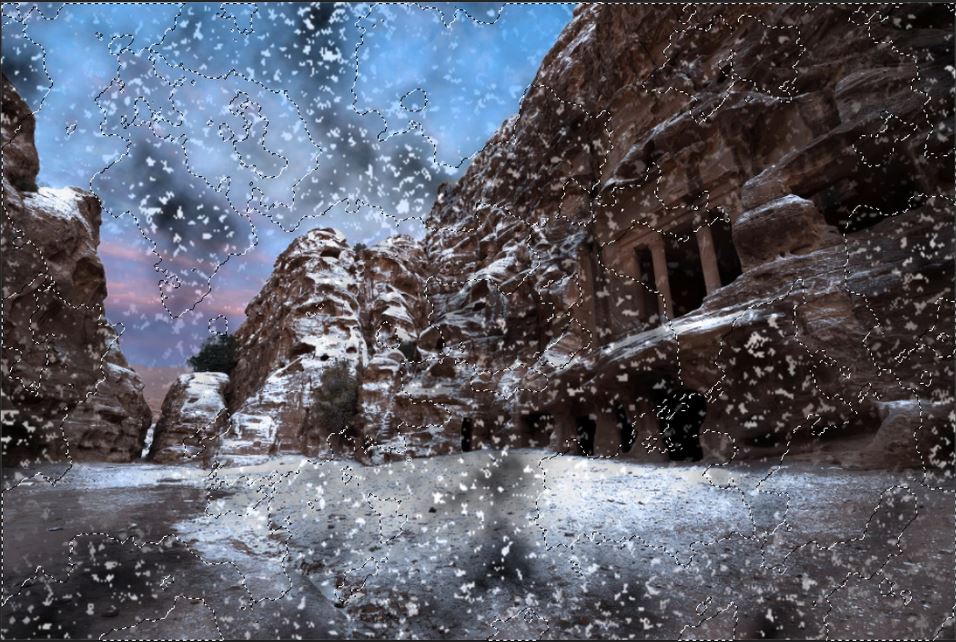
17. Zoom out and hit Ctrl+T or Cmd+T to transform, now expand the layer. I’m looking for an area that’s not too dense with white.
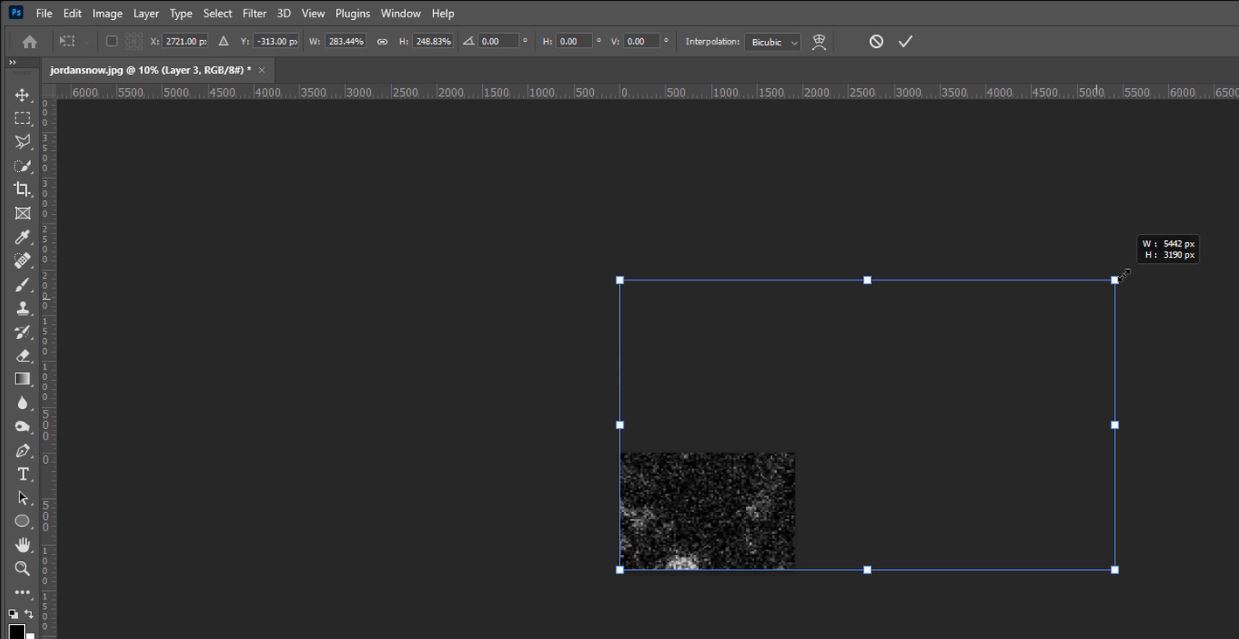
18. This area seems to have a nice even spread and no large white patches. Hit the Enter key to set your transformation.
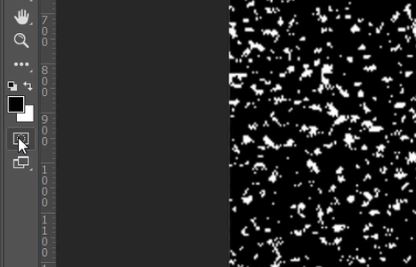
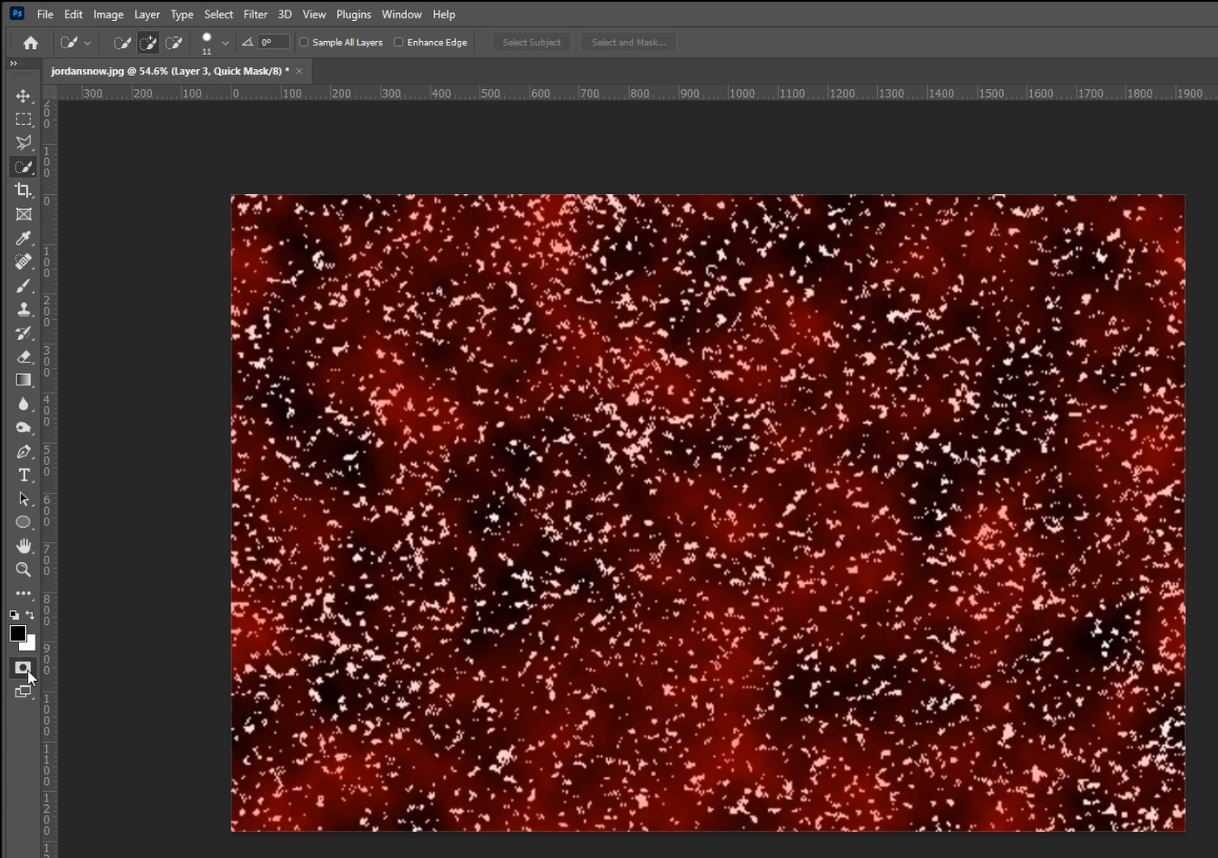
19. Zoom back into the image. To remove some of the snowfall choose the Quick Mask tool or press Q on the keyboard.
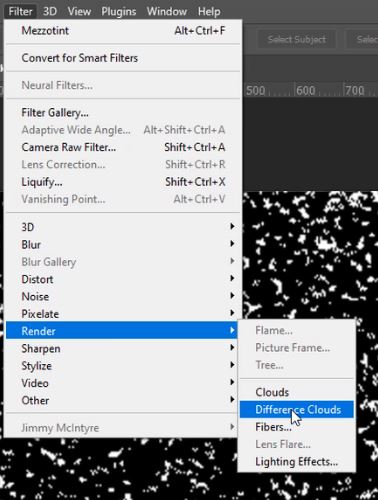
20. Go to Filter > Render > Difference Cloud.
21. Click the Quick Mask icon again or hit Q to exit Quick Mask mode.
22. Press the Delete key two times to delete some of the falling show. Press Ctrl+D or Cmd+D to deactivate your selection.
23. Set the Blend Mode to Screen.

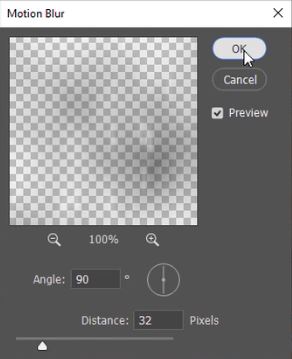
24. Go to Filter > Blur > Motion Blur.

25. Set the Angle to the direction that you want the snow to be falling in and change the distance if needed.
I think this is a really effective technique for creating a winter scene in Photoshop.
Take a look at our before & after images.
[compare]

[/compare]
More About Light Rays in Photoshop
How To Add Falling Snow To Your Photos With Photoshop
Creating a Snow Scene in Photoshop
Make it Snow with Pure Photoshop Actions Winter Wonderland Set
How To Change a Photo from Summer to Winter in Photoshop
Thank you for reading this article, be sure to sign up for our newsletter for more tutorials and great offers.

Enter your email below and join our community of more than 100,000 photographers who have
- Subscribed to our newsletter.
- Downloaded our FREE Photoshop Course.
- Use our FREE Easy panel in Photoshop.
Also you can now download our Photoshop course for beginners for FREE, click HERE.
FREE Photoshop Course

The Art Of Photography

Raya Pro
