How to make vibrant cityscapes in Photoshop
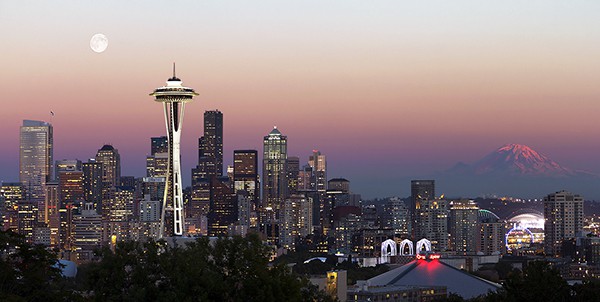
Cityscape photography is my true passion. I love landscapes, too, but there’s a special energy in cities that really excites my imagination. Most of the time I shoot at night or during blue hour. When those city lights come on, the whole dynamic of the scene changes. But, as photographers, we lovvvvve golden hour – that moment of beautiful light right before those city lights go on. There is, however, a way to make your golden hour cityscapes more exciting by combining the beautiful natural light with the vibrancy of city lights. This tutorial will show you how to make vibrant cityscapes.
You can see the final image above, but let’s have a look at the original images. By the way, scroll down to the bottom of this post to see this tutorial in video format.
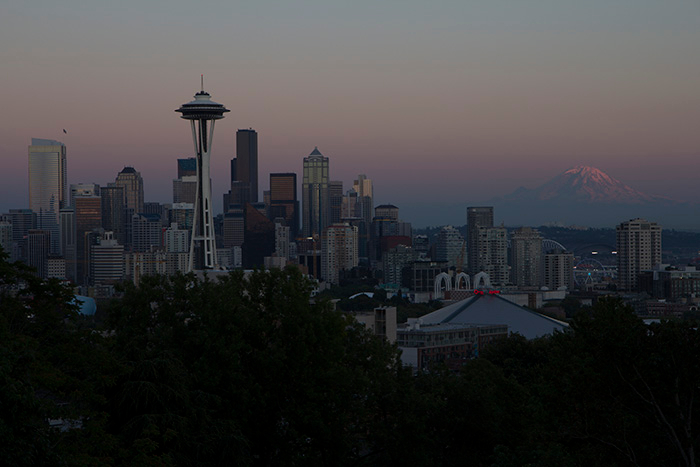
Cityscape at golden hour
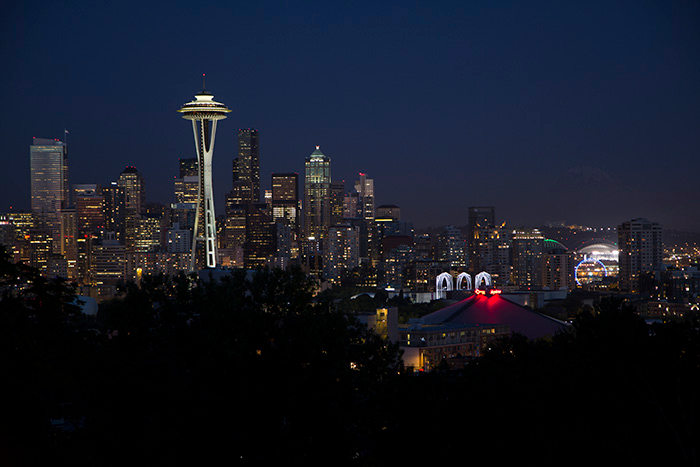
Cityscape at blue hour with city lights
Preparation:
While the processing for this may not take long, shooting it may take more than an hour, depending on the situation.
Choose your composition carefully. Have a steady tripod. Bring a shutter release cable so you don’t have to touch the camera too much. Take various shots during golden hour and blue hour because it’s sometimes hard to know which combination of images will work best. You can change your settings between shots, depending on light and equipment.
How to make vibrant cityscapes in Photoshop:
1. Drag both images into PS. They will open up in separate panes. Drag the blur hour shot onto the golden hour one.
2. Click on the blue hour layer, then press CTRL and left mouse button on the background layer so that they are both selected.
3. Go to Edit>Auto-Align Layers to make sure they are aligned correctly.
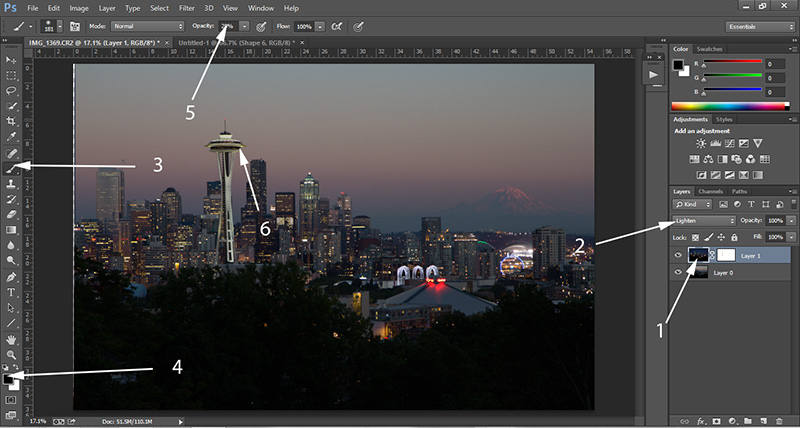
4. Go to the Layers panel and select the blur hour shot. Go to where it says Normal, just above and open up the drop down menu. These are blend modes. Go down and choose Lighten. You’ll see the blue hour shot disappear, while leaving the city lights visible. Almost done!
5. For this image the Space Needle looked a bit superimposed. I created a mask, chose black as my background colour, set the brush opacity to 28% and painted out some of the space needle.
6. Finished.
Here’s a visual representation of the process:
