How To Remove Lens Dirt In Photoshop
Our camera equipment is expensive right? so naturally we like to take care of our gear. Keeping our filters and lenses clean and tidy, undoubtedly give us better results as photographers. Having dirt or dust on our lenses or filters can cause a number of problems when trying to capture a scene. When I say dirt, it doesn’t have to physically be a particle of earth. Lens dirt can be categorized in a few different ways. In the tutorial below we’ll look at the most common forms of lens dirt and how to avoid it, and we’ll also show you How to Remove Lens Dirt in Photoshop.

If you wish to experiment with this, I would really appreciate it if you included my name (Duke McIntyre) and www.shutterevolve.com when you publish your image. If you post your published image on our Facebook page I’d be happy to check it out.
What is Lens Dirt
The term lens dirt is a general term referring to anything the can cause obscurity or image degradation to an image by soiling the camera lens or filter. Lens dirt can be physical dirt or dust. It can also be water droplets or smears. These are the most common forms of lens dirt. All of which will affect the image that you can capture. For example;
Dirt or Dust cause dark spots on your image. To remove this I would recommend you use an air blower.
Droplets or Rain distort your image, as the light from the scene passed through the water it becomes distorted. Use a microfibre cloth to wipe in a circular motion from the centre outwards.
Smears from oils and fingers can be nasty. They will almost certainly make parts of your image blurry. To remove them use a couple of drops of lens cleaner fluid and wipe gently several times, removing the smear gradually. Be sure not to wipe too hard as you could remove the protective coating on your lens.
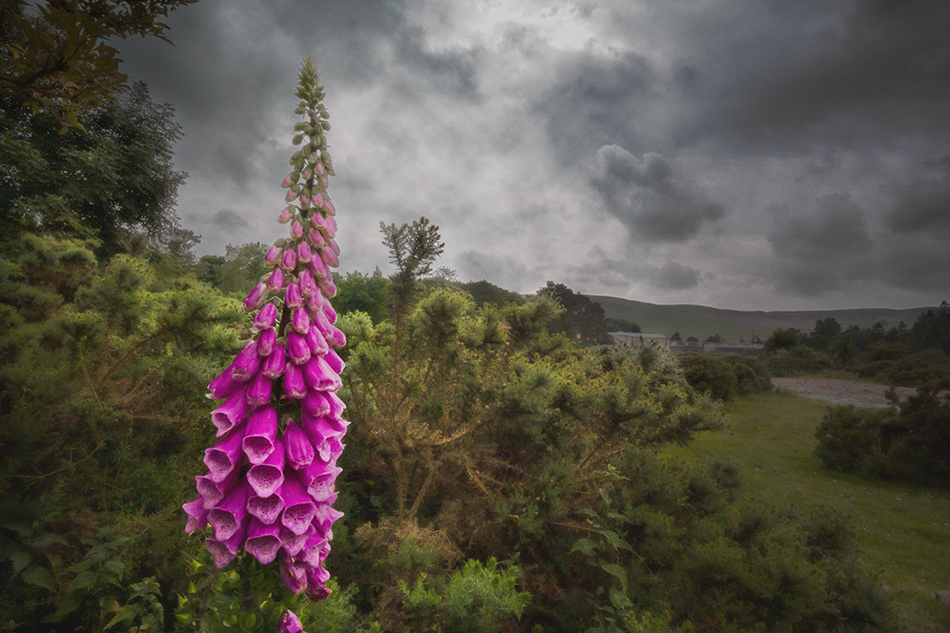
In the image I used for this tutorial, I had previously been in a near by river capturing the water cascading over some boulders. When I was knee-high in the river it started to rain so I left the water. The river bank were rocky, dry and dusty, some of the dirt in the air must have latched on to the water. Retreating to the car I cleaned off as much of the water from my filter as I could, not giving a moments thought to the dust particles. As a result, when reviewing the images I found a ton of lens dirt, fortunately, it was easy enough for me to remove in photoshop.
-Tutorial Continued Below-
Enter your email below and join our community of more than 100,000 photographers who receive regular tutorials and have also

Subscribed to our newsletter,
Downloaded our FREE Photoshop Course
Got our FREE Easy Panel for Photoshop
And have our FREE Essential Guide To Luminosity Masks E-Book
How To Remove Lens Dirt In Photoshop
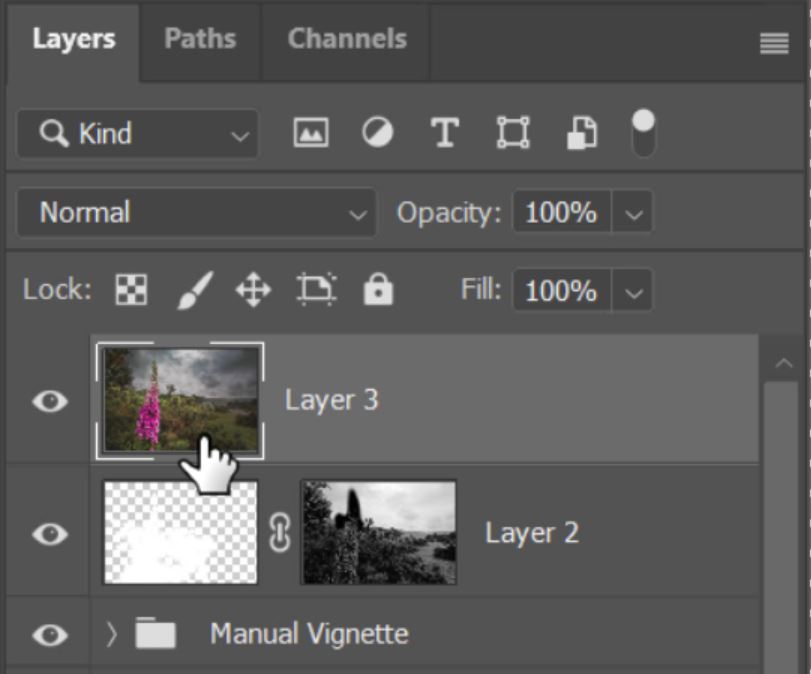
1. Select the top layer. Dirt or dust removal should be one of the last processes in your workflow.
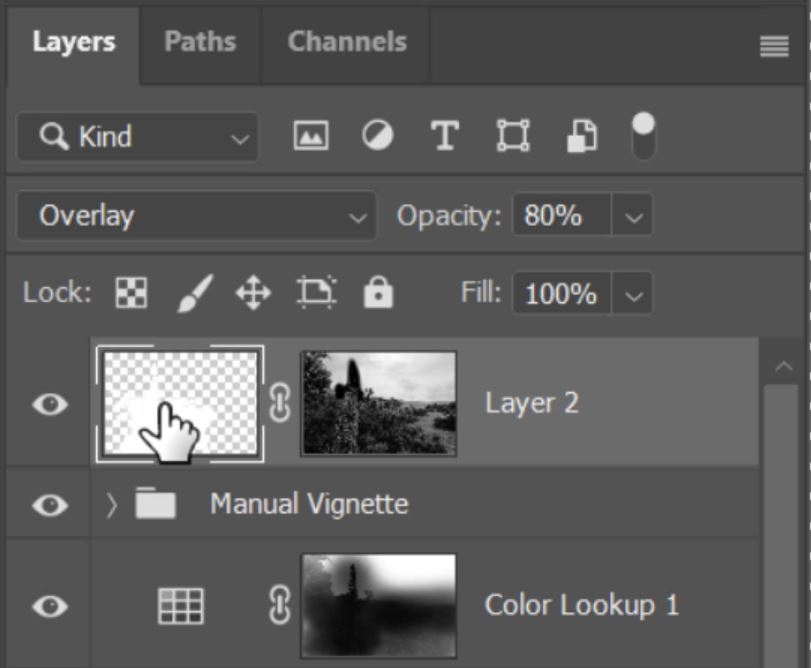
2. Press Ctrl+Alt+Shift+E (PC) or Cmd+Opt+Shift+E (Mac) to make a copy of all layers and merge them to make a flattened layer from all visible layers.
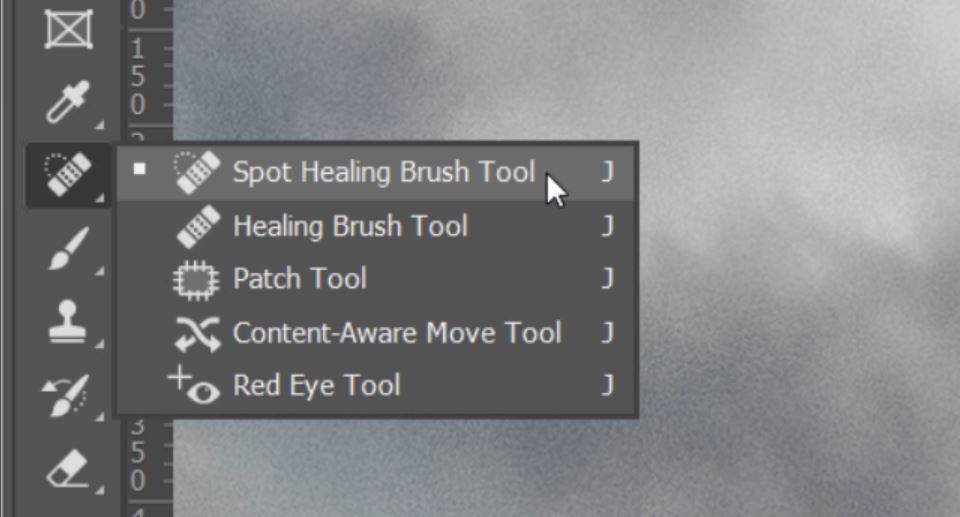
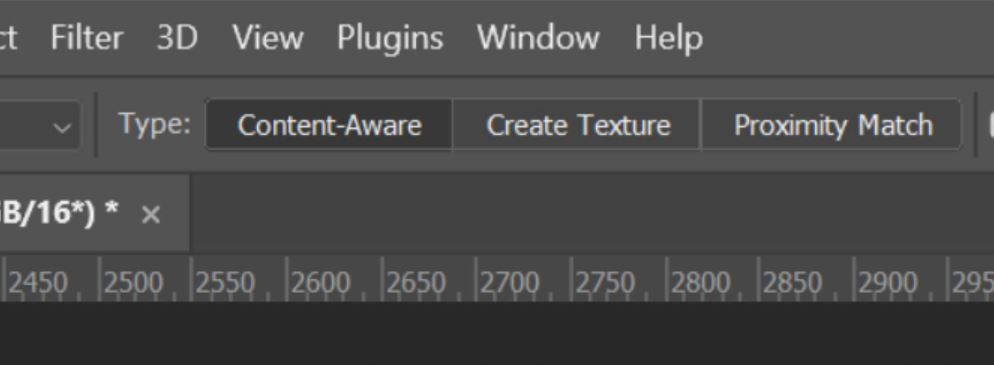
3. Now select the Spot Healing Brush Tool. If you can’t see it, right-click on the icon that you see between the Eyedropper Tool and the Brush tool to reveal the various tools. You should then see the Spot Healing Brush Tool, left-click on it.
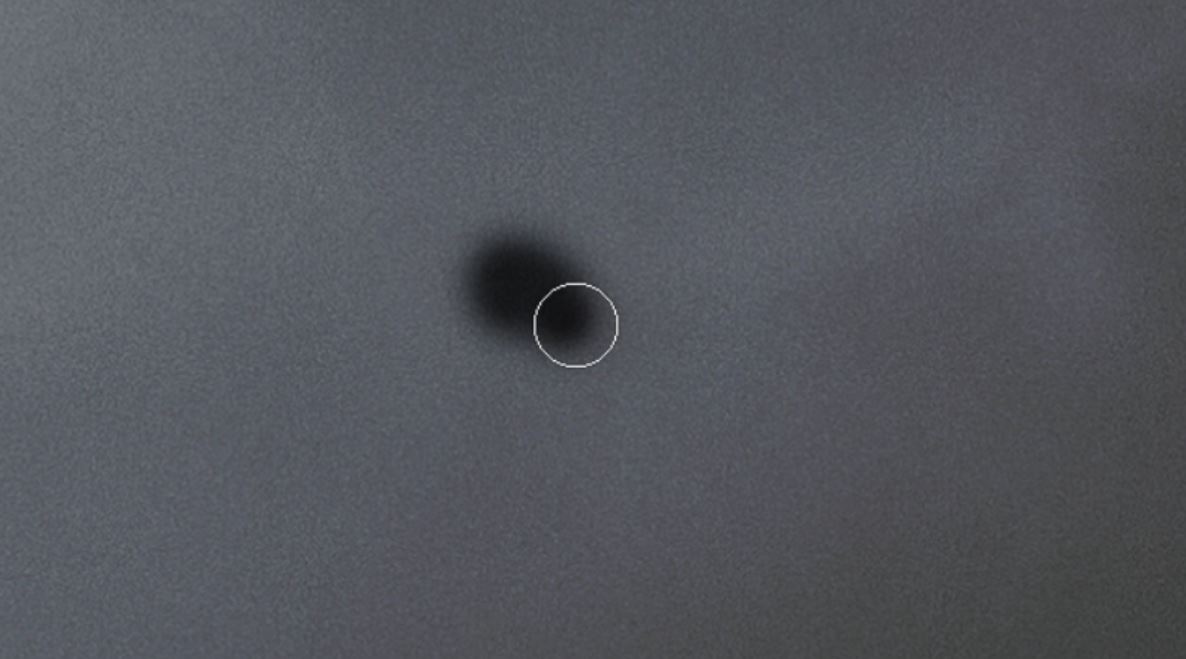
4. Hold down the Alt key (PC) or Opt key (Mac) and hold down the right mouse button then drag the cursor left to reduce the brush size, or right to increase the brush size.

5. Make sure the brush is just big enough so that the cover the dust particles. In this case, a brush that was 57px was perfect to cover the dirt spots and give a nice feathered edge.
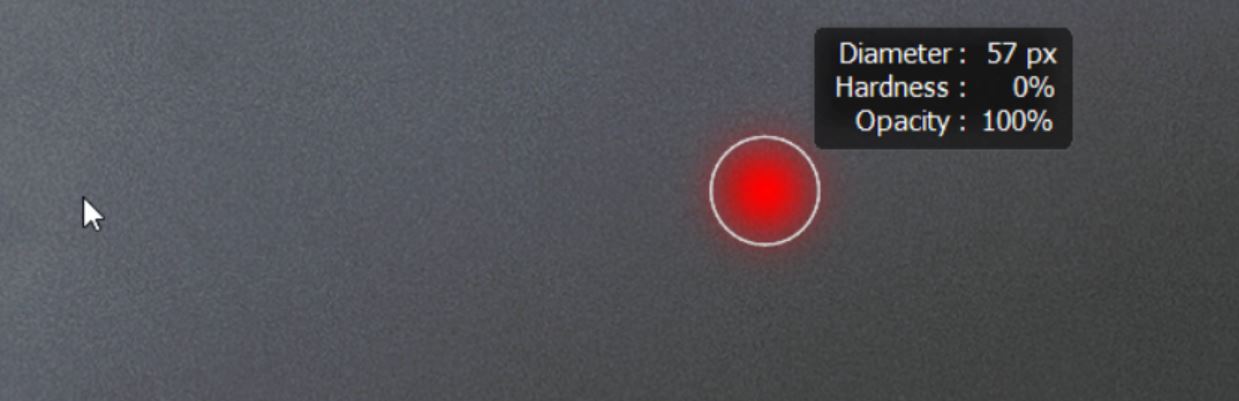
6. NOTE: Also ensure the Brush has 0% Hardness. You can do this by holding down the Alt key (PC) or Opt key (Mac) and hold down the right mouse button then drag the cursor up to reduce the brush hardness to 0%.
7. ANOTHER NOTE. Ensure that Content-Aware is selected in the Healing Brush Tool settings.
8. Now all you need to do is press you left mouse over a dirt spot and paint over it to remove lens dirt in Photoshop.
9. Paint over all of the dust spots that you can find.
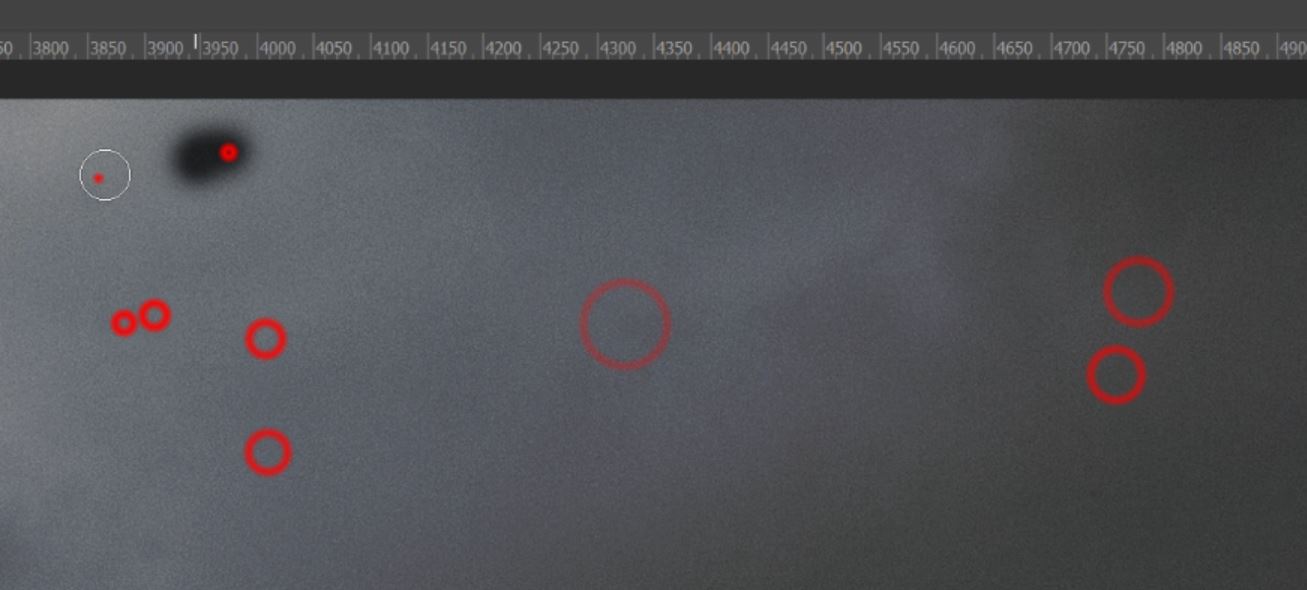
10. Some dust spots are harder to find than others. Like this one in the foreground that I missed while recording the video tutorial.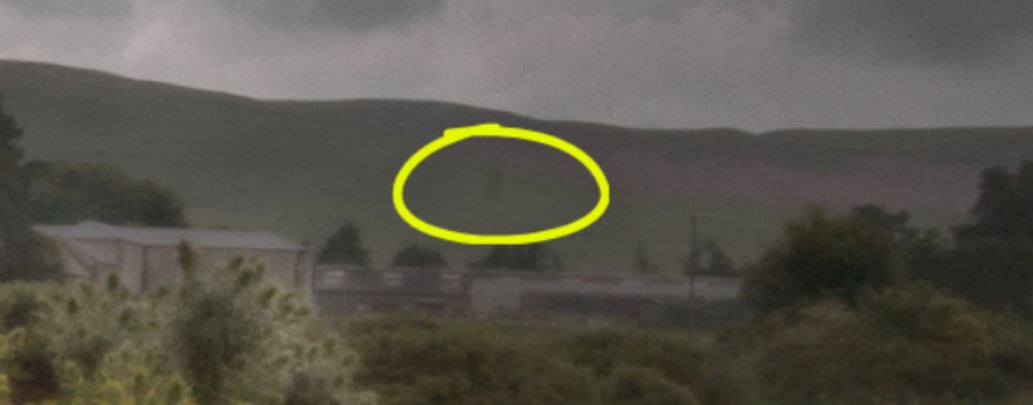
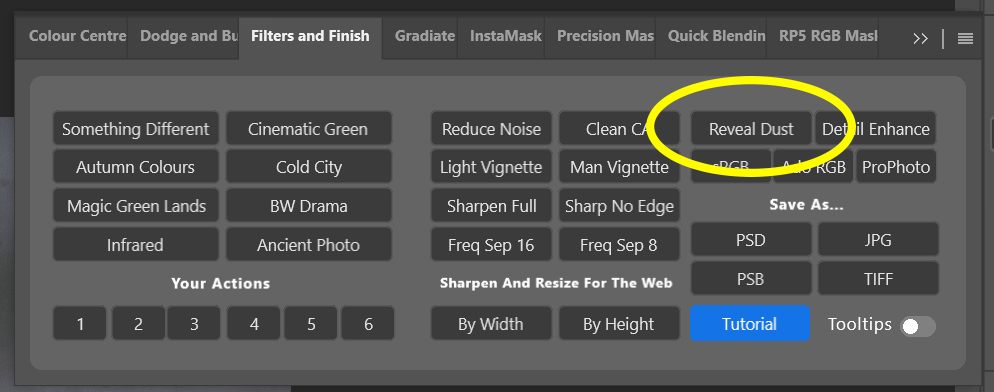
11. Fortunately for some of us, Raya Pro has a built-in feature to help find and reveal sensor dust with just one click of a button. You can find the Reveal Dust button in the Filters and Finish panel.

Editor’s Choice plugin on Adobe marketplace

Raya Pro, the most rated plugin on Adobe Marketplace.
Take a look at the before and after images.
[compare]

[/compare]
Photo by Duke McIntyre