Easy Exposure Blending Photoshop Secret

In the third episode of our Photoshop Secrets tutorials, we look at a very easy method for blending exposures in Photoshop, thus avoiding HDR programs which may leave us with less natural imagery.
The process we look at in the video is masking selections using the Color Range tool, and we look at two different ways to make this work for our exposure blending needs. As always, I hope you enjoy the video.
What does exposure blending give us?
In one word, Balance. Often it’s very hard to get a good balance of exposure without having areas of your image underexposed or overexposed. By blending images from different exposures, we can bring a healthy balance and add a lovely soft tone to the finished photo. Unlike in HDR processing, which will often add surreality and can ruin a good image. Exposure blending is a much better option, which brings a natural feel to your images which is much more pleasing to the eye.
Step by Step Guide: Exposure Blending using the Colour Range tool.
1. With two exposure layers stacked. Go to Select>Colour Range.

2. In our example, we want to effect highlights. So in the ‘Select’ field, we have selected Highlights. Depending on what you are wanting to blend you might need to choose a different option. There is nothing wrong with cycling through the options to see what they offer.
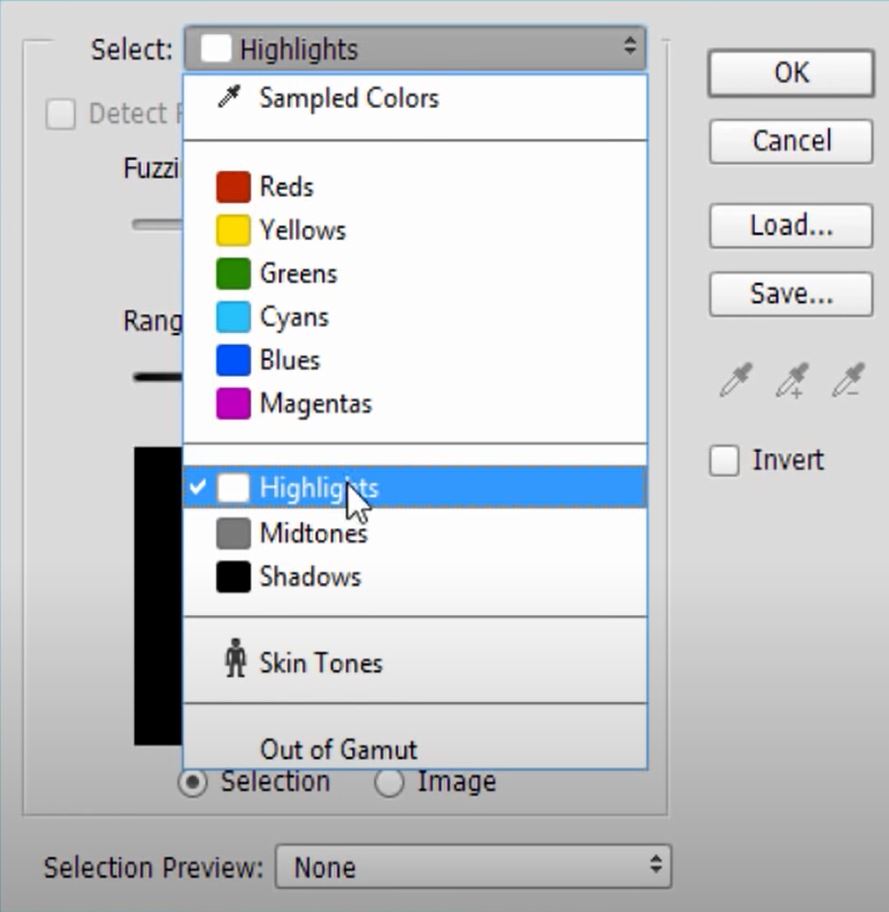
3. Adjust the Range and Fuzziness if needed to make your selection.

4. To see your selection more clearly select Grayscale in the ‘selection preview’ field. Remember whatever appears closest to white is what you will be selecting and will be affected most.

5. Once you’re happy with your selection press OK.
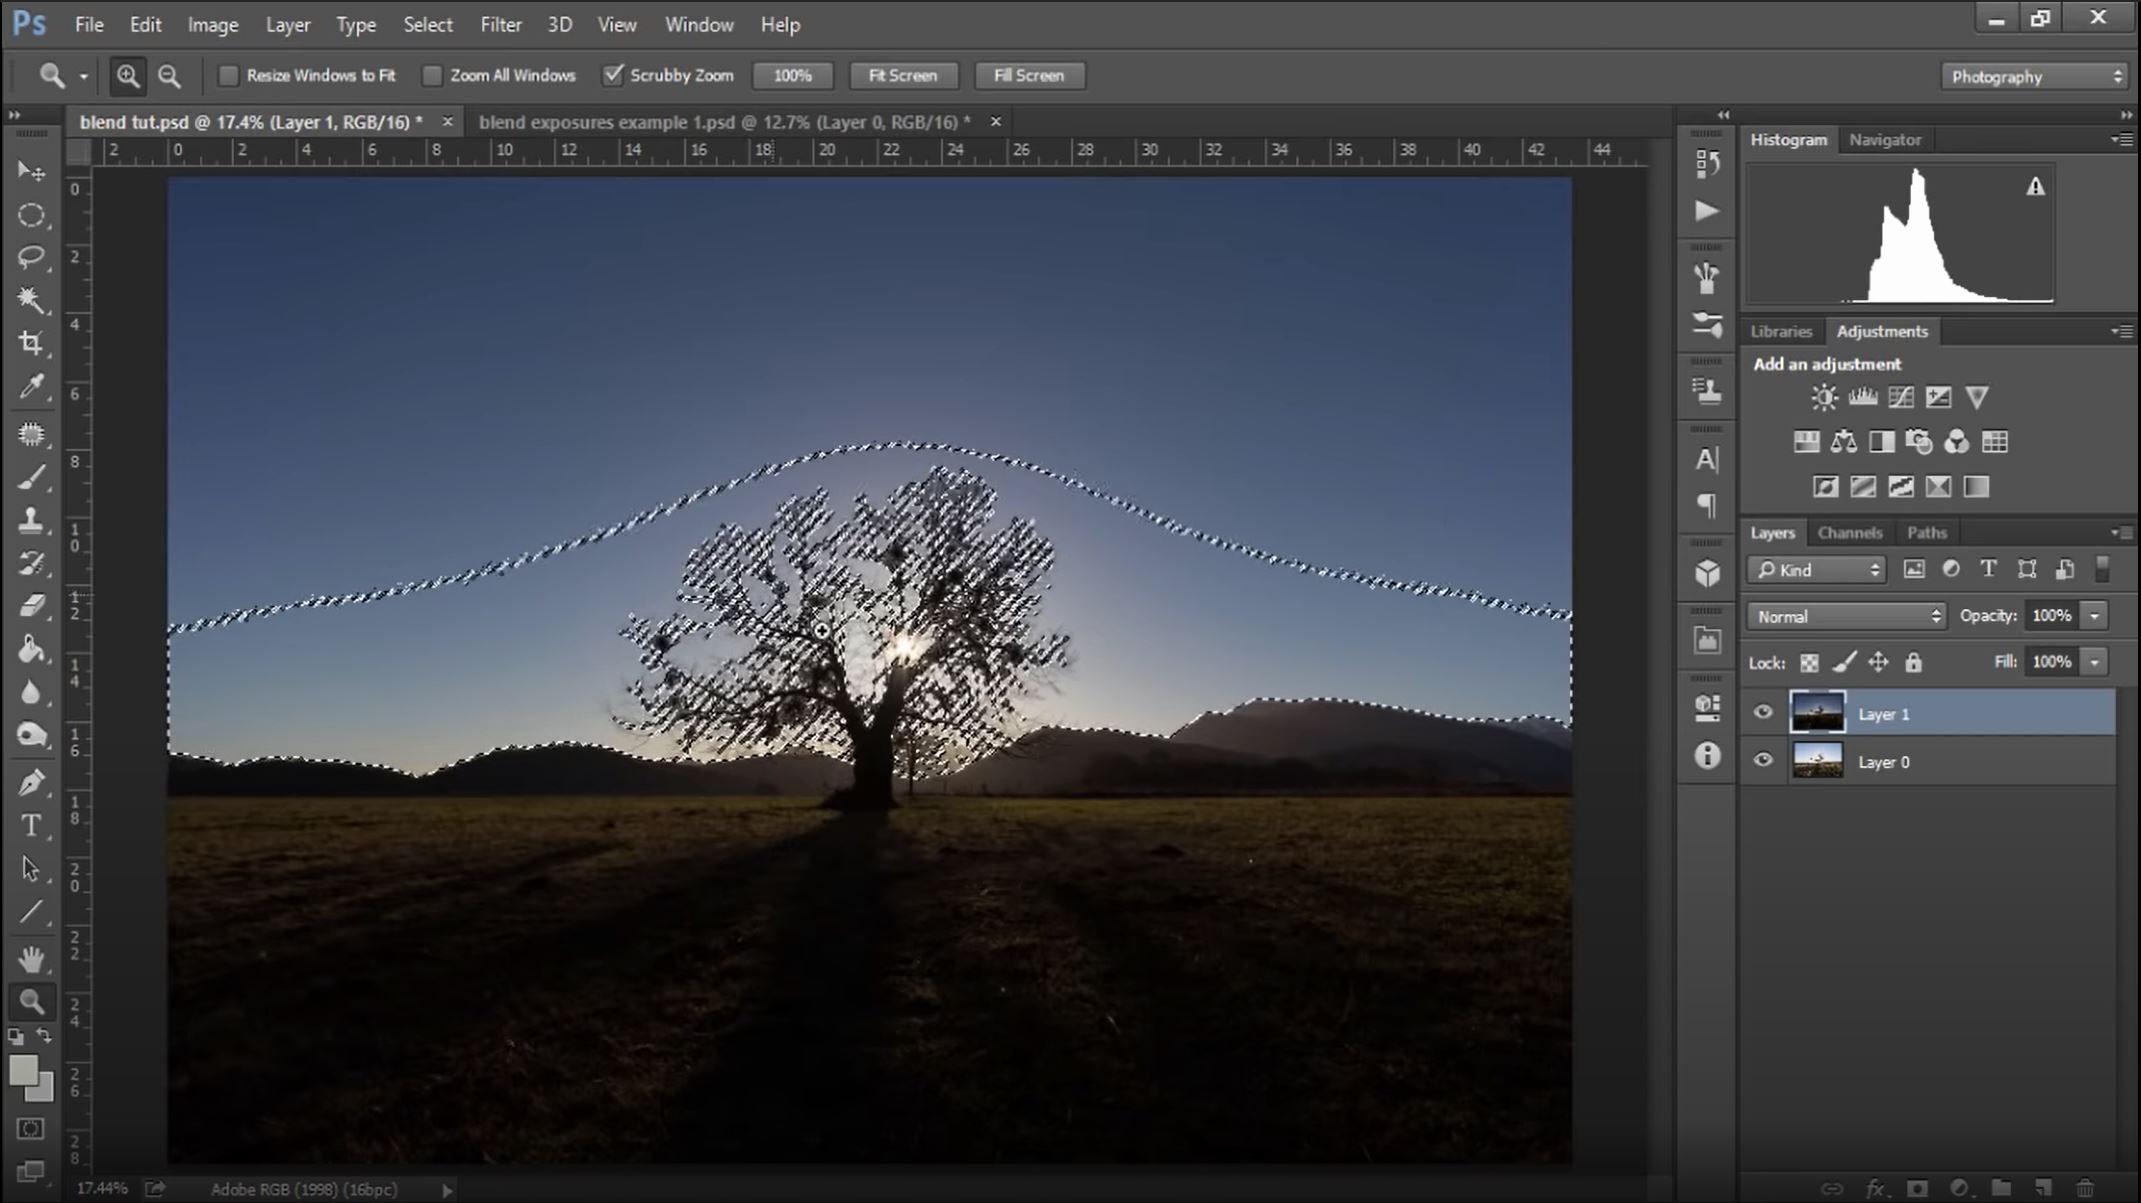
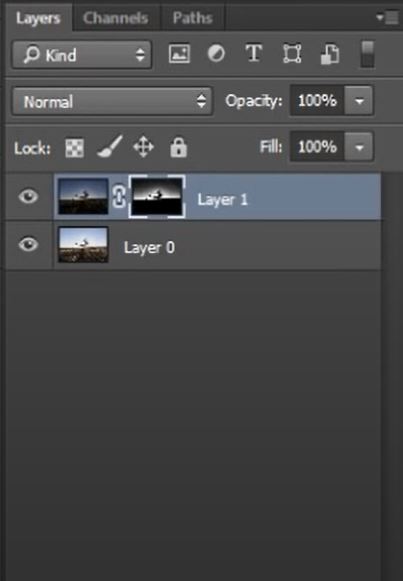
6. With your selection highlighted with marching ants add a mask to the layer that you want to blend from.
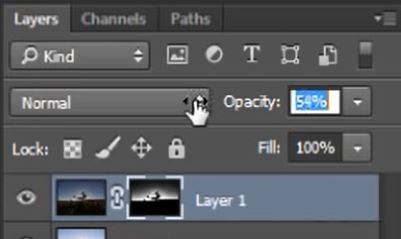
7. If you blend needs to be more subtle you can reduce the opacity to reduce the effect.
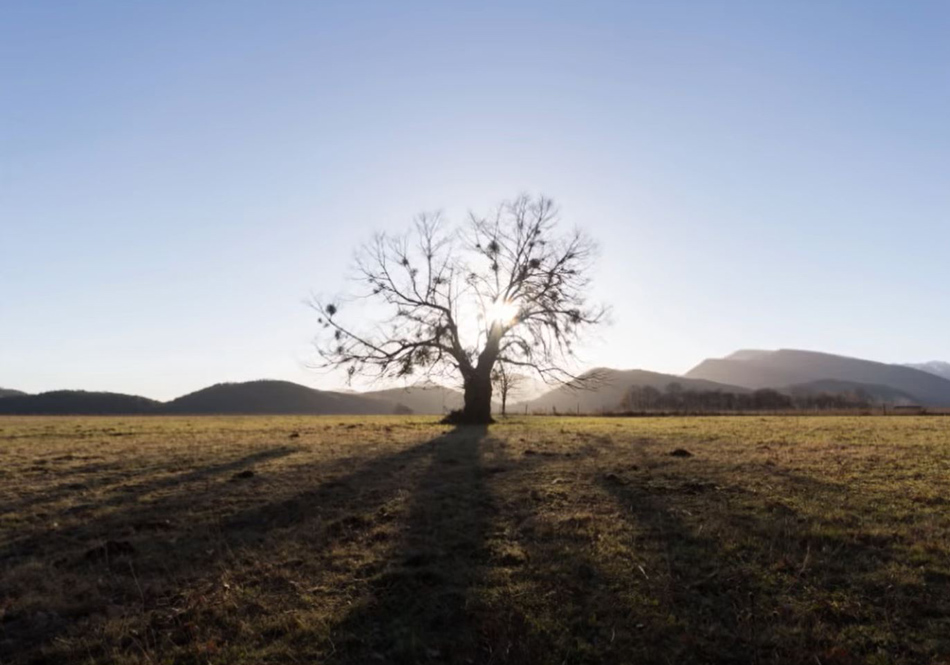
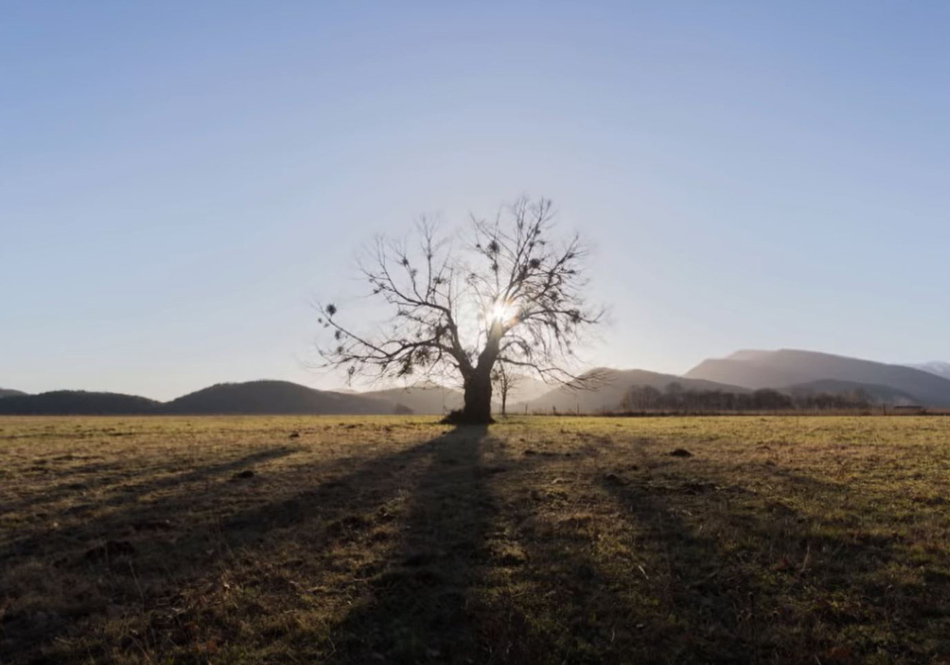
Let’s take a look at the before and after Exposure Blending.
[compare]
[/compare]
Enter your email below and join our community of more than 100,000 photographers who have also
Subscribed to our newsletter.
Downloaded our FREE Photoshop Course.
Got our FREE Easy Panel for Photoshop.
And, have our FREE Essential Guide To Luminosity Masks E-Book.
To go directly to any of our products, simply click on the image below.


