
Quick Photoshop Secrets 5: How To Create Stronger Sunrises and Sunsets in Photoshop
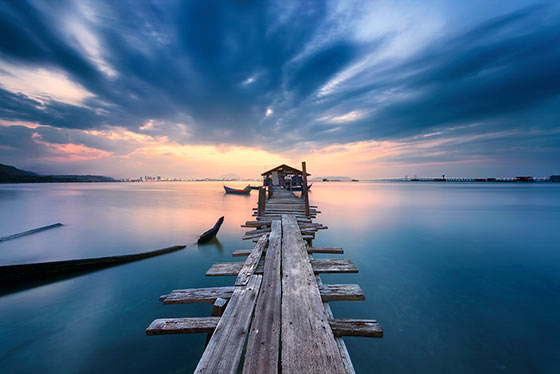
We all know the importance of capturing a compelling golden hour image. There are many ways to enhance a sunrise and sunset shot in Photoshop, but this quick and easy technique, for me, is one of the most effective.
In this tutorial we’ll add more colour, combine a new layer, Apply Image, and use blend modes Lighten or Overlay to come out with a more impacting sunset/sunrise image.
Step by Step Guide To Create Stronger Sunrises and Sunsets in Photoshop
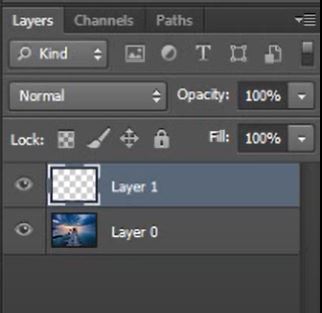
1. Add a New Layer.
First we need to add a new layer. We can do this by going to Layer>New>Layer or by pressing Crtl+Shift+N (PC) or Cmd+Shift N (Mac).
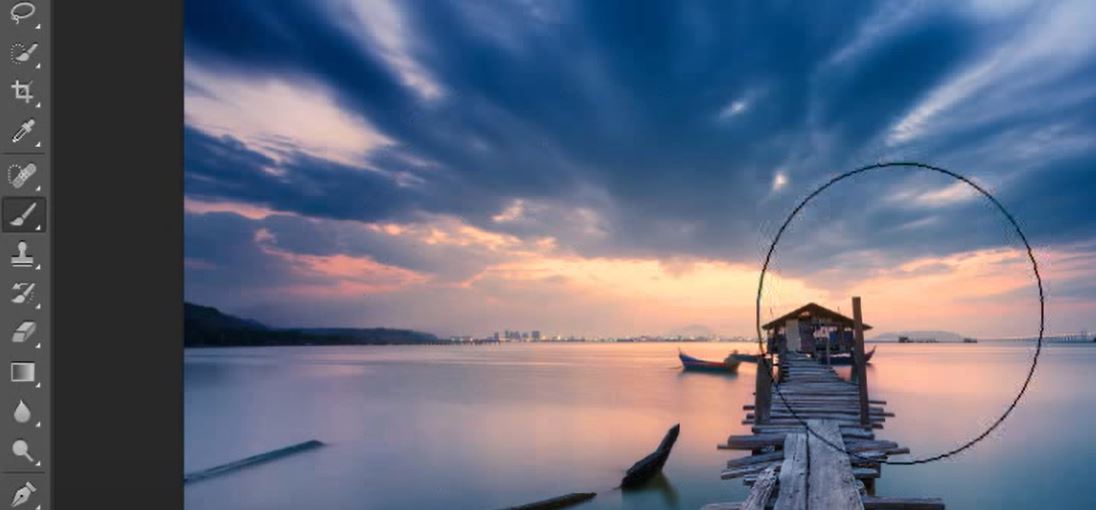
2. Select the Brush Tool.
Once we have a New Layer selected, select your Brush Tool. You can do this quickly by pressing ‘B’ on your keyboard.
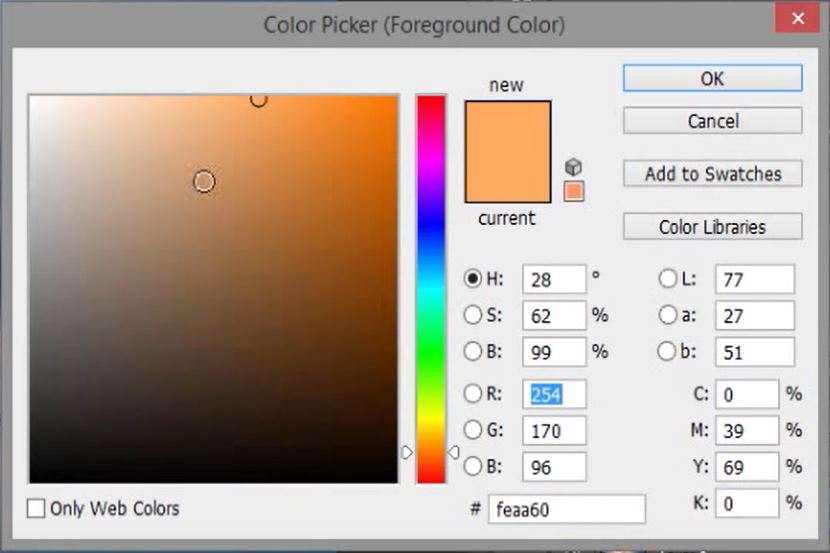
3. Choose a Colour To Overlay.
Choose a foreground colour for your brush. Select a colour that will affect the highlights the way you want. For example, a colder colour choice would be blue. Whereas a warm colour will lean more towards the orange spectrum. Once you’ve chosen the colour you wish to us click OK to set it as your foreground colour.
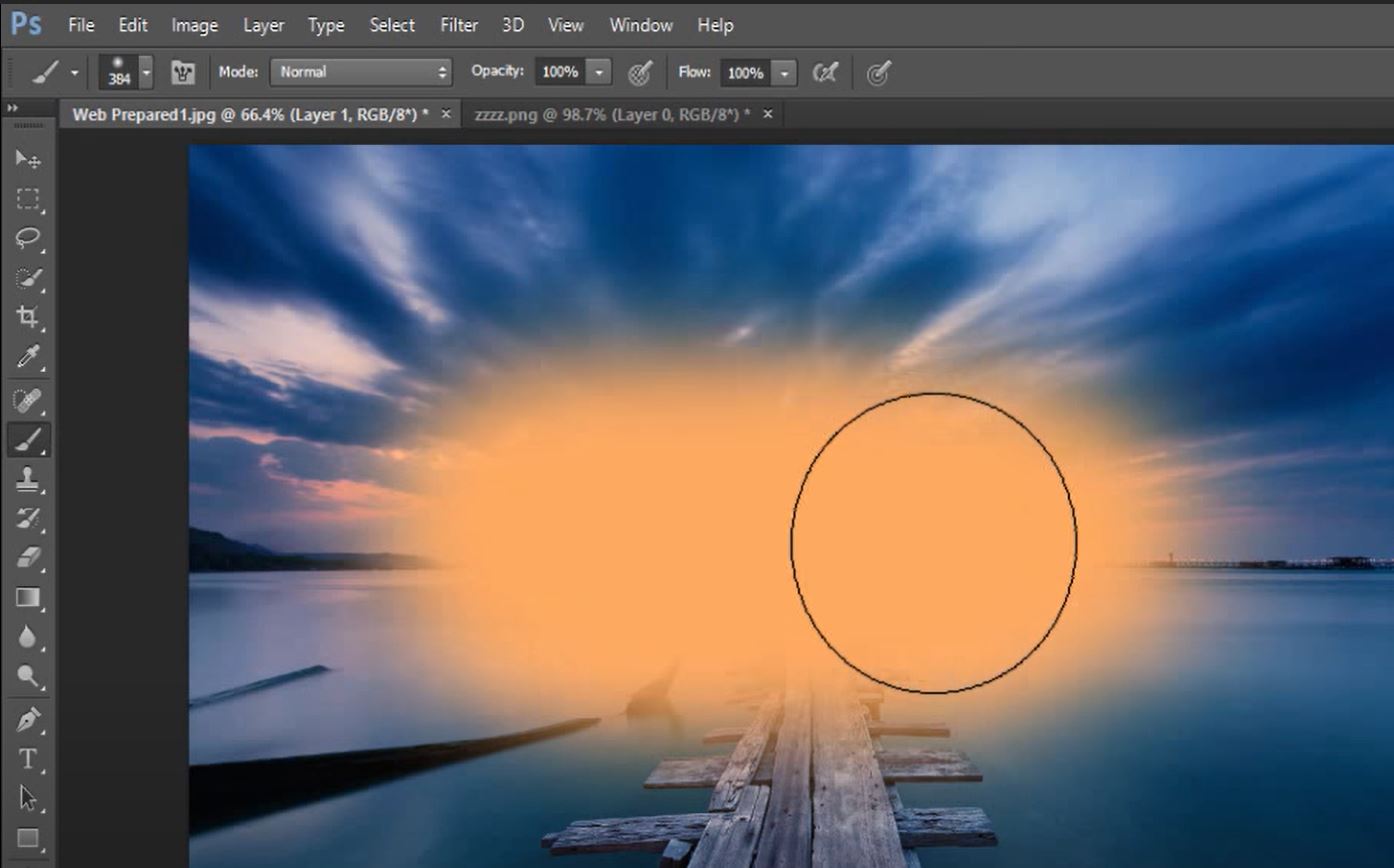
4. Paint In Extra Additional Colour.
With your brush selected and your choice colour as the foreground colour, paint on to the New Layer. Make sure you only paint the highlighted areas that you want to make more impactful.
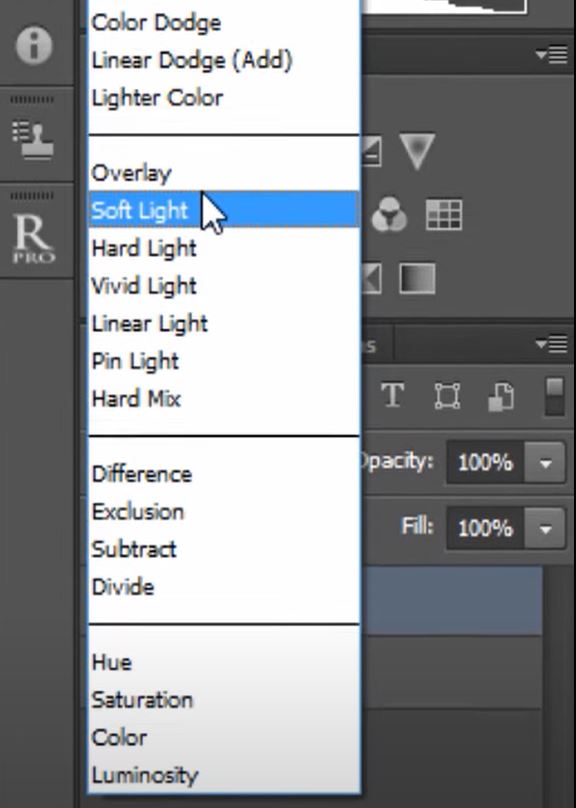
5. Change the Blend Mode.
The area you have painted will look like a blob of colour, completely spoiling your image. To transfer this colour into your picture we need to change the Blend Mode. Let’s change it to Soft Light, this will give a soft and subtle adjustment. For a stronger adjustment try Overlay as the Blend Mode.
6. Add a Layer Mask.
STEP 6: The colour from the blob will have now soaked into your image. The problem we might have is that some of the areas we didn’t want to colour are now affected. To remove unwanted colour contamination we can use a layer mask. To add a new Layer Mask either click on the Layer Mask icon or got to Layer>Layer Mask>Reveal All.

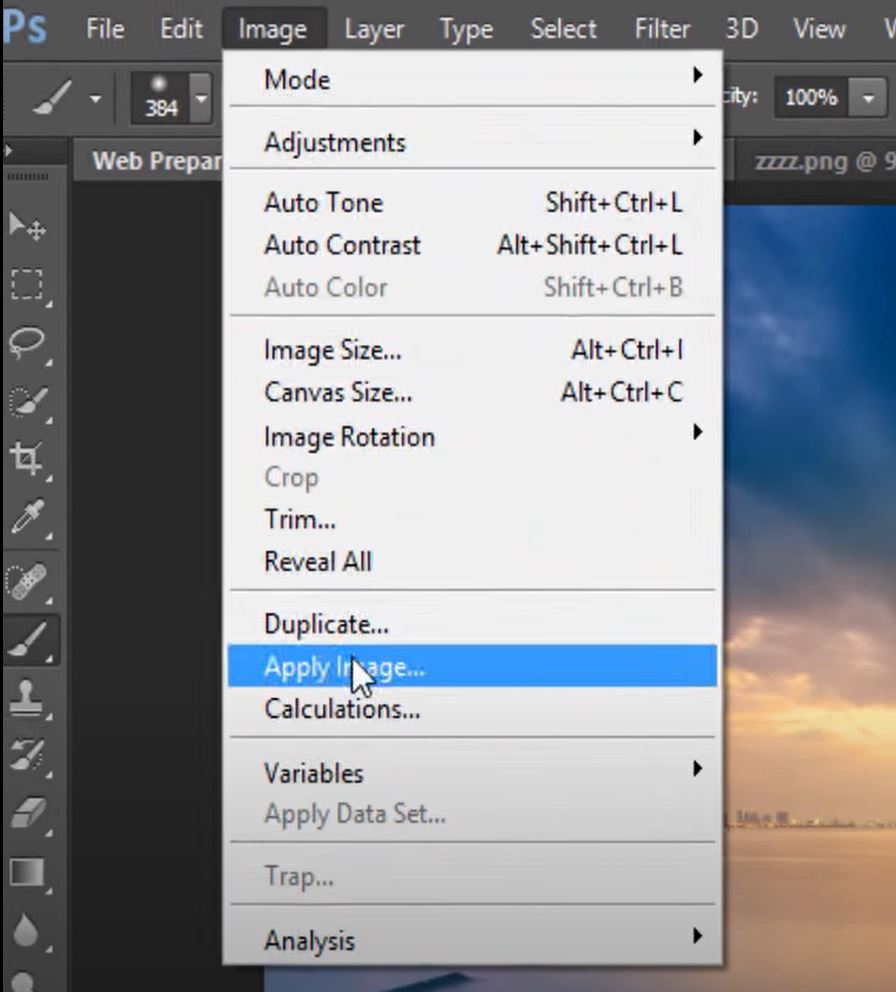
7. Apply Image to the Mask.
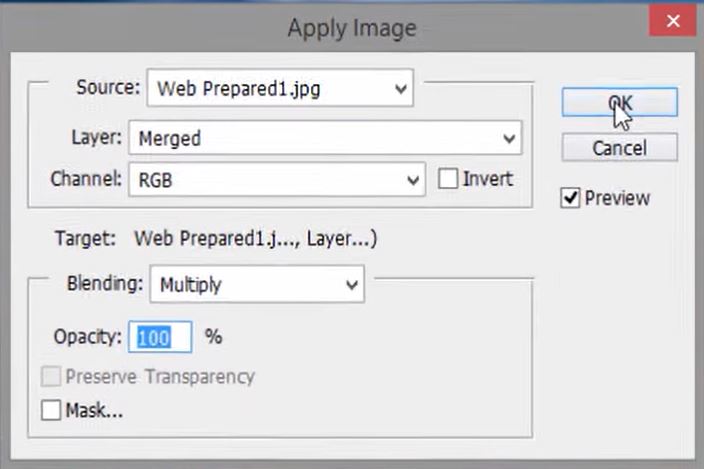
We want to mask out our mid tones and shadows so they’re less affected by the added colours. With the layer mask selected go to Image>Apply Image. This will keep the colour change stronger in the highlights and reduce it everywhere else.
8. Repeat Apply Image to Strengthen Cast Removal.
Repeat the Apply Image process again if you want stronger removal of colour cast.
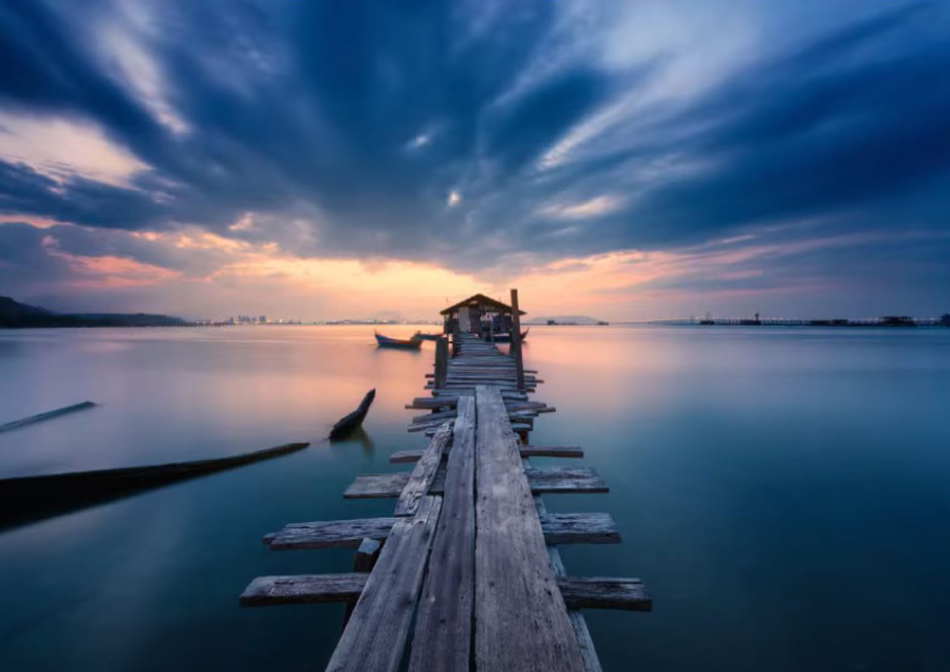
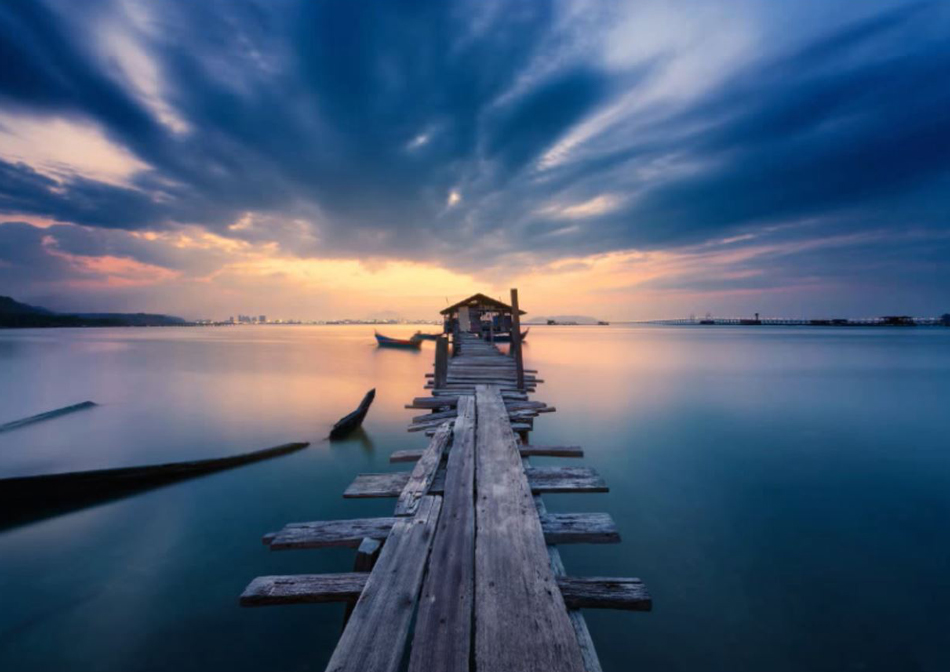
Let’s take a look at the difference before and after We Created a Stronger Sunrises and Sunsets in Photoshop.
Enter your email below and join our community of more than 100,000 photographers who have also
Subscribed to our newsletter.
Downloaded our FREE Photoshop Course.
Got our FREE Easy Panel for Photoshop.
And, have our FREE Essential Guide To Luminosity Masks E-Book.
To go directly to any of our products, simply click on the image below.


Shutter Evolve Complete Product Range
If you liked this article you might also like our post 5 Ways To Color Correct Beautifully (Even Remove Strong Casts)
Here is another way of Editing Sunrise – Photoshop Tutorial