Wonderful Woodland Light Rays in Photoshop
Woodland is one of the most desirable landscapes that we can photograph. The best time of day to shoot in woodland is just after sunrise or before sunset. This is when the sun is low in the sky and with any luck, the temperature changes enough to create mist or fog. By combining low light and mist or fog in woodland you will capture some fantastic light rays that accentuate the stature of the trees and branches. The technique that we will share with you in this tutorial can be used in most woodland settings. It can be used to emphasise light rays, in low light, or to create woodland light rays in photoshop from scratch.
Making Woodland Light Rays Tutorial
1. Add a new layer by clicking on the ‘Create a new layer’ icon.
2. Press Ctrl+Backspace (PC) or Cmnd+Backspace (Mac) to fill the new layer.
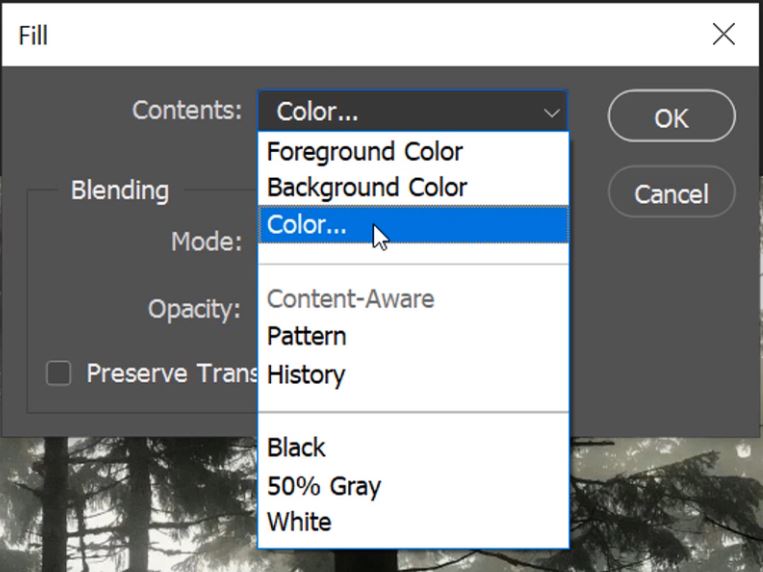
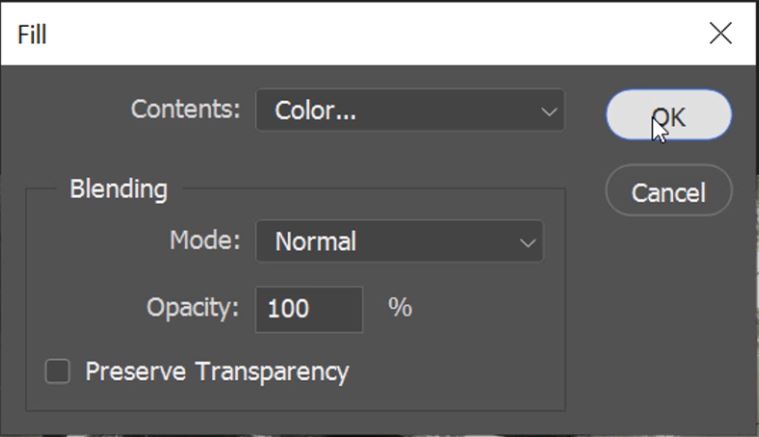
3. In the Contents window select Color.
4. When the Color Picker window appears, you will automatically have the color picker tool selected. Left-click on the light source to choose the light colour.

5. Once you have the color selected, click on the OK button in the Color picker window.
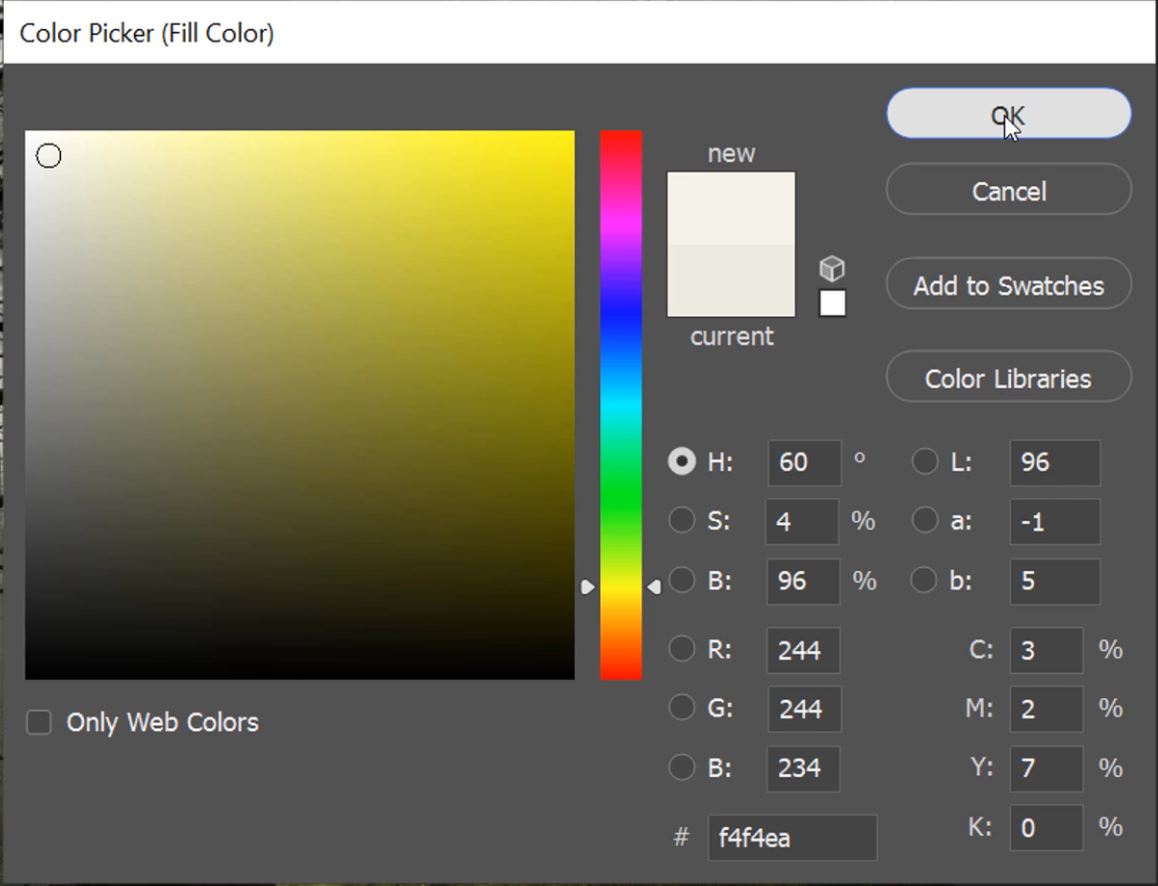
6. Now, click on OK in the fill window.
– Tutorial continued below –
Enter your email below and join our community of more than 100,000 photographers who receive regular tutorials and have also

Subscribed to our newsletter,
Downloaded our FREE Photoshop Course
Got our FREE Easy Panel for Photoshop
And have our FREE Essential Guide To Luminosity Masks E-Book
7. Now, select the solid fill color layer and add a mask by clicking on the ‘Add Vector Mask’ icon.

8. Hide the solid fill color layer by clicking on the visibility icon.
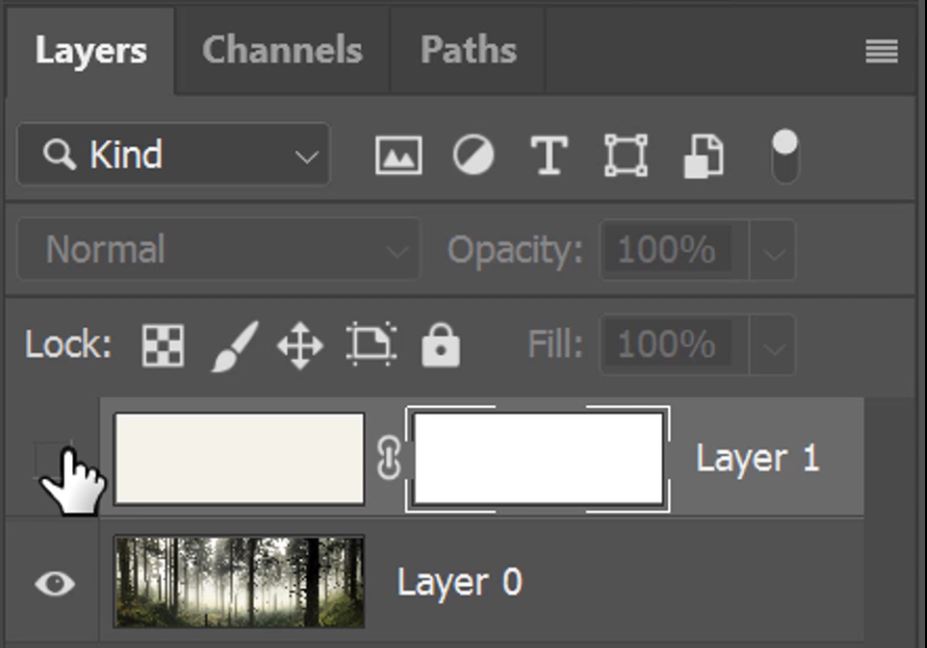
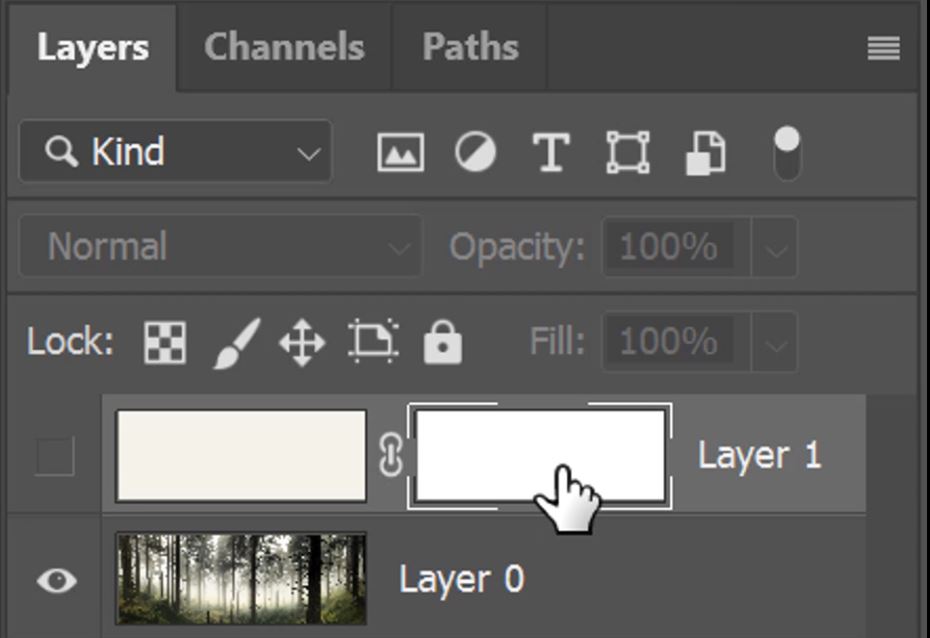
9. Make sure that the layer mask of the solid color layer is still selected.
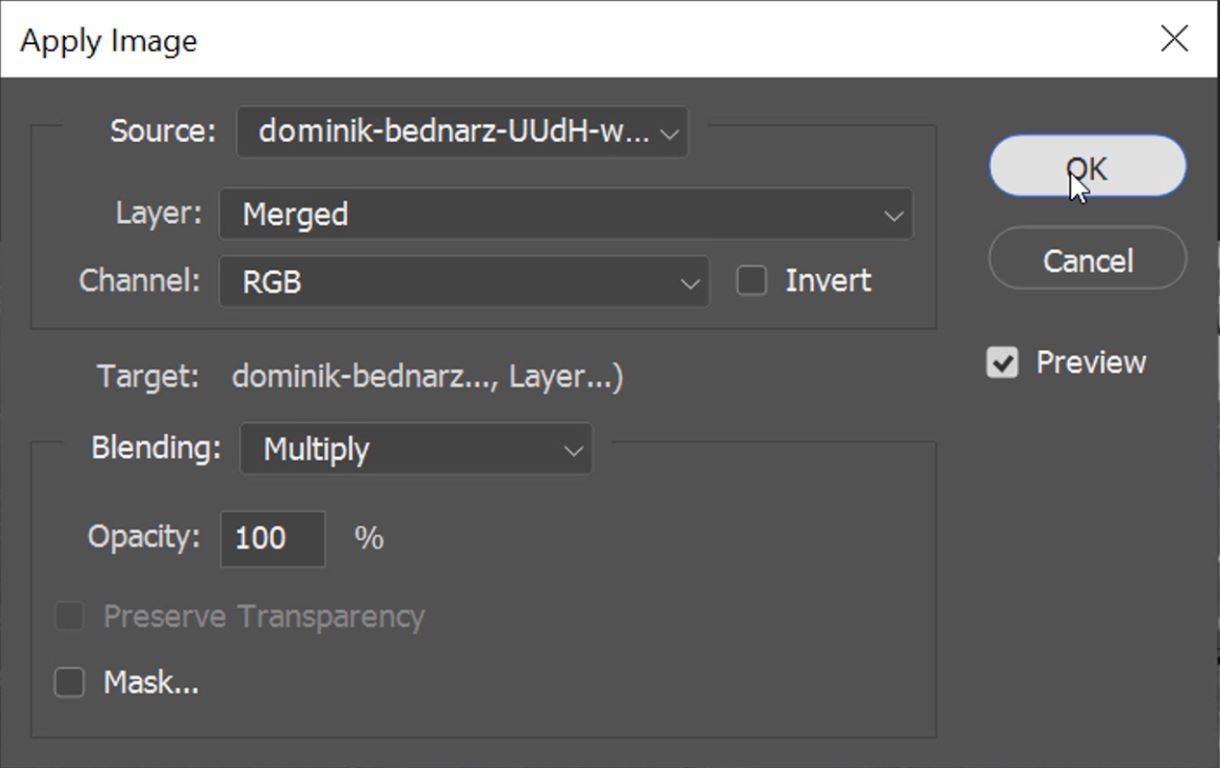
10. Go to the Image menu and choose Apply Image.

11. Make sure your settings are the same as ours and click OK to apply the visible image to the layer mask as a luminosity mask.
12. Now, make the layer visible. With the luminosity mask applied only the brightest parts of the layer are revealed.
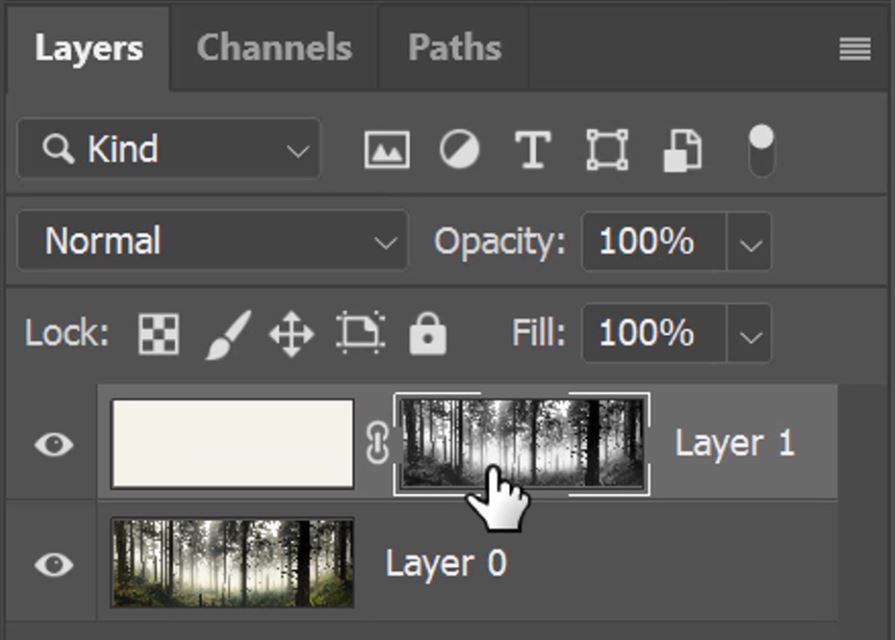
13. Press Q to enter Quick Mask mode.
14. Go to the Filter menu and choose Render>Clouds.
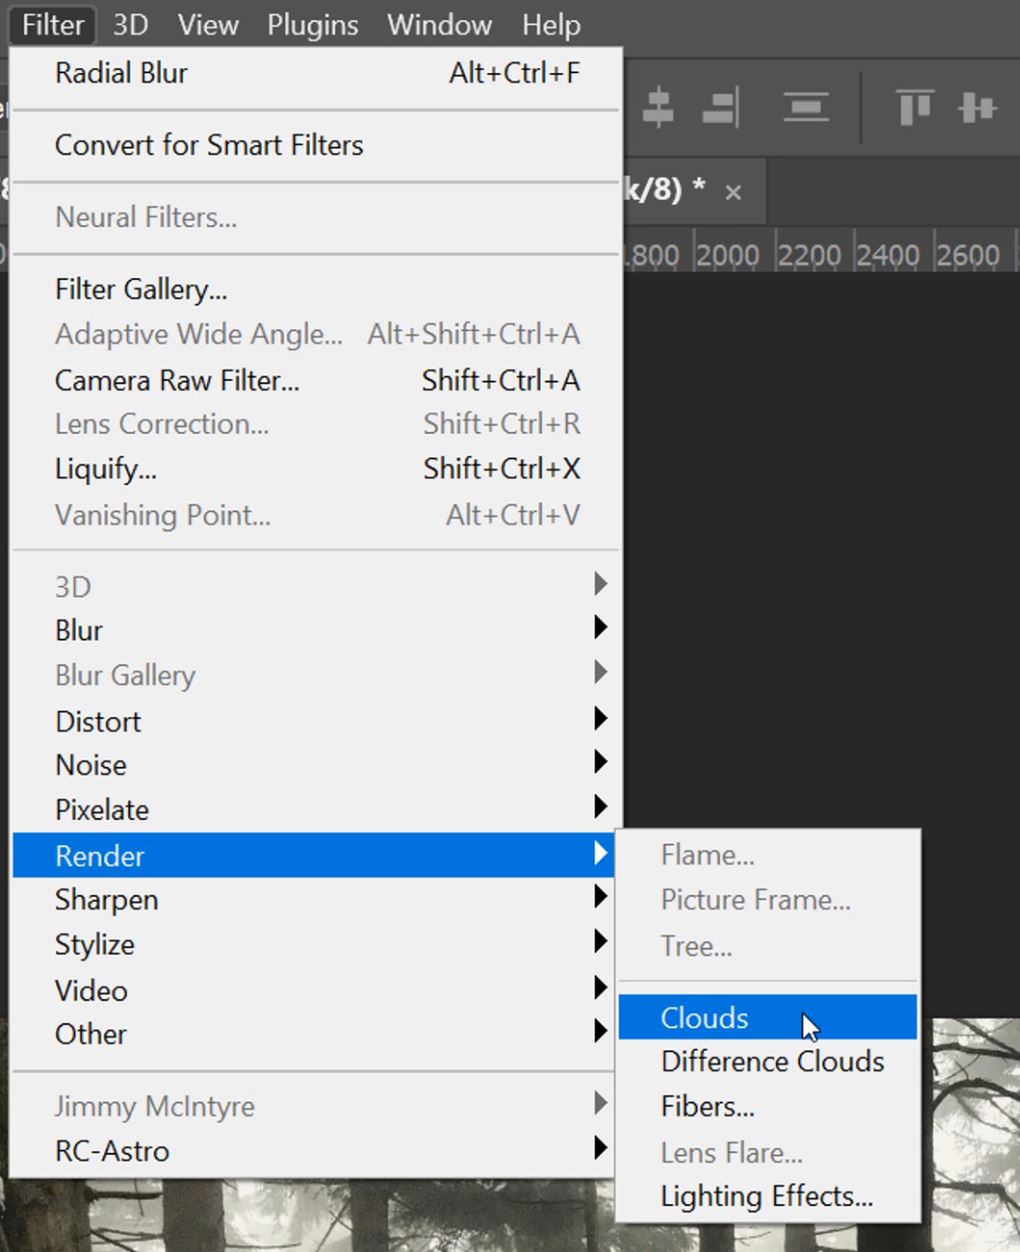
15. Press Q to give you an active selection from the cloud filter.
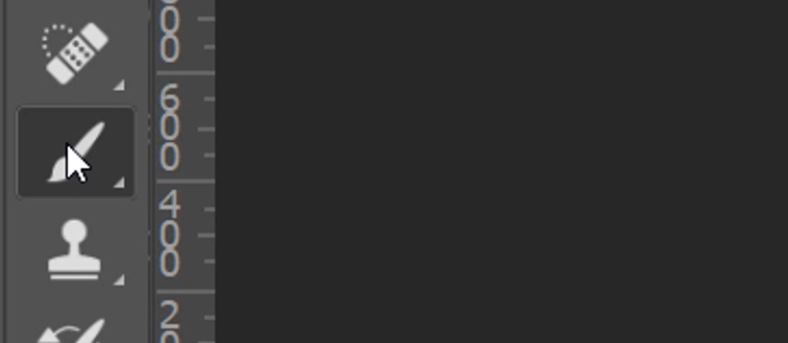
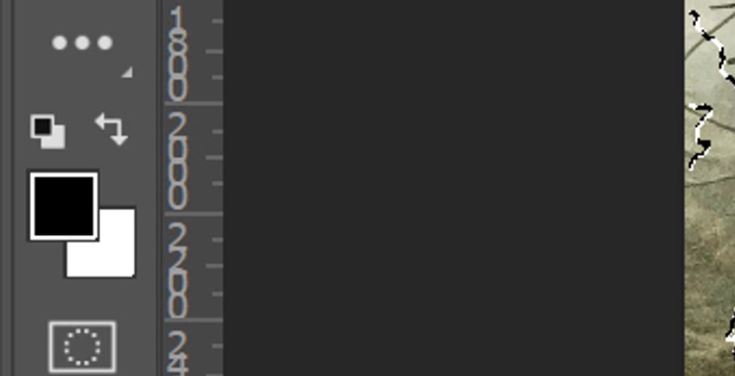
16. Now select the Brush tool and a black foreground.
17. Click on the mask thumbnail to select it.
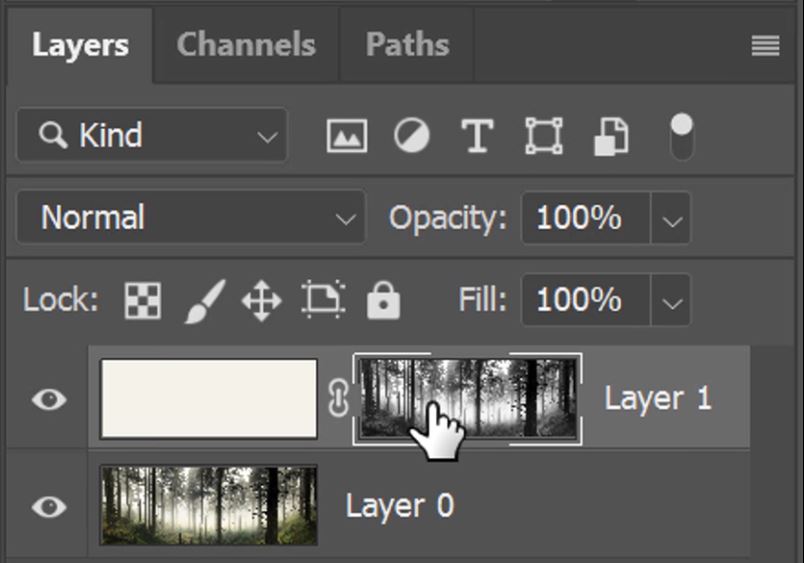
18. Paint over the active selection with a large black brush.
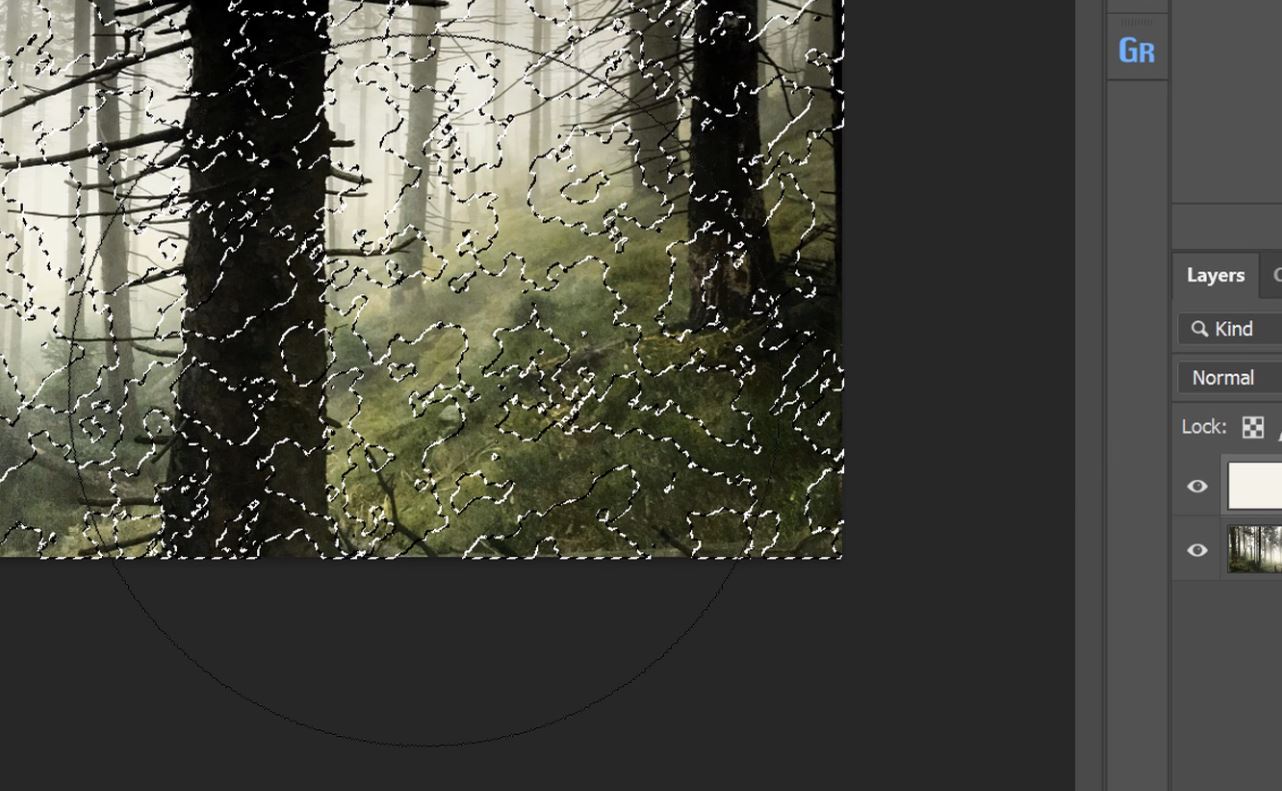
19. Press Ctrl+D (PC) or Cmnd+D (Mac) to deselect the active selection.
20. Hold down the Alt (PC) or Option (Mac) key and click on the mask thumbnail to view it.
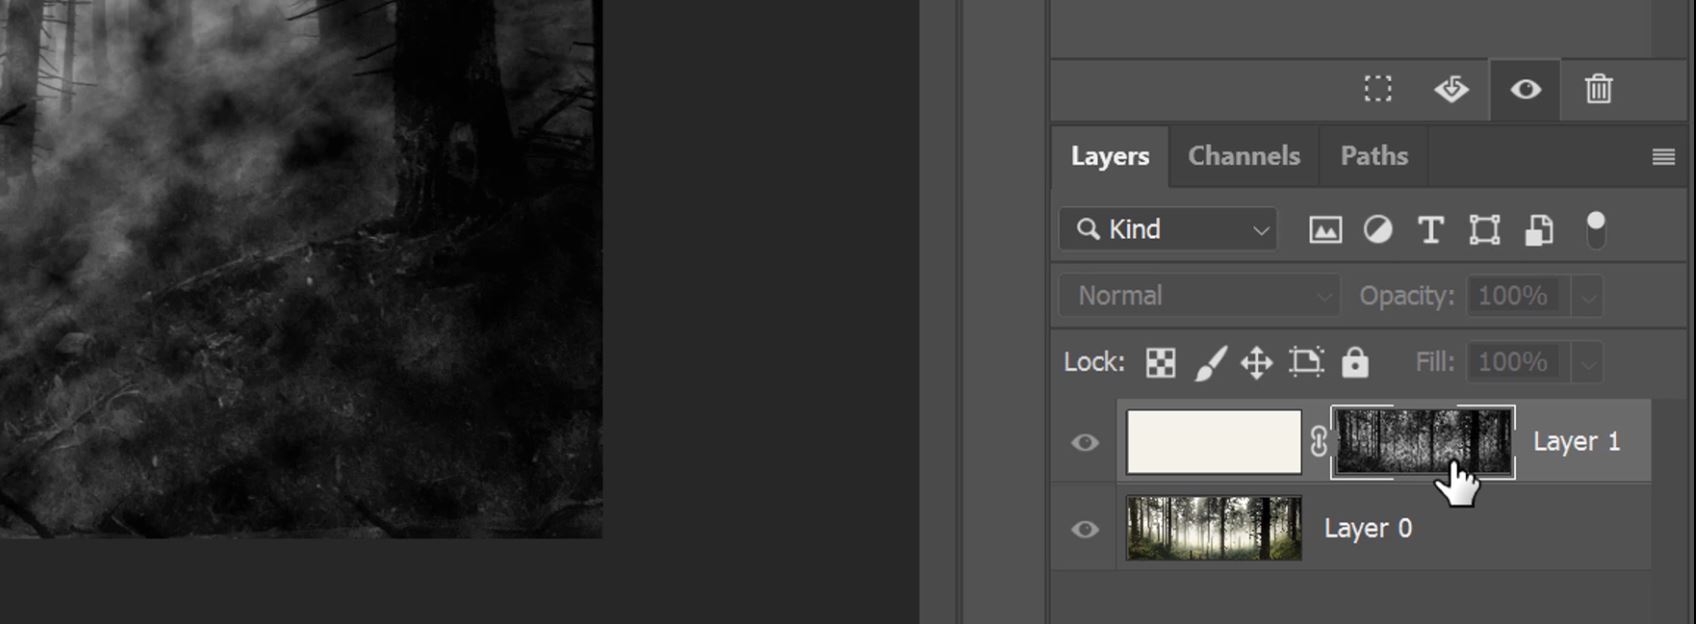
21. The last filter we will use can be found in the Filter menu, under Blur>Radial Blur.
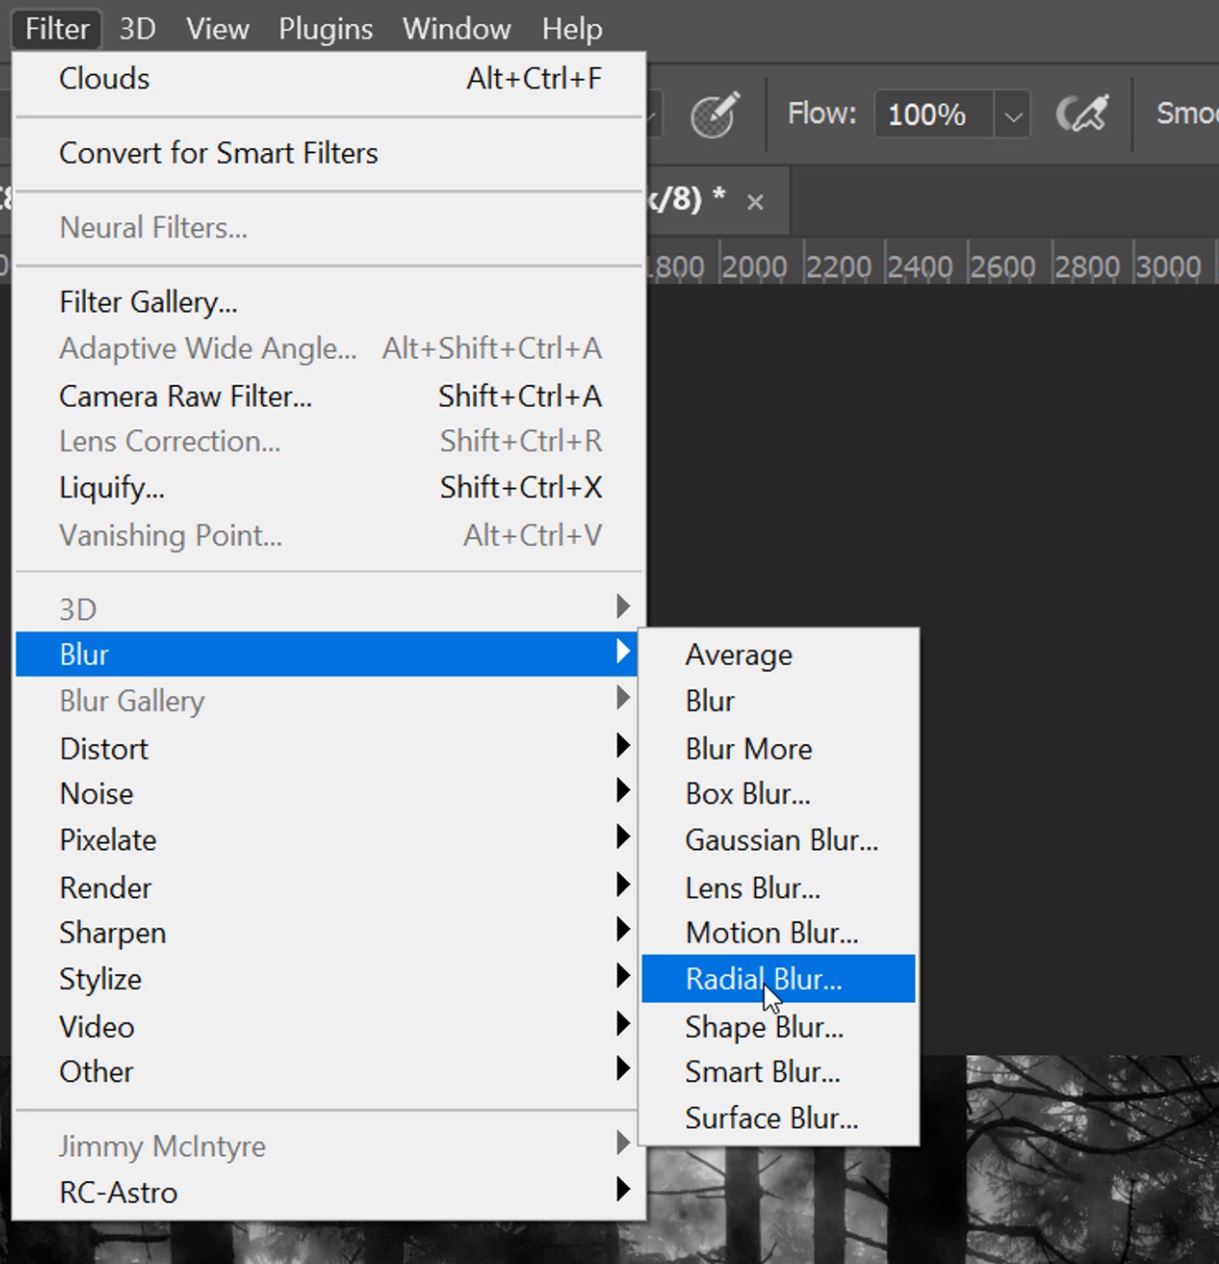
22. Position the centre of the blur roughly where the light source is coming from by dragging and dropping.
23. Set the Blur Method to Zoom, and the Quality to Best. You can vary the amount, the hight the amount the more drawn out the blur effect is.
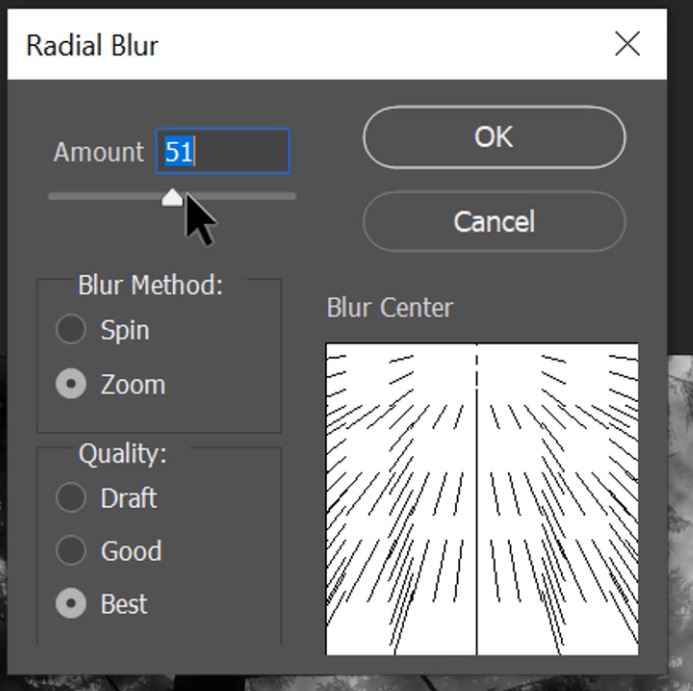
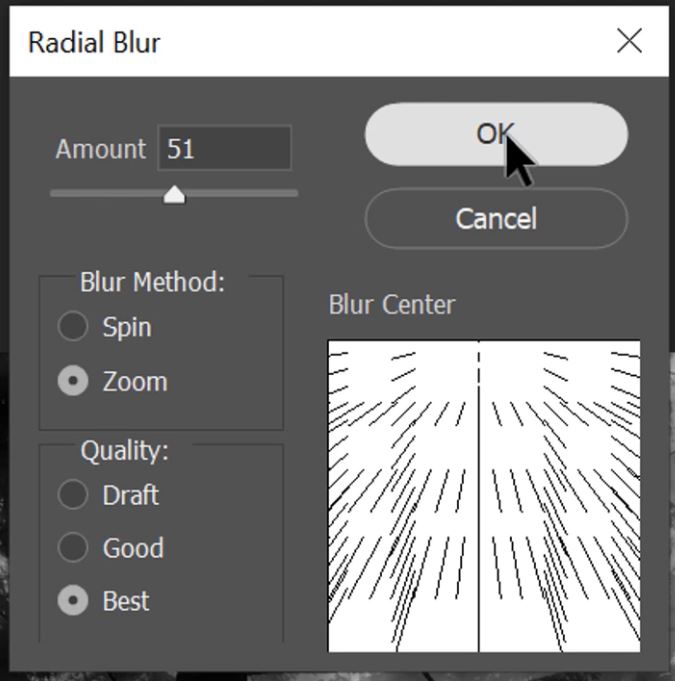
24. Press OK to apply the last filter.
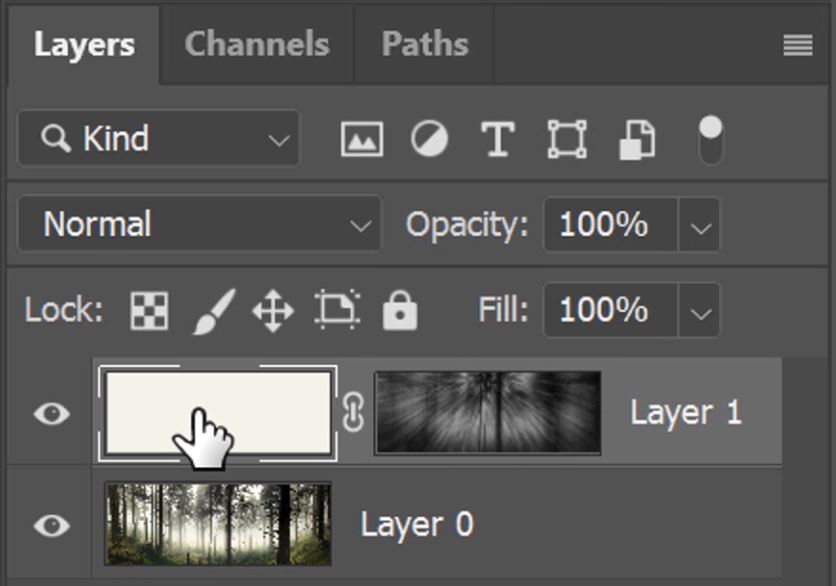
25. Click on the solid color fill layer thumbnail to reveal the transformation.
Here are three examples of this technique.
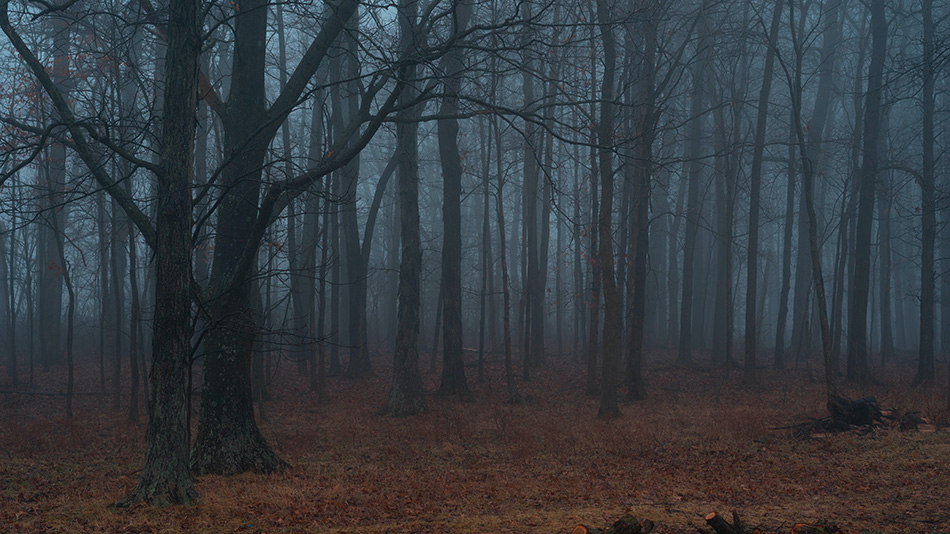
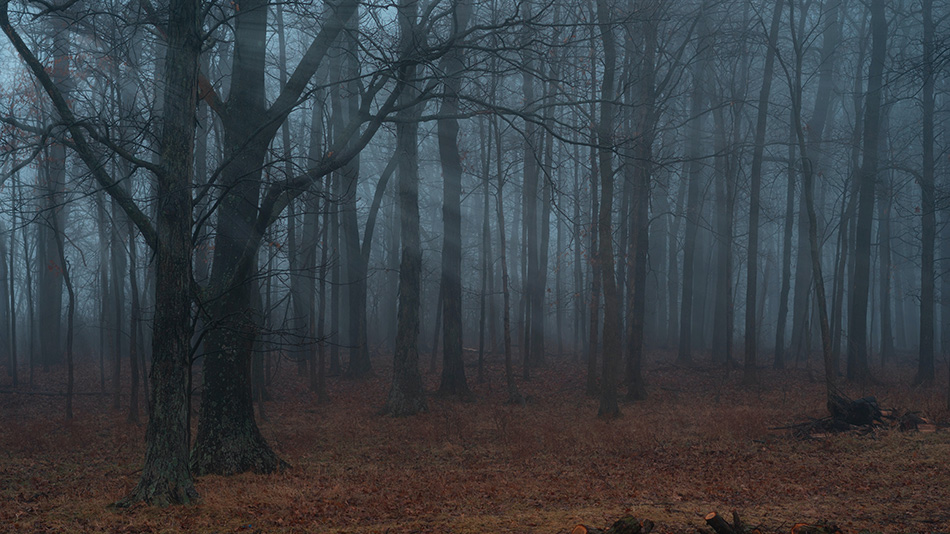
Example 1: Where there were no light rays at all this is where we can make woodland light rays from scratch in photoshop.
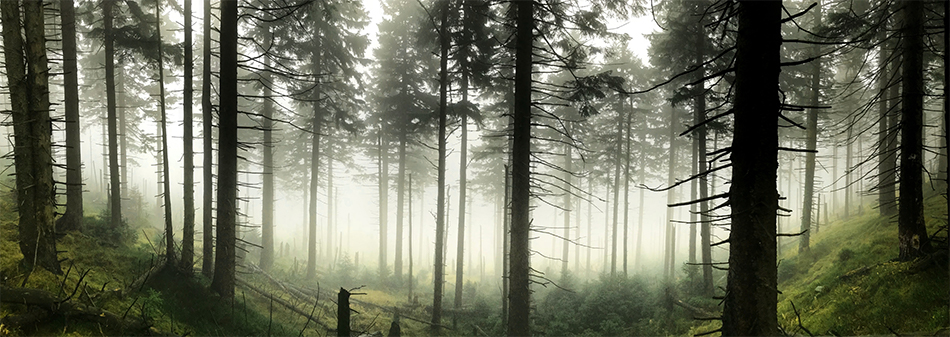
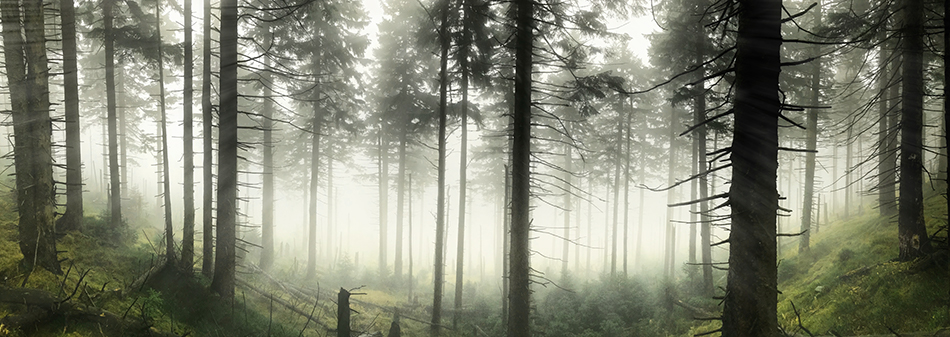
Photo by Dominik Bednarz on Unsplash
Example 2: There were already lightrays but we used a different colour in the ones that we made to compliment.

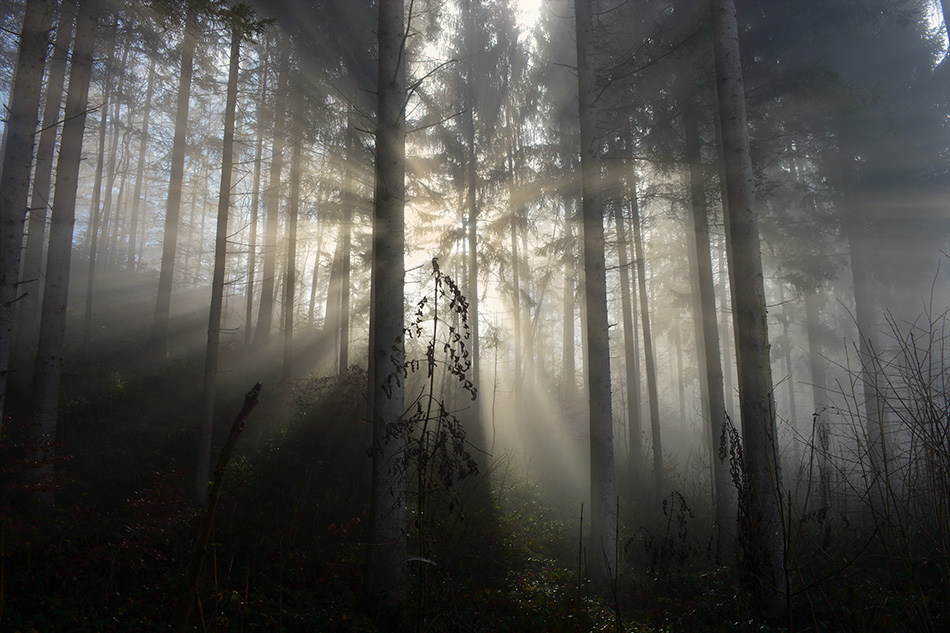
Photo by Peter Steiner 🇨🇭 on Unsplash
Example 3: A dark scene where we used a brighter colour to bring light rays and add more mood.
