Quick Photoshop Secrets 4: Easily Remove Chromatic Aberration in Photoshop (Free Action)
In this week’s Photoshop Secrets tutorials, we learn how to very quickly and easily remove stubborn Chromatic Aberration in Photoshop.
If you find that Adobe Camera RAW or Lightroom couldn’t remove CA in your images. Don’t worry, we will show you how to manually remove it.
How to Remove Chromatic Aberrations quickly and cleanly
Chromatic Aberration can take ages to remove. We have made it really quick for you with our FREE downloadable actions. If you prefer to go the long way duplicate your image, go to Filter>Blur>Gaussian Blur. Choose a radius of around 20, and press OK. Change the Blend Mode of this layer to Color, and place a black mask on it to make it invisible. From there, paint over all the areas with CA using a white brush, and voila! no more CA!
Step By Step Guide To Removing CA
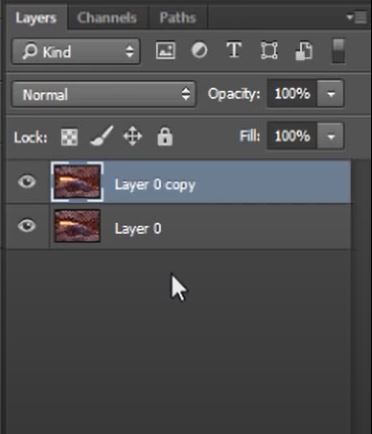
- Duplicate your base layer. Select layer and press Ctrl+J or Cmd+J
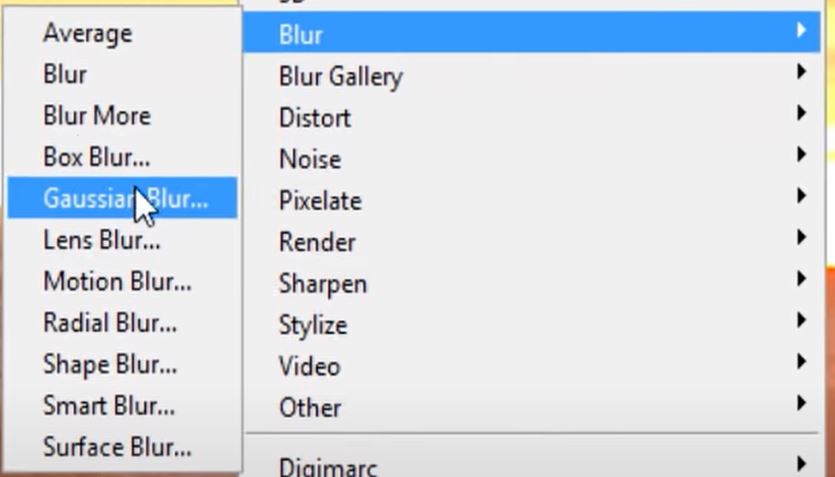
- Add a Gaussian Blur. Go to Filters>Blur>Gaussian Blur.
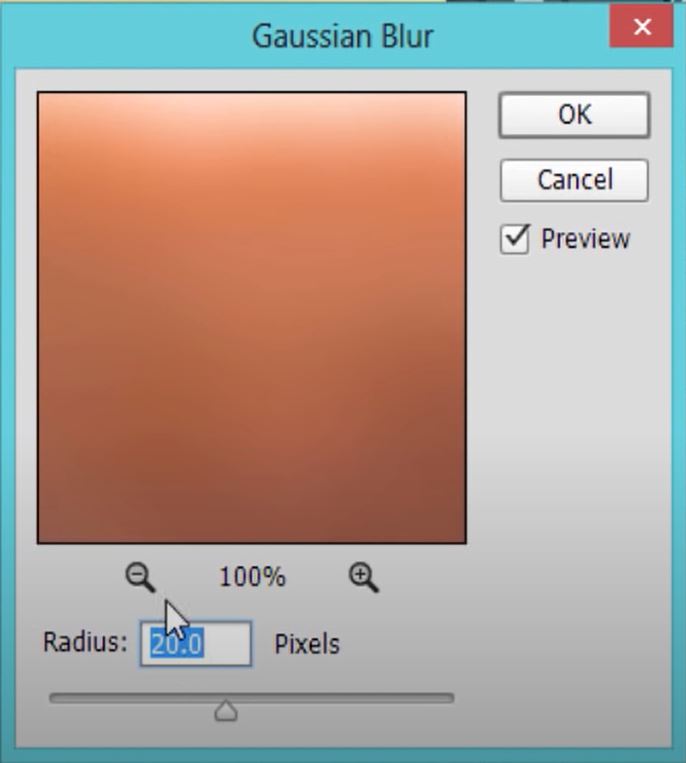
- Adjust the Radius setting until you get a smooth clolour blend.
- Change the blurred layers Blend Mode to Colour.
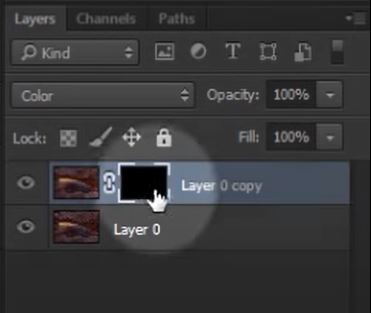
-NOTE; This removes the chromatic aberration but can also affect colours in your image. - To restore the colours add a hidden Layer Mask. Go to Layer>Layer Mask>Hide All.
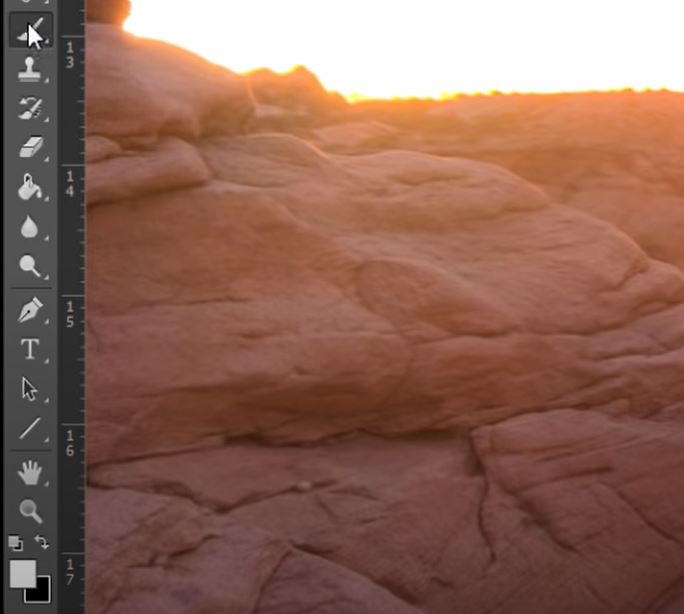
- Select your Brush Tool by pressing ‘B’ on the keyboard. Select white as your foreground colour.
- With your white Brush selected, paint over the edges and remove the Chromatic Aberration in a much more controlled way.
Follow Each Step to Remove CA
STEP 1: Duplicate Layer.
STEP 2: Add Gaussian Blur.
STEP 3: Adjust Radius.
STEP 4: Change Blend Mode to Colour.

STEP 5: Add hidden Layer Mask.
STEP 6: Select a White Brush.
STEP 7: Paint our CA manually.
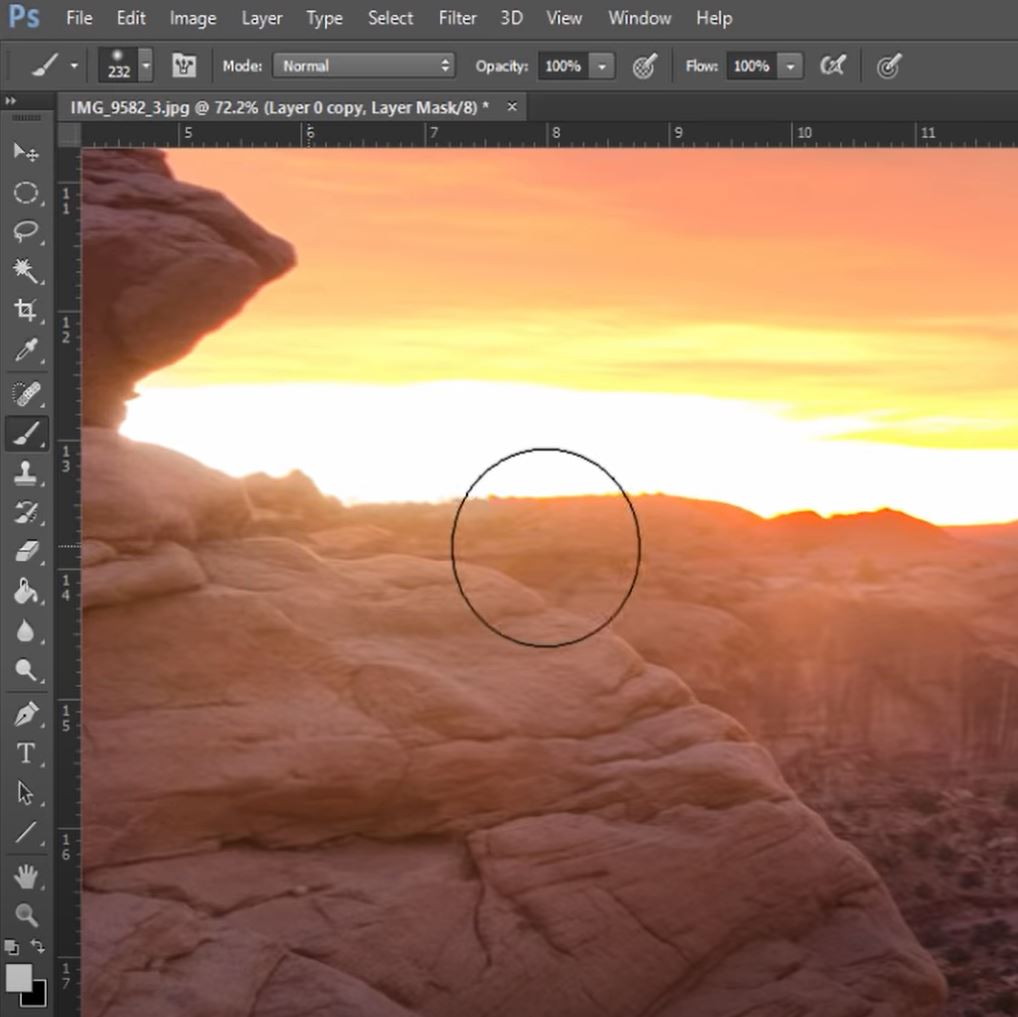
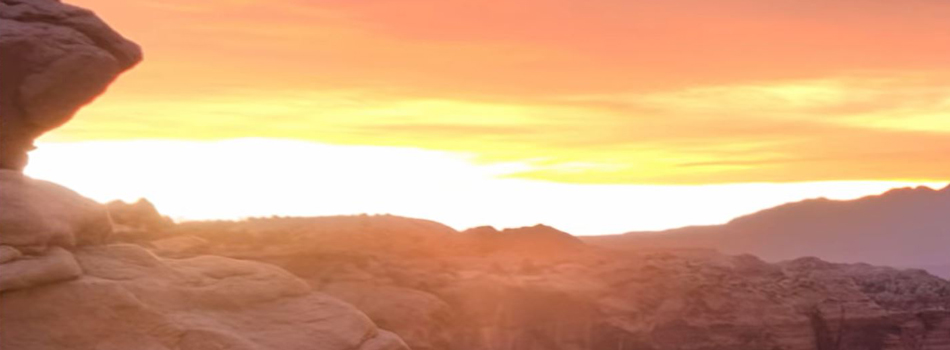
Image Before And After Removing Chromatic Aberration
[compare]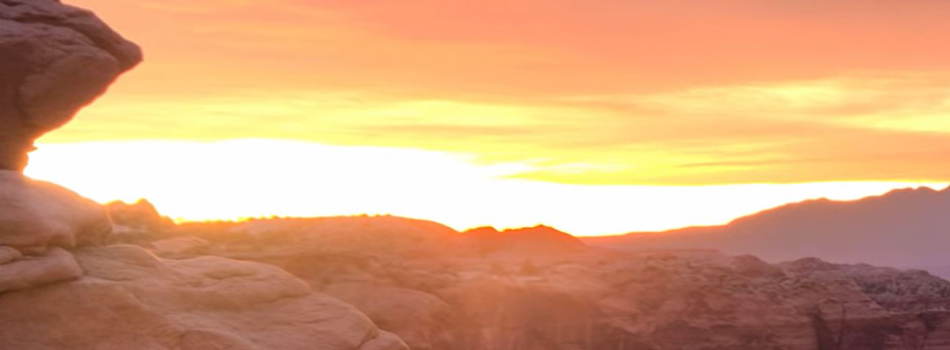
 [/compare]
Thank you for reading this article, if you liked it you might also like to read, The ULTIMATE Way to Remove Chromatic Aberration (CA) in Photoshop.
Or, click here to find out What Is Chromatic Aberration? How to Avoid or Fix It
Enter your email below and join our community of more than 100,000 photographers who have also
Subscribed to our newsletter.
Downloaded our FREE Photoshop Course.
Got our FREE Easy Panel for Photoshop.
And, have our FREE Essential Guide To Luminosity Masks E-Book.
To go directly to any of our products, simply click on the image below.


