The ULTIMATE Way to Remove Chromatic Aberration (CA) in Photoshop
In this tutorial you will see a foolproof way of removing stubborn Chromatic Aberration (CA) in Photoshop. And these tips will show you how to do this with Raya Pro, without Raya Pro (Photoshop only), and with the free Remove CA action featured in this video. If you’d like to download the action, please go here: Free Beginner’s Photoshop Course
If you prefer video instructions, please see the video above. If written instructions are better for you, please see below.
Removing Chromatic Aberration in Photoshop with Raya Pro
The first way to remove Chromatic Aberration will use Raya Pro. We’ll combine two different functions for this: the Edge Mask in InstaMask and Clean CA in the Filters/Finish panel. You may have seen the Edge Mask being used in this How To Sharpen Cleanly video. Well, let’s see how we can be creative and use that same function in the fight against CA!
Steps to Remove CA With Raya Pro
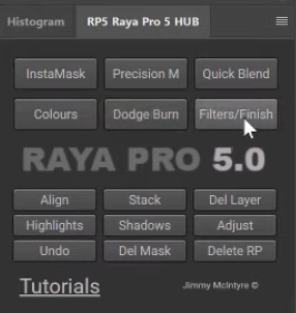
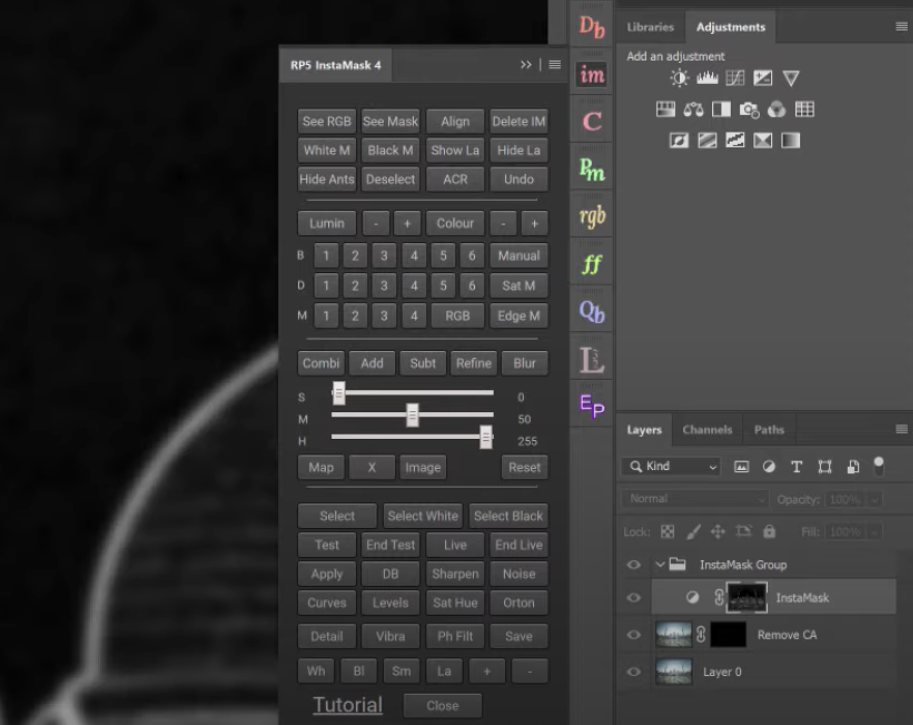
1. Open Raya Pro and select Filters & Finish.
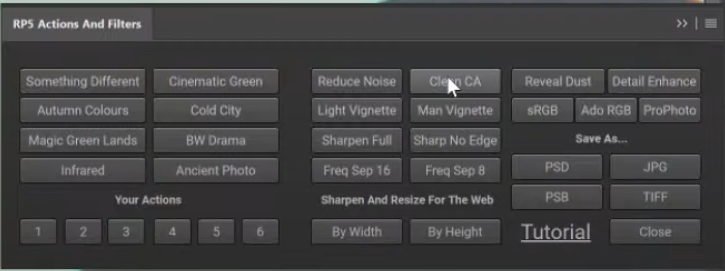
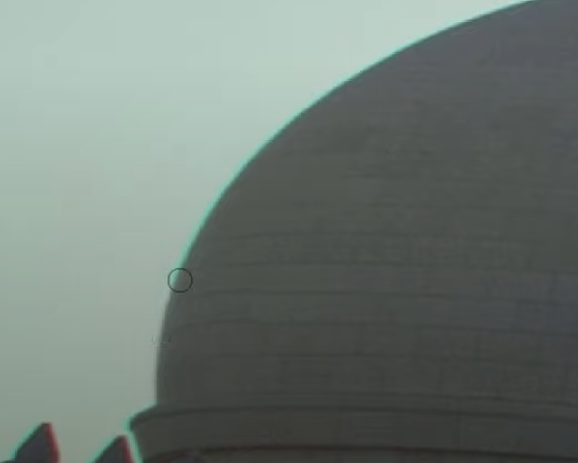
2. Select Clean CA. The Chromatic Aberration should disappear.
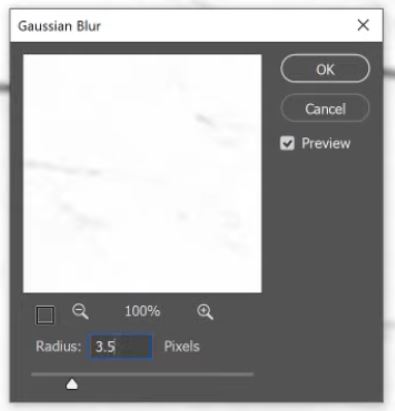
3. Note the Radius of Gaussian Blur and how it affects your image and click OK.
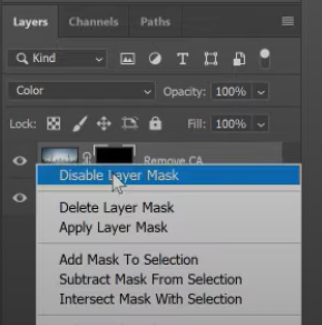
4. A black mask is created. Disable the black mask to check for colour distortion. Right-click on the mask and choose Disable Mask.
5. You could manually mask in the CA layer with a white paintbrush, but this will be a slow process.
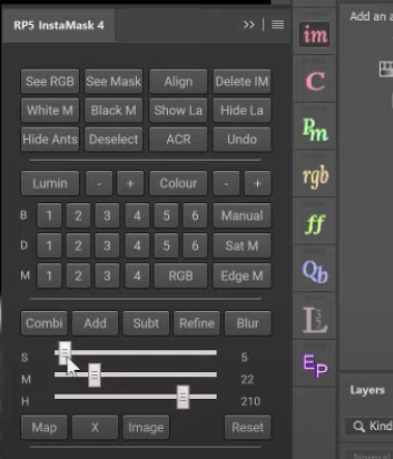
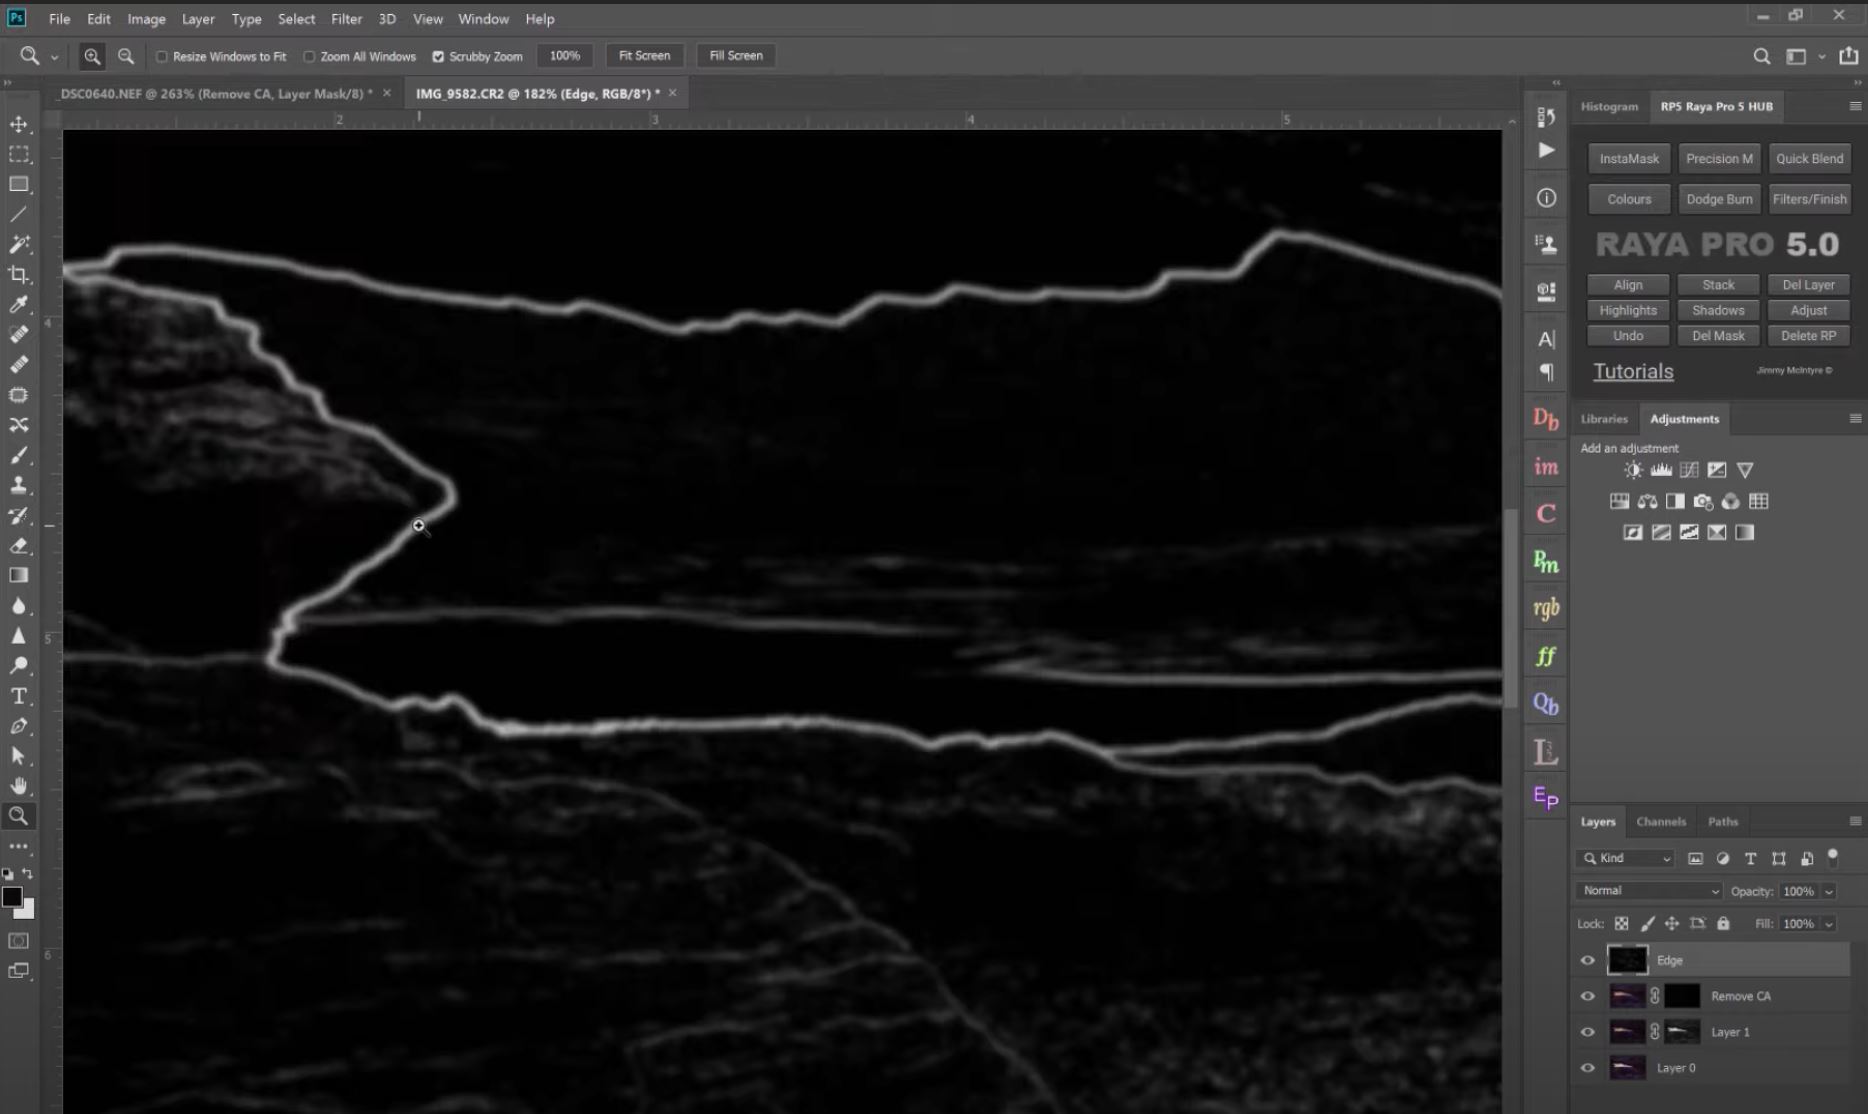
6. To clean up faster use InstaMask and select Edge M.
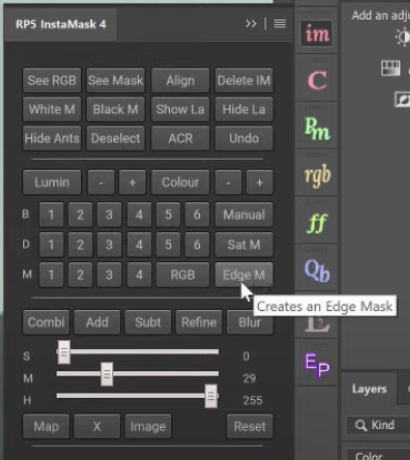
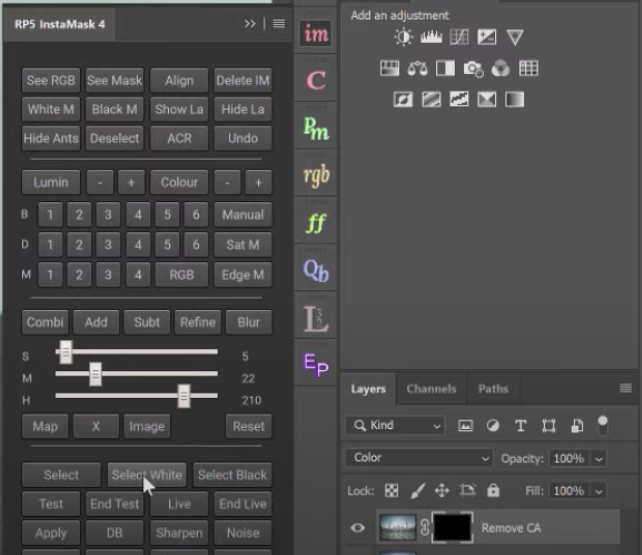
7. An edge mask is created. Move the sliders to exaggerate the edges then click OK.
8. Add a soft blur just to make the edge spread out a bit more and click OK.
9. To select the edges, we need to Invert the mask be pressing Crtl+I on PC or Cmd+I on a Mac.
10. Thicken the white edges by adjusting the mid-tones slider.
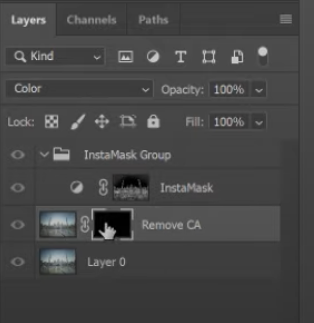
11. Select the black mask of the Clean CA layer.
12. With InstaMask still open click Select White.
13. Now with a white brush and 100% opacity paint in your edges.

14. If more removal is required, deselect selection by pressing Crtl+D on a PC or Cmd+D on a Mac and with the mask selected manually paint the edges with a white brush.
Editor’s Choice plugin on Adobe marketplace

Raya Pro, the most rated plugin on Adobe Marketplace.
Removing Chromatic Aberration in Photoshop with My Actions in just 6 steps
If you have downloaded the free Remove Chromatic Aberration Action here are the 6 steps you need to take.
- Click on actions and select Remove CA Start and click Start.
- Adjust the Gaussian Blur Radius and click OK.
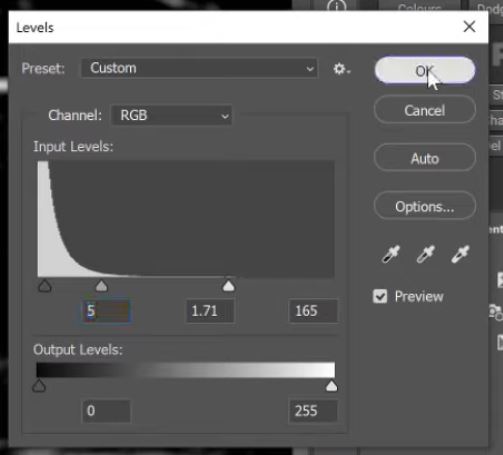
- Now Adjust the levels layer to make the edges thick, press OK.
- The mask is automatically Inverted for you. So now make any last-minute levels adjustments and click OK.
- The brush tool is automatically selected for you with a white foreground and opacity 100%, all you need to do is paint out the CA.
- When finished press Ctrl+D on a PC or Cmd+D on a Mac to deselect the current selection.
Enter your email below and join our community of more than 100,000 photographers who receive regular tutorials and have also
Subscribed to our newsletter,
Downloaded our FREE Photoshop Course
Got our FREE Easy Panel for Photoshop
And have our FREE Essential Guide To Luminosity Masks E-Book
How To Remove CA in Photoshop
1. First, if you have multiple or masked layers let’s Duplicate first by creating a Stamped Layer by pressing Crtl+Alt+Shift+E for a PC or Cmd+Opt+Shift+E for a Mac.
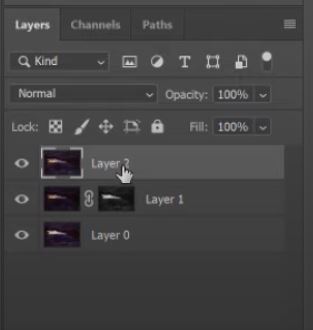
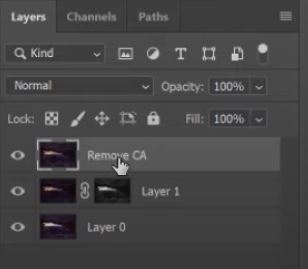
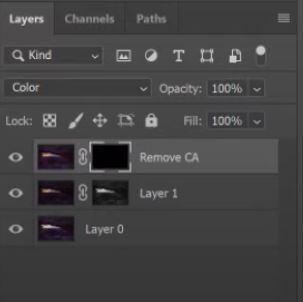
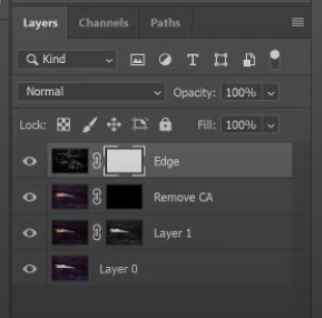
2. Rename your new layer by double-clicking on the name of the new layer, and call it ‘Remove CA’.
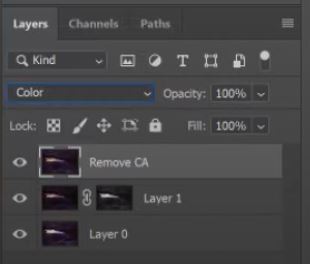
3. Change the Blend Mode of the ‘Remove CA’ layer to Colour.
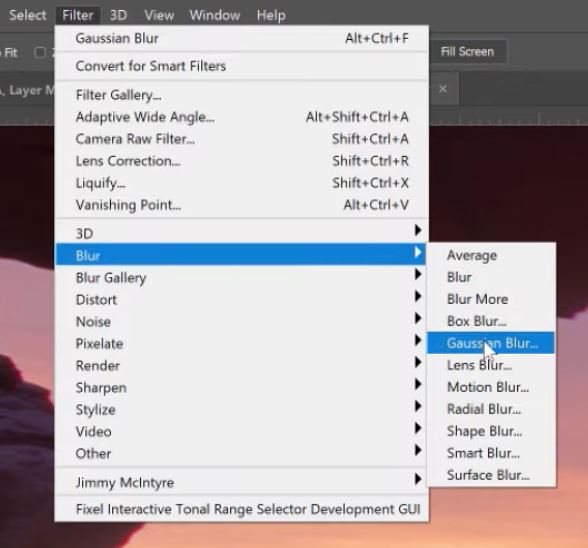
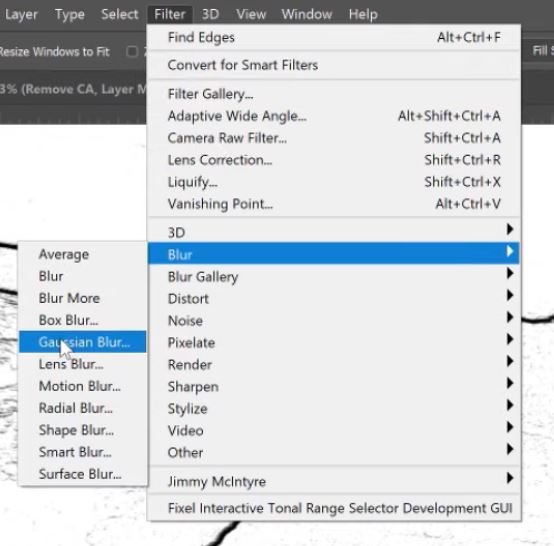
4. Add a Gaussian Blur filter by going to Filter>Blur>Gaussian Blur and adjust the Radius setting until you can see the CA is removed.
5. Create a black mask on the Remove CA layer by holding down Alt on a PC or Option on a Mac and clicking on the add Mask Icon or go to Layer>Layer Mask>Hide All.
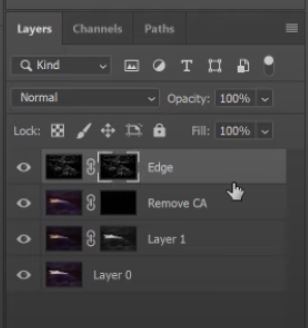
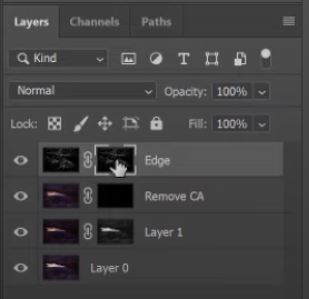
6. Now we need to create an Edge Mask by again pressing Crtl+Alt+Shift+E on a PC or Cmd+Opt+Shift+E on a Mac.
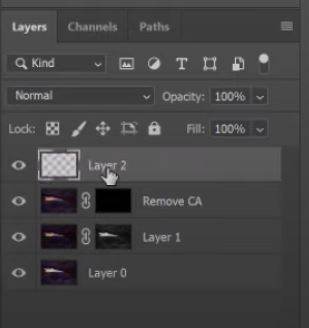
7. Call this ‘Edge’.
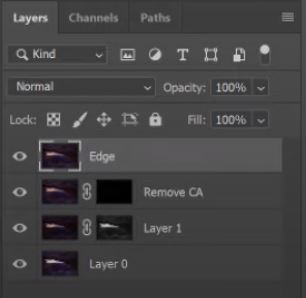
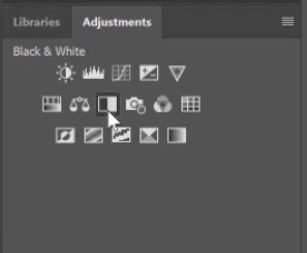
8. To turn this layer into black and white, click the Black & White icon in the adjustment panel or go to Layer>New Adjustment Layer>Black and White then click OK.
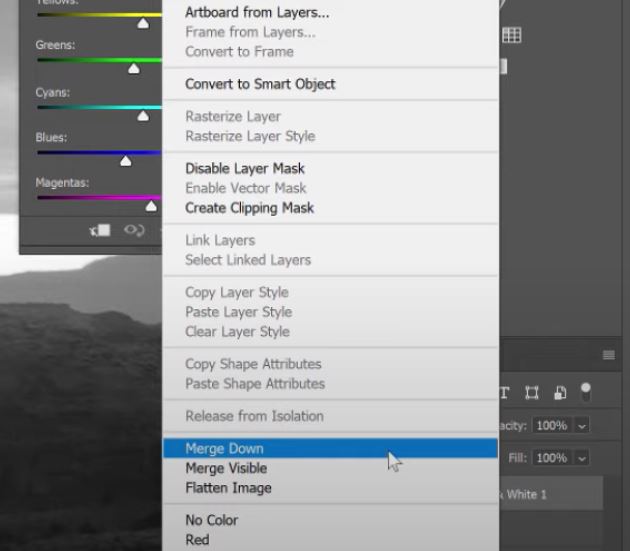
9. Merge your Black and White layer down by right-clicking and select Merge Down or go to Layers>Merge Down or press Crtl+E on a PC or Cmd+E on a Mac.
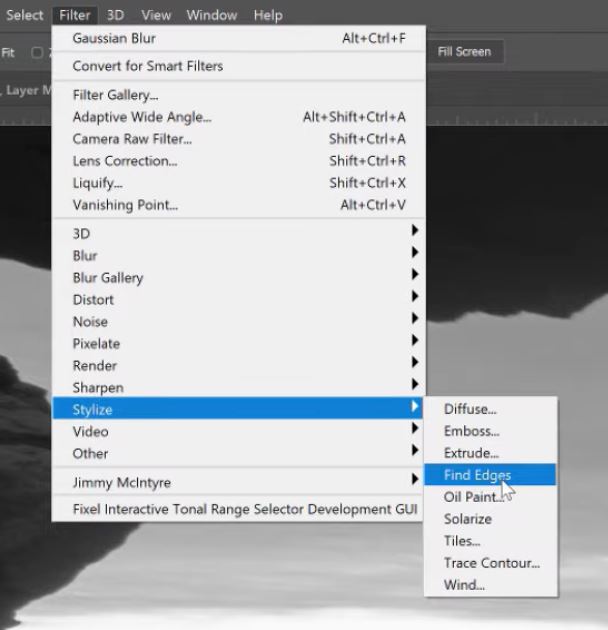
10. To find the edges go to Filter>Stylize>Find Edges.
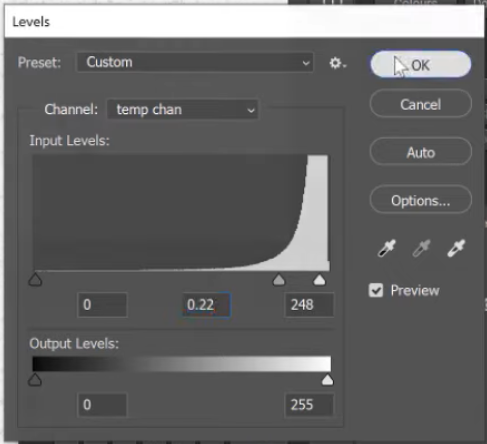
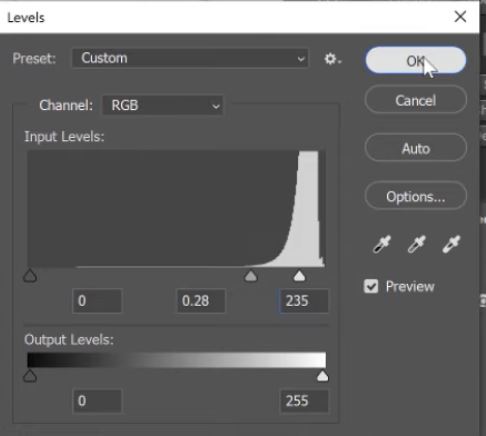
11. To create more contrast press Crtl+L on a PC or Cmd+E on a Mac or go to Image>Adjustments>Levels and adjust the sliders to create deep contrasting lines on the edges you are targeting then click OK.
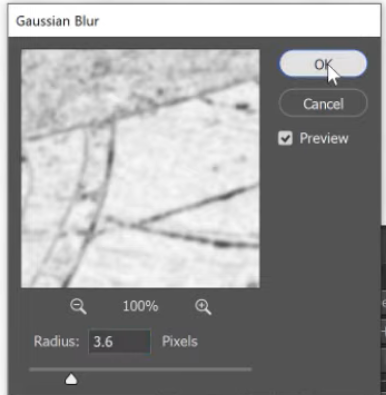
12. We now need to blur the edges to widen and soften them. Go to Filter>Blur>Gaussian Blur.
13 Adjust the Radius so that the edge softens but the contrast stays high and click OK.
14. Press Crtl+I or Cmd+I to invert the selection or go to Image>Adjustment>Invert.
15. Adjust the contrast of the edges again by pressing Crtl+L on a PC or Cmd+L on a Mac or going to Image>Adjustments>Levels and adjusting the sliders until you’re happy.
16. Create a mask on the layer by clicking the mask icon or going to Layer>Layer Mask>Reveal All.
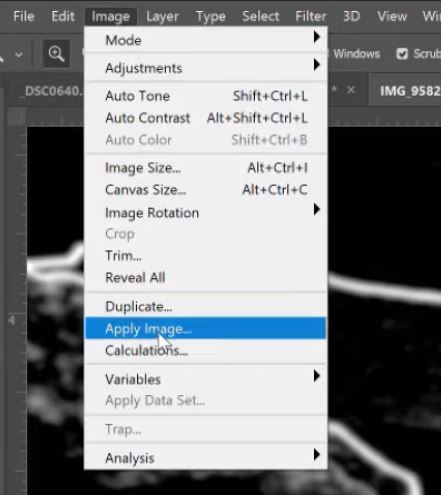
17. With the new mask selected, go to Image>Apply Image.
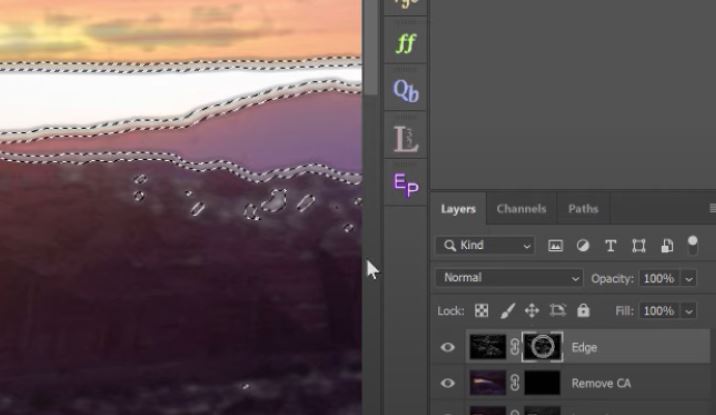
18. To select the edges within the mask hold down Crtl or Cmd and left click on the thumbnail of the mask.
19. Delete the layer go to Layer>Delete>Layer.
20. Select the mask of the ‘Remove CA’ layer.
21. Press Crtl+H on a PC or Cmd+H on a Mac to hide the marching ants.
22. Select the Brush Tool with a white foreground at 100% opacity and paint on your edges.
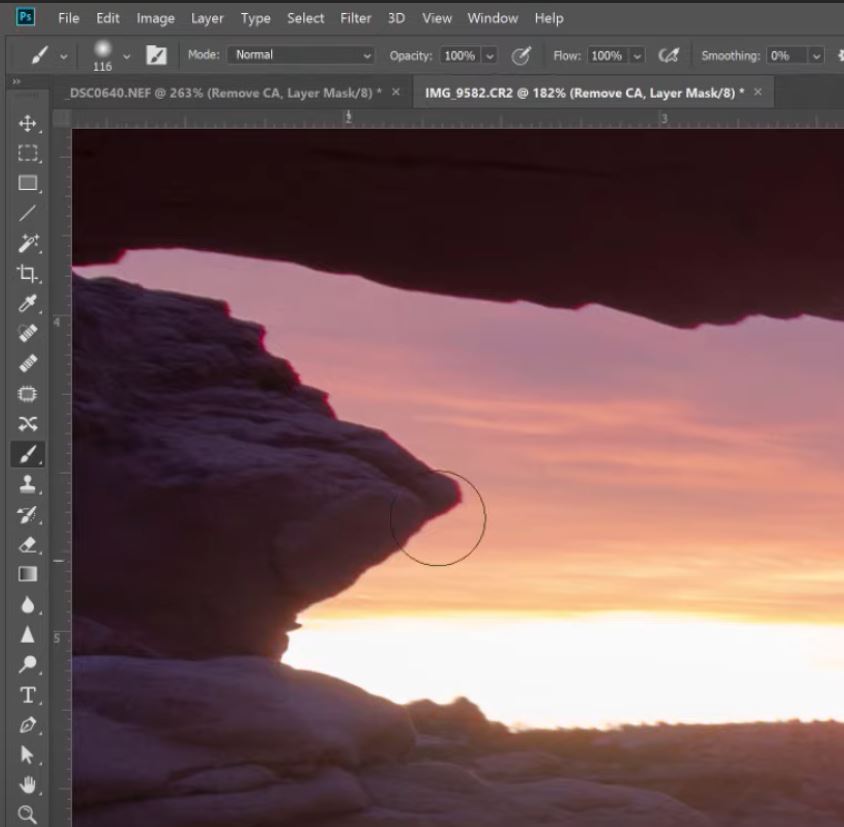
That will remove the Chromatic Aberration from your images just using Photoshop. As you can see there are a lot of steps which is why I recommend downloading the Free Actions to speed this process up for you.
Enter your email below and join our community of more than 100,000 photographers who have also
Subscribed to our newsletter.
Downloaded our FREE Photoshop Course.
Got our FREE Easy Panel for Photoshop.
And, have our FREE Essential Guide To Luminosity Masks E-Book.
Alternative resources on Chromatic Aberration
What is Chromatic Aberration?
How to Fix CA in Lightroom