How To Make Vignettes in Photoshop for Beginners
In this tutorial, we will teach you how to create powerful vignettes in Photoshop. First, you will find out what they are and how and when to use them effectively. But most importantly, you will learn how to make them by following six simple steps. And finally, we’ll also be sharing some extra tips with you so you can get the best out of your photos when using vignettes. For those of you looking for a more advanced vignette tutorial, see The Power of Vignettes in Photoshop.

What is a Vignette?
They are shadowy effects or borders that we use to shift the focus of attention. We want the people viewing our photos to be instantly drawn to areas that we think are more important or impactful. We can do this by using Vignettes.
The Best Way To Make A Vignette in Photoshop
A brilliant and foolproof way to make exceptional vignettes quickly and easily in Photoshop is to use Raya Pro. Raya Pro is a complete editing panel that is used by over 25,000 photographers all over the world including some of the very best. Within Ray Pro’s Filters and Finish panel, there are two built-in functions for creating vignettes in photoshop. A light vignette and a more substantial vignette, both of which you have complete control with. You can apply vignettes with just 1 click with Raya Pro.
– Tutorial Continued Below –
Editor’s Choice plugin on Adobe marketplace

Raya Pro, the most rated plugin on Adobe Marketplace.
How to To Make a Vignette Photoshop
Below you will see the same steps as above, but we have added some useful images to help you.
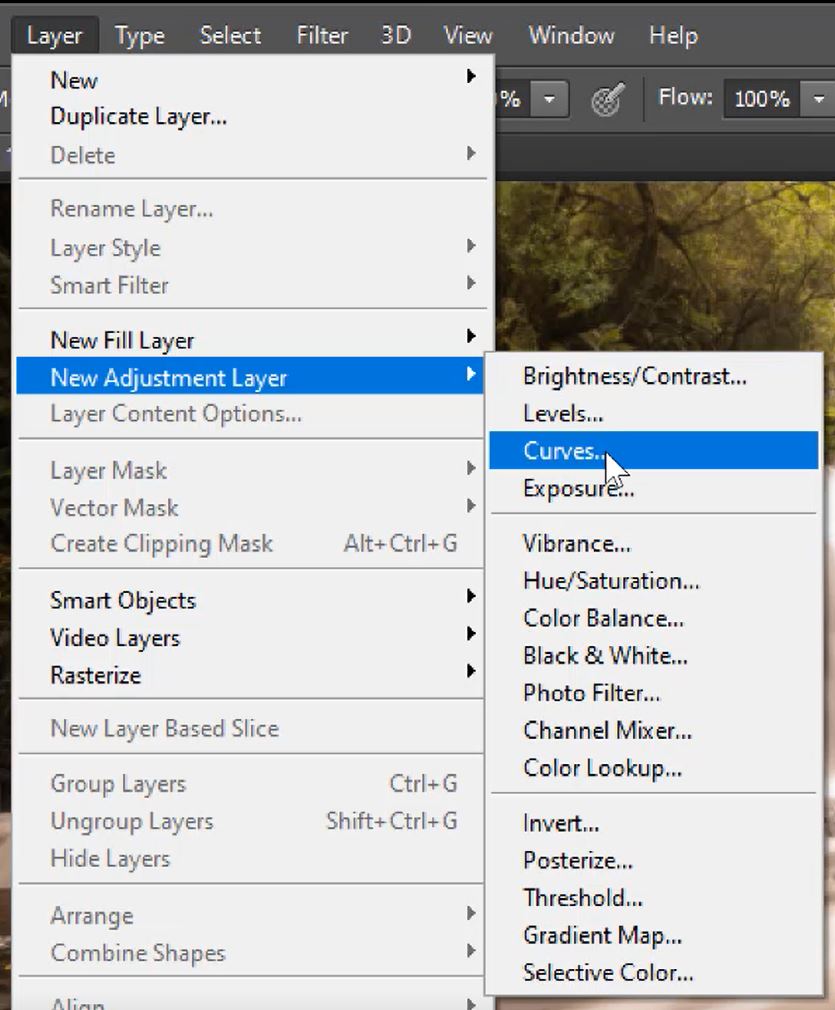
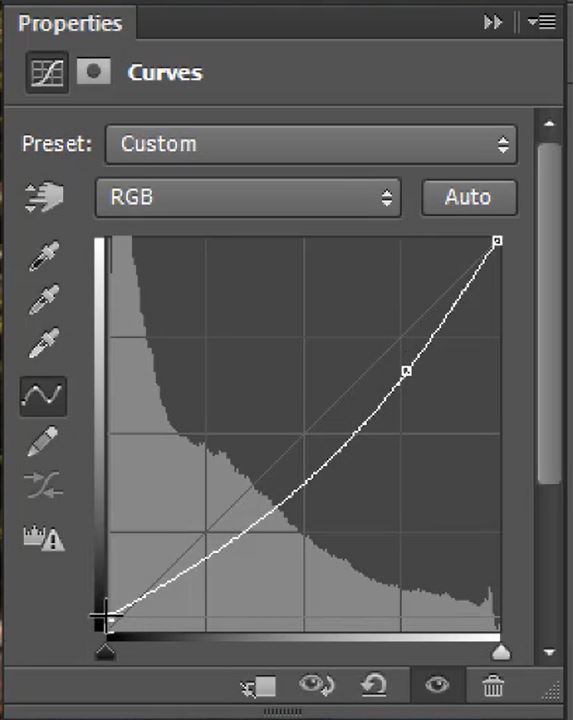
1. First, let’s make a Curves Layer. Layer>New Adjustment Layer>Curves then click OK.
2. Lower the upper mid-tones of your Curves Layer.
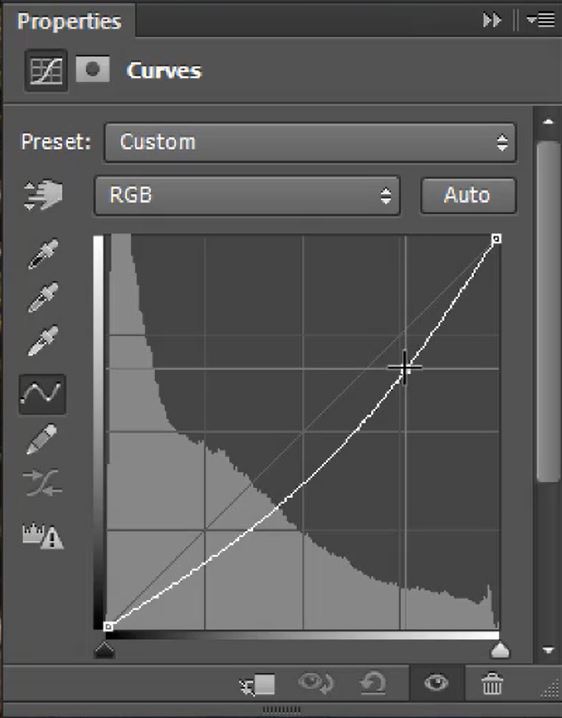
3. Soften/Lighten shadows of the Curves layer to avoid harsh shadows.
4. Next, Invert your Curves Layer by pressing Crtl+I on a PC or Cmd+I on a Mac.

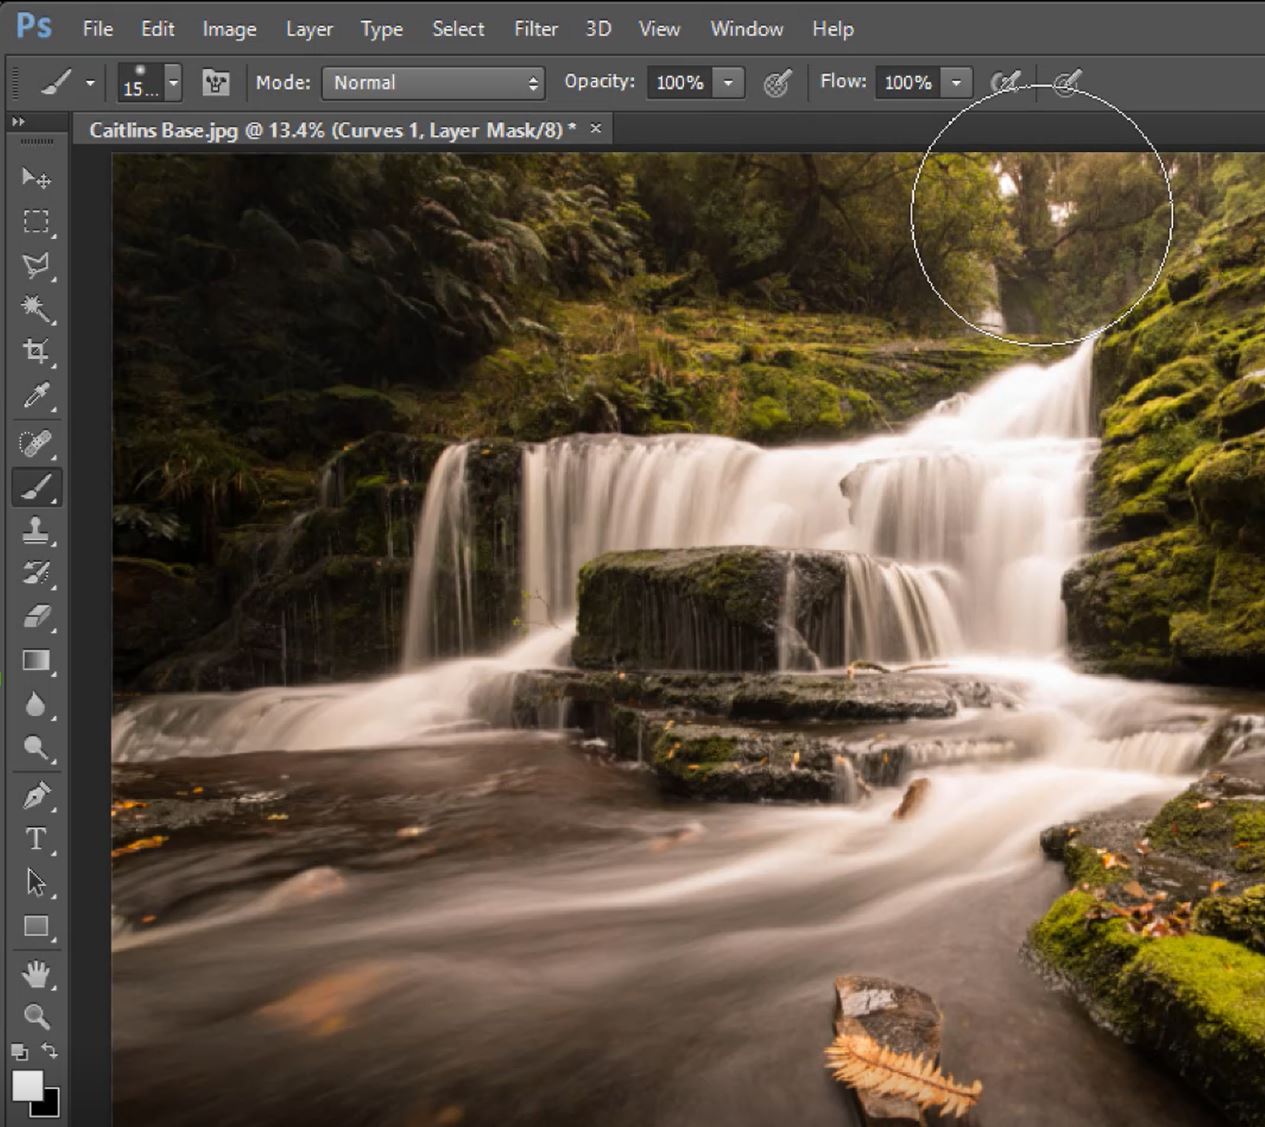
5. Ensure your Curves Layer is still selected. Then select the Brush Tool with a white foreground and Opacity of 100%.
6. Now manually paint areas you want to take attention away from.
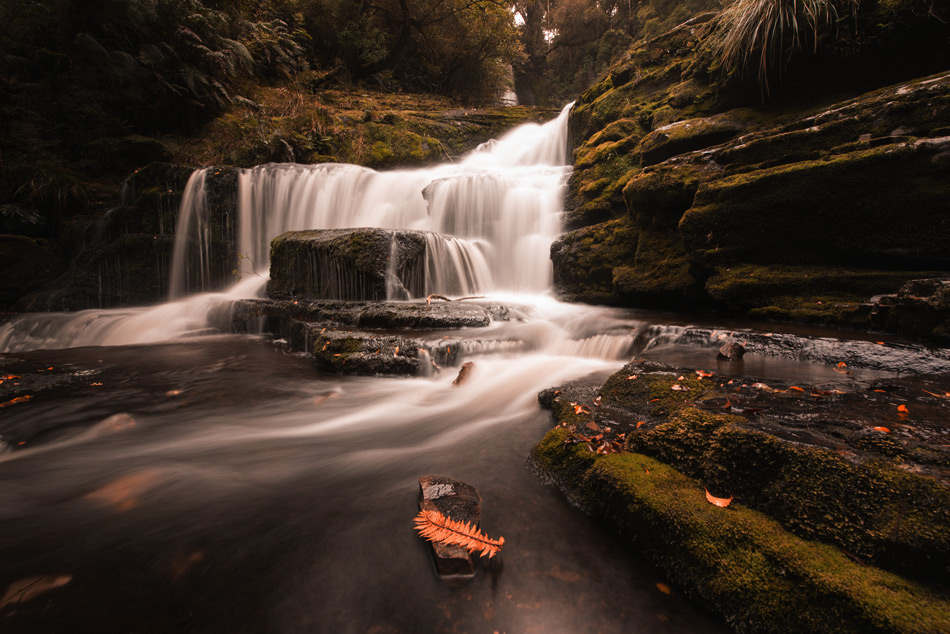
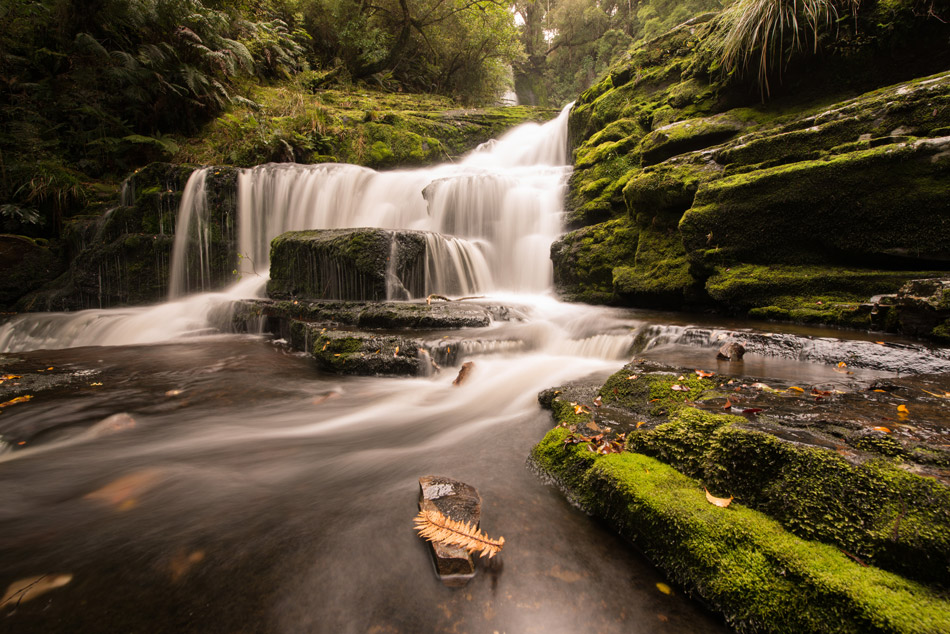
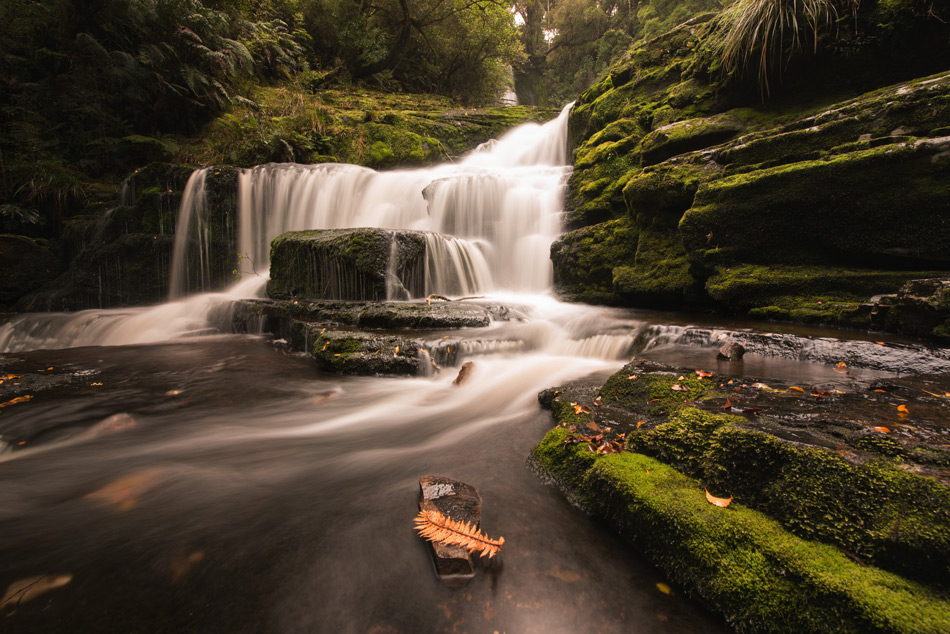
In the original image is on the left. We have added a vignette to the image on the Right. See how the focus is shifted towards the Waterfall.
How to get more from your Vignettes.
Let’s look at two ways to ways to further enhance our Vignettes. First, we will add another layer to give the most important feature in the image even more attention. Then we will play with a Hue/Saturation layer to balance the darkness and tone to create a finished work of art.
Adding a Second Layer curves layer for more attraction.
Sometimes, adding a single vignette to your image is not enough. If that is the case, we can easily add another curves layer. This time, it will be to attract the viewer’s attention to an area of greatest importance.
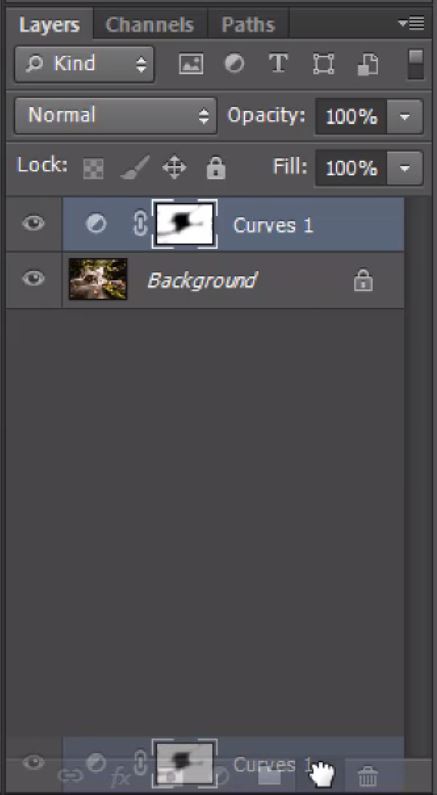
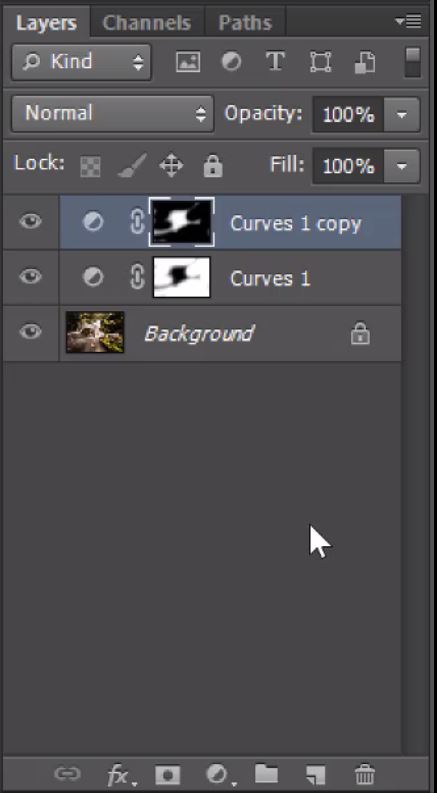
1. Duplicate your Curves Layer by pressing Crtl+J on a PC or Cmd+J on a Mac.
2. Invert this duplicated layer by pressing Crtl+I on a PC or Cmd+I on a Mac.
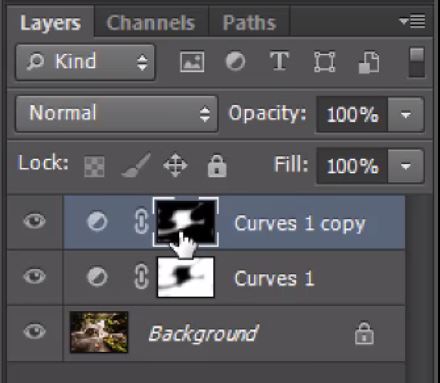
3. Double-click on the Curves 1 copy thumbnail to bring up the properties.
4. Adjust the upper-mid tones to bring some brightness back.

5. The areas in the mask will brighten when you adjust the properties of the curve layer. You can fine-tune this mask using a white brush to paint in your brighter layer. In contrast, if the image is too bright in areas, change to a black brush and mask out the areas that are too bright.
We’ve added a second vignette. Let’s have a look at the differences. On the left we have the original image. The Double Vignette on the right.
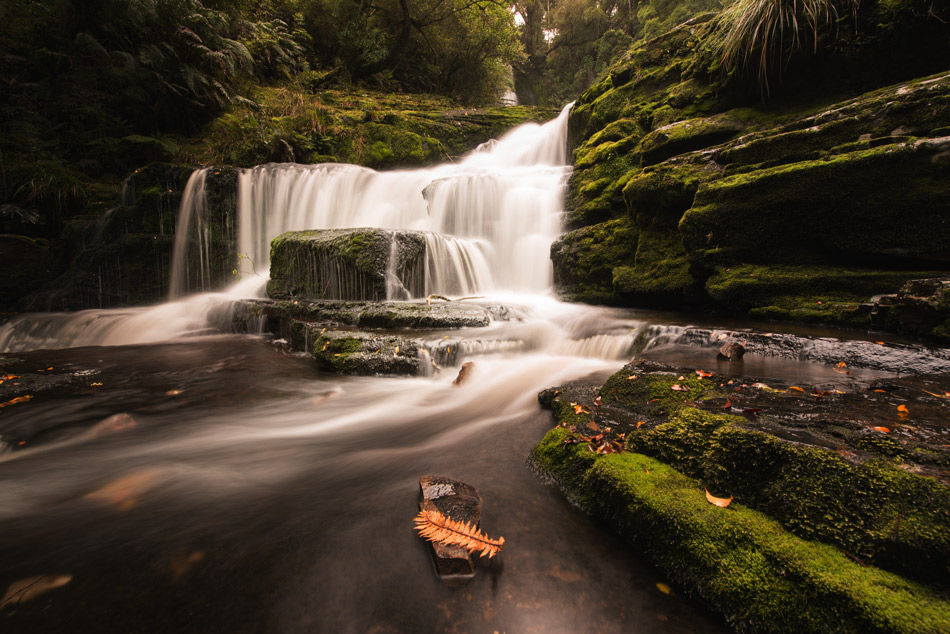
After adding a second vignette we have made the waterfall much brighter. This is exactly what we wanted. As a result, it pulls the attention of the viewer towards the Waterfall. On the other hand, the first vignette pushed the viewer’s attention away from the edges and toward the centre. By using two vignettes, one to push, and one to pull. The focus has shifted to exactly where we wanted it to.
By using two vignettes, one to push, and one to pull, the focus has shifted to exactly where we wanted it to.
Thank you for reading this article on How To Make Vignettes in Photoshop, be sure to sign up for our newsletter for more tutorials and great offers.
Enter your email below and join our community of more than 100,000 photographers who have also
Subscribed to our newsletter.
Downloaded our FREE Photoshop Course.
Got our FREE Easy Panel for Photoshop.
And, have our FREE Essential Guide To Luminosity Masks E-Book.
Other useful Vignette resources online
6 Ways to Create a Vignette in Photoshop
Classic Vignette Photo Effect in Photoshop