How To Deal With Moving Objects In Exposure Blending
Dealing with moving objects, like leaves/trees/foliage or people, in our images presents a challenge in all forms of exposure blending. With HDR software, moving objects are one of the more common causes of haloing and ghosting. In Digital Blending, we can completely avoid halos and ghosting, even when moving objects are present, by becoming a little bit more creative This is How To Deal With Moving Objects In Exposure Blending.

Luminosity Mask Resources Before We Begin
If you’re new to Luminosity Masks and digital blending, here are a few resources to help you out. You can download some free resources that will help you such as our Easy Panel and our Essential Guide to Luminosity Masking e-book here
And if you’re looking to master Digital Blending, my premium course The Art of Digital Blending, may give you the boost you’re looking for: Master Luminosity Masks
The Big Misunderstanding
It is quite common to think that dark edging is a result of objects moving between exposures. This is especially common with the branches of a tree. Where after blending you are left with dark edging that just looks awful. On most occasions, the dark edging is a result of Clipping that occurs with exposure blending and not moving objects. Here is an example to help you understand clipping is:
Below are two images. A darker exposure for the sky, and a brighter exposure for the foreground.


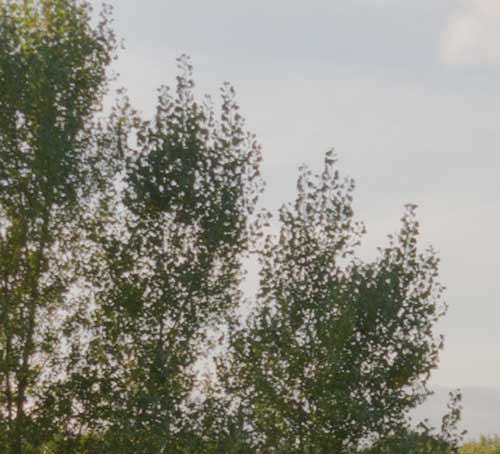
When we zoom in to look closer at the images to compare them we see that the edges of the branches on the brighter exposure look a lot thinner than the branches on the darker exposure.


There’s such a difference that when we blend these two exposures using luminosity masks this is how the branches look after blending:

This looks terrible. It’s easy to think that this dark edging is a result of the branches moving between exposures. Rest assured, in many cases like in this example moving objects is not the problem, and what’s better, Clipping is even easier to fix. If your darker exposure was the top layer then lower the opacity, or use a black paintbrush at a low opacity to paint over the clipped areas. Another thing to try is exposure blending with your brighter layer on top.
Here is the final image with the darker exposure on top and the layer opacity reduced to around 40%:
The final image – no over-exposed areas and no edging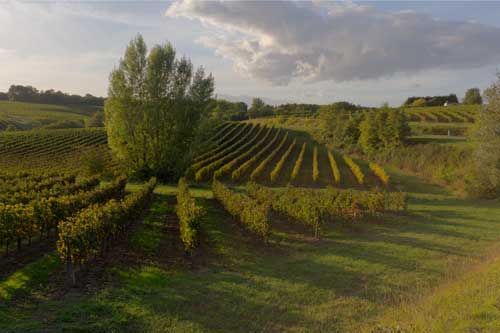
How To Deal With Real Moving Objects
As with everything in Photoshop, there isn’t a single way to work with moving objects. The greater your knowledge in Photoshop, the greater the options you will have, and the more flexible you will be in your processing.
Shooting First – The Importance of a Base Image
In Digital Blending it is important that our base exposure, usually our normally exposed image, contains the majority of the information we need.
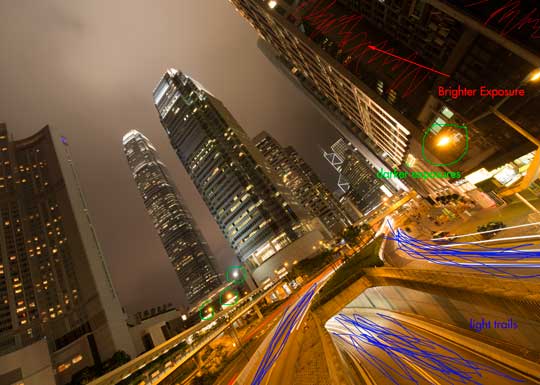
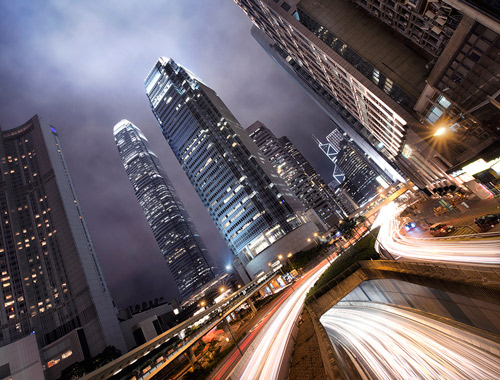
With a well-shot base exposure, we can then blend in other exposures in specific places, without affecting anything else. For example, in the image below, the base exposure contains almost everything. Building around this, I was then able to layer in darker/brighter/light trail exposures as I needed.
With moving objects in our scene, like cars and people, it is beneficial if our base exposure captures those moving objects in their ideal locations, wherever that may be in regard to the vision you have of your image.
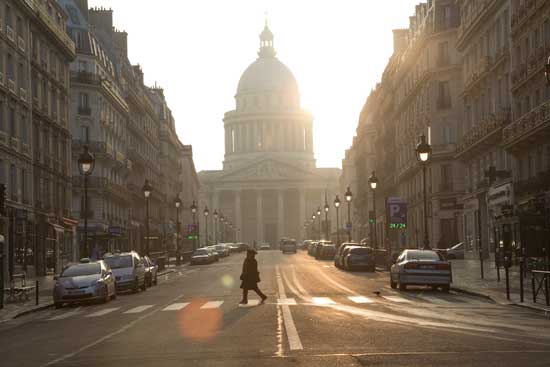
Then you work around these objects by recovering highlights/shadows in specific areas. In the below image, I waited for the right moment to capture the woman in the right place. For the darker exposure, a car then entered the scene and the lady had moved. But none of this was relevant as I simply needed the sky from the darker exposure, as the base image had captured everything else.
Base Exposure
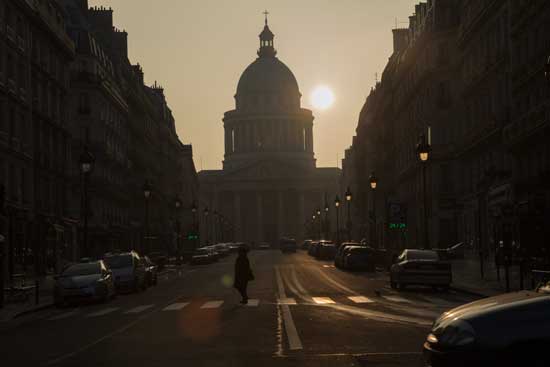
Darker Exposure
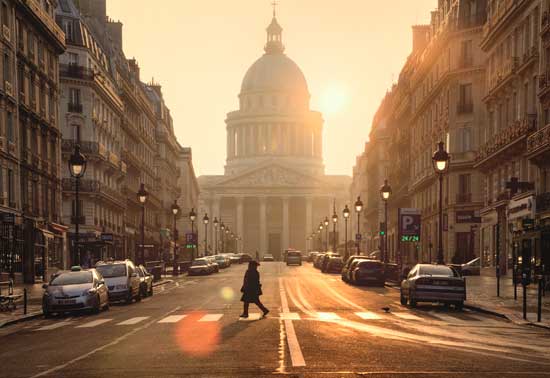
Final Blend – Luminosity Masks Brights 2
What If The Moving Object Is In A Less Than Ideal Position?
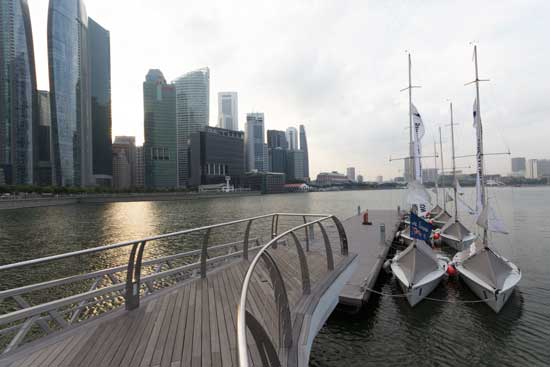
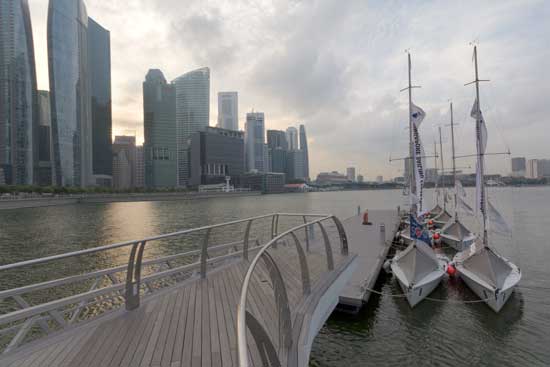
In this case, we need to rely on the post-processing knowledge bank in our heads. The two exposures below present a real challenge because the flags on the boat are blowing in the wind, putting them in very different positions between exposures.
Since the flags are in an area that is overexposed in the base image, we will have to blend in a darker exposure, which will prove difficult.
Dark Exposure
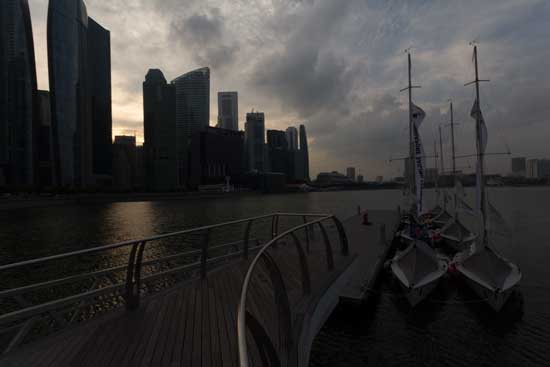
Base Exposure
I blended these exposures very quickly following my 21 Tips That Will Transform Your Cityscape Photos and the Rapid Blend If technique. The Blend If technique can be seen in my Tutorial on How to Blend Exposures in Interior Photography. Whenever Luminosity Masks struggle to blend exposures, the Rapid Blend If technique is a powerful, and quick alternative.
Zooming into the flags we can see this technique has done brilliantly in making the flags look natural, although there is some obvious ghosting.

But what happens if the Rapid Blend If technique didn’t do a good job?
In this case, we can turn to Triple or Double RAW Processing a single file. You can see a great tutorial on it here: The Importance of Triple/Double Processing in Photoshop & Exposure Blending
In this situation we can’t blend two exposures in this area specifically. Instead, we will blend the two exposures everywhere else, apart from the area with moving objects. For the trouble area, we will use only one exposure – the darker exposure. We will double process the dark exposure in Adobe Camera Raw.
How To
To do this, we open our two exposures in Photoshop. By default ACR should open. Make any adjustments you normally make in ACR. Here is an article on how to prepare your images in ACR for Digital Blending.
While still in ACR, hold Shift and you will see the ‘Open Images’ button to the bottom right change to ‘Open Objects’. Left-click on this. Your images will now open as Smart Objects in Photoshop. Drag the dark exposure on to the base exposure.
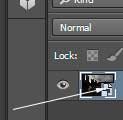 Return to the dark exposure window, and double click on the thumbnail of the layer. This will open ACR again.
This time, increase the exposure slider so that the image brightens up somewhat. If any area becomes over-exposed, decrease the Highlights slider until happy. Our goal here is to try and match the brightness of our final exposure after blending the base and dark layers.
When you’re finished click OK.
Now drag the new, altered darker exposure and layer them on top of the two exposures you layered earlier. So now you should have a base exposure on the bottom, the dark exposure in the middle, and the new dark exposure on top.
Make the top layer invisible and blend the two original exposures as you would normally. For a basic tutorial on the Rapid Blend If technique, please see here: Tutorial on How to Blend Exposures in Interior Photography
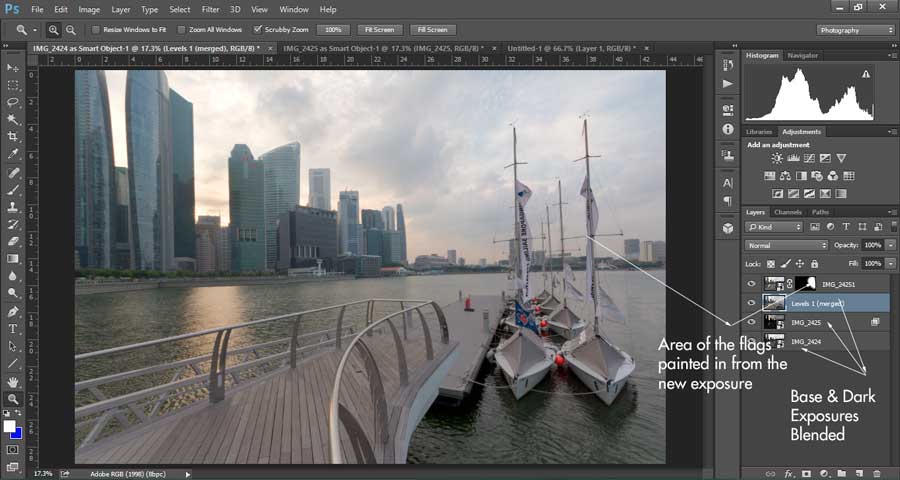
At this point you should have a reasonably well exposed image in front of you. In my case, everything is exposed for, I just need to clean up the moving flags.
To do this I put a black mask on the top exposure (the altered dark exposure). Then I choose a white paintbrush at 100% opacity and paint in that exposure in the area of the flag. If the area is too dark, or too bright, simply double-click on the thumbnail again of the top layer to open up ACR, and adjust the exposure slider until the exposure matches that of the blended image.
What the workflow looked like
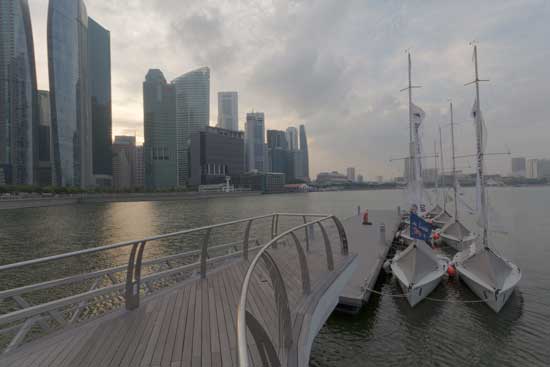
The final blend
Close up of flags

As I mentioned earlier, there isn’t a single, most-effective way to deal with moving objects. But the techniques shown in this article will hopefully give you even more tools in your ever-growing Digital Blending toolkit.
Thank you for reading. If you feel your photographer buddies would be interested in this tutorial, please feel free to share it.
Enter your email below and join our community of more than 100,000 photographers who have also
Subscribed to our newsletter.
Downloaded our FREE Photoshop Course.
Got our FREE Easy Panel for Photoshop.
And, have our FREE Essential Guide To Luminosity Masks E-Book.
To go directly to any of our products, simply click on the image below.


