Editing Bluebells in a Forest using Photoshop
It’s that time of year here in the UK when the bluebells bloom. The weather is milder and budding photographers flock to capture these beautiful and brightly coloured flowers. Soon enough we all start seeing tons of photographs of Bluebells on forest floors. Some stand out more than others and they’re the ones that we take note of. Woodland isn’t the easiest setting to take a photo in because of the varying light and bold colours. So how do we make our image stand out amongst the crowd? Let’s re-evaluate what our subject is and look at a sure-fire way of Editing Bluebells in a Forest using Photoshop.

If you wish to experiment with this, I would really appreciate it if you included my name (Duke McIntyre) and www.shutterevolve.com when you publish your image. If you post your published image on our Facebook page I’d be happy to check it out.
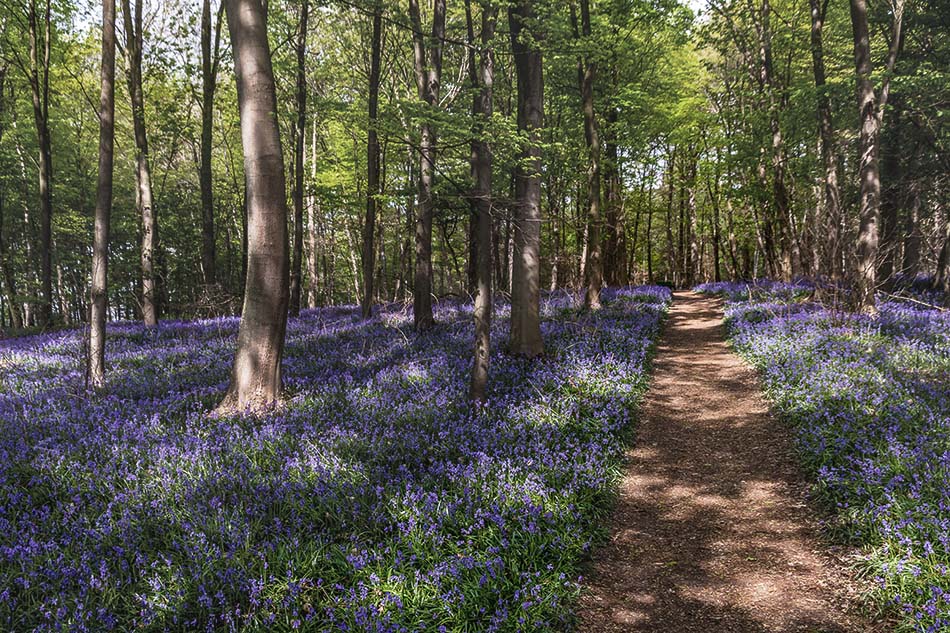
Bluebells are the Subject
If you’ve ventured into woodland to capture Bluebells, don’t forget that. A lot of the time we see images of bluebells and they’re lost in the scene. Here are some examples of where the bluebells are just lost in the scene.
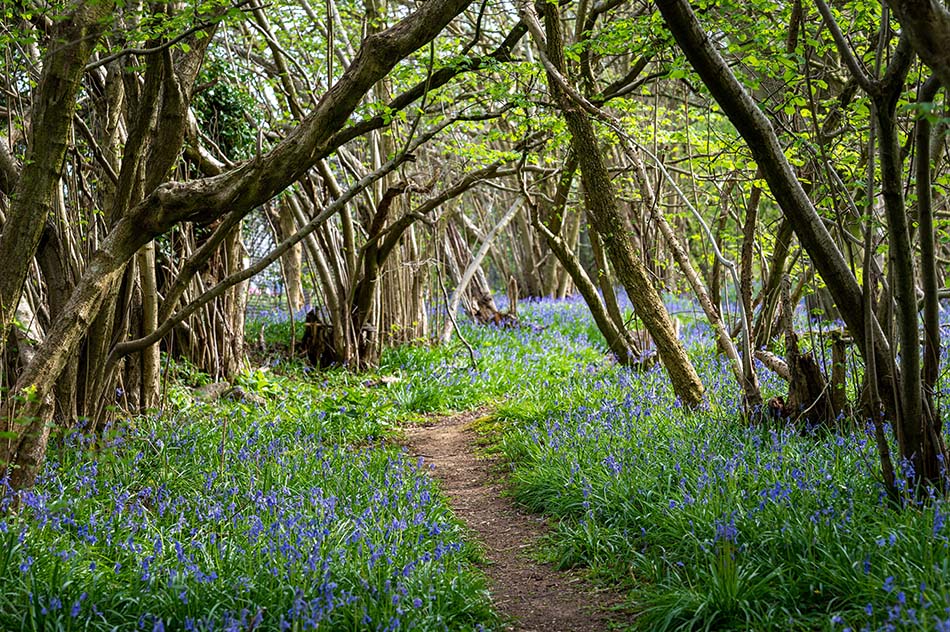
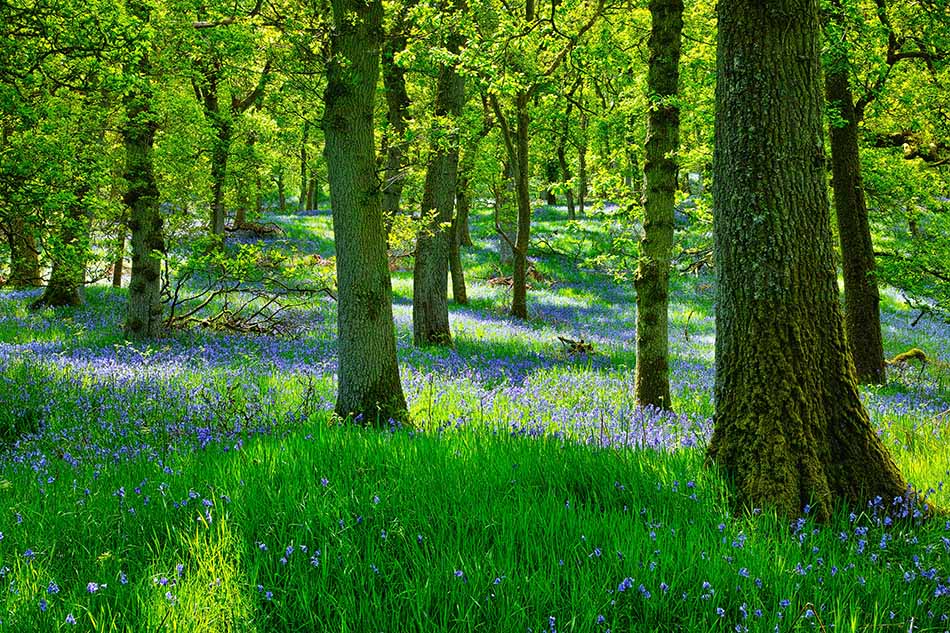
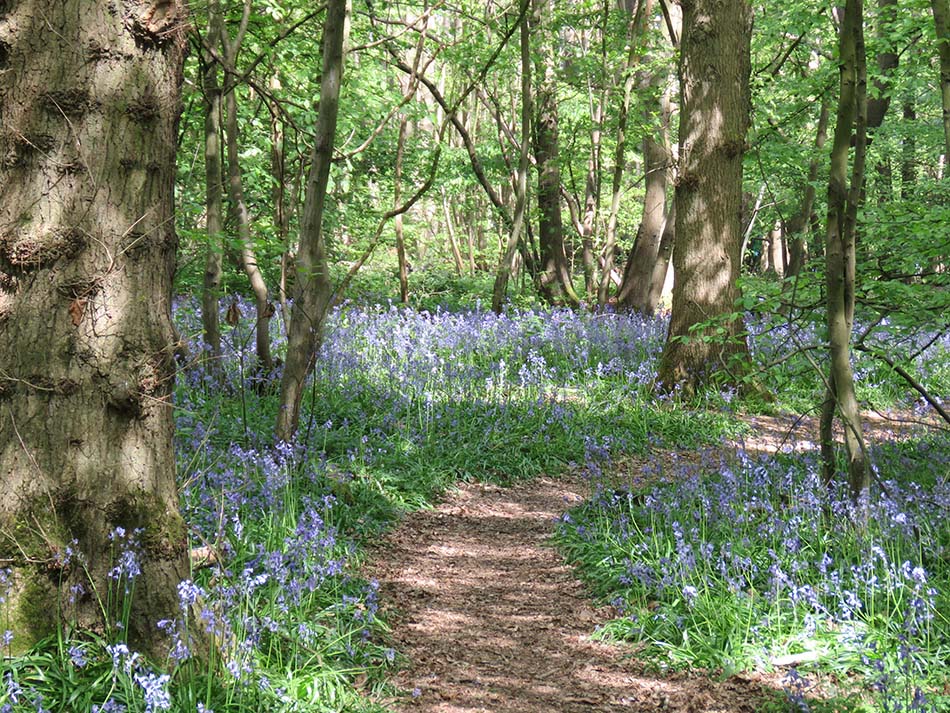
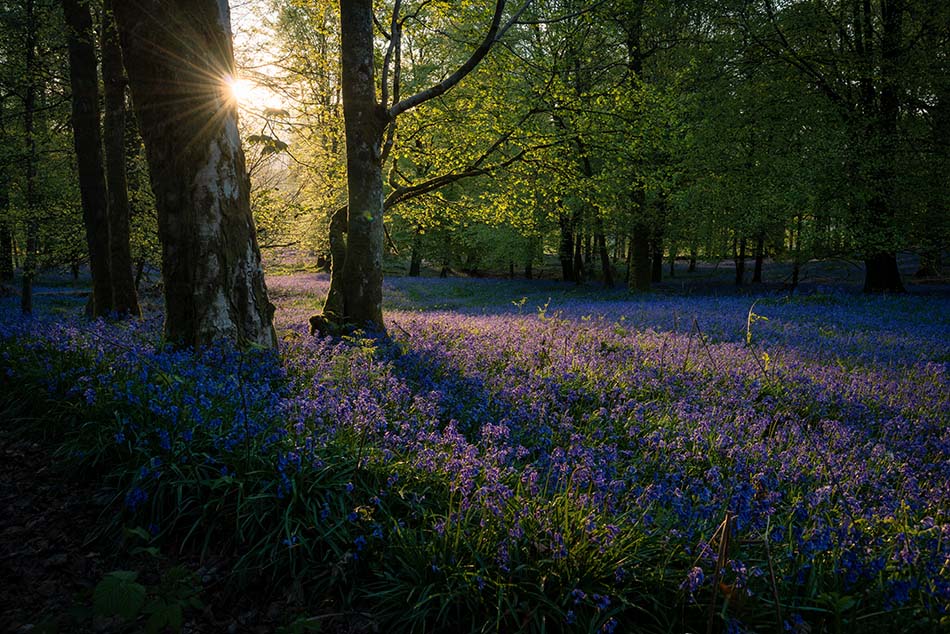
At first glance, the bluebells in all of the images above aren’t prominent at all. This is what we see a lot of. To improve these types of photos we need to separate the subject from the scene more. Below are some good examples where photographers have used colour, focal length, or luminosity to help differentiate the subject of Bluebells and the overall scene.


Below you will find our step-by-step tutorial on Editing Bluebells in a Forest using Photoshop.
-Tutorial Continued Below-
Enter your email below and join our community of more than 100,000 photographers who receive regular tutorials and have also

Subscribed to our newsletter,
Downloaded our FREE Photoshop Course
Got our FREE Easy Panel for Photoshop
And have our FREE Essential Guide To Luminosity Masks E-Book
Editing Bluebells in a Forest using Photoshop
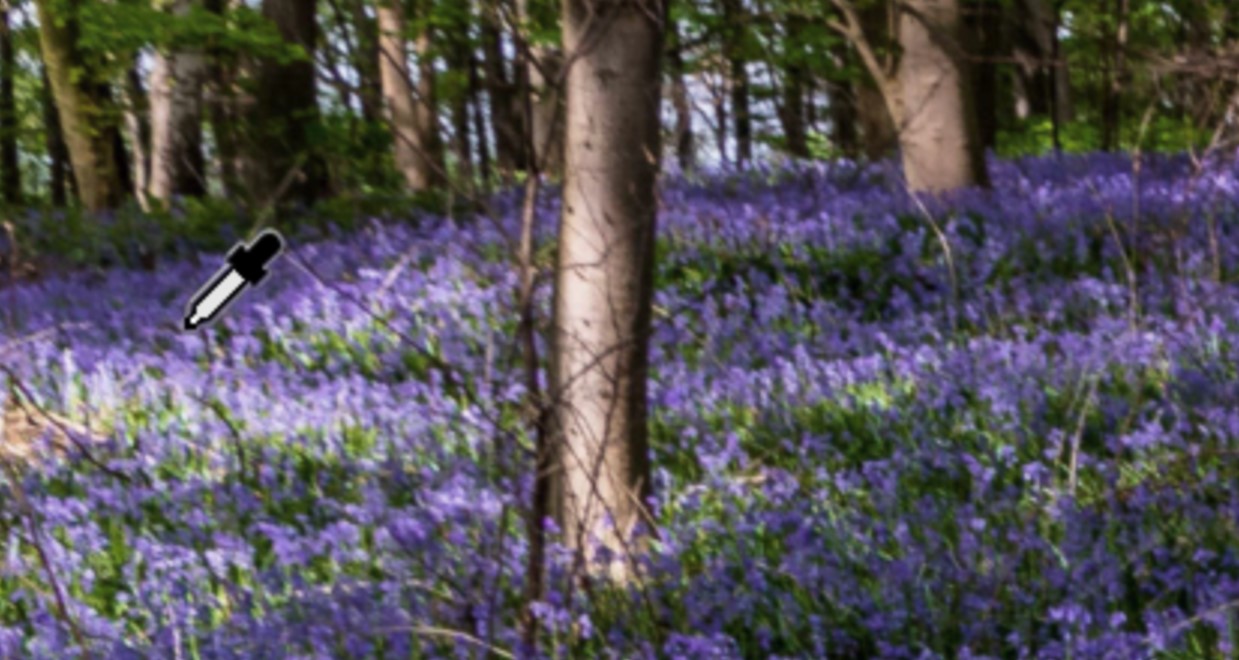
1. Once you have your Bluebell image open in Photoshop open InstaMask in Raya Pro.

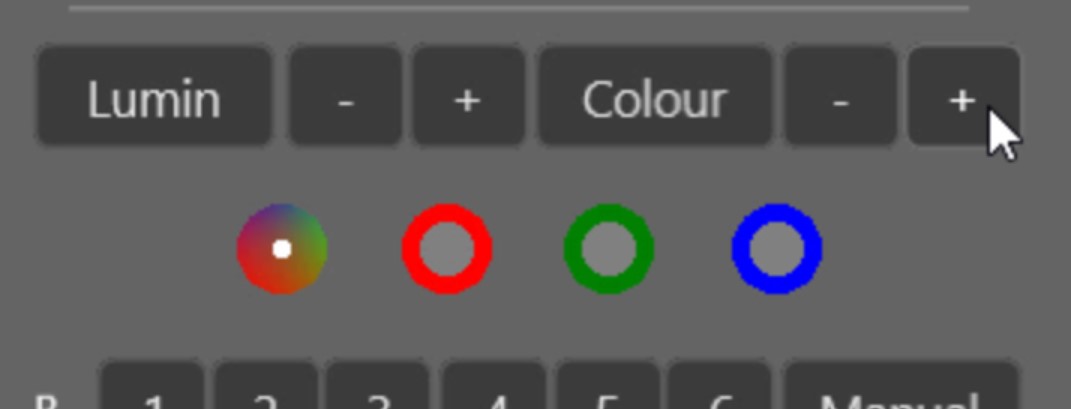
2. Once InstaMask is open click on the colour button.

3. This will open a Color Picker dialogue box and your cursor will now look like an eyedropper. Click on the colour of the bluebells.
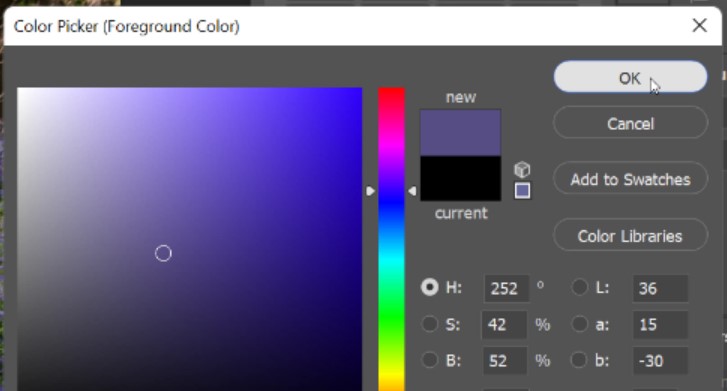
4. The color picker box should now show the color that you have selected. If you’re happy with the main color selection, click OK.
5. If you want to increase the colour selection range using InstaMask all you need to do is press the + icon a few times to increase the color range.
 [the above can be done natively in Photoshop without InstaMask by using the Select menu and Color Range options]
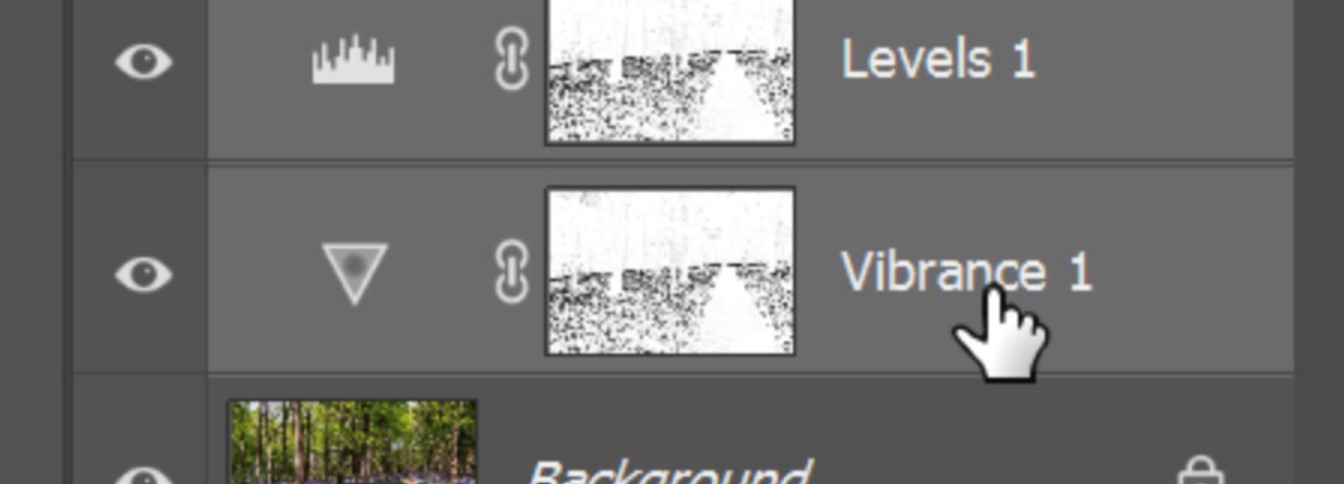
6. Once you have a decent selection to work with click on the Vibra button on InstaMask to add a new Vibrance Adjustment layer with a mask applied that is based on your color selection.

7. The layer mask on your Vibrance Adjustment layer should automatically be selected. If not, left-click on the layer mask thumbnail.
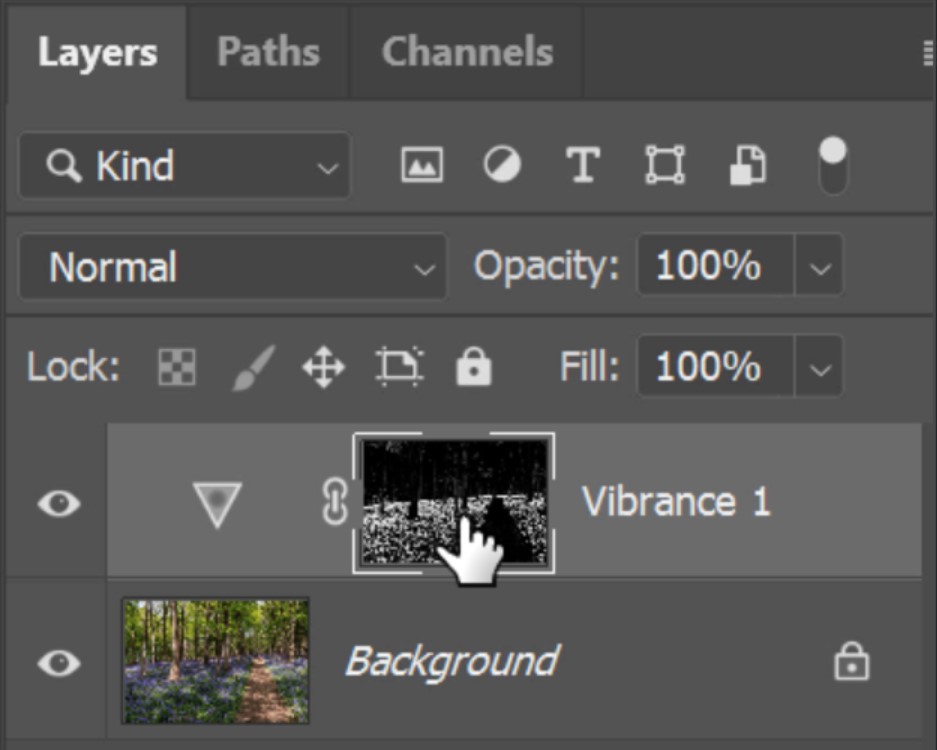
8. At the moment the mask is targeting the Bluebells, but we want to protect them and target the rest of the image. To do this we need to invert the mask. To invert the mask press Ctrl+I(PC) or Cmd+I(Mac).

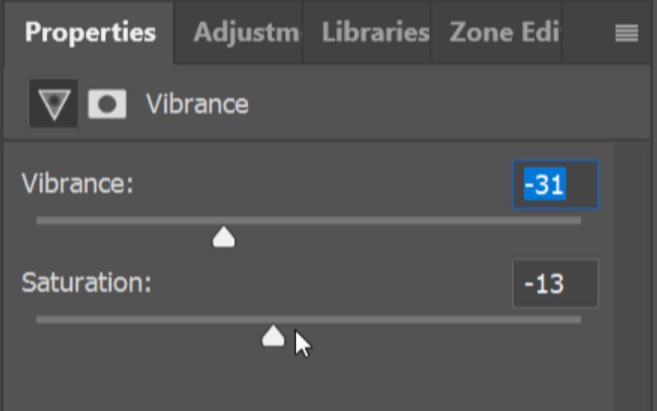
9. Go to the properties window for the Vibrance layer and lower the Vibrance and Saturation. If you can’t see the properties window you might have to click on the Vibrance layer (not the layer mask thumbnail).
10. At the bottom of the layers panel click on the Add new Adjustment layer icon.
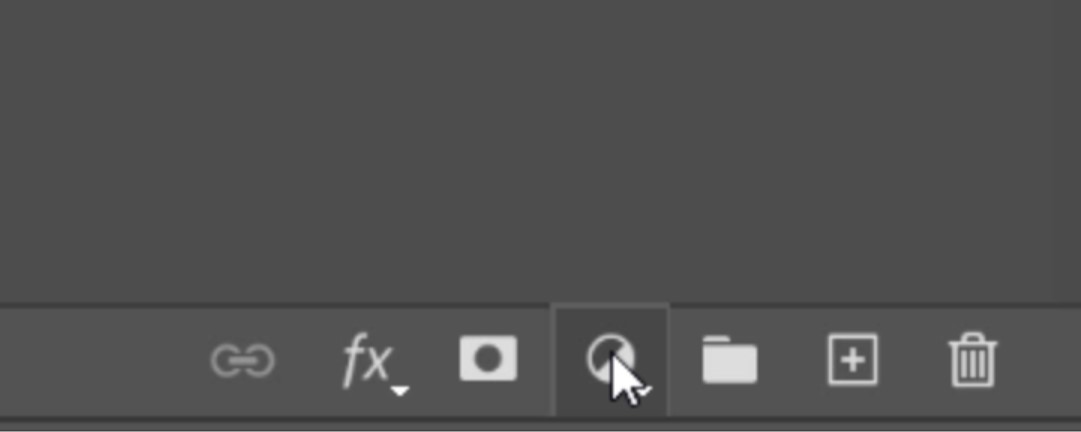
11. When the pop-up options appear, click on Levels.

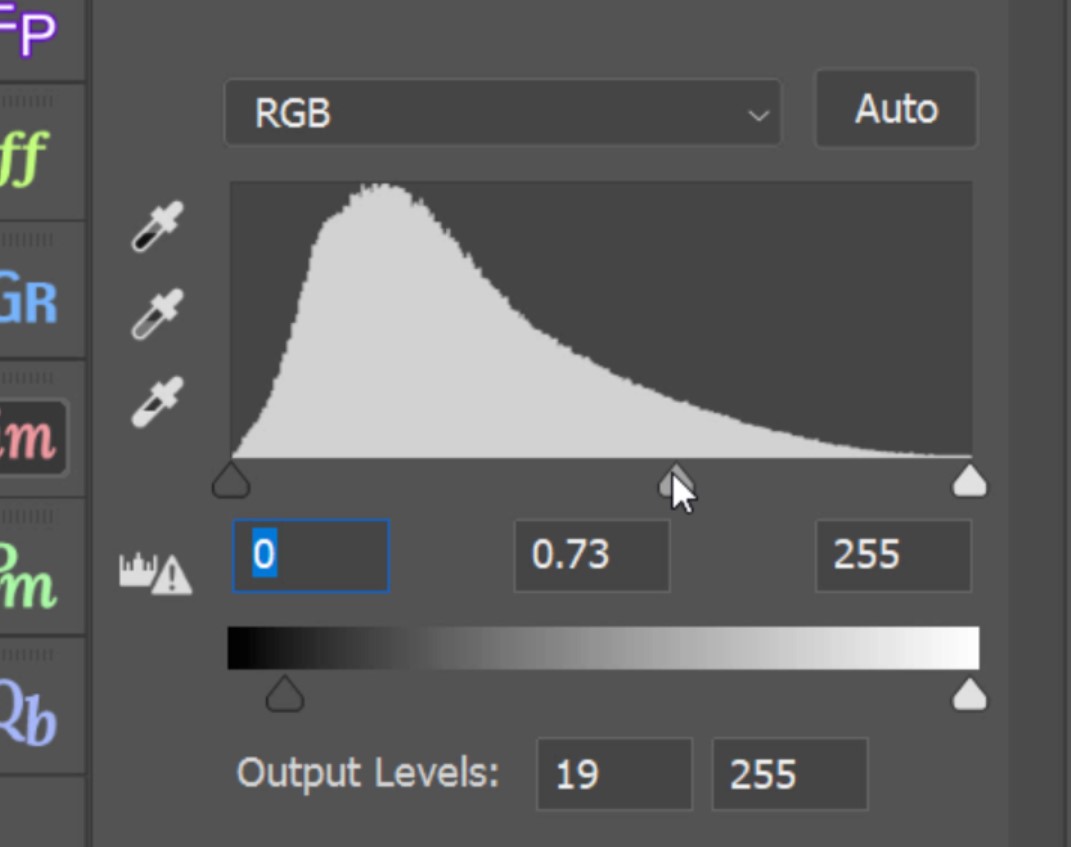
12. You should now see the Levels Properties where the Vibrance properties were earlier. First move the Black Point Output slider to the right to soften harsh black tones.

13. Then move the Mid Point Input slider to increase contrast in your mid-tones without restoring the harsh black tones.
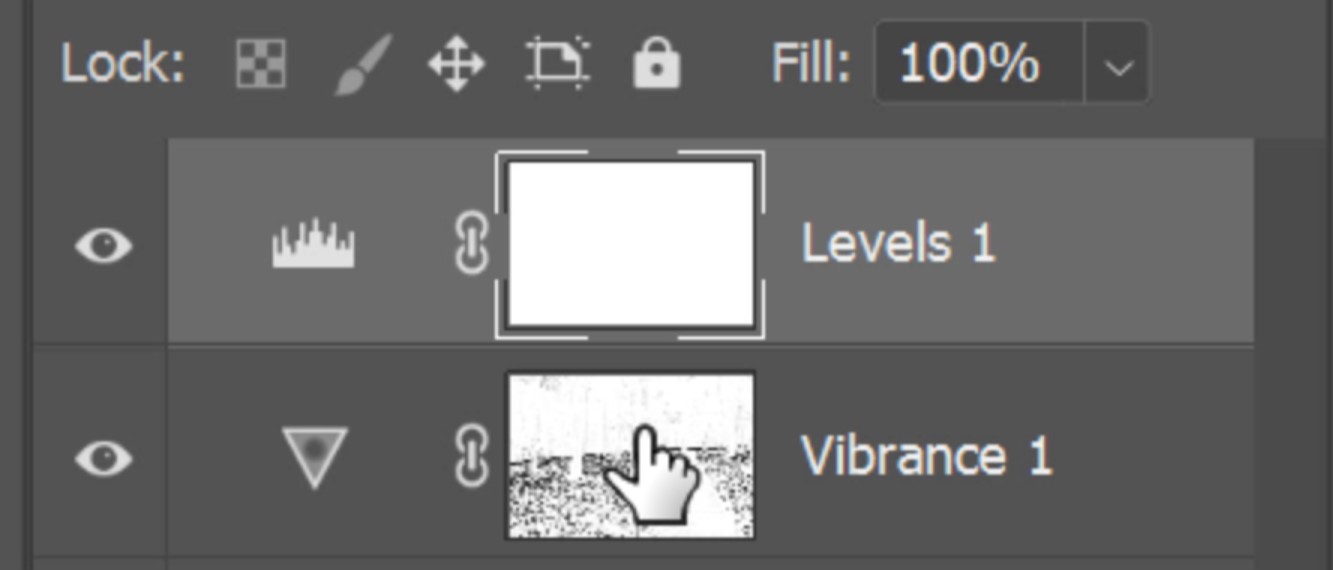
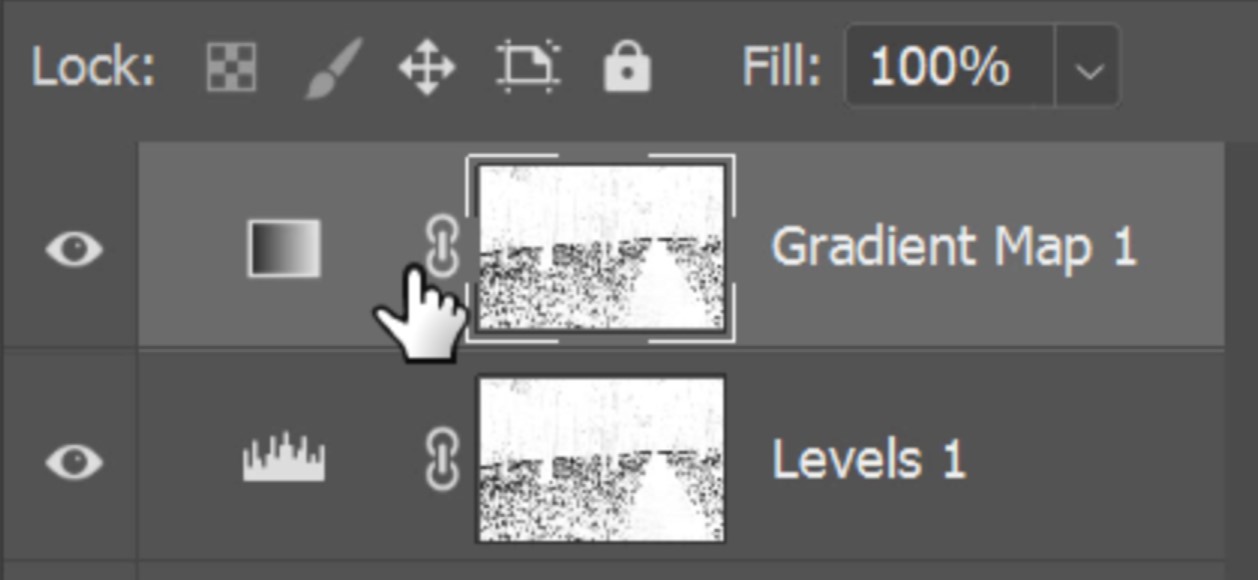
14. Hold down the Alt or Opt key and left-click and drag the layer mask thumbnail from your Vibrance layer onto your Levels layer. This will duplicate the layer mask and apply a copy to the Levels layer.
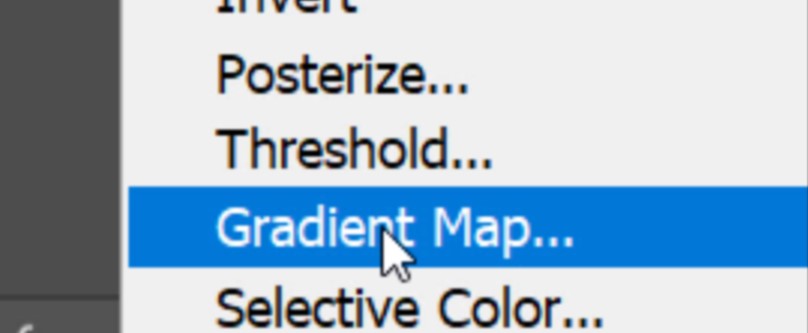
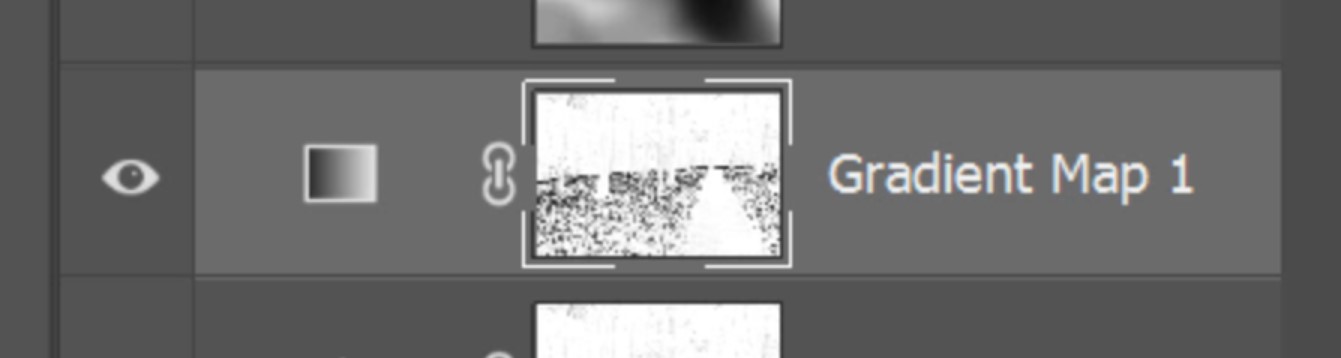
15. Left-click on the New Adjustment Layer icon as you did earlier in step 10. This time when the pop-up menu appears select the Gradient Map option.
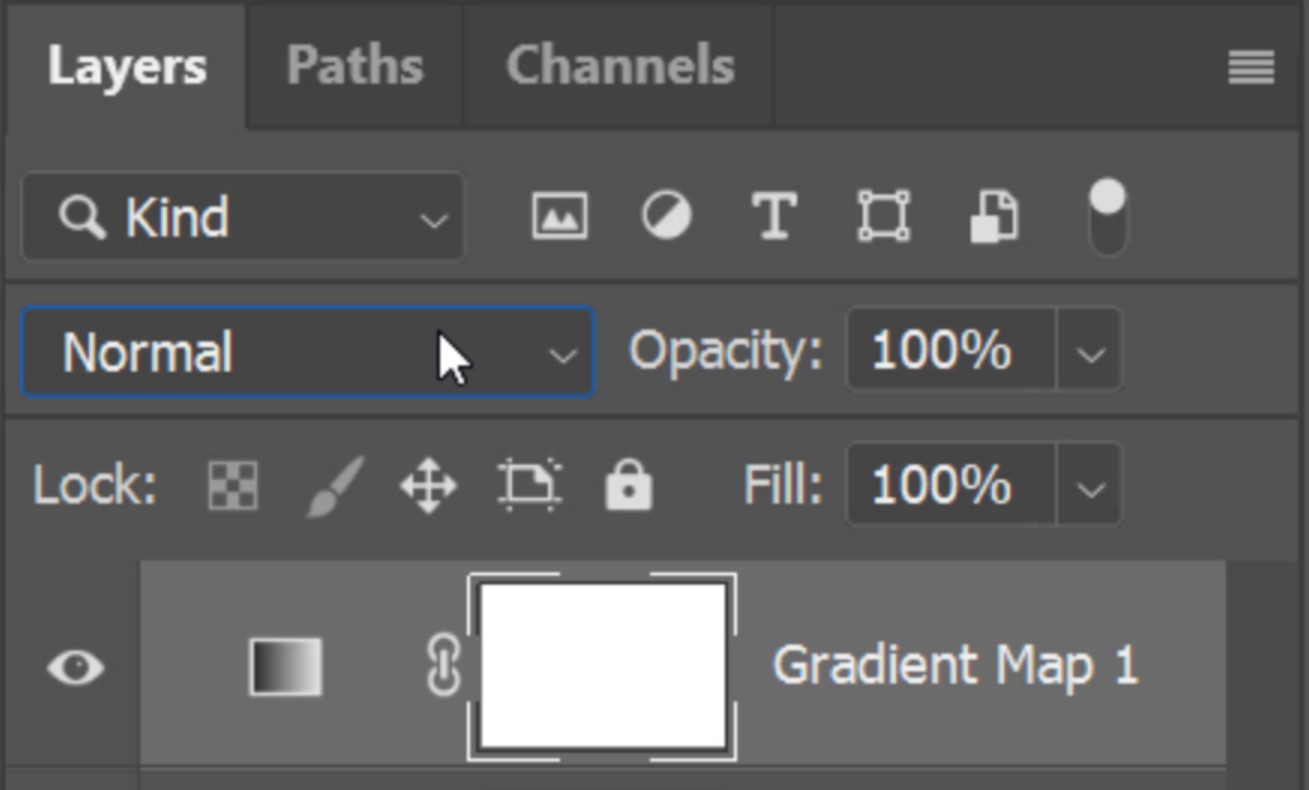
16. In the gradient Map properties window make sure the gradient fill from left to right is Black to White.

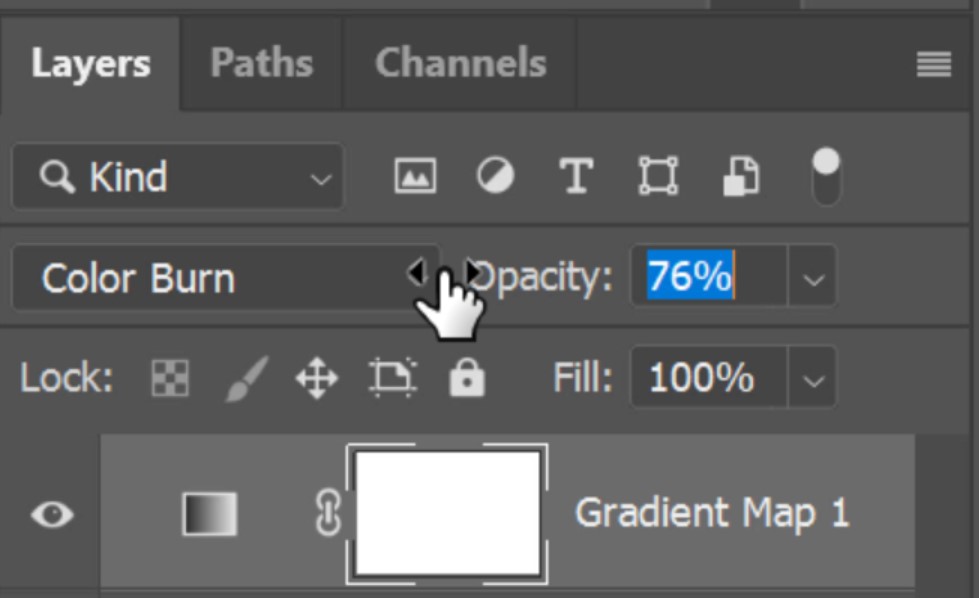
17. With the Gradient Map layer still selected click to change the blending mode and change this to Colour Burn.
18. This will dramatically darken the colours in your image. To reduce this simply lower the adjustment layers’ opacity to around 20%.
19. Just like you did in step 14, hold Alt or Opt and drag the layer mask from either the Vibrance or Levels layer onto the Gradient Map layer to duplicate it and apply a copy to the Gradient Map layer.
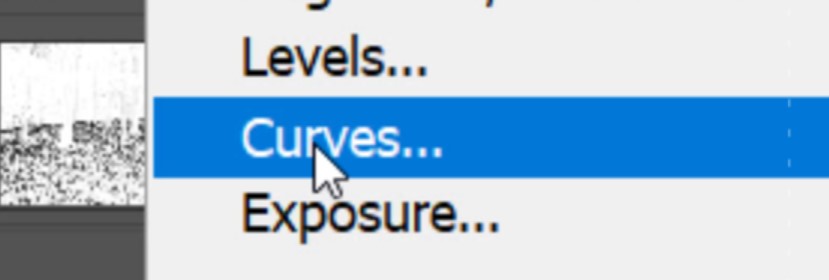
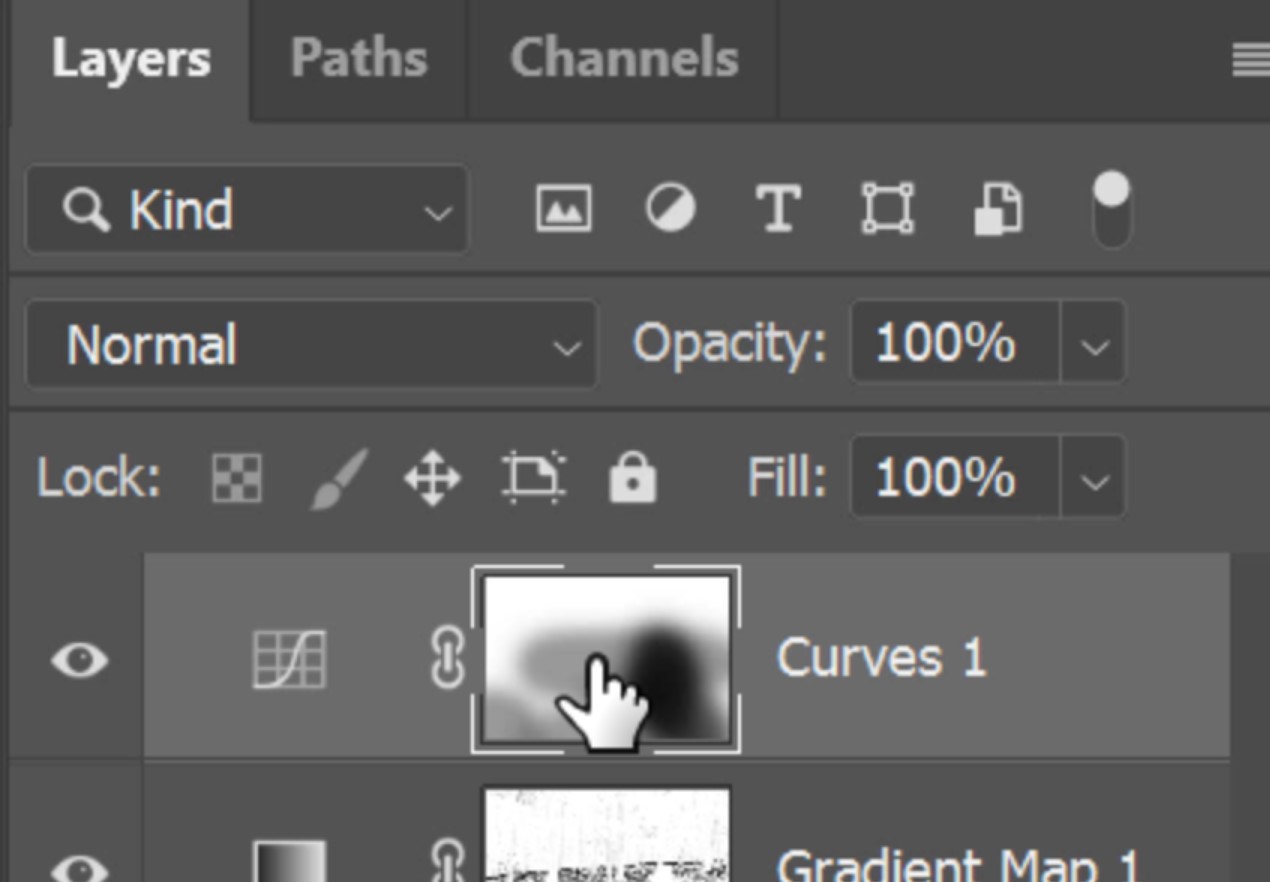
20. Add another New Adjustment layer just like you did in step 10, this will be our final adjustment layer and it’s going to be a Curves layer.
21. In the Curves properties window slide the Black Point up slightly to soften the black tones again. And raise the Midpoint of the curves line to soften the midtones.

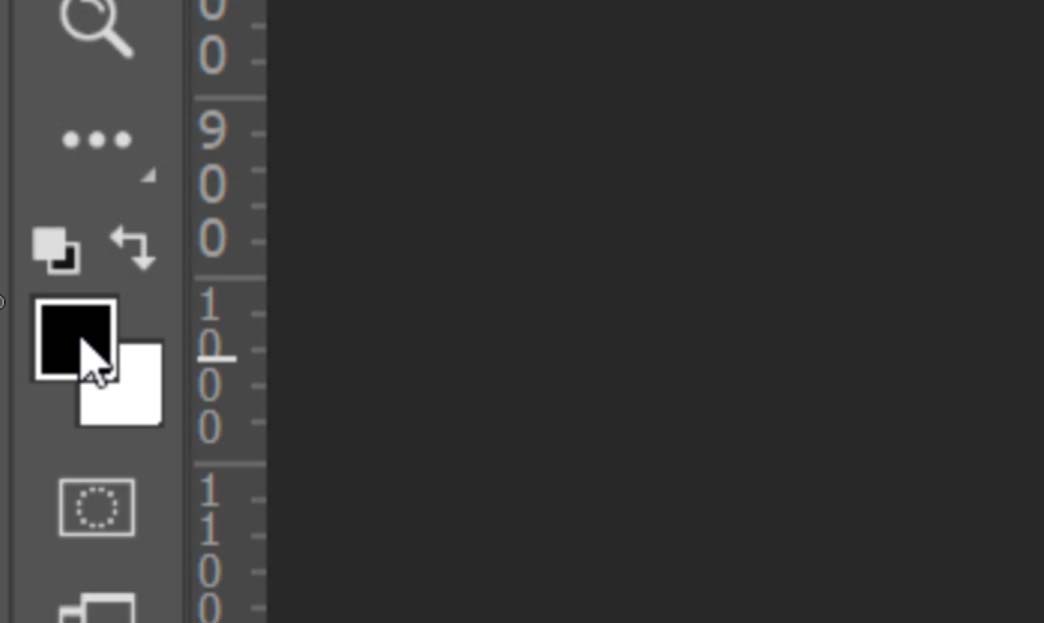
22. Select the Brush Tool.
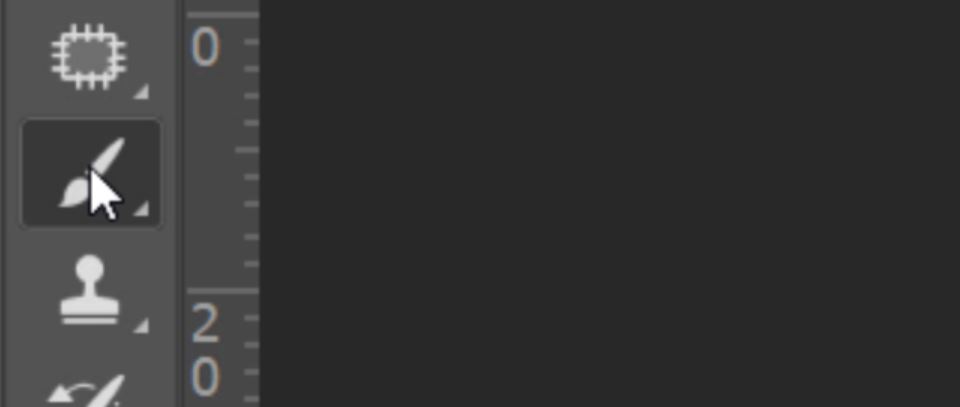
23. And also a Black foreground.
24. I also set the brush opacity set to 50% and made sure the Curves Layer mask thumbnail was selected. With the brush tool, I manually painted over the areas where I wanted to keep some contrast and detail for the viewer to focus on.
25. Left-click on the Gradient map layer to select it.
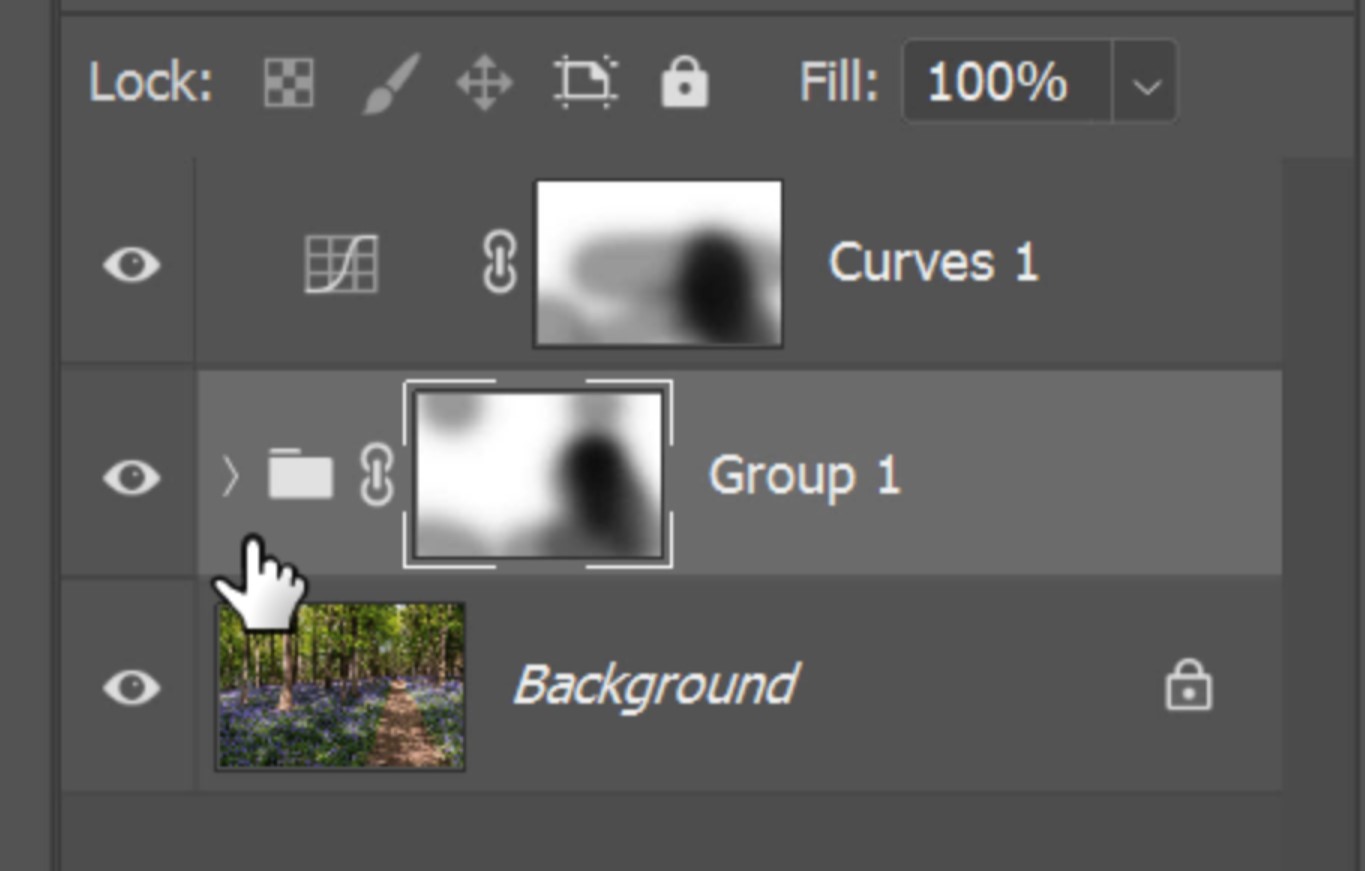
26. Hold down the Shift key and left-click on the Vibrance layer, this should give you a selection of the Gradient Map, Levels, and Vibrance layers.
27. Press Ctrl+G (PC) or Cmd+G (Mac) to group these layers.

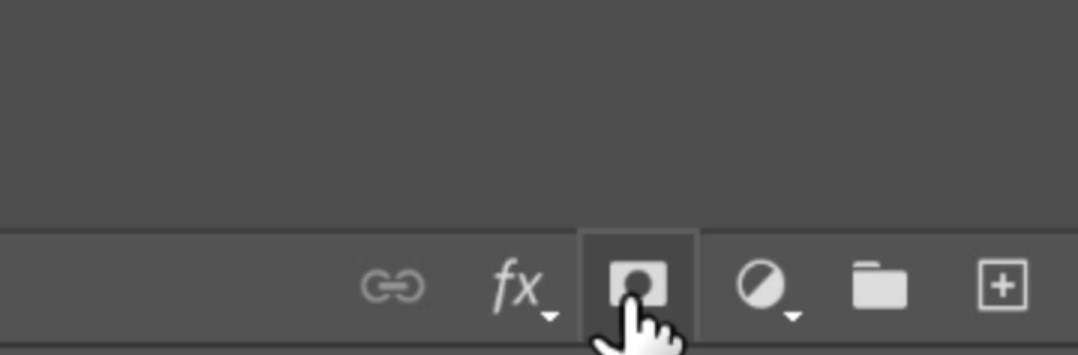
28. At the bottom of the layers panel click on the Add Vector Mask icon to add a mask to the grouped layer.
29. Just like you did before in step 24 making sure the layer mask is selected, paint over the layer mask manually to restore vibrance and further attract the viewer’s attention.
TOP TIP: If you wanted to strengthen the color tones of your bluebells, go into the grouped layers, select the Vibrance layer and press Ctrl+J (PC) or Cmd+J (Mac) to duplicate it. Select the layer mask of this new vibrance layer and Press Ctrl+I or Cmd+I to invert the selection. Now slide the Vibrance and Saturation sliders to the right to increase the colour strength of the bluebells. And that one way of Editing Bluebells in a Forest using Photoshop.