
Quick Photoshop Secrets 16: Perfect Sharpening & Resize for the Web
You can download the sharpening actions by subscribing here.
In today’s Photoshop tutorial, we look at how to resize and sharpen photos so that they are beautifully sharp for the web. We use a tried-and-tested method for coming out with crisp scenes.
Essentially, we resize our images by choosing the size of our image, and multiplying this by 1.67 and selecting the sampling method, Bicubic smoother. Then we add 3 sharpening layers and finally resize our image again but this time to the correct size.
Step-By-Step Guide
1. Go to Image>Duplicate
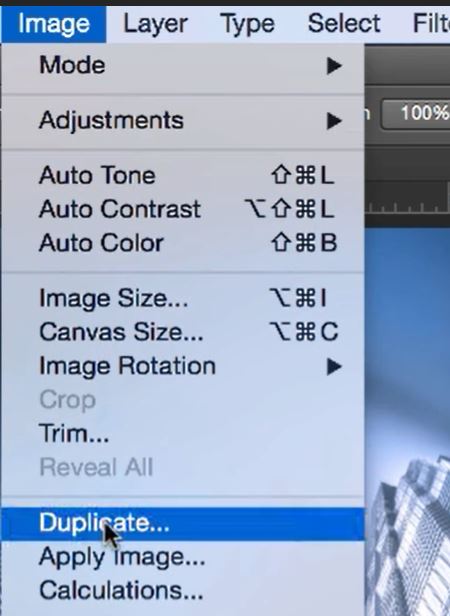
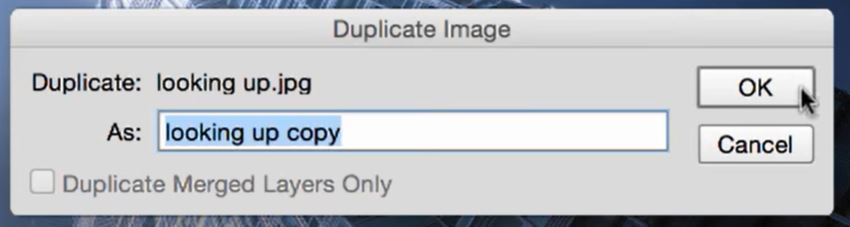
2. Click OK.
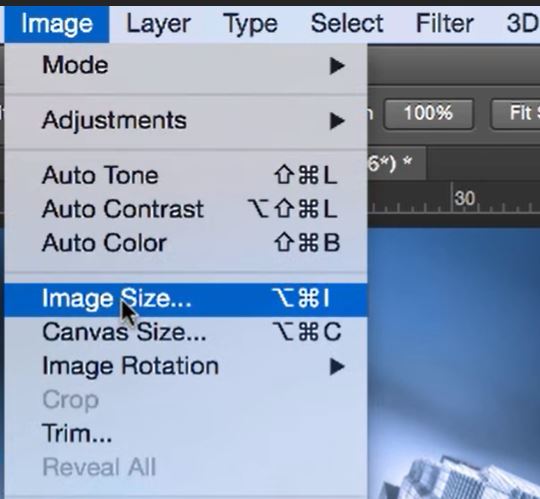
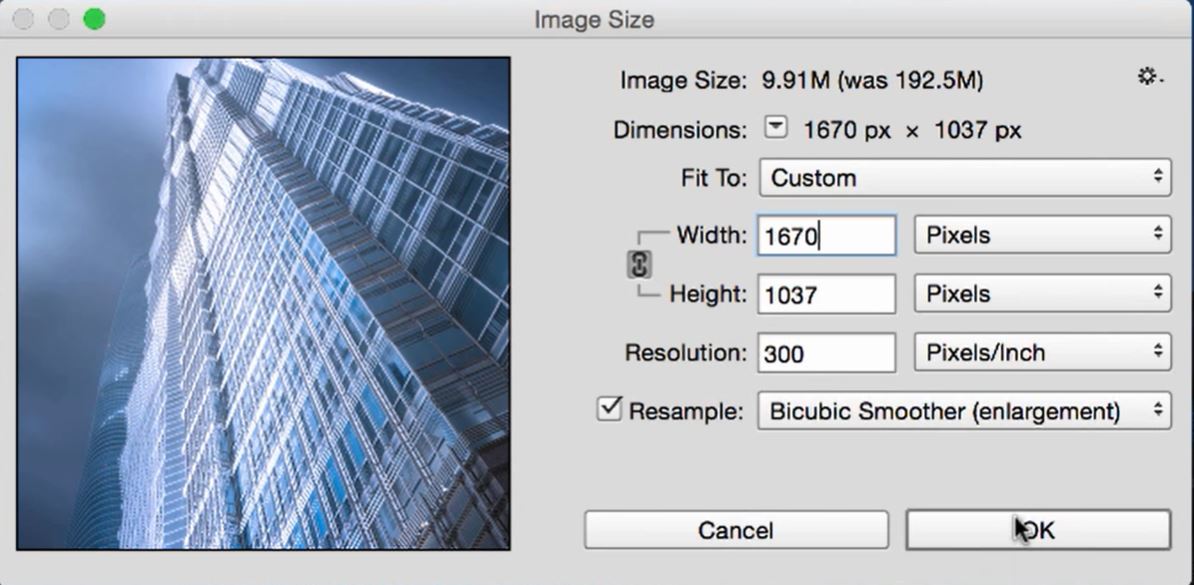
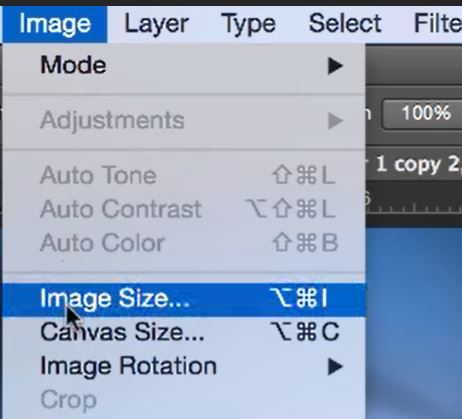
3. Go to Image>Image Size.
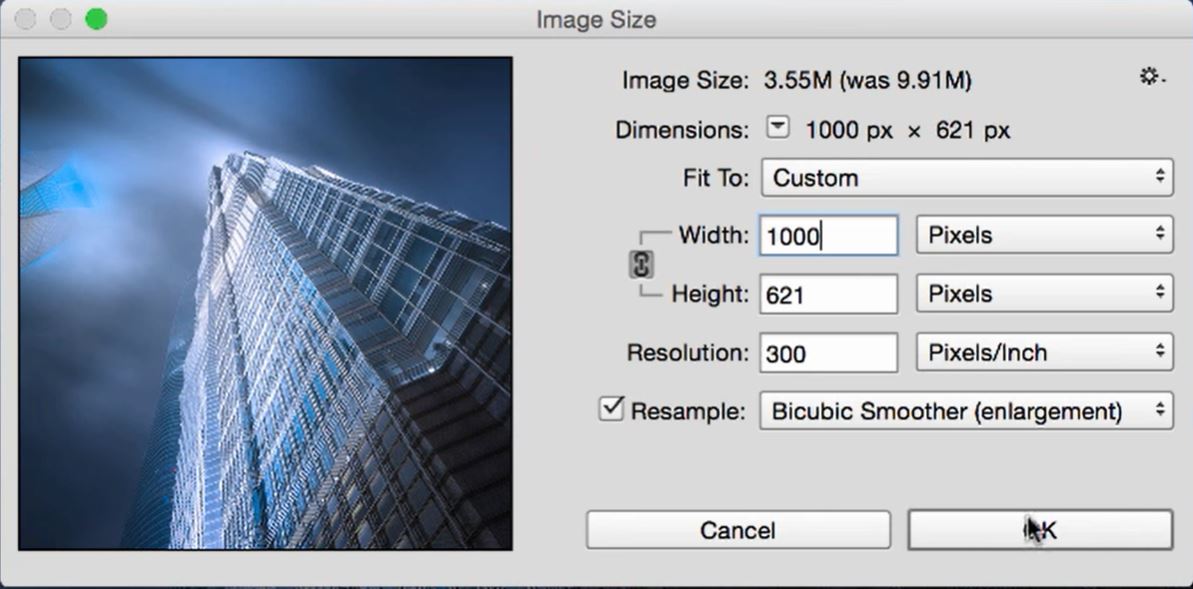
4. Change the size of the image.
Don’t change this to the final size you want, instead. multiply the final size that you want by 1.67. for example, we want this image to be 1000px wide (1000 x 1.67 = 1670) so we enter 1670 in the width box.
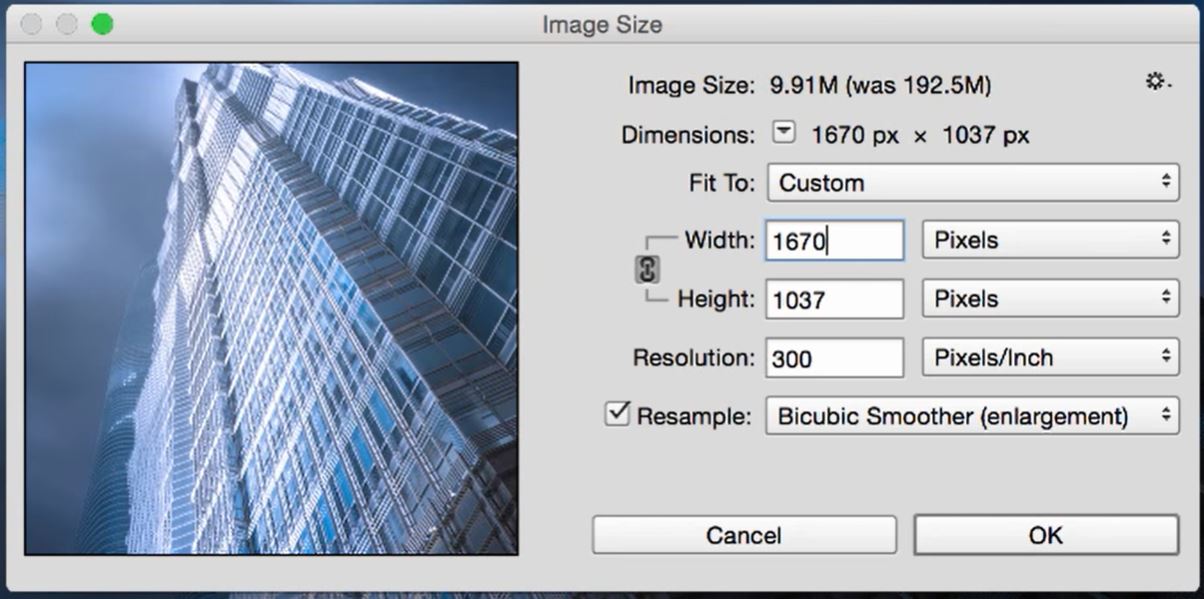
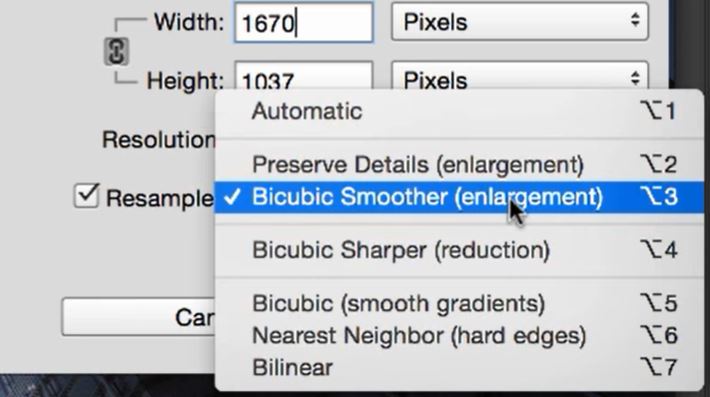
5. Select Bicubic Smoother (enlargement) in the resample box.
6. Click on OK.
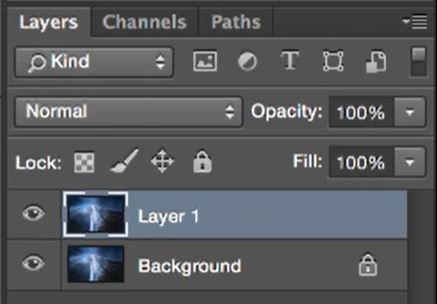
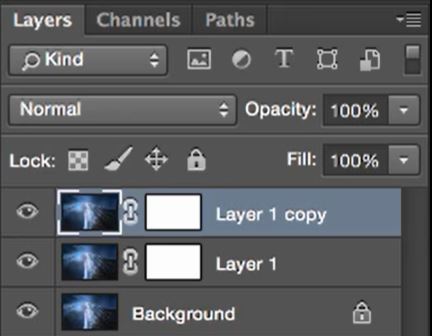
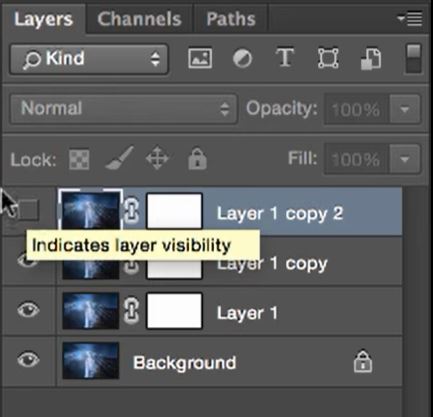
7. Duplicate the layer by pressing Crtl+J on a PC or Cmd+J on a Mac.
8. Add a layer mask to this layer.
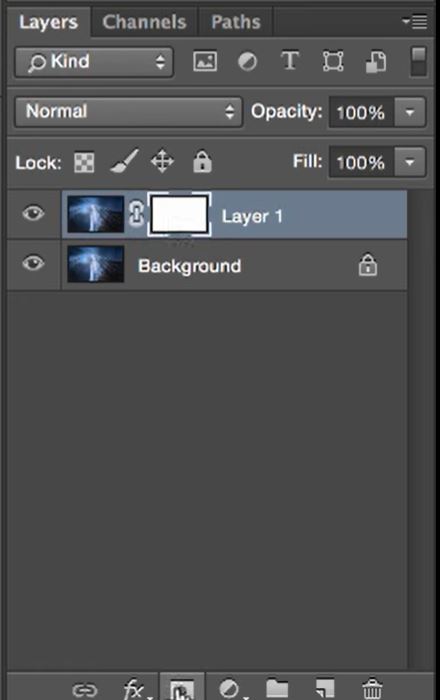
9. Make sure the image is selected and not the mask by clicking on the image thumbnail.

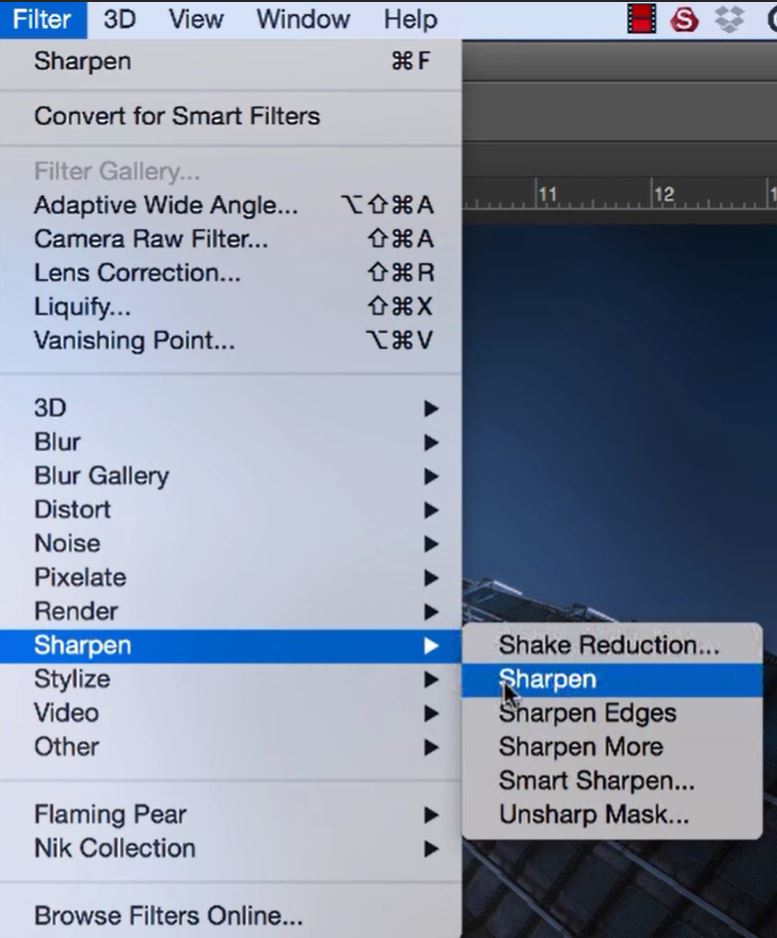
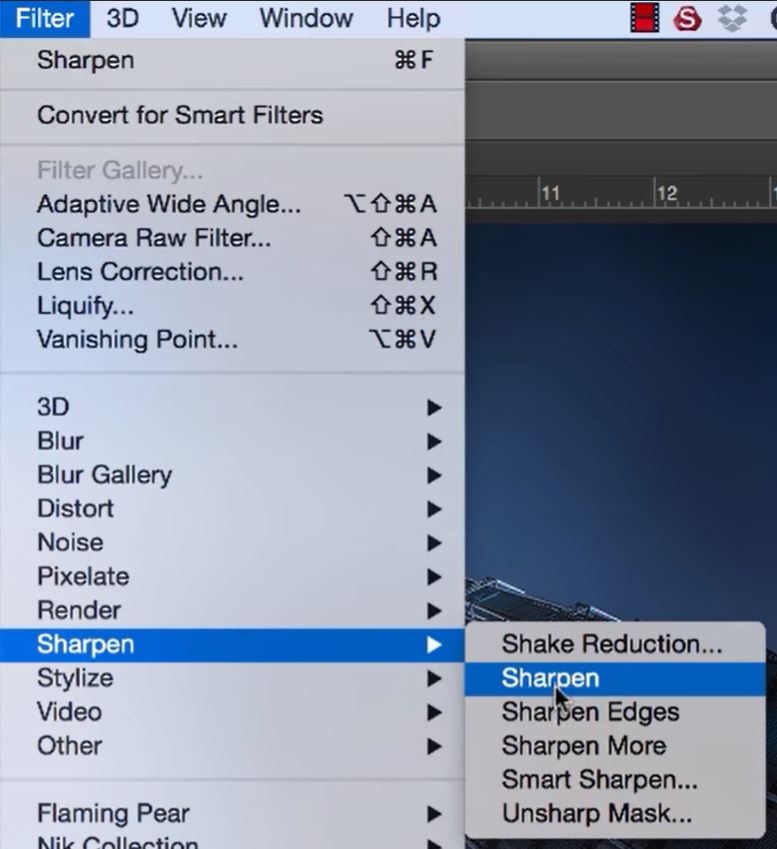
10. Go to Filter>Sharpen>Sharpen.
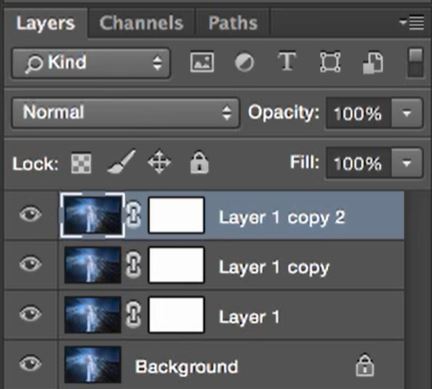
11. Duplicate the layer again by pressing Crtl+J on a PC or Cmd+J on a Mac.
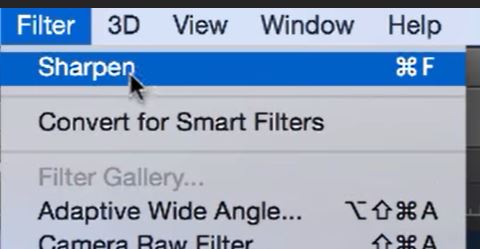
12. Go to Filter>Sharpen.
13. Duplicate this layer again.
14. For the final time go to Filter>Sharpen>Sharpen.
15. Hide the top layer by clicking on the eye icon to the left of the image thumbnail.
16. Now, let’s resize to the final size we want. Got to Image>Image Size.
17. Enter the final size that you want, in our example, this is 1000px wide.
Step-By-Step Guide
And as a big thank you from me, you can download my sharpening tools using the button above which will do the work for you. And feel free to join 30k other photographers and subscribe directly to my youtube channel for more useful tutorials.
Enter your email below and join our community of more than 100,000 photographers who have also
Subscribed to our newsletter.
Downloaded our FREE Photoshop Course.
Got our FREE Easy Panel for Photoshop.
And, have our FREE Essential Guide To Luminosity Masks E-Book.
To go directly to any of our products, simply click on the image below.


