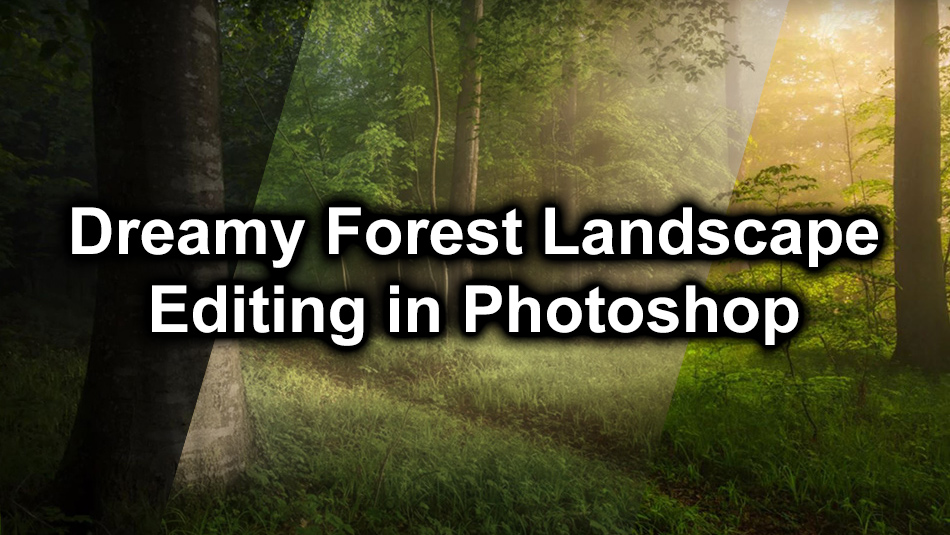
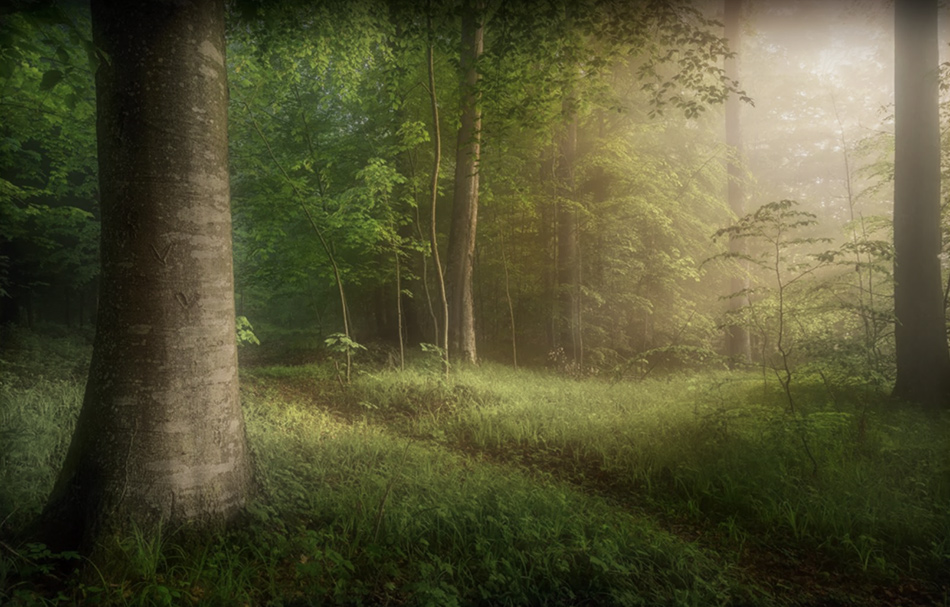
Dreamy Forest Landscape Editing in Photoshop
We see a lot of Forest Landscape images by amateur photographers that are much the same as others. To stand out as a photographer you have to be different. If you love shooting in the forest or in the woods, that’s great! You’ve made a good choice as there’s tons of natural beauty to be captured in our woodland. But, it’s not always easy shooting in the undergrowth. The lighting is often difficult to get the right and images often appear flat. If you do get a good image with good lighting, don’t waste it. Edit it differently and try to make it stand out. What does tend to work is, making a dreamy woodland scene.
This video by The-PHLOG.com shows us how to add a dreamy edit in Adobe Camera Raw and Photoshop.

Our Review
It’s good to see an editing tutorial in Adobe Camera Raw. I like how Christian is showing that it’s ok to play. If you’re not sure what a slider does in Adobe Camera Raw, don’t be shy and hide away from it. See what it does, if you don’t like how it affects your image, just undo it, there’s no harm in exploring. The majority of this edit is taken care of in Camera Raw, then the image is opened in Photoshop to add some finishing touches.
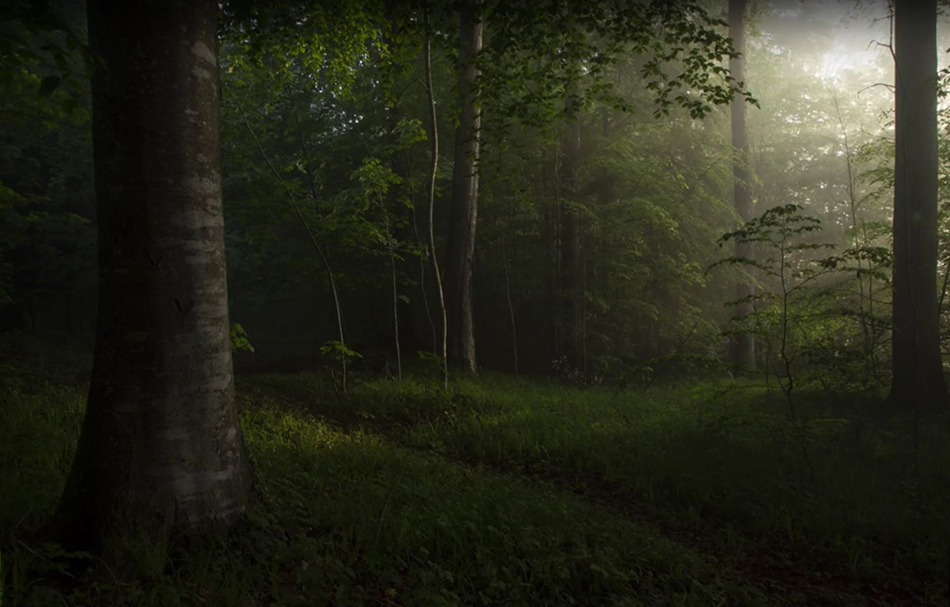
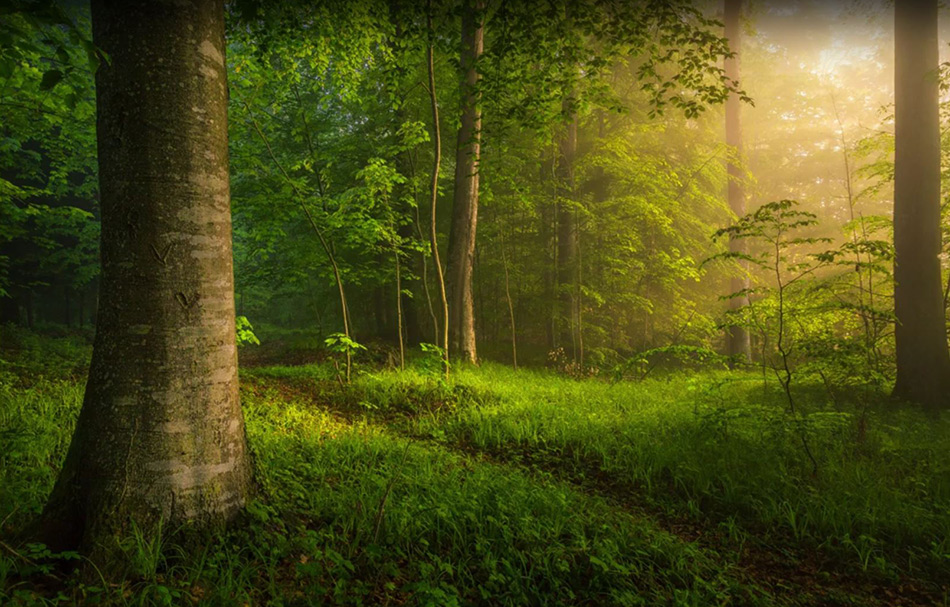
The Result After Editing
The final image is very different from the image that was started with, for a number of main reasons.
- The image is a lot brighter. The shadows have been brightened by bringing up the Exposure and Shadows.
- A soft haze has been applied by bringing down the Texture and Clarity sliders ever so slightly.
- The colours have been given strength by sliding the Vibrance and Saturation sliders to the right.
- Local radial adjustments have been added that have brought some new dimensions to the lighting in the image.
There were some more subtle adjustments made in ACR by adding a Curves Adjustment, along with changes to Hue/Saturation, Split Toning, and Sharpening. At this stage, the image is almost complete. Some final cleaning up is all that is needed to complete the image. The Spot Healing tool is used to remove some lens flare and also an unwanted tree. Here is Christians before and after image.
Enter your email below and join our community of more than 100,000 photographers who receive regular tutorials and have also

Subscribed to our newsletter,
Downloaded our FREE Photoshop Course
Got our FREE Easy Panel for Photoshop
And have our FREE Essential Guide To Luminosity Masks E-Book
Our Final Thoughts on This Dreamy Forest Landscape Edit
These are just my personal thoughts on the final edit in the video. Although the image is certainly a lot dreamier now than it was before the edit, I thought the colours are far too strong for what I would consider a DREAMY image. So, I added a few adjustments of my own.
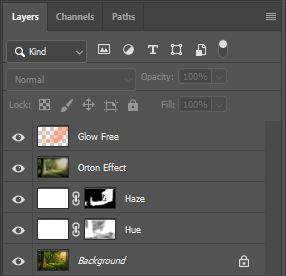
I reduced the overall saturation by adding a new layer (Hue) and filled it with white, then I set the blend mode to Hue and opacity to around 60% and masked out some of the darker areas to keep a bit of colour there.
![]()
Then I added slight haze to the lighter areas by adding another new layer (Haze) and again, filled it with white. I left the blend mode at Normal, and reduced the opacity to 5%. I added a layer mask and manually painted out areas that I thought the light would not hit directly.
![]()
For the last two layers, I used the Dodge and Burn Panel in Raya Pro to add a strong Orton effect layer and a Glow Free layer. The Orton Effect applied was quite strong, stronger than I would usually use. But, seeing as we are going for a dreamy effect, I think it worked well.
![]()
Glow Free was used just to bring back some of the warmth that was lost when the image was desaturated. I applied the Glow Free effect to areas that I thought the sunlight would hit directly.
![]()
Our edit was carried out using Raya Pro.
Editor’s Choice plugin on Adobe marketplace

Raya Pro, the most rated plugin on Adobe Marketplace.
Below, you will find the videos final edit compared to our final edit. Of course, peoples opinions differ. You might prefer the image before our edit, you might not. Either way, that’s is fine. For that’s the beauty of perception and interpretation, we can make it what we like. Or, what we think our viewers might like.
Thank you for reading this article Dreamy Forest Landscape Editing in Photoshop, You might also be interested in the articles below. Be sure to sign up for our newsletter for more tutorials and great offers.
Enter your email below and join our community of more than 100,000 photographers who have also
Subscribed to our newsletter.
Downloaded our FREE Photoshop Course.
Got our FREE Easy Panel for Photoshop.
And, have our FREE Essential Guide To Luminosity Masks E-Book.
Experts in Dreamy Forest Landscape Editing
Here at Shutter Evolve, we are fortunate to have two guest writers who really go to town on making dreamy woodland images. The first is Chris Frost, a Devon-based photographer who recently won the Photographer of the Year 2020 with this Image Woodland Woods.
The second is Neil Burnell who has a Mystic collection of images taken from an ancient and twisted forest called Wistman’s Wood. Neils collection has been the work of 4 years photographing this remote high-altitude Oakwood in Dartmoor.
Another really good photographer that specializes in dreamy forests is Ellen Borggreve. Ellen has a very helpful article containing 10 Tips For Dreamy Forest Photos.