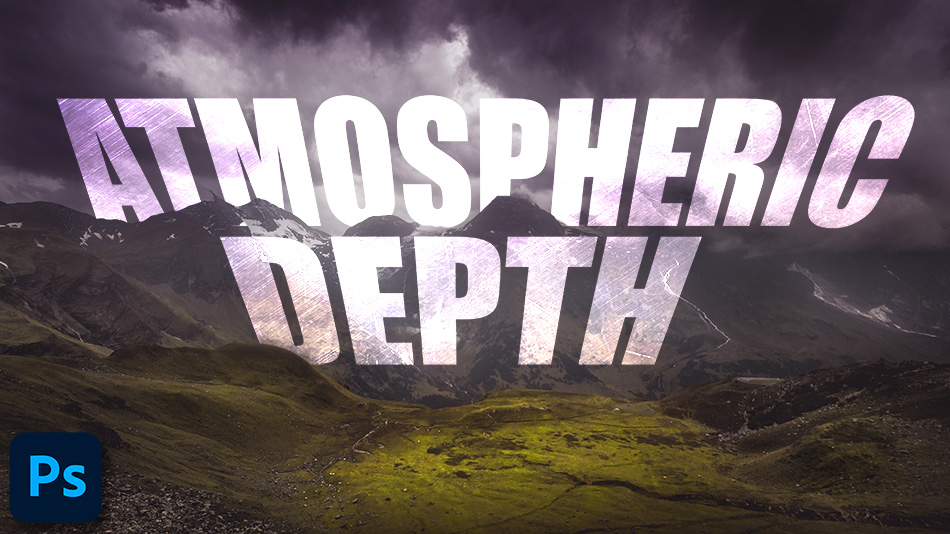
How To Add Atmosphere and Depth in Photoshop
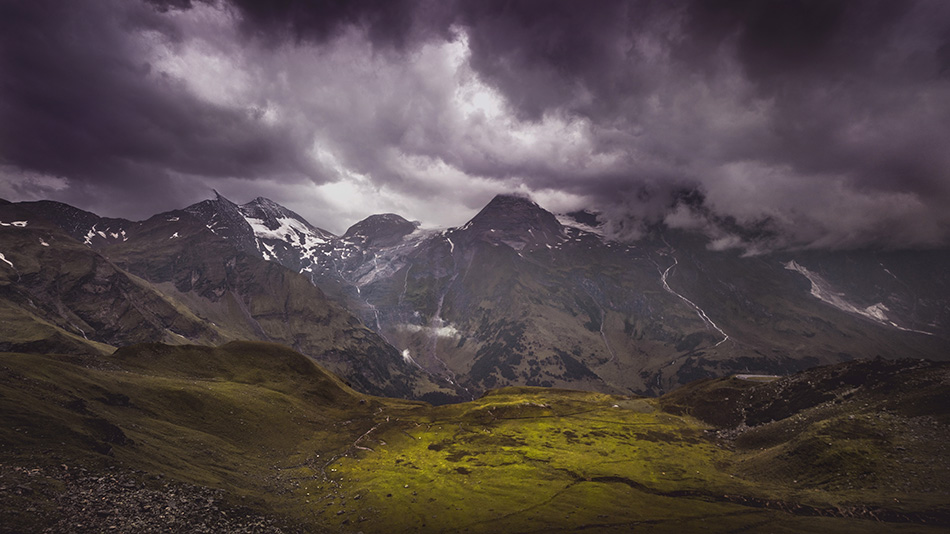
Give your images greater depth by incorporating atmosphere to add depth. In this tutorial, we take a stormy scene and add greater depth. It isn’t always a good idea to keep our images entirely in focus and our details super-sharp. An image that depicts a scene of natural depth should show a definition between the layers of depth. So for example, the foreground should be sharp and in focus, whereas the distance should seem more distant. Sometimes we photographers have a tendency to want to have everything in focus and everything crystal clear. But that shouldn’t always be the case and often this approach can lead to flat images. Here, we show you how to add atmosphere and depth in photoshop.

If you wish to experiment with this, I would really appreciate it if you included my name (Duke McIntyre) and www.shutterevolve.com when you publish your image. If you post your published image on our Facebook page I’d be happy to check it out.
Atmoshpere in Photography
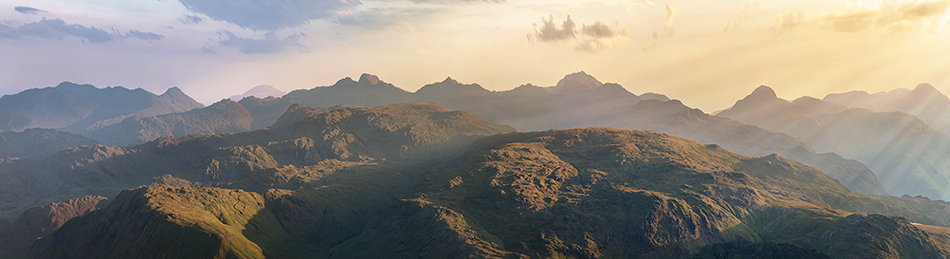
Atmosphere occurs naturally and we unknowingly capture it more often than not, especially if you shoot at sunrise and sunset. It can take for form of fog or mist and even just a haze. What it then brings to the image is a real sense of depth. In post-processing, we can sometimes get carried away trying to recover details in the distant background. Do we need to have sharp details in the background? Maybe! Just be conscious of when to break the mould. We sometimes get stuck in our ways and just go through the motions of post-processing like we’re following a checklist. We don’t need to do that. Remember the feeling when you captured the scene, take notes if you have to. I remember shooting this pano from Helvellyn and being super-excited about the sun rays and haze as the sun was setting. From left to right there’s the transition from night to day, and from the foreground to background there’s clarity to haze with Scafell Pike barely visible.
-Tutorial Continued Below-
Enter your email below and join our community of more than 100,000 photographers who receive regular tutorials and have also

Subscribed to our newsletter,
Downloaded our FREE Photoshop Course
Got our FREE Easy Panel for Photoshop
And have our FREE Essential Guide To Luminosity Masks E-Book
How To Add Atmosphere and Depth in Photoshop
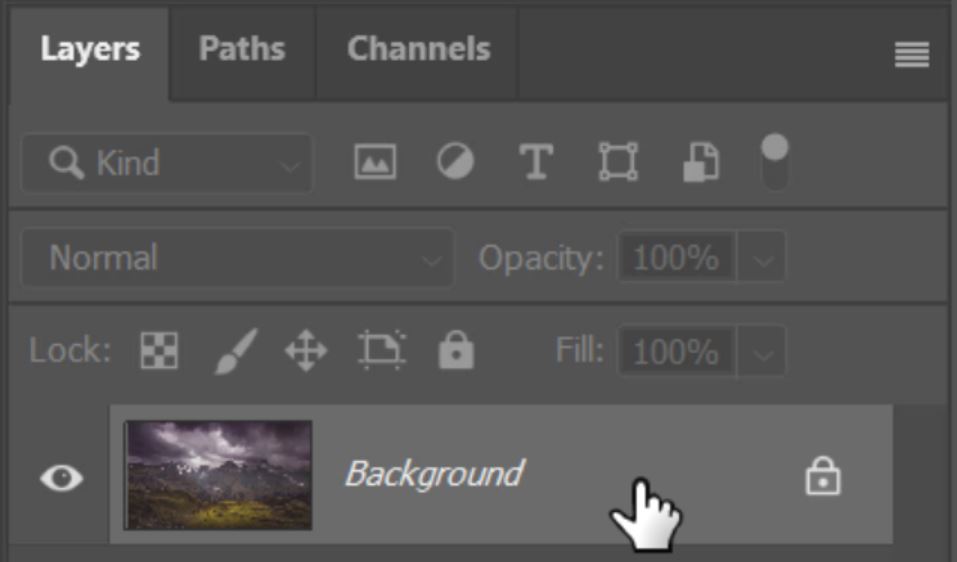
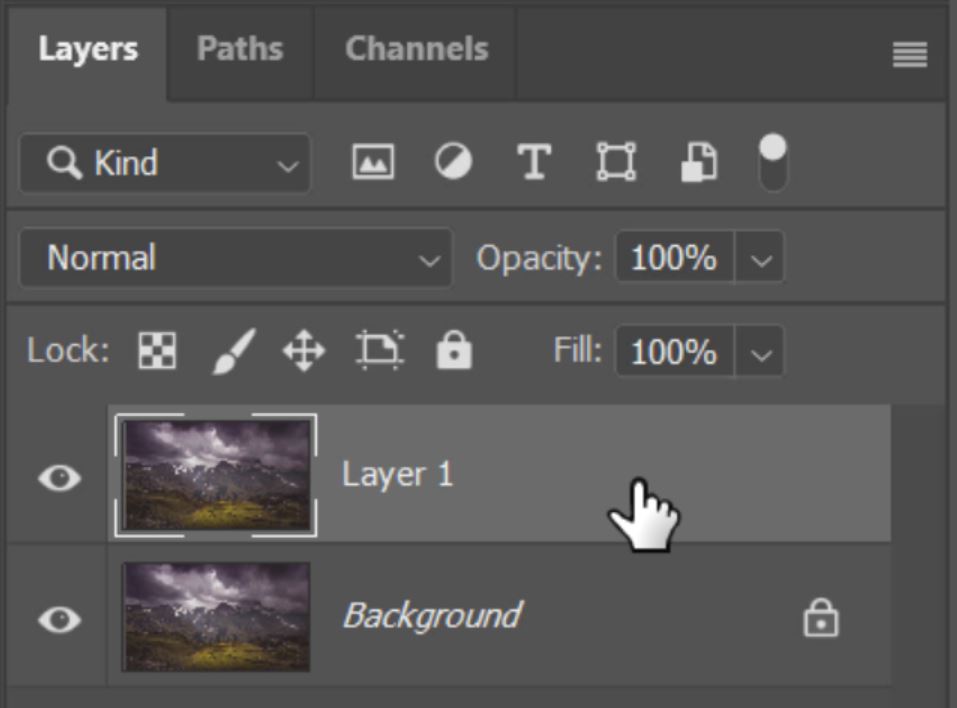
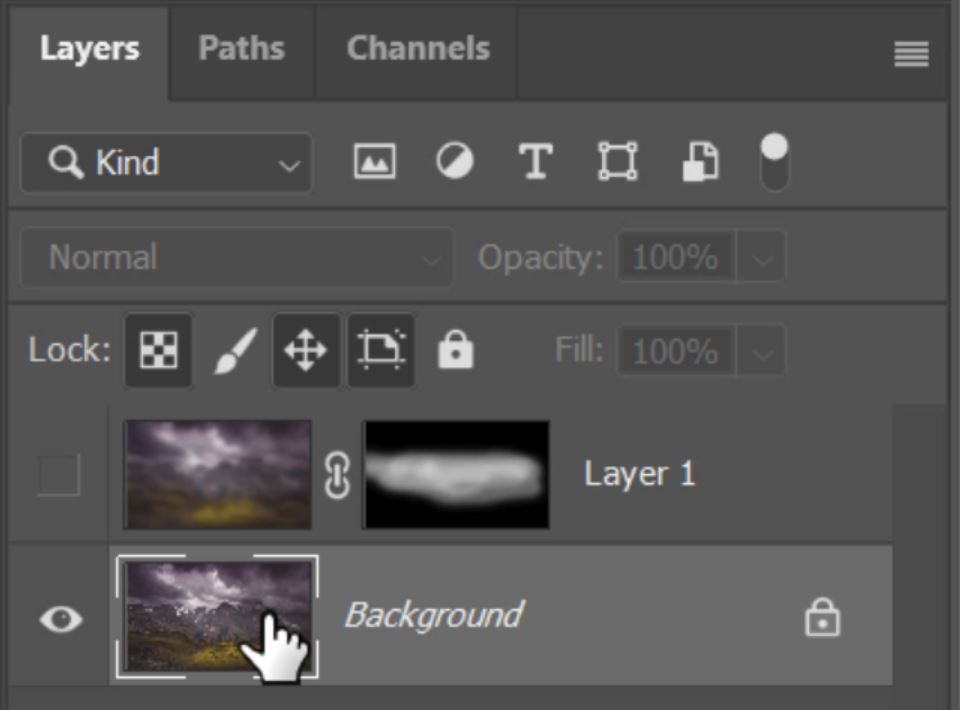
1. Because we don’t like to work destructively, the first thing we do is select the background layer.
2. Press Ctrl+J (Cmd+J Mac) to create a New Layer Via Copy.
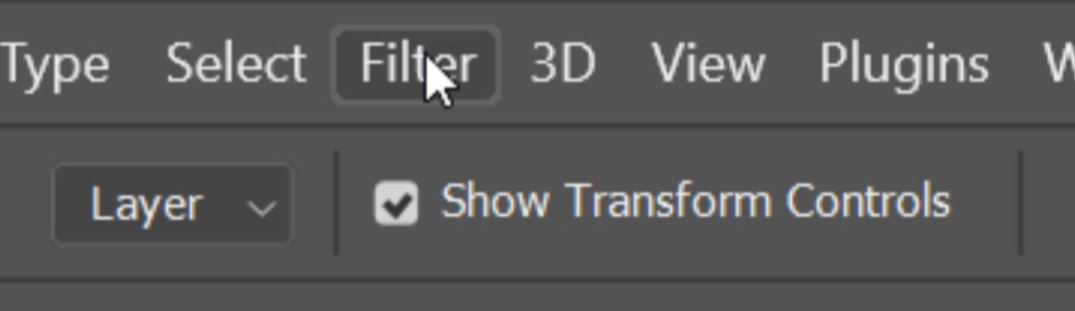
3. With the new layer selected go to the Filter menu.
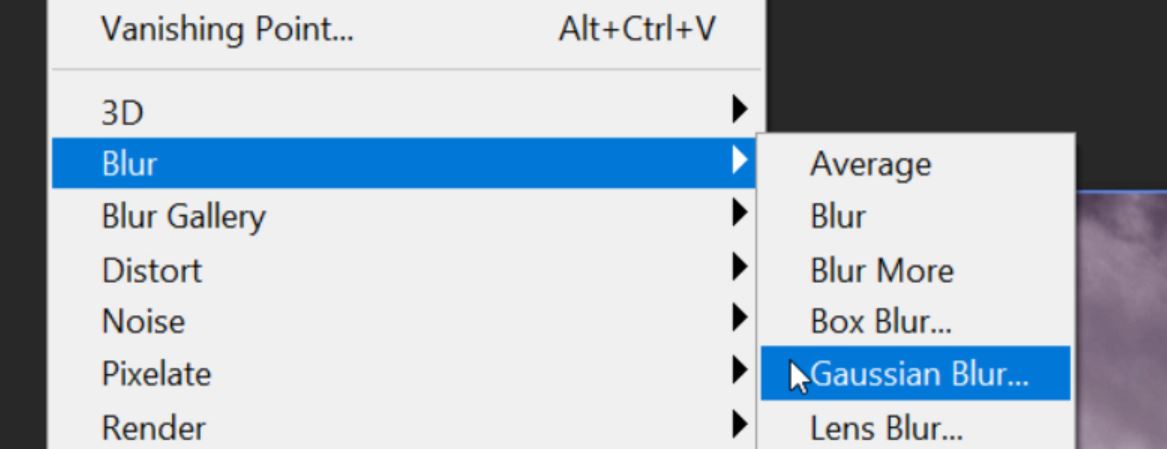
4. Hover over Blur, and select Gaussian Blur.
5. Adjust the Radius so that much of the detail is blurred out then click OK.

6. Now that the copied layer is blurred, hold down the Alt (Opt Mac) key and click on the Add a New Layer Mask icon.

7. This will apply a black mask to your copied layer which will hide it completely.

8. Select the Brush Tool.

9. And make sure you have a white foreground selected.

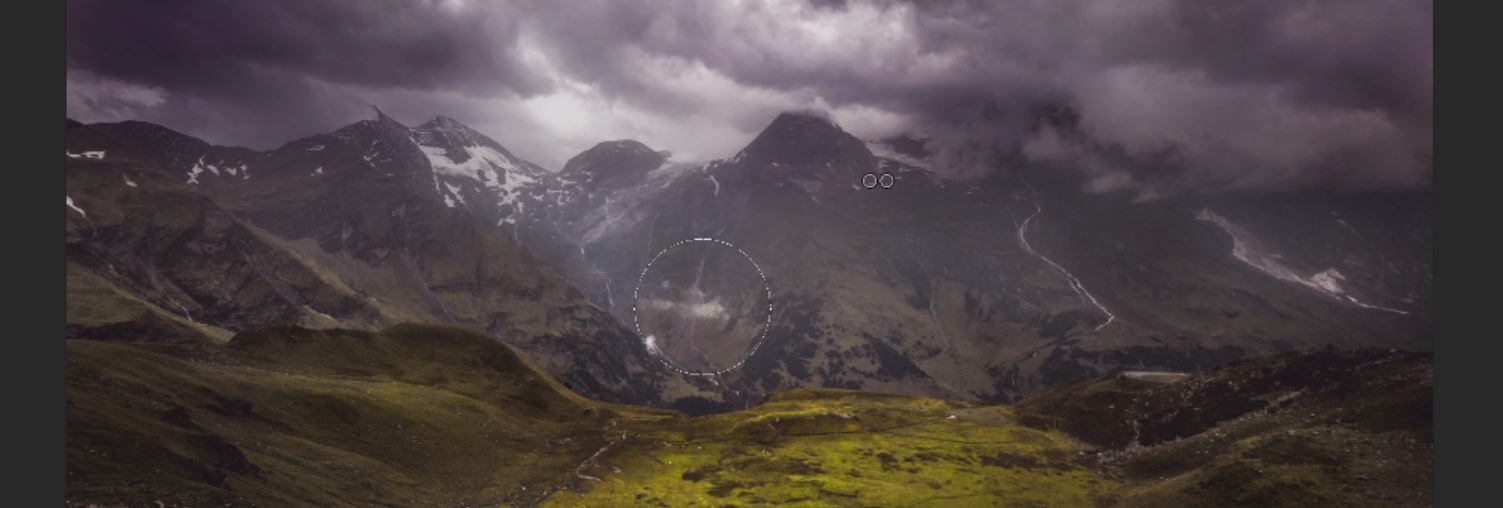
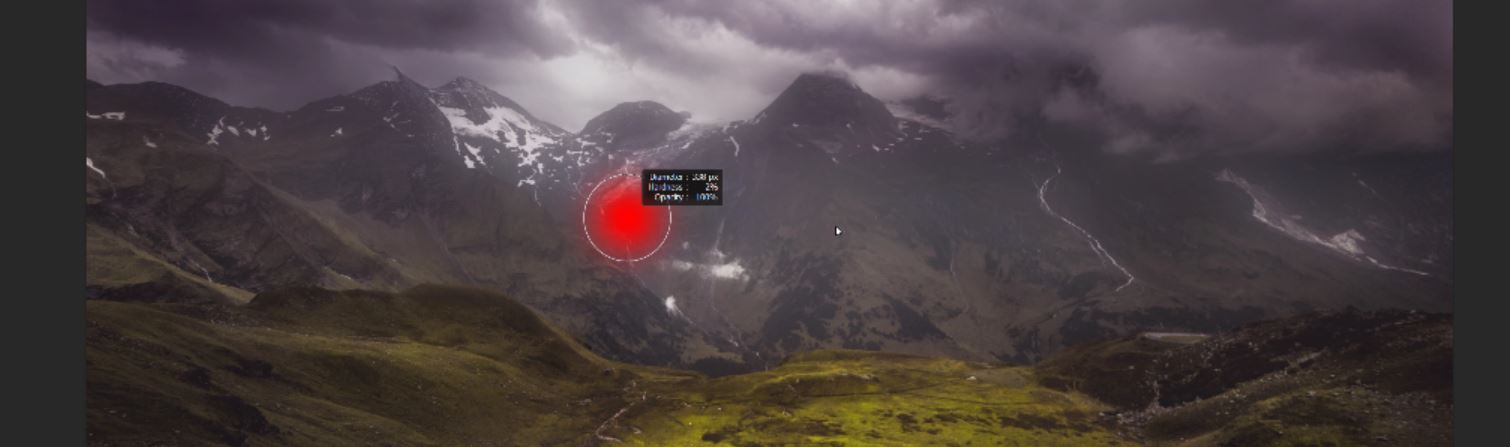
10. Paint over the areas where you want to add more atmosphere to photos in photoshop.
11. Hide the blurred layer.

12. Select the original image. We’re going to use this to restore the highlights. You could also do this if you wanted to restore shadows.
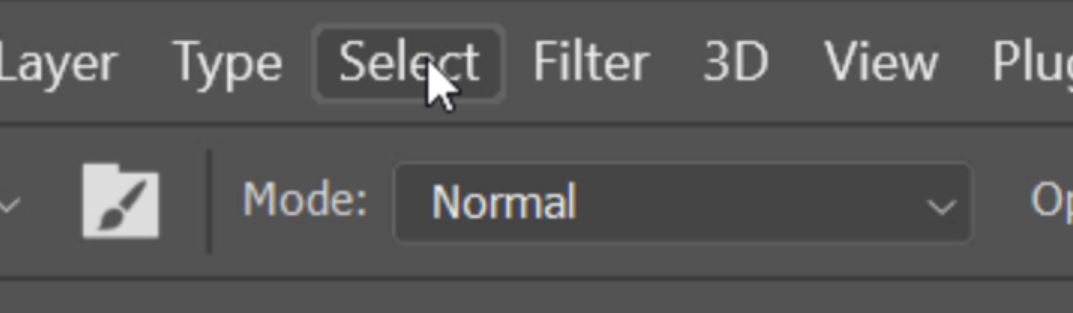
13. Go to the Select menu.
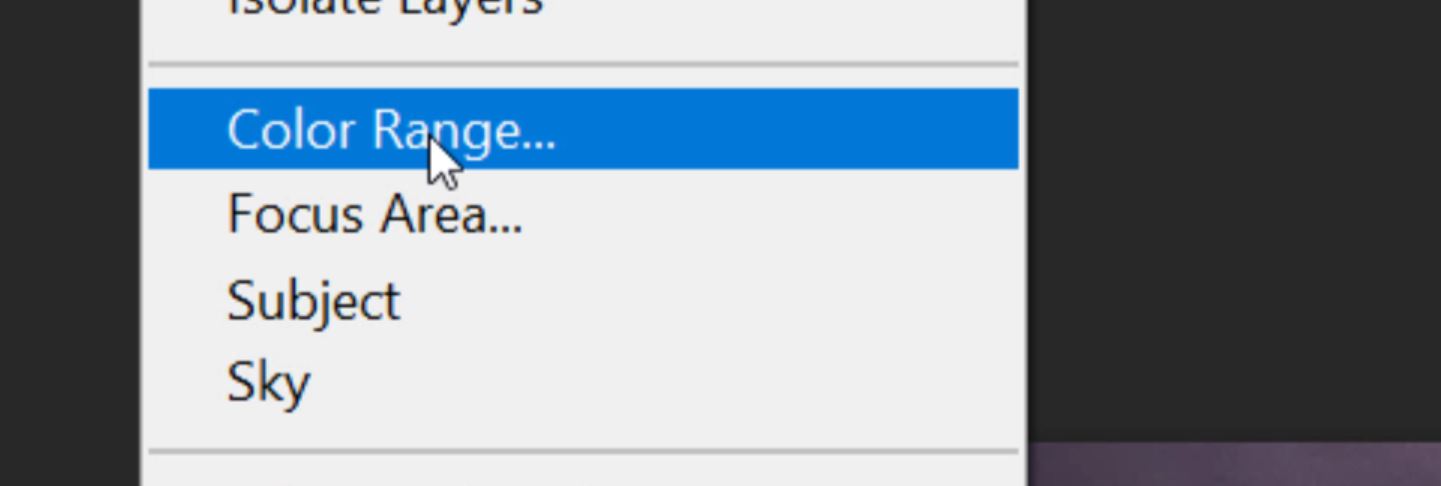
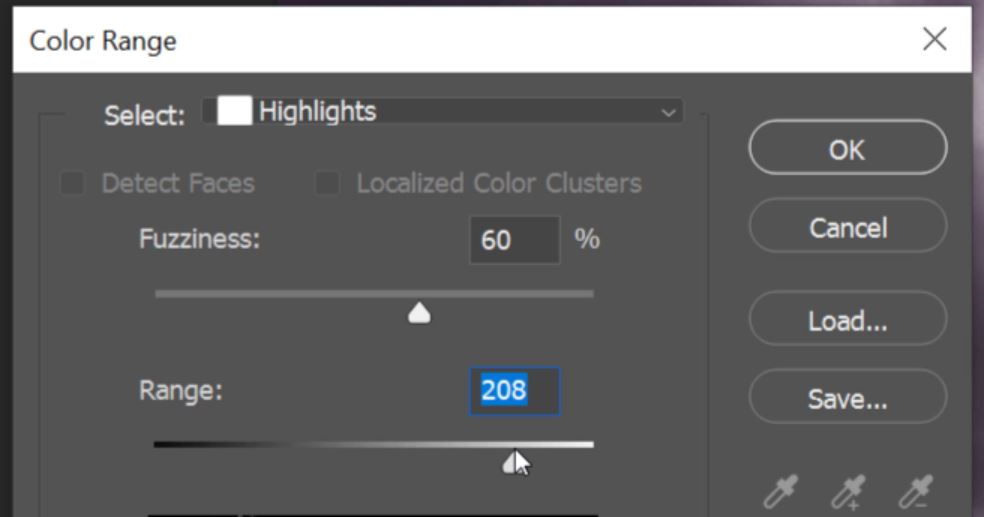
14. And select Color Range.
15. Click on the “Select” box drop-down menu and choose Highlights.
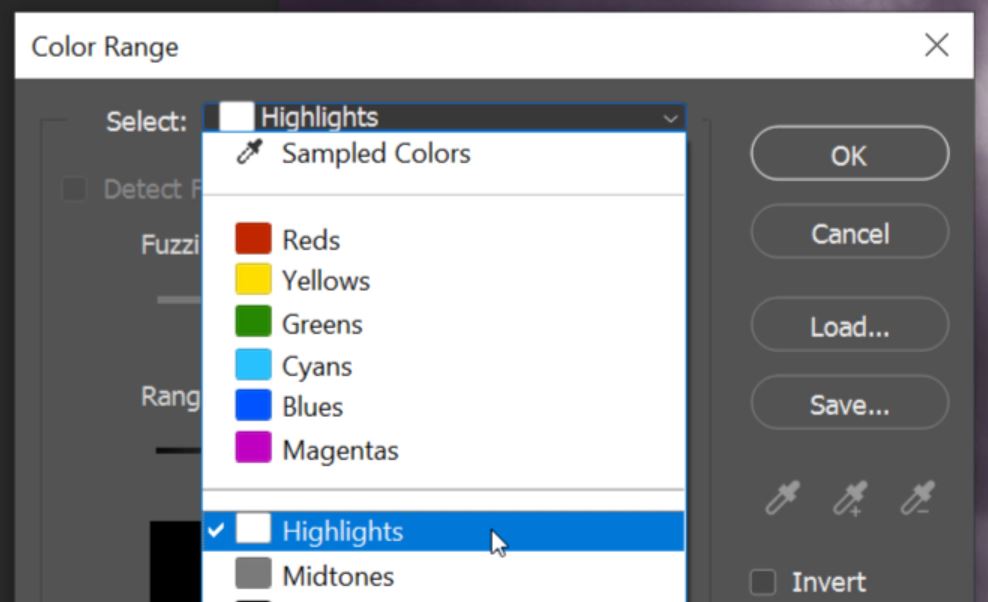
16. Adust the Range and Fuziness sliders until you have a selection that you’re happy with then click OK.
17. Now we have an active selection and we’re going to add a new adjustment by clicking on the Add New Adjustment Layer icon.

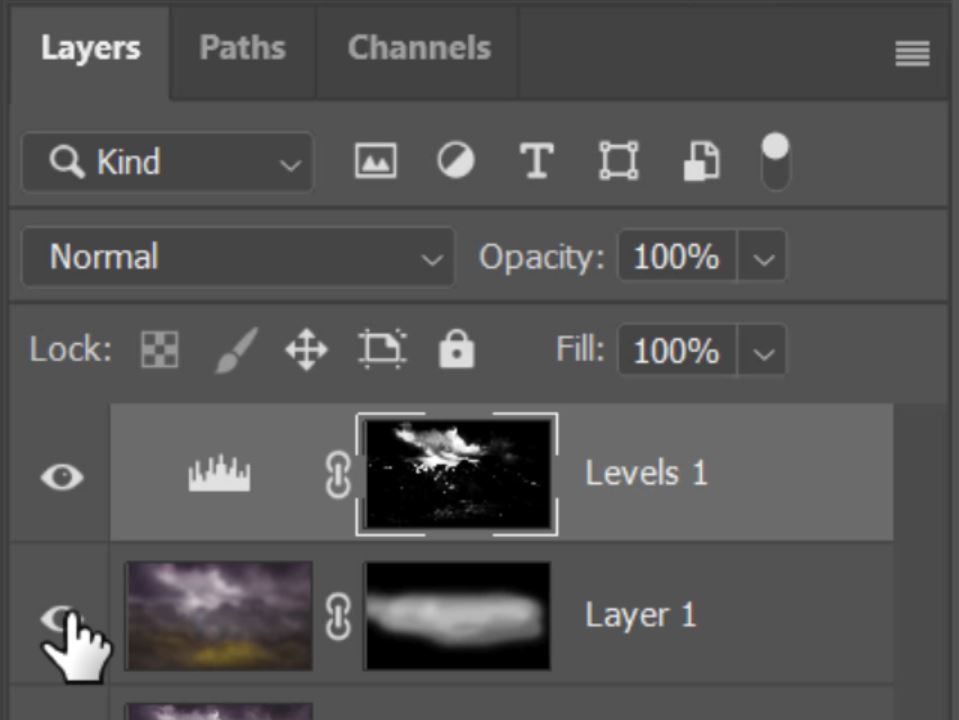
18. The adjustment layer that we use to recover the highlights is a Levels adjustment.

19. This will add a layer called Levels … Drag the Levels layer to the top of your Layer panels stack.

20. Now make the blurred layer visible again.
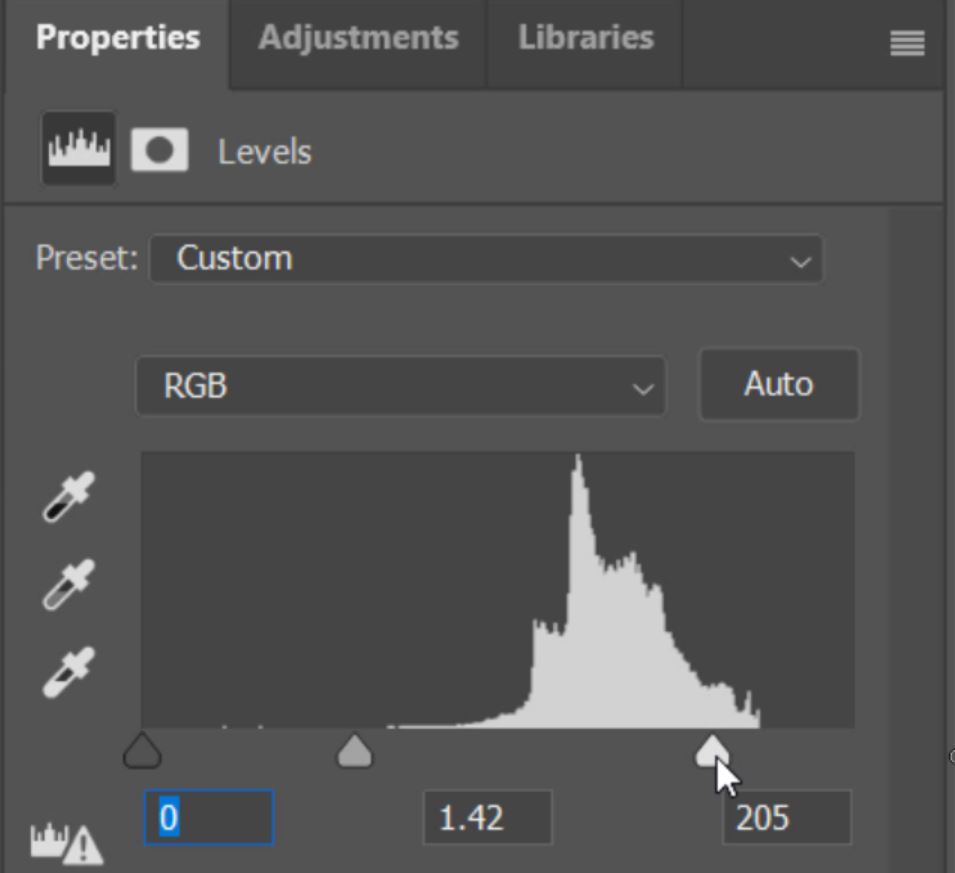
21. You should still have the Levels layers selected, so now begin to adjust the mid tones and highlights controls to recover the details.
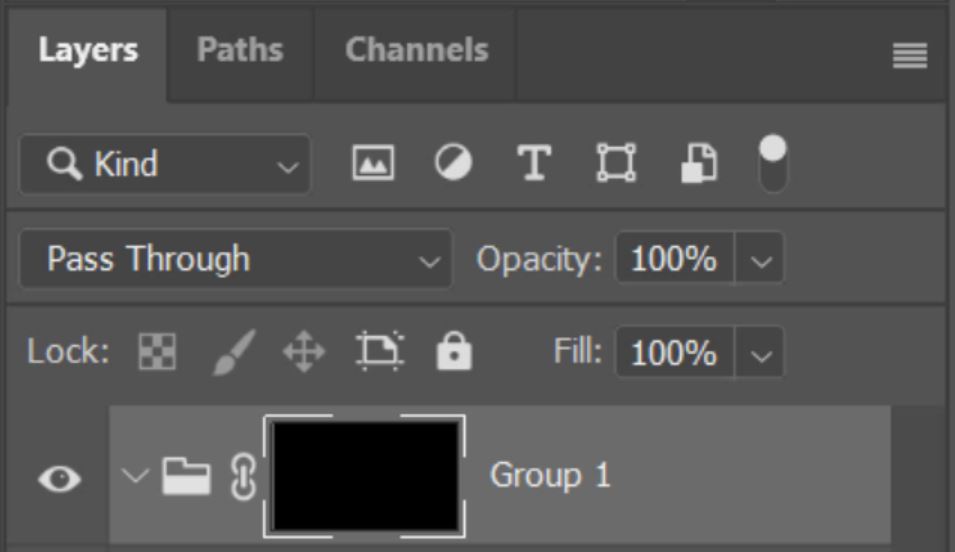
22. This will brighten all of the highlighted areas. But, we only want to brighten the highlights in the mountains and not the sky. So press Crtl+G (Cmd+G Mac) to create a new group with only the Levels layer in it.
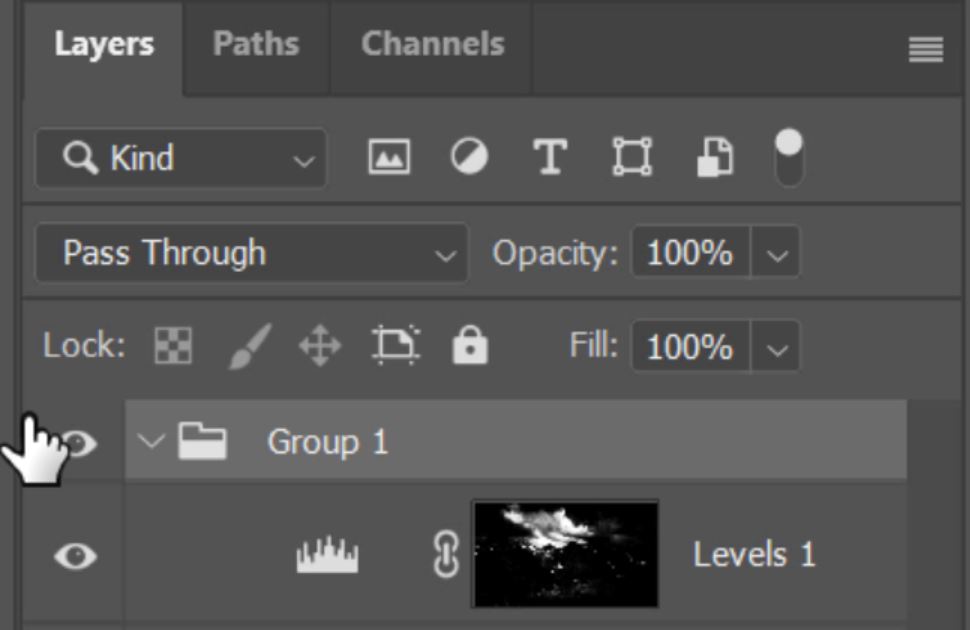
23. Just like we did before, Hold down Alt (Opt Mac) and press on the Add a New Layer Mask icon to add a black mask to the group. This will again hide anything contained in the group or layer.
24. Same as before, select the Brush Tool with a white foreground, and paint where you want the highlights to be restored. this will bring detail and depth to images.
Take a look at the before and after images below. There’s a much softer feel to the distant objects which seperated them more from the foreground. And there’s enough detail in the snow on the mountains to still provide detail throughtout the image.