How to Add Depth To Photos using Photoshop
Photography can take us on some pretty amazing adventures as we hunt for the best locations to shoot. Finding impressive scenery is half the battle. If you can find an amazing scene, shoot at the right time of day, and have the weather in your favour, you on your way to producing a brilliant photo. They are the basic necessities for capturing images with real depth. This combination, however, is rarely guaranteed. One of the biggest mistakes that Photographers make is shooting during midday. The high sun position offers very little depth to shadows and if we have an overcast sky the clouds act as a sort of light diffuser. The perfect combination for a flat image. Let’s explore a quick technique the will teach us how to add depth to photos using photoshop and what to look out for.

Adding Depth What To Look Out For
When we have an image where only certain areas are struck by light and the rest are shaded, not only do we see a difference in brightness, but also in saturation. When we try to implant depth into an image we need to be conscious of how it might have transpired in real life. The area that would have mostly been affected by the light will, of course, be brighter, but they will also be more vibrant. And, vice versa, the more shaded areas will have a reduction in brightness and colour saturation.
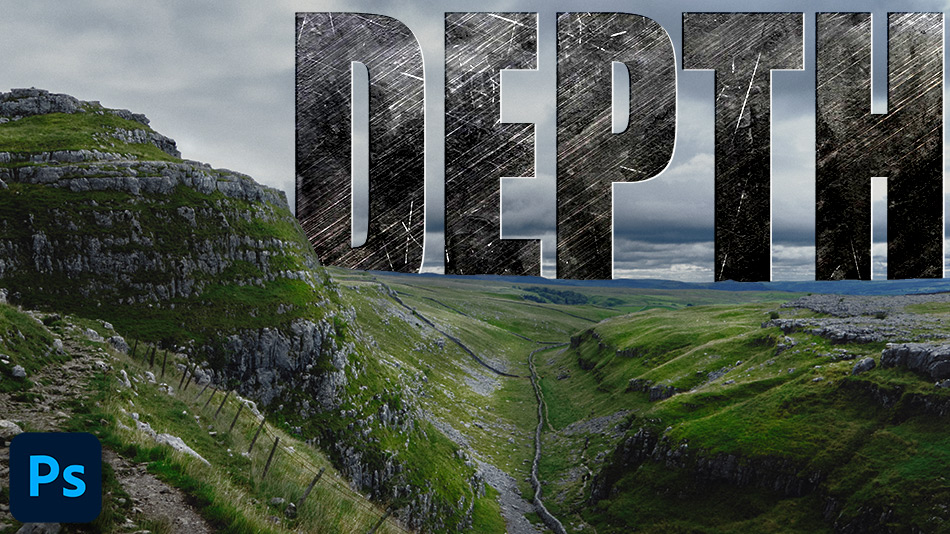
In this example tutorial we’ve used a Photo by Ian Cylkowski on Unsplash of Malham Tarn, Settle in the UK. It’s a lovely scene with a good composition with a hint of light hitting the middle ground to the right. We used the Blend Mode screen to brighten the image and strengthen the colours. We also used a Vibrance adjustment to control the colours.
1. Go to the Layers menu and choose Add New Adjustment Layer > Vibrance.

2. Now you should have a Vibrance adjustment layer on top.
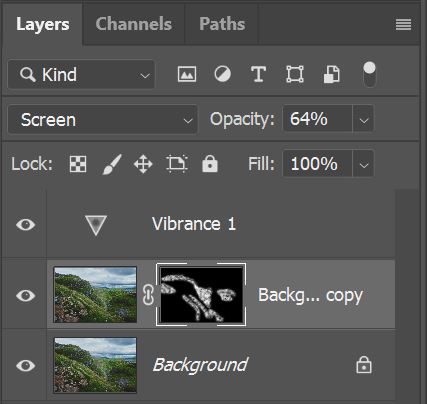
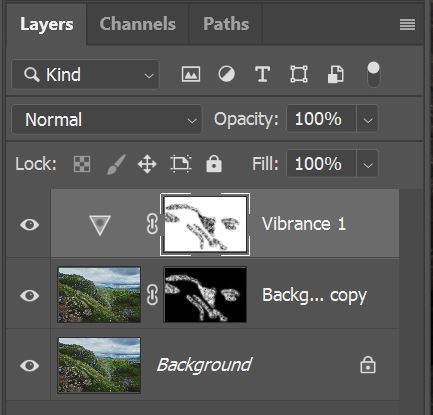
3. Hold down the Alt (PC) or Option (Mac) key and drag the layer mask from the Background Copy layer to the Vidrance layer.

4. With the mask on the Vibrance layer selected, press Ctrl+I (PC) or Command+I (Mac) to invert the mask.
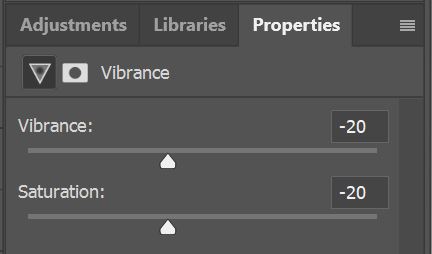
5 Now reduce the Vibrance and Saturation, this will dull down the shaded areas and bring more depth to photos.
– Tutorial continued below –
Enter your email below and join our community of more than 100,000 photographers who receive regular tutorials and have also

Subscribed to our newsletter,
Downloaded our FREE Photoshop Course
Got our FREE Easy Panel for Photoshop
And have our FREE Essential Guide To Luminosity Masks E-Book
How to Add Depth To Photos using Photoshop
1. Make a copy of the layer that you want to add depth to.

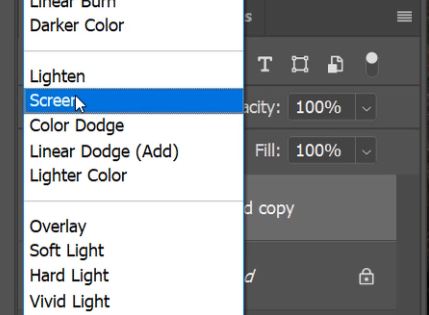
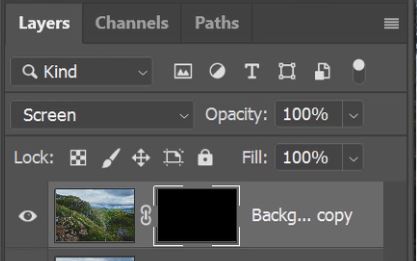
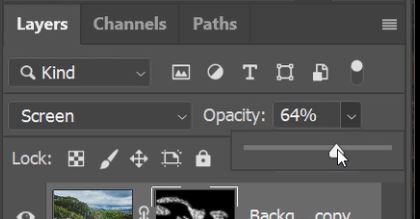
2. Select the copy layer and change the Blend Mode to Screen.
3. Hold down the Alt (PC) or Option (Mac) key and add a new layer mask.

4. This creates a black mask that hides the information in that layer.
5. We want to bring back some information but we want it to look natural. Enter Quick Mask Mode by clicking on the icon on pressing Q on the keyboard.

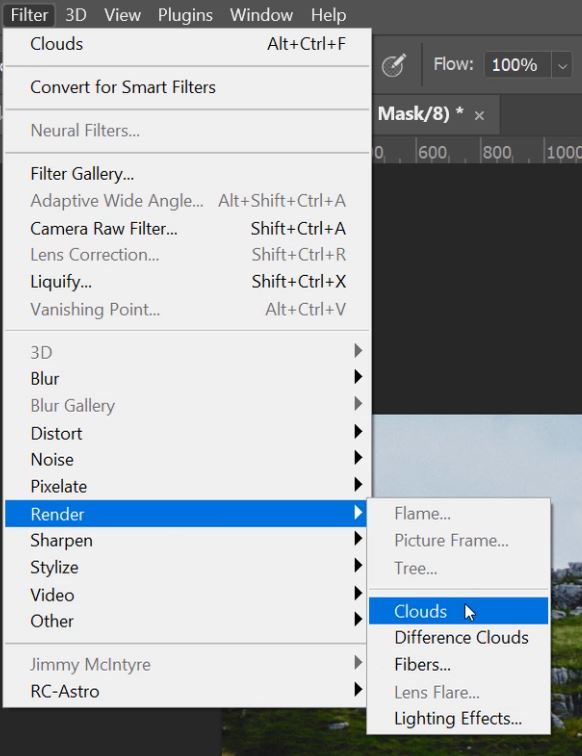
6. Go to Filter>Render>Clouds.
7. Now exit Quick Mask Mode by clicking on the icon on pressing Q on the keyboard.

8. This will give you a random selection based on the cloud filter.
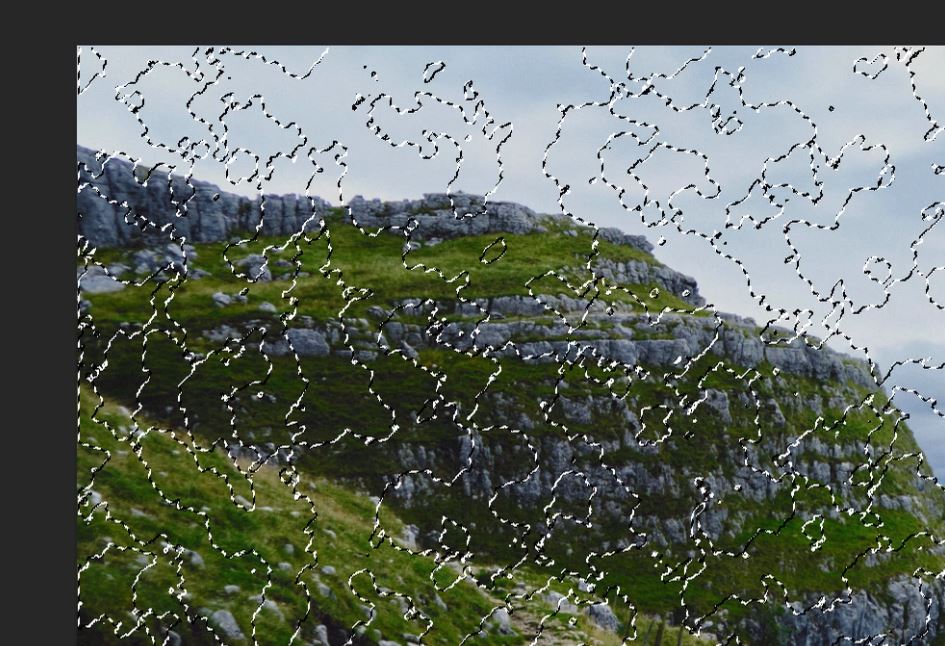
9. Press Ctrl+H (PC) or Command+H (Mac) to hide the marching ants.
10. Now make sure you have the black mask thumbnail selected by clicking on it.

11. Select the Brush Tool and a white foreground.
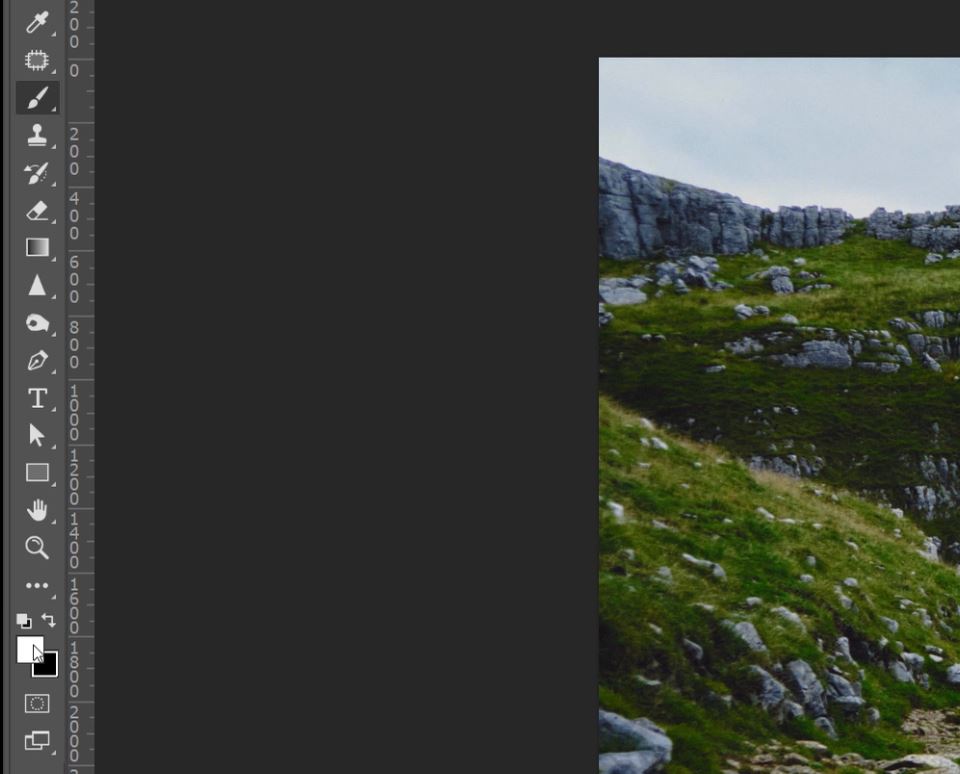
12. Start to paint over the areas that you want to brighten up.
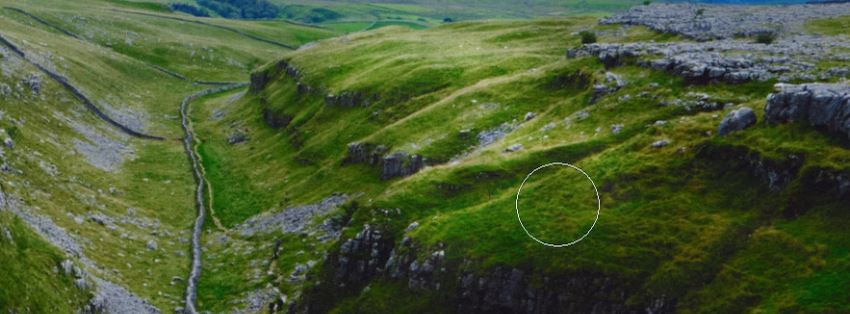
13. If you make a mistake change the foreground to black and paint over your mistake to undo it.

14. Once you are finished painting your mask you can balance the strength of the effect by lowering the opacity of the layer.
Note the difference in colour vibrancy between the brighter and darker areas. The image on the left is the original. Then, on the right is that after we have added more depth to an image in Photoshop.
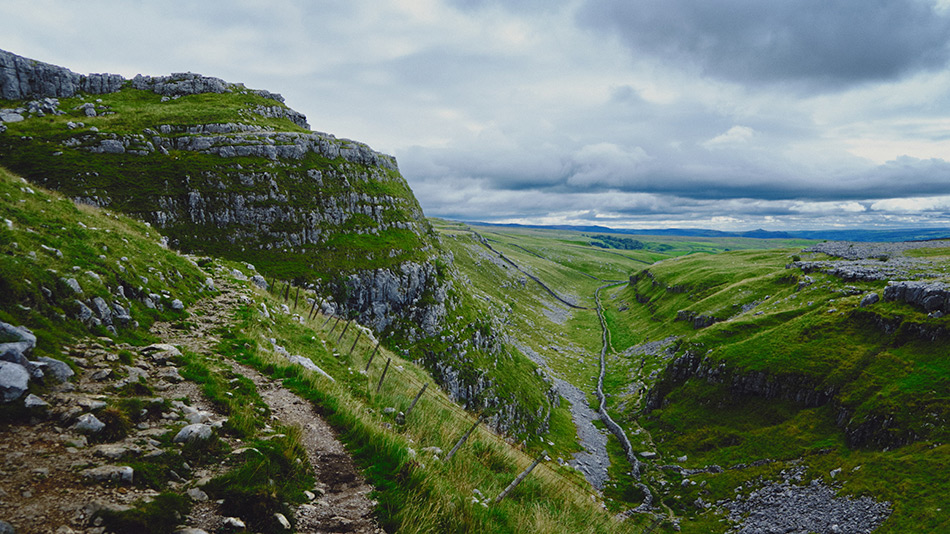
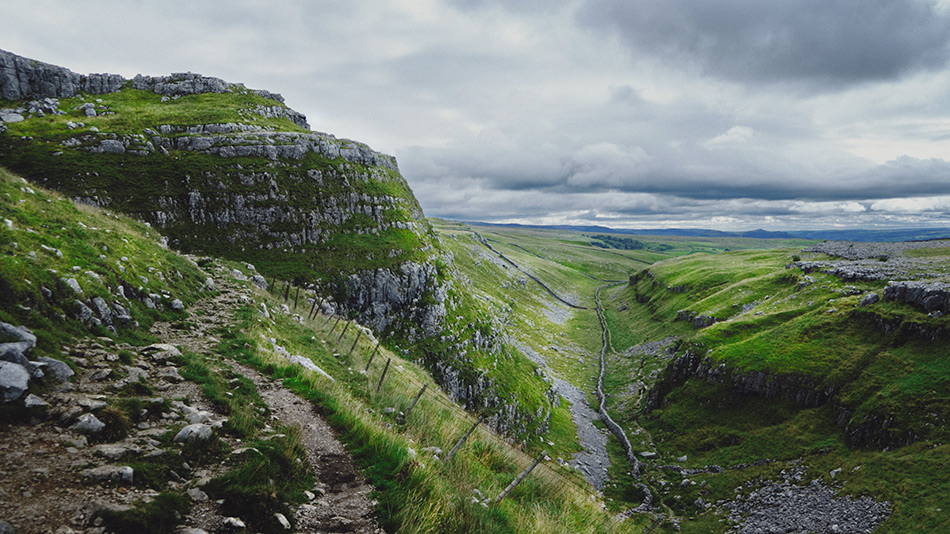
Photo by Ian Cylkowski on Unsplash
Other Articles That Might Interest You
7 Tips – How to Add Depth and Dimension into Your Photos
The Importance of Depth in a Photo
6 Tricks to Add Depth to Your Photos
Thank you for reading this article on How to Add Depth To Photos in Photoshop, be sure to sign up for our newsletter for more tutorials and great offers.

Enter your email below and join our community of more than 100,000 photographers who have also
Subscribed to our newsletter.
Downloaded our FREE Photoshop Course.
Got our FREE Easy Panel for Photoshop.
And, have our FREE Essential Guide To Luminosity Masks E-Book.
FREE Photoshop Course

The Art Of Photography

Raya Pro for Photoshop
