
How To Apply Selective Sharpening in Photoshop
What if you have an image that you want to sharpen, but you don’t want the sharpening effect to be applied to the whole image? This is referred to as selective sharpening. In this tutorial, we will show you a brilliant technique and show you how to apply selective sharpening in Photoshop. We will be using the Quick Mask tool and the High pass filter. In the video tutorial, we apply this technique once to the water to enhance details and sharpness in the ripples of the water. Follow the written tutorial below where we add an additional sharpening enhancement.

Apply Selective Sharpening in Photoshop
If you have followed many of our tutorials you will know that we are huge fans of the use of masks and in particular Luminosity Masks. Using masks to accurately make selective changes such as sharpening is definitely our preferred method. However, we appreciate that mask can be confusing. That is one of the main reasons we created our FREE Easy Panel and also Raya Pro, to help Photoshop users make amazing masks in just a few mouse clicks. But, for those who can’t get away with masking, this technique offers and viable alternative.
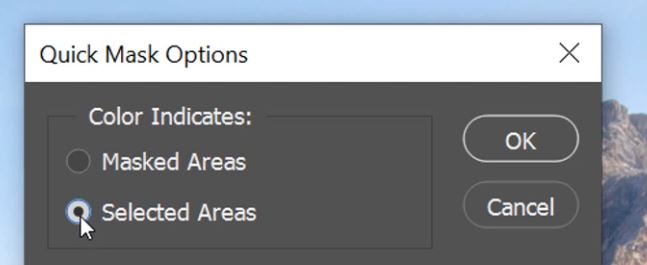
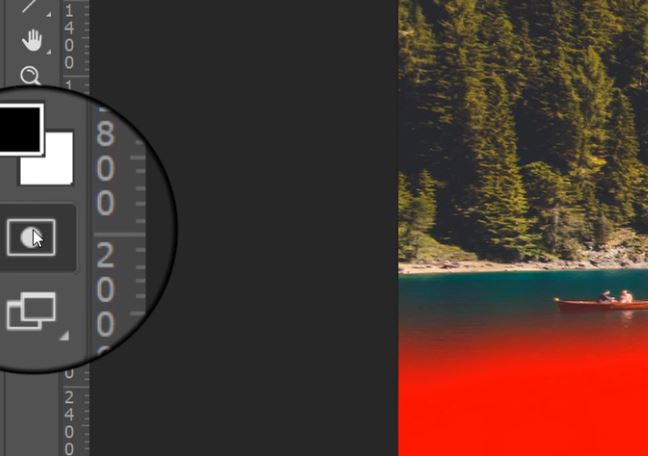
1. Double-click on the Quick Mask icon to open up the Quick Mask Options.

2. Make sure the button next to Select Areas is selected.
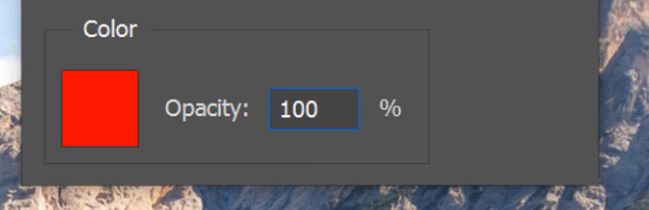
3. This is a personal choice to increase the Opacity to 100%. This makes our Quick Selection more obvious.
– Tutorial continued below –
Enter your email below and join our community of more than 100,000 photographers who receive regular tutorials and have also

Subscribed to our newsletter,
Downloaded our FREE Photoshop Course
Got our FREE Easy Panel for Photoshop
And have our FREE Essential Guide To Luminosity Masks E-Book
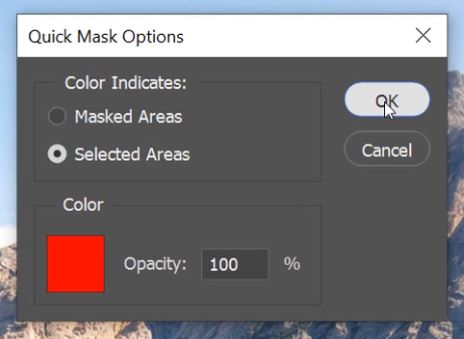
4. Once your settings are correct click on OK.
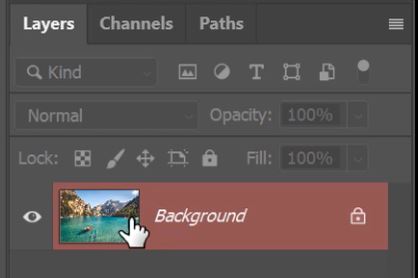
5. The layer should now be highlighted in red/pink to show you are in Quick Select mode.
6. Select the Brush tool by pressing “B” key on the keyboard, or clicking on the Brush Tool icon.

7. Now, brush over the area that you want to apply the sharpening adjustment to.

8. You can use various brush sizes and softness to get into all of the areas that you need.

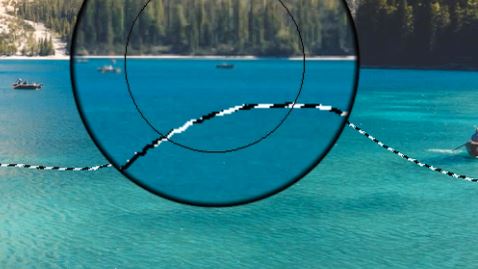
9. Once you have painted over the area that you want to sharpen, click on the Quick Mask icon or press “Q” on the keyboard.
10. You should now see the marching ants that show you your active selection. If you don’t see the marching ants, you might have them hidden, press Crtl+H or Command+H to reveal or hide the marching ants.
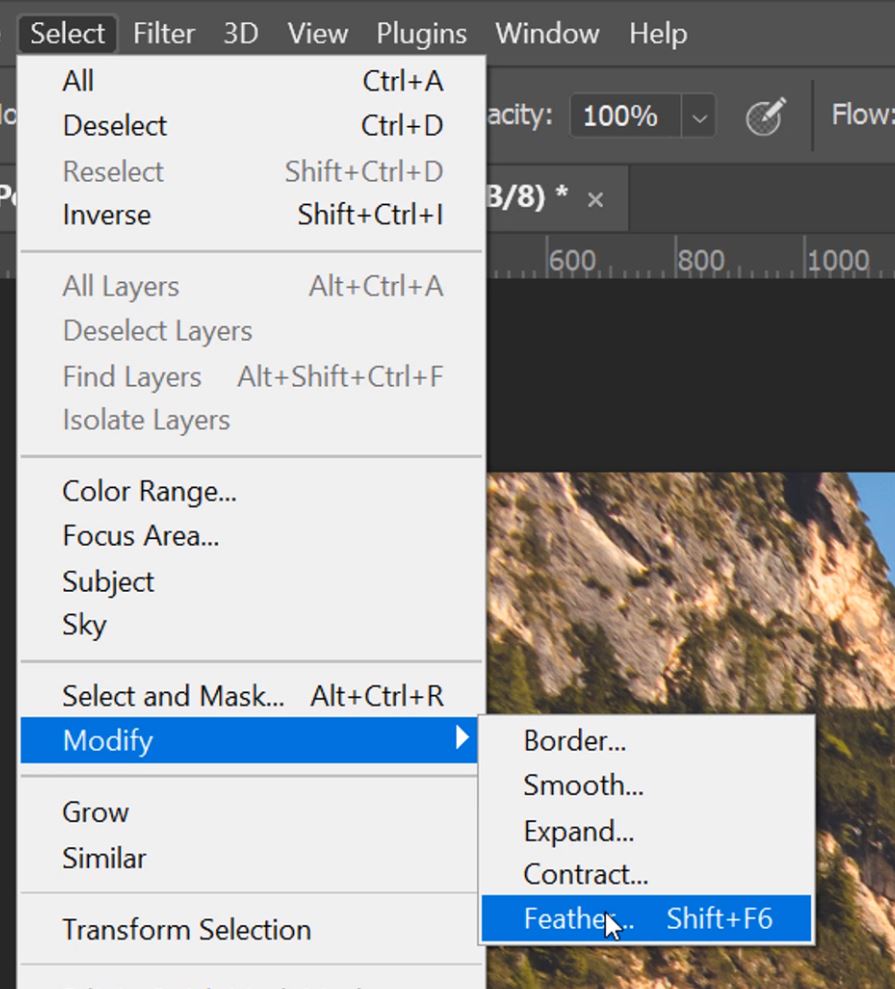
11. If you want to soften the blend between the background layer and the soon-to-be sharpening enhancement, apply a feather to your selection by going to Select>Modify>Feather. If you don’t want to soften the blend, you can skip this step.
12. Press Ctrl+J or Command+J to copy your active selection onto a new layer.
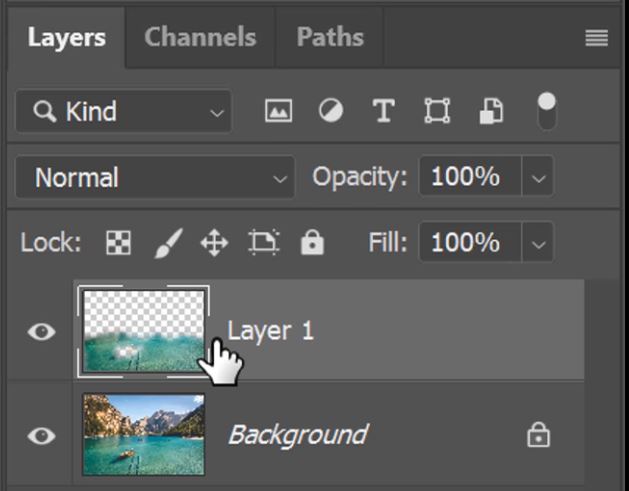
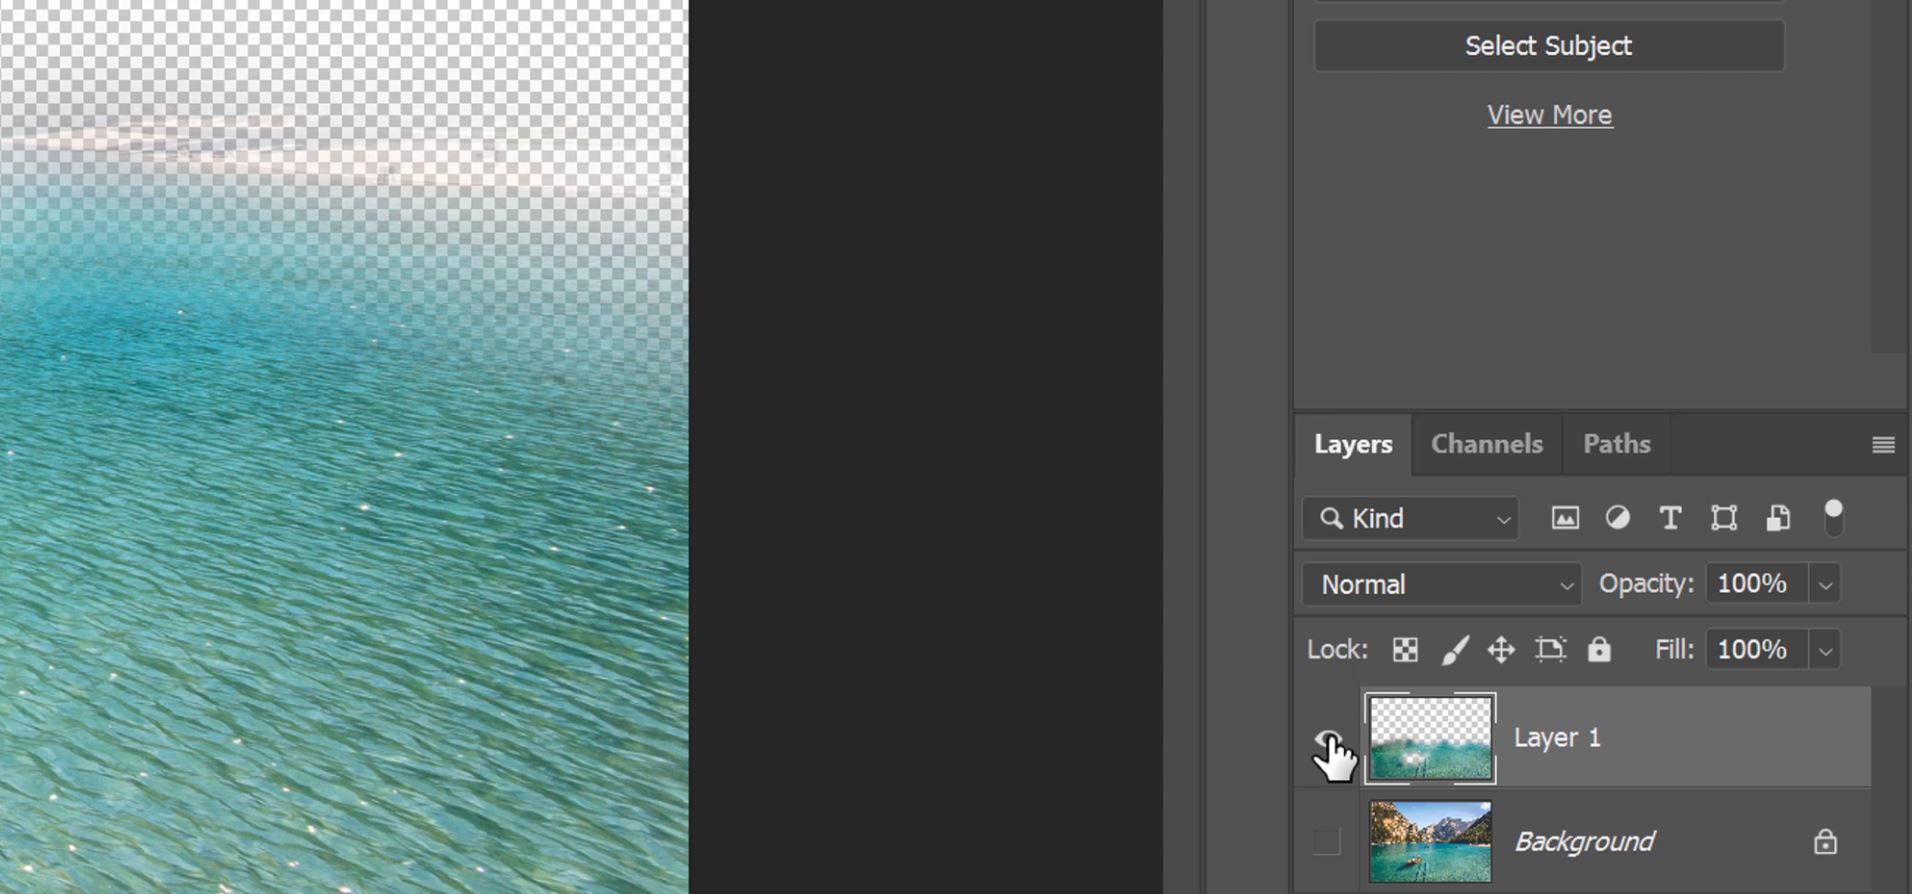
13. If you want to view only the selected layer, press the Alt or Option key and click on the new layers visibility icon.
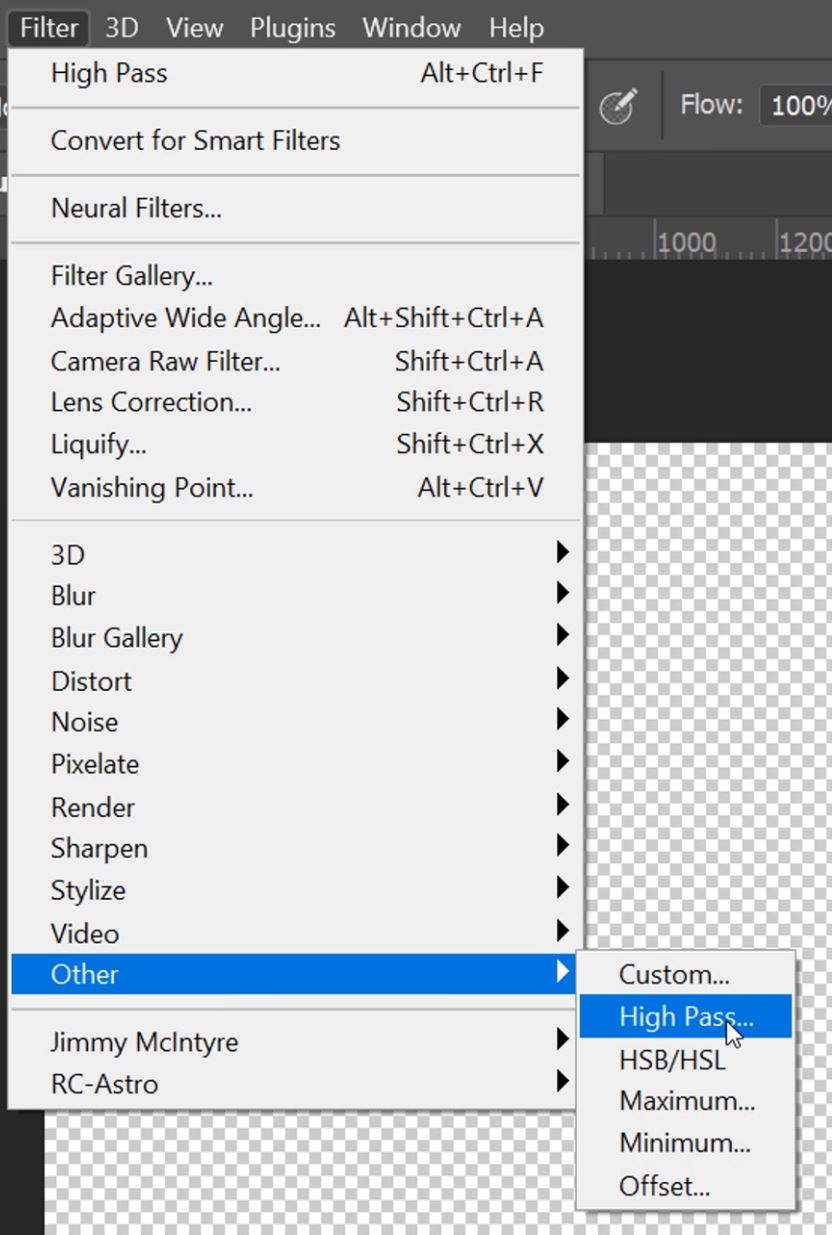
14. Go to the Filter menu and choose Other>High Pass.
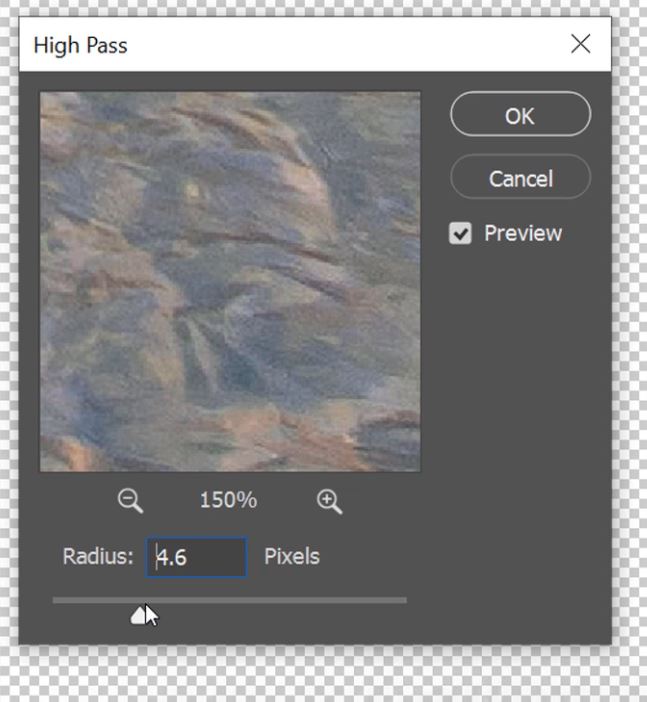
15. Adjust the Radius to alter the strength of the sharpening effect. A higher radius will give a stronger effect. Click OK when you’re done.
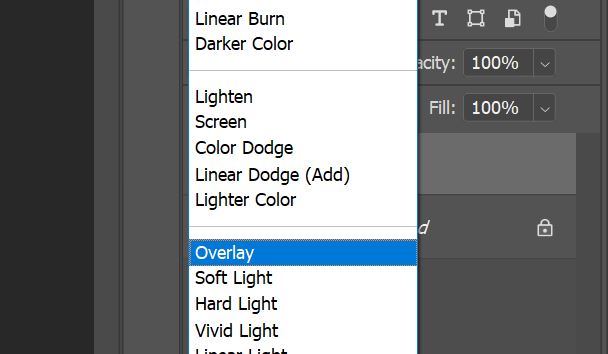
16. Change the Blend Mode of the High Pass layer to Overlay to apply your selective Sharpening.
Adding a Second Sharpening Enhancement in Photoshop
All of the steps that were used in the above step-by-step guide were used in exactly the same way to apply a second enhancement. The only differences were that I increased the High Pass radius for a stronger effect and that my selection was on the mountains in the center of the image.
TOP TIP: When you apply a higher radius, there is a greater possibility that the High Pass layer will pick up some colour contamination. If you go too far, you will also cause a halo effect, so be careful to avoid this. Increase the radius to as high as you like ensuring there is no haloing. And, if you apply the sharpening effect and it isn’t strong enough, just duplicate the layer until you get the strength that you want.
Avoid Haloing, where edges appear lighter and darker than each other like below.

If your stronger enhancement picks up colour contamination, press Shift+Ctrl+U or Shift+Command+U to desaturate the high pass layer.
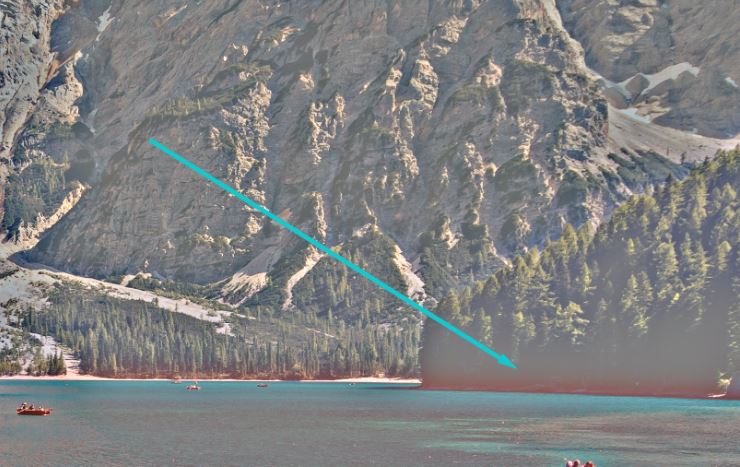


Photo by Pietro De Grandi on Unsplash
Other Articles That Might Interest You
Sharpen Images in Photoshop with the High Pass filter
3 Levels of Sharpening You Should Be Applying in Photoshop
Thank you for reading this article on How To Apply Selective Sharpening in Photoshop, be sure to sign up for our newsletter for more tutorials and great offers.

Enter your email below and join our community of more than 100,000 photographers who have also
Subscribed to our newsletter.
Downloaded our FREE Photoshop Course.
Got our FREE Easy Panel for Photoshop.
And, have our FREE Essential Guide To Luminosity Masks E-Book.
FREE Photoshop Course

The Art Of Photography

Raya Pro for Photoshop
