How To Double Blend One Exposure in Photoshop
It’s not ideal to only work with one exposure for digital blending. But in some cases, it may be our only option. Double Blending is a useful technique to have in your arsenal for when problems arouse in your shots. Problems such as, if the camera moves between bracketed exposures and is out of focus, if there is a strong wind causing subjects to move such as trees, or if you want to blend a crisp image and not a long exposure. These are all scenarios where this technique can help to overcome these issues. Without further delay let us show you How To Double Blend One Exposure in Photoshop.

If you wish to experiment with this, I would really appreciate it if you included my name (Duke McIntyre) and www.shutterevolve.com when you publish your image. If you post your published image on our Facebook page I’d be happy to check it out.
What is Double Blending in Photography
Double Blending is a post-processing technique that takes one exposure, duplicates it and then alters the duplication. The alterations could be to the exposure level, the colour tones, the clarity… literally anything. Then we blend sections from both exposures (the original and the duplicate) using a luminosity mask to create one complete image. The complete image will have a higher dynamic range and stronger elements from the various exposure which gives us a much better all-round image.
Double blending is a solution to many blending issues such as moving trees. If you have multiple exposures with trees in the scene, there is more often than not, movement in those trees. When we blend exposures that have movement in them we always get ghosting in our images. Ghosting occurs when a luminosity mask is made from one exposure and applied to another and the exposures don’t match up. You end up hiding or revealing areas in an exposure that you don’t want. We have more expert advice on how to overcome many common problems with exposure blending in our Essential Guide To Luminosity Masks e-book.
-Tutorial Continued Below-
Enter your email below and join our community of more than 100,000 photographers who receive regular tutorials and have also

Subscribed to our newsletter,
Downloaded our FREE Photoshop Course
Got our FREE Easy Panel for Photoshop
And have our FREE Essential Guide To Luminosity Masks E-Book
How To Double Blend One Exposure in Photoshop
It is much better to use Raw files for Double Blending as they contain metadata for the image which we can enhance more precisely. If you only have flattened files such as Jpeg you can still double blend. All you would need to do is press Ctrl+J (PC) or Cmd+J (Mac) to duplicate your layer and then use the adjustment layers in Photoshop, or the Camera Raw Filter. Then skip to step 15.
1. After editing in Camera Raw, to open your image into Photoshop hold down the SHIFT key. This will change the Open button to Open Object and allow us to open the Raw file in Photoshop as a Smart Object.

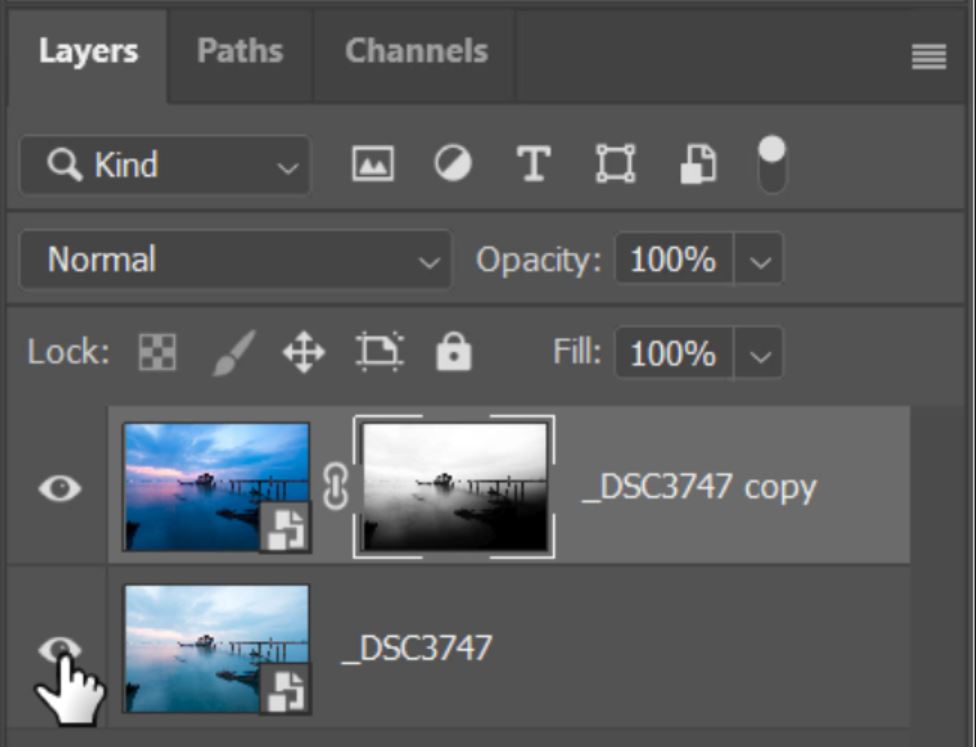
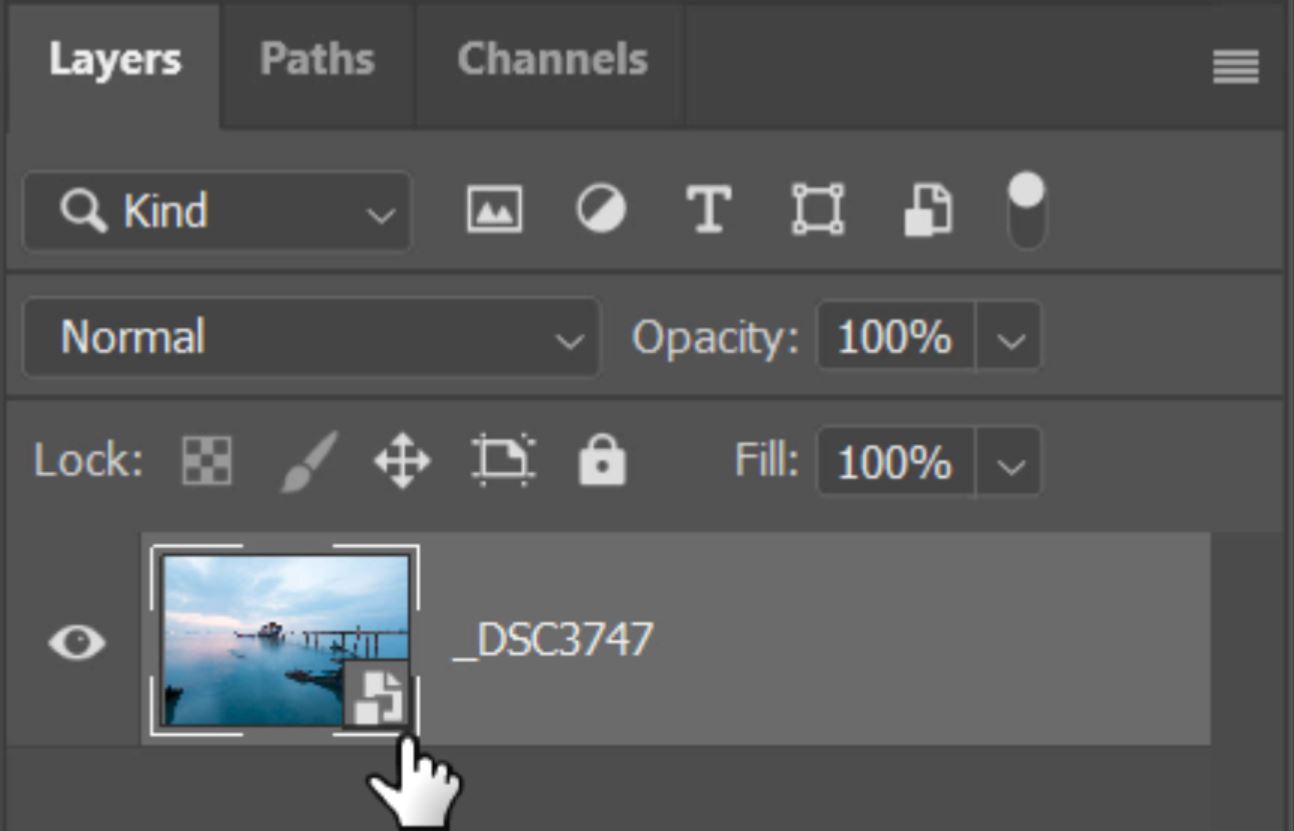
2. When the image opens in Photoshop it will show in the Layers panel. You should see a small icon on the layer thumbnail to show that it is a Smart Object.
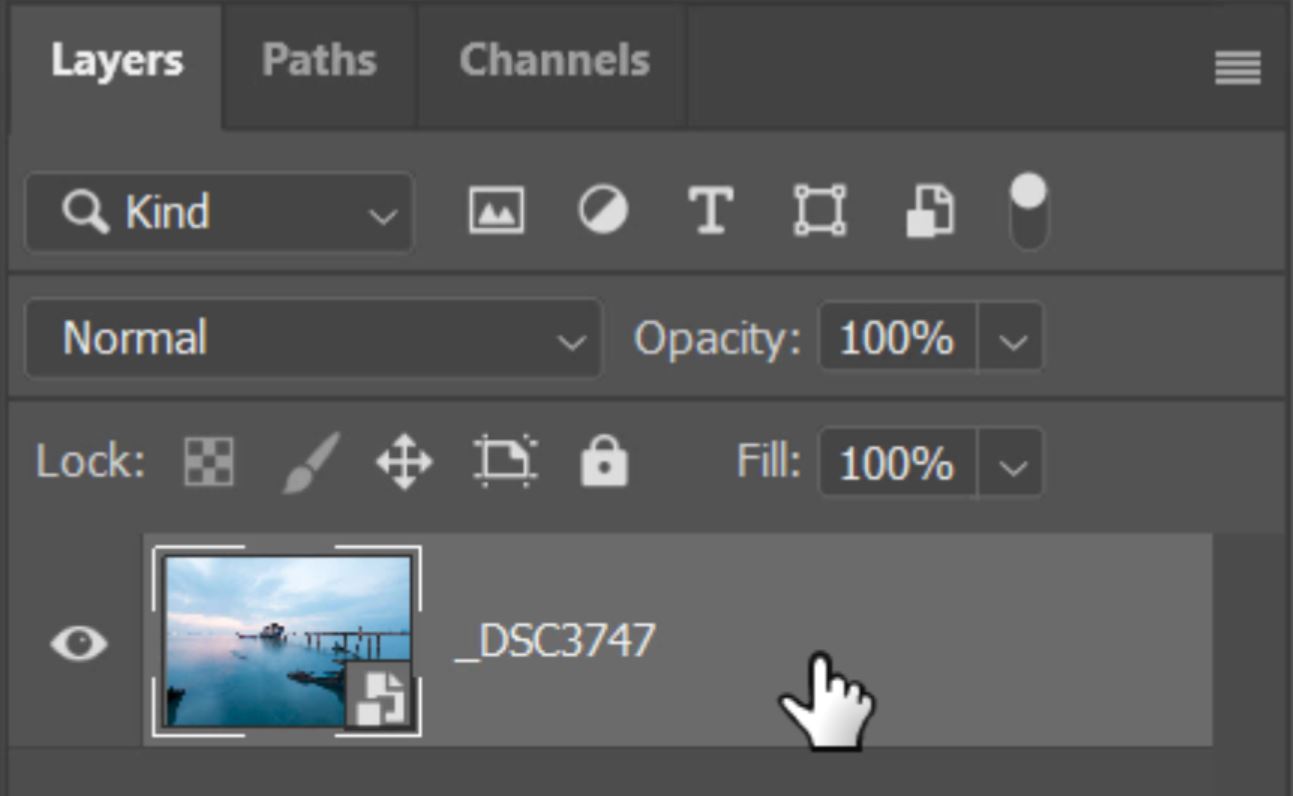
3. Right-click on the space to the right side of the layer thumbnail.
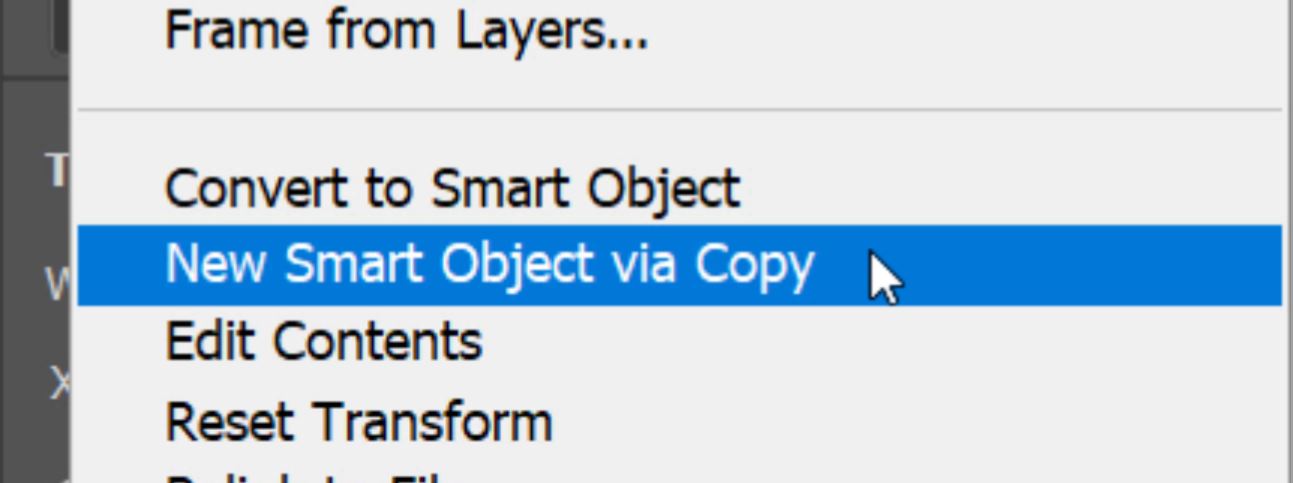
4. When the option list appears, select New Smart Object Via Copy.
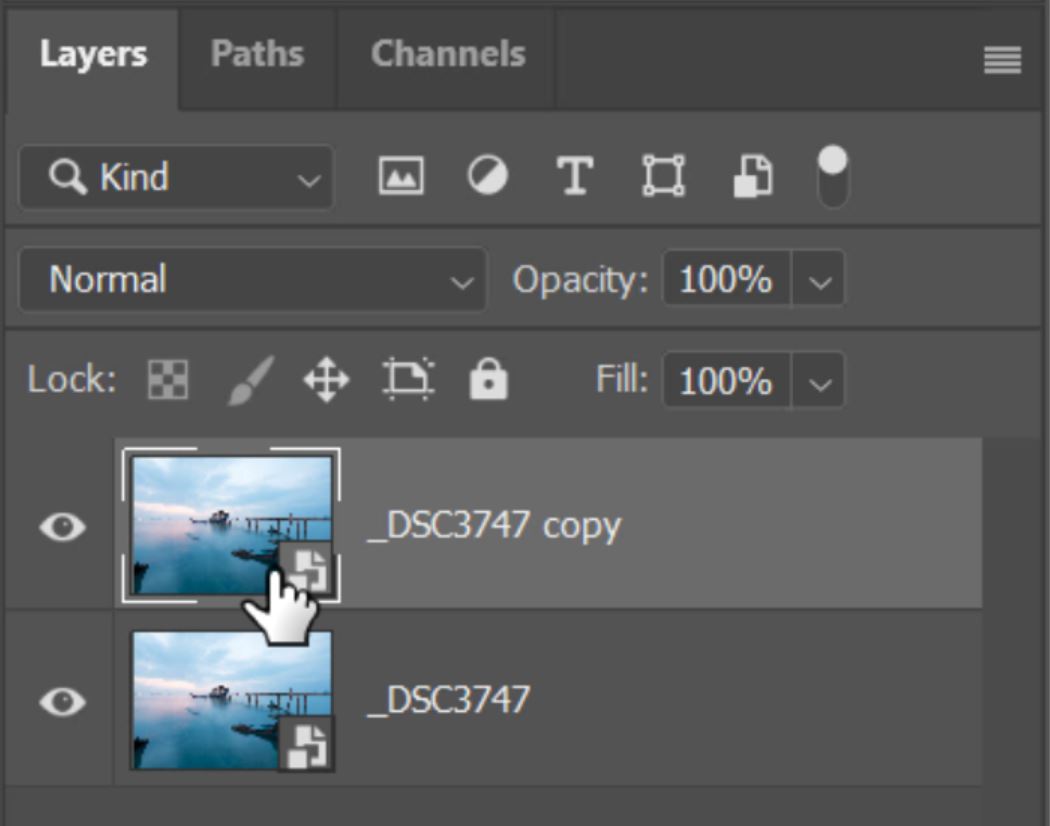
5. This will create an exact copy of the layer. You now need to double click on the layer thumbnail to open it up in Camera Raw.
6. When in ACR, click on the small arrow to show the Basic editing controls.

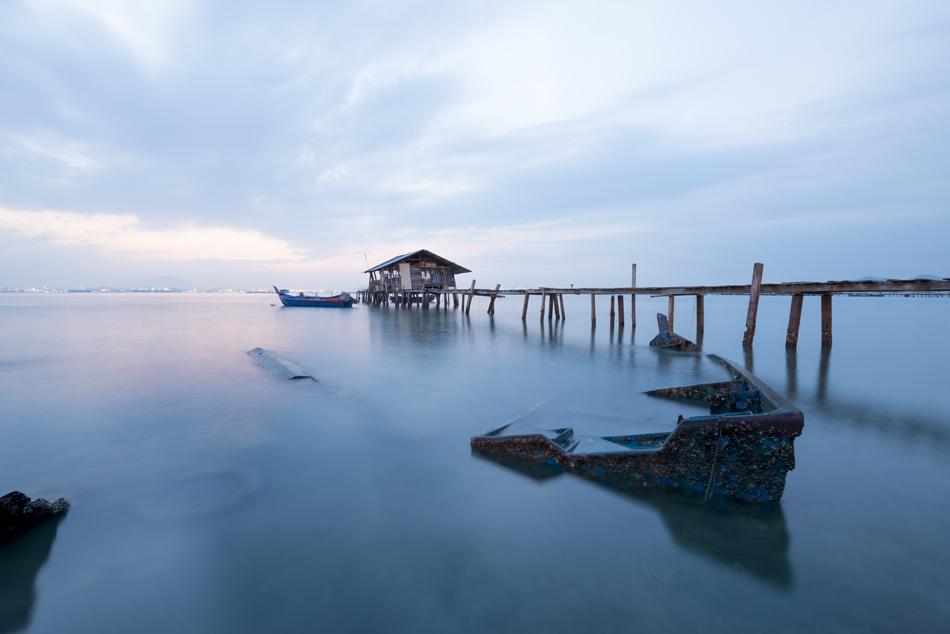
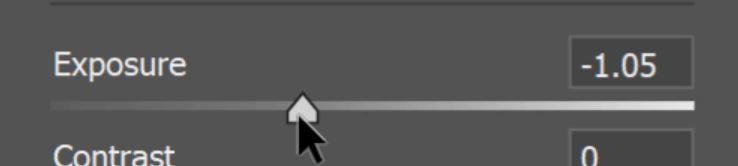
7. The first adjustment that I make will be to the Exposure, this has taken the image exposure down by 1 stop.
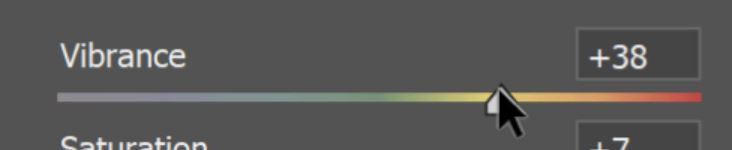
8. I wanted to boost the colours so the next adjustment I made was to increase Vibrance.
9. To brighten the image I moved the White slider to the right.

10. And did the same with the Highlights slider.

11. After brightening the image the colours washed out slightly so to counter this by increasing the Saturation.

12. Next I added a Magenta tint to strengthen the purple tone of this particular scene.

13. The brightest areas of the exposure were devoid of colour so I took the whites back down by moving the Whites slider left.

14. After making all of the adjustments that you need, click on the OK button to take the image back into Photoshop with all of the adjustments that you have made applied.

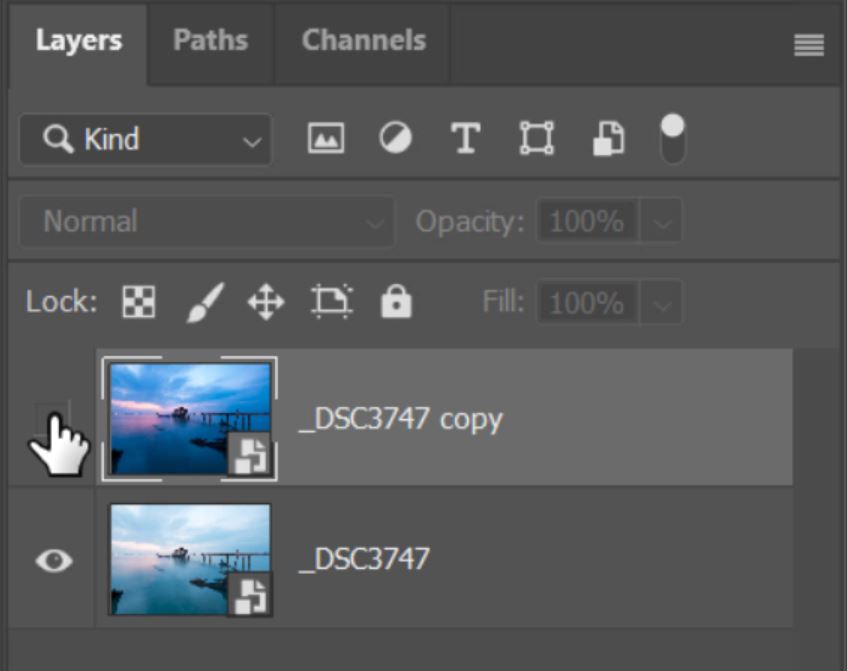
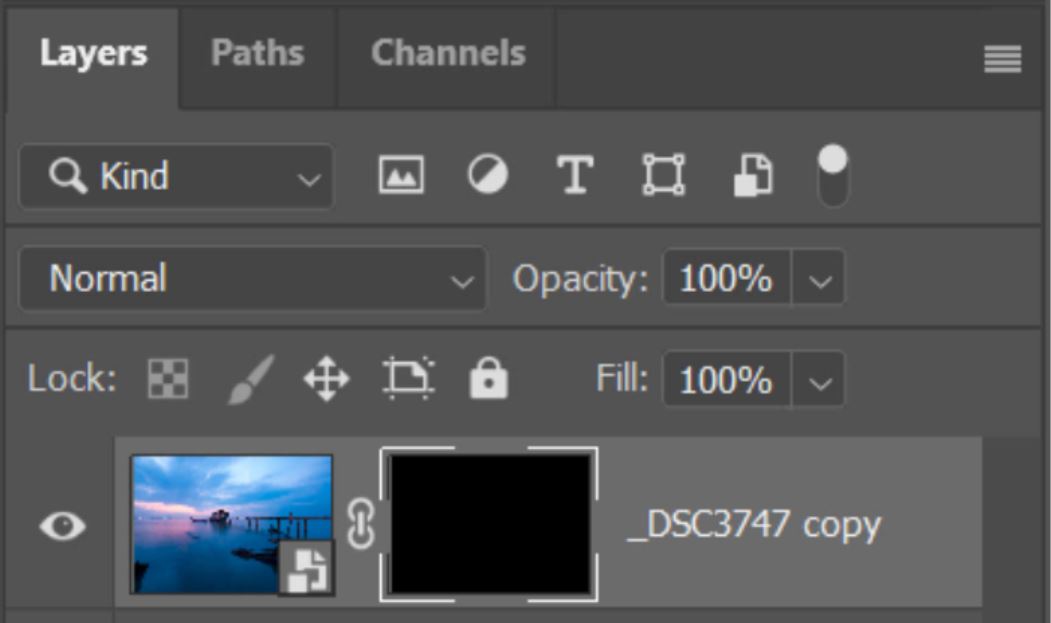
15. Now you will see a difference in the two layers. I have hidden the top layer so that I can build a luminosity mask based on the brighter parts of the bottom layer.
16. I quickly open up InstaMask which is one of the panels included in Raya Pro. In InstaMask I create a Brights 2 mask by clicking on the number 2 in the B row.
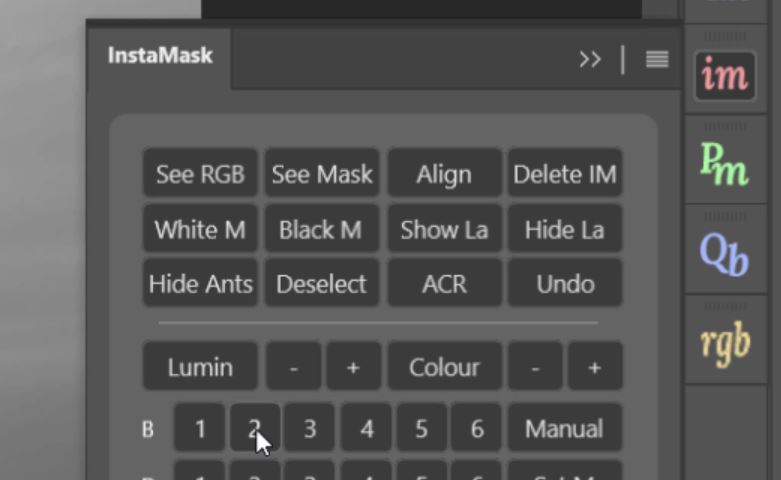
17. This gives me a good selection of the sky that I want to blend from the darker exposure. I then click on Select white.
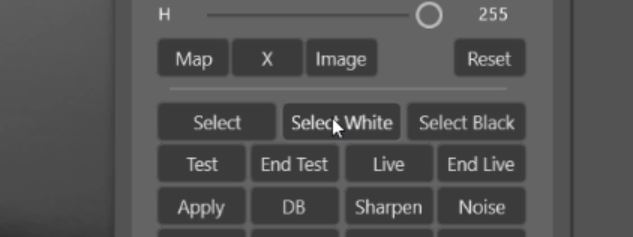
18. A black (Hide All) mask is applied to the darker exposure and I now have an active selection of the white areas of the mask that InstaMask created for me.
19. All I need to do now is paint over the image with a large brush with a white foreground and 50% brush opacity. painting over the image several times increases the amount of the darker layer that becomes visible.
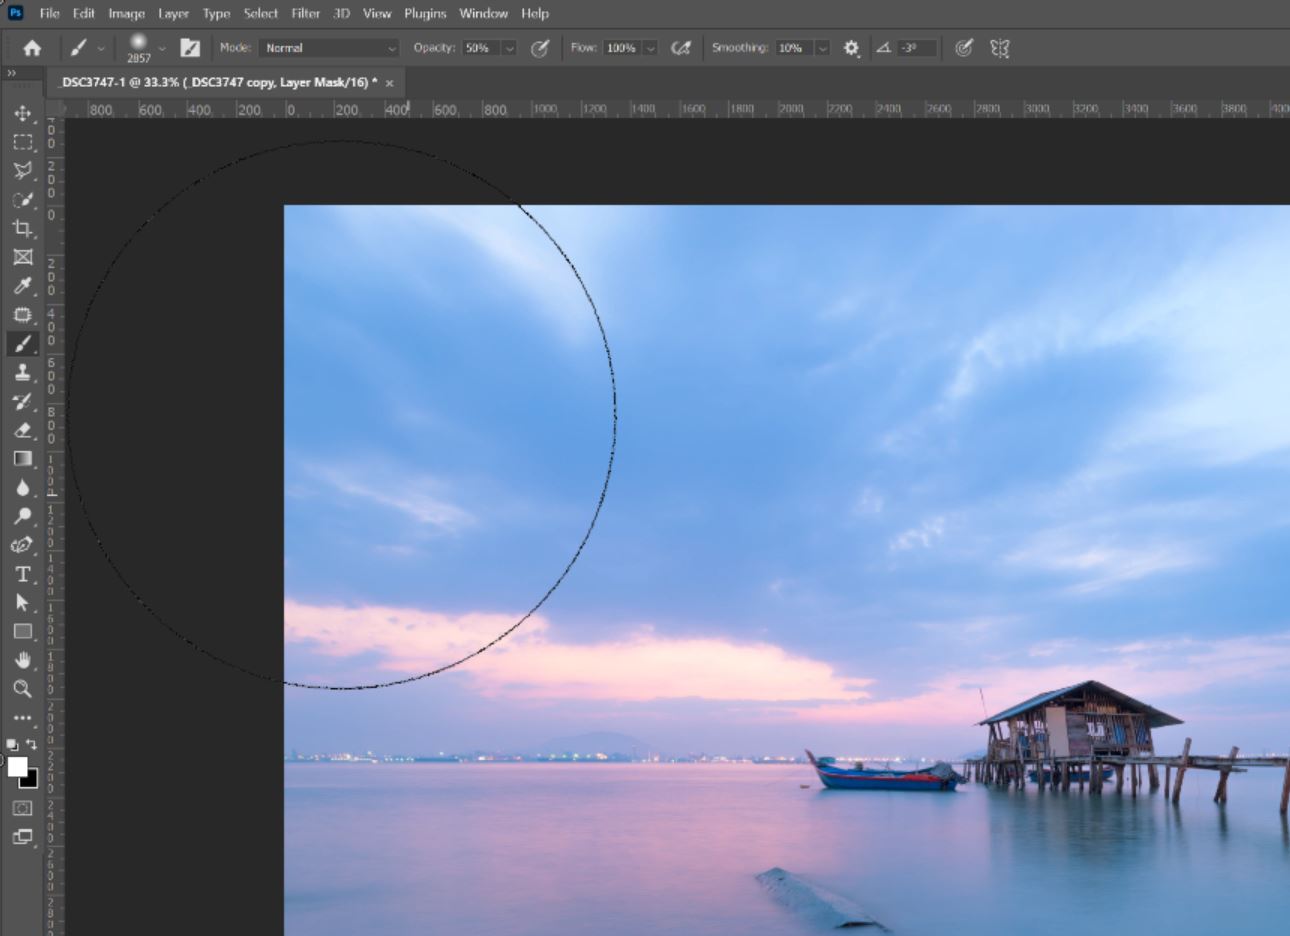
20. Now look at the precise luminosity mask that has been applied. Thanks to InstaMask the darker parts of the image such as the jetty and building have not been affected by the darker exposure.