Quick Photoshop Secrets 6: How To Enhance Details Beautifully
Learn how to enhance details easily in Photoshop with this very quick technique. During the stages of post-processing sadly we can lose details, especially in textures. Enhancing details brings back those textures and beautiful detail. First, we’ll tell you about the method that we use. Then we’ll show you the quickest method using Raya Pro. Finally, we’ll show you how to do this the long way, so if you don’t have Raya Pro you can still get a similar effect.
The Method We Use to Enhance Details
Essentially, we use the High Pass filter to enhance very fine local contrast. This is used as an advanced sharpening technique when we use a smaller radius, and with a higher radius, we can create extreme local contrast that can sometimes help us cut through hazy images.
The Quick Method Using Raya Pro
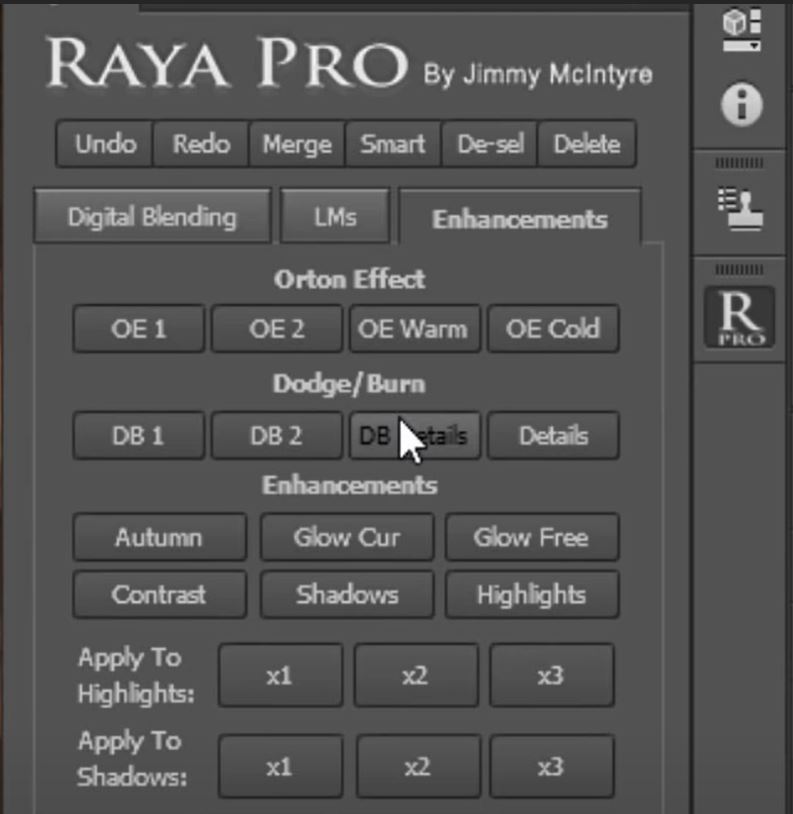
1. Open Raya Pro and select DB Details. In newer version fo Ray Pro you will find this in Filters/Finish and choose Detail Enhance.
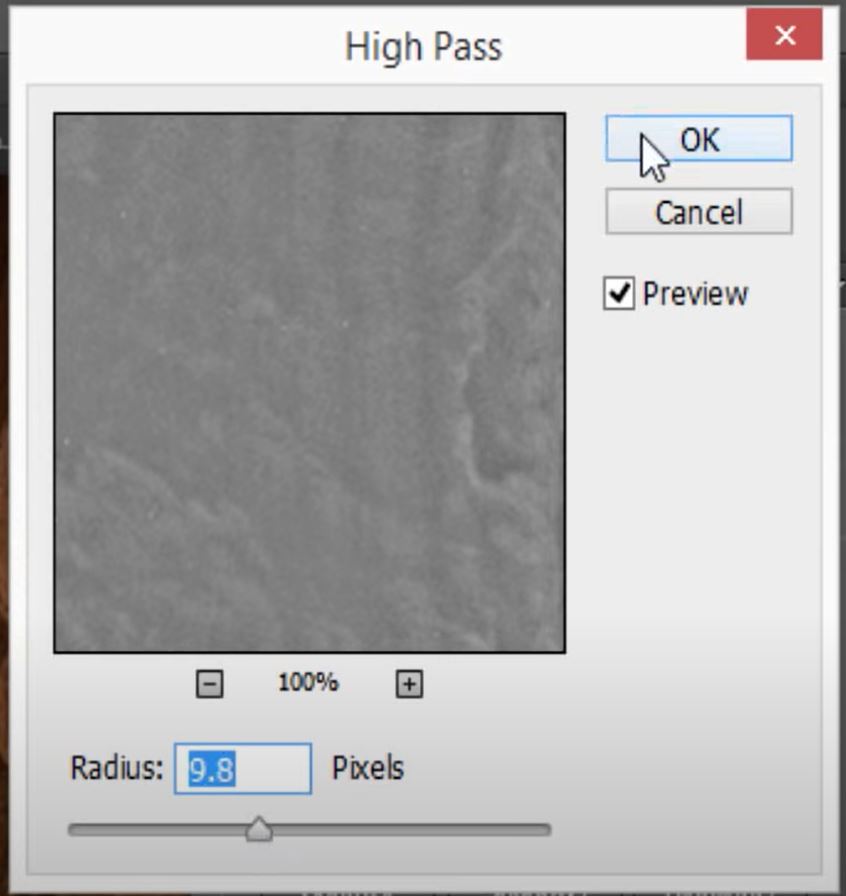
2. Select a low Radius to target textures and click OK.
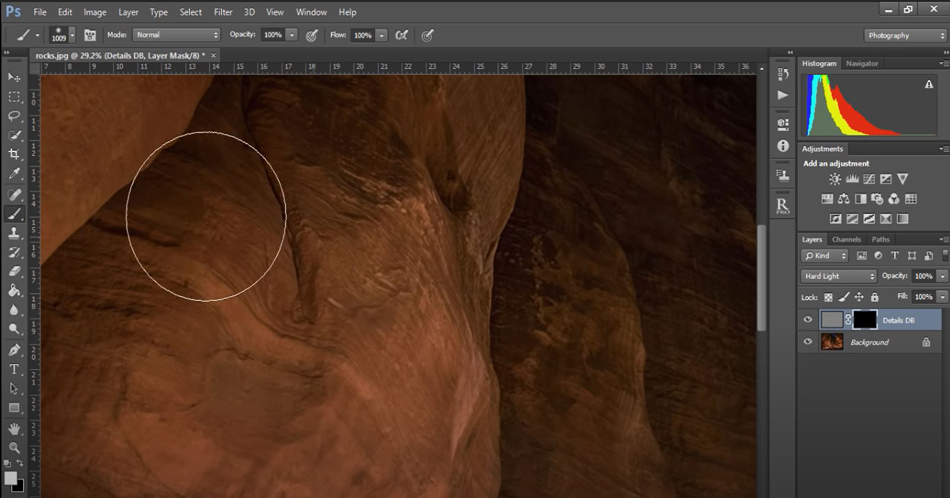
3. Ensuring the ‘Detail’ Mask is selected. Select your Brush Tool and a white foreground colour. Then, simply paint in the areas where you want to bring back the details.
The Standard Method Without Using Raya Pro
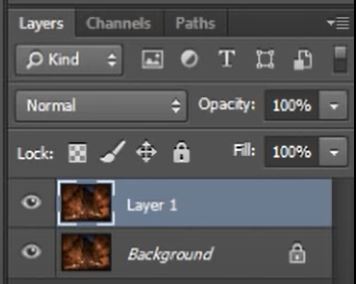
1. Firstly, Duplicate the Background Layer by pressing Crtl+ on a PC or Cmd+J on a Mac.
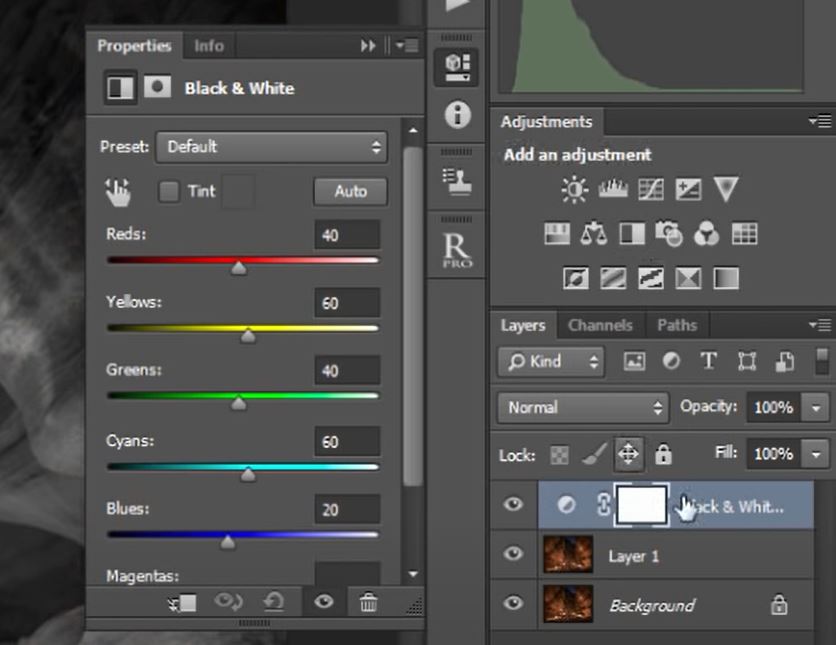
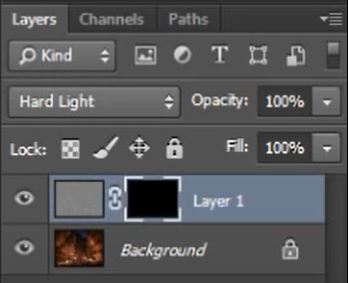
2. We need to make this a Black & White layer. Select the Black & White icon in the adjustments panel. Or, go to Layer>New Adjustments Layer>Black and White.
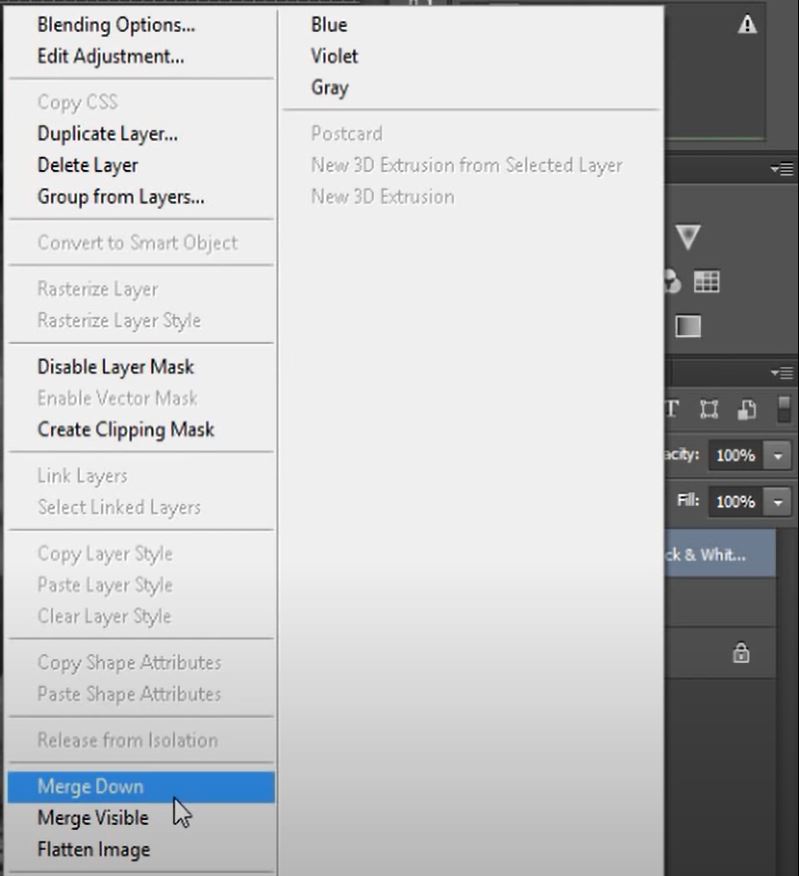
3. Right-click on the Black & White layer and select Merge Down or press Crtl+E on a PC or Cmd+E on a Mac.
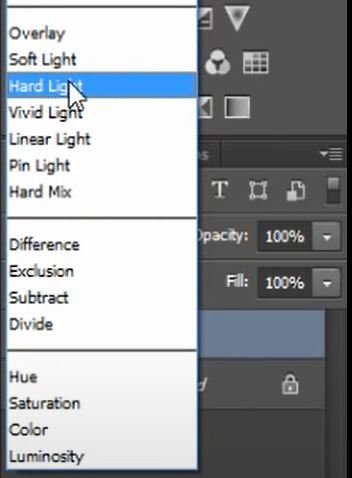
4. Now, change the Blend Mode to Vivid Light or Hard Light. These different blend modes will have dramatically different effect so choose which ever one works best for you.
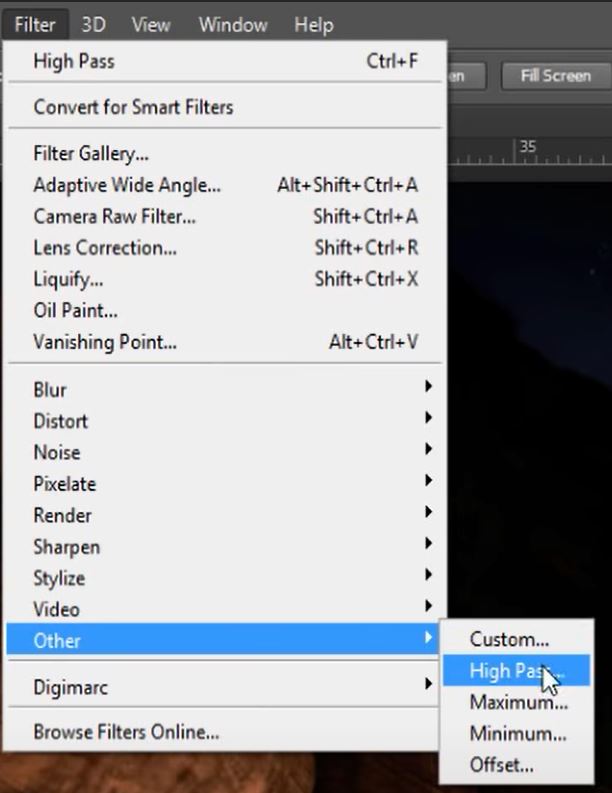
5. We now need to apply rhe High Pass filter. Go to Filter>Others>High Pass.
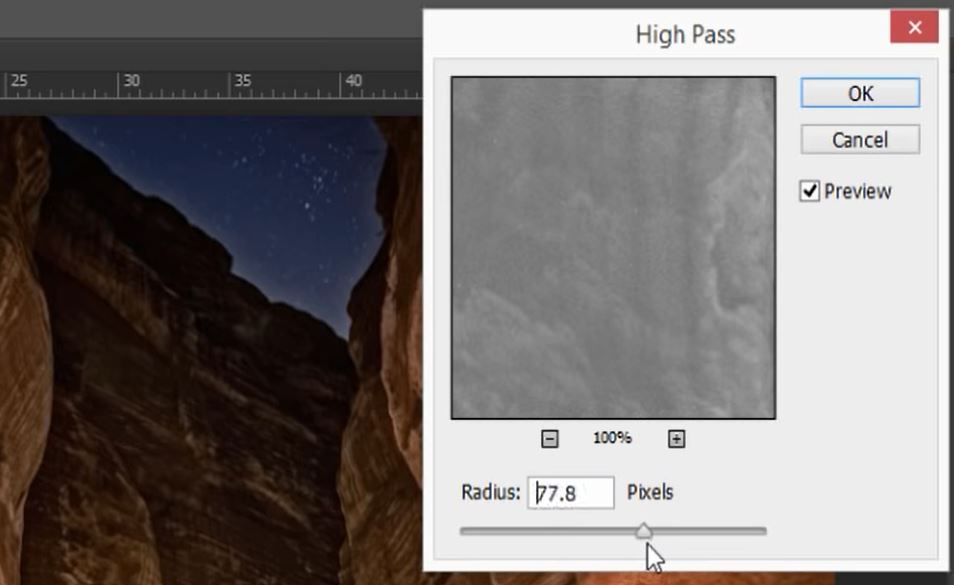
6. Choose a suitable Radius, lower to sharpen fine detail. The higher the Radius the more impact and the more local contrast is affected which can cause haloing. Click OK.
7. Apply a hidden Mask to the High Pass layer. Go to Layer>Layer Mask>Hide All or hold down the Alt key on a PC or Opt key on a Mac and left click on the mask icon at the bottom of the Layers panel.
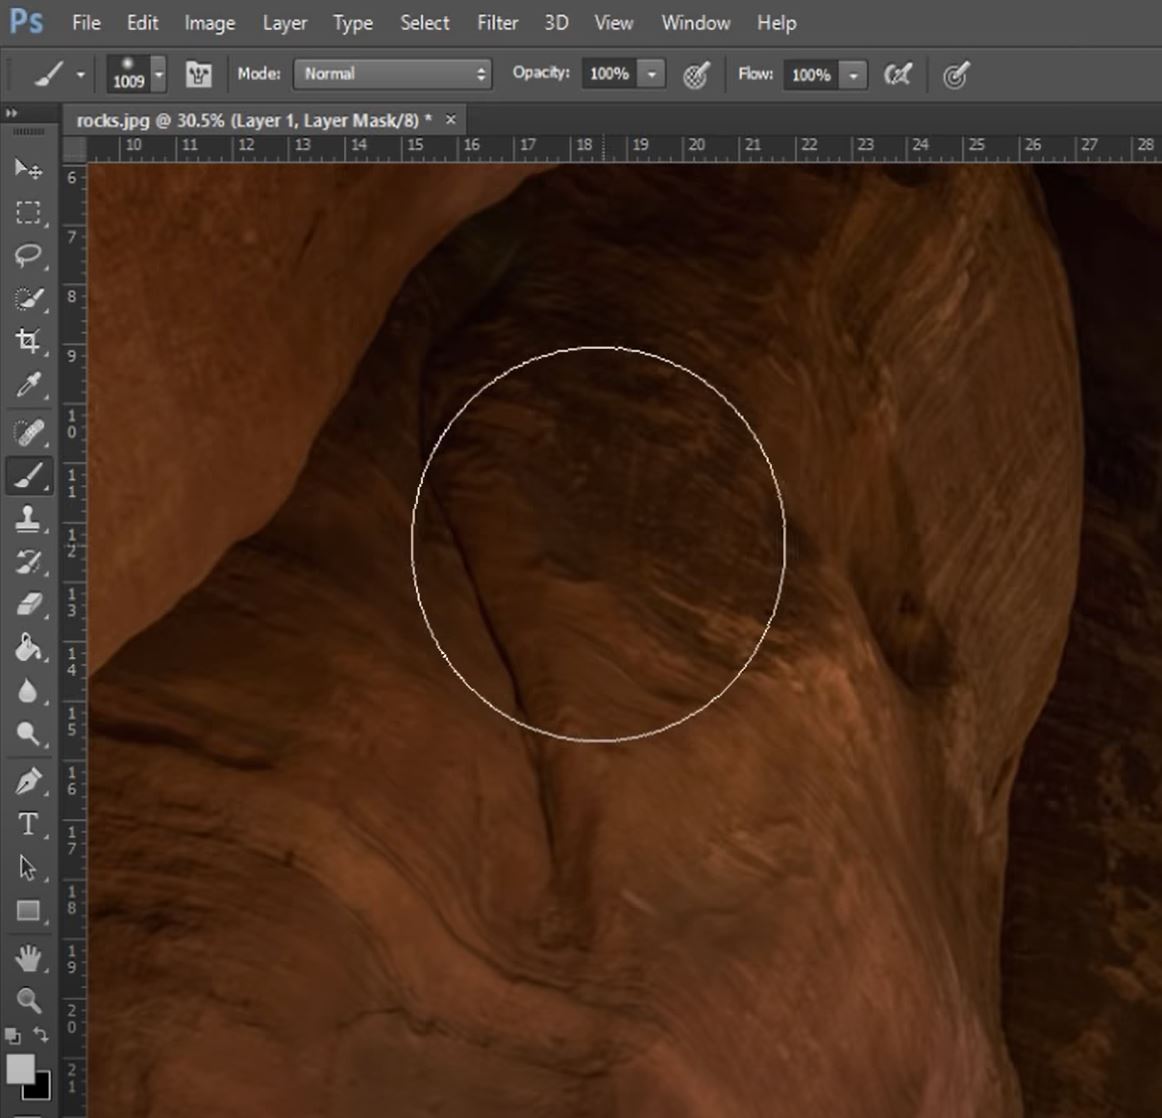
8. Select your Brush Tool and a white foreground colour. Then, simply paint in the areas where you want to bring back the details.
9. If the affect is too strong. Either, reduce the brush opacity or lower the overall layer opacity until the enhancement is exactly as you want it.
Let’ have a look at the before and after detail enhancements in Photoshop.


If you like this article you might also like Photoshop Secrets 18: How To Remove Noise But Keep Beautiful Details.
Or to learn more detail about what “High Pass” filter actually does under the hood?

