
PS Secrets 18: How To Remove Noise But Keep Beautiful Details
This week’s tutorial is a superb technique for removing a great deal of noise from your image in Photoshop, without losing any details.
If we are forced to shoot at a high ISO due to low light, we will probably end up with a lot of noise. Using noise removal software like Topaz DeNoise (one of the best in my opinion) will certainly do a good job of cleaning up the noise, but the stronger the noise removal, the more detail we stand to lose in other areas.
To remove noise and preserve details at the same time, we can use the technique in this video (Smart Object>Stack>Mean). But to do so requires us to take 5, 6, 7 exposures of the same scene shot in quick succession. It would be easier if there were no moving objects in the frame, like people walking around, but the more exposures you use the less this becomes an issue.
Since noise isn’t static (doesn’t stay in one place) between exposures, we can combine all of our exposures as a Smart Object and take the mean for each pixel, which will typically leave us with noise-free images that have plenty of lovely detail.
If that sounds confusing, don’t worry about it. The video will show you how easy it is and you can also follow our instructions.
How to Remove Noise
1. Open your multiple exposures in photoshop.
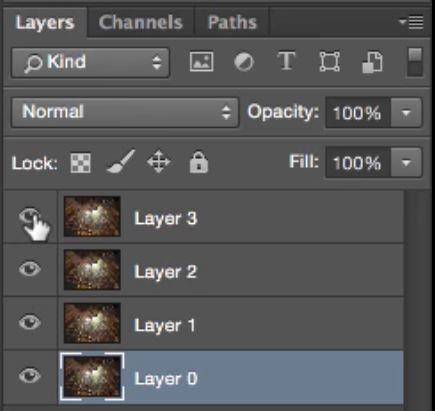
2. Select all of the layers by selecting the bottom layer first. Then, while holding down the shift key left-click on the top layer.

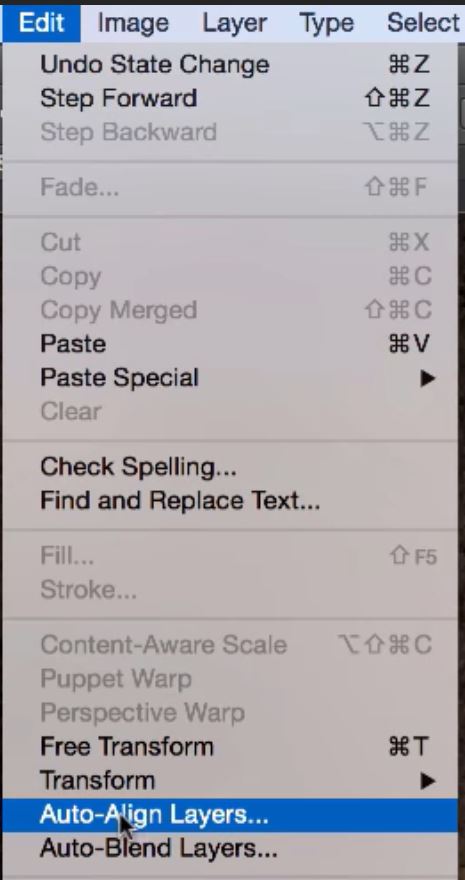
3. With all the layers selected got to Edit>Auto-Align Layers…
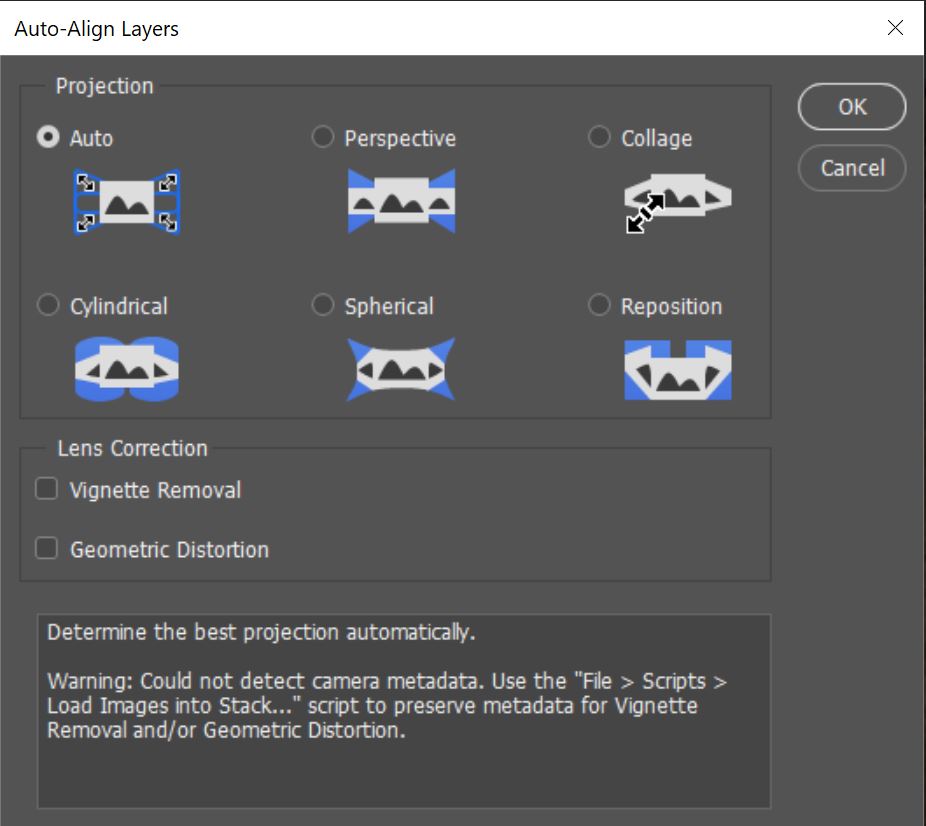
4. When the Auto-Align Layers box appears, select Auto and click OK.
5. Now that all of the layers are aligned we need to convert them into a Smart Object. Go to Layers>Smart Object>Convert to Smart Object.
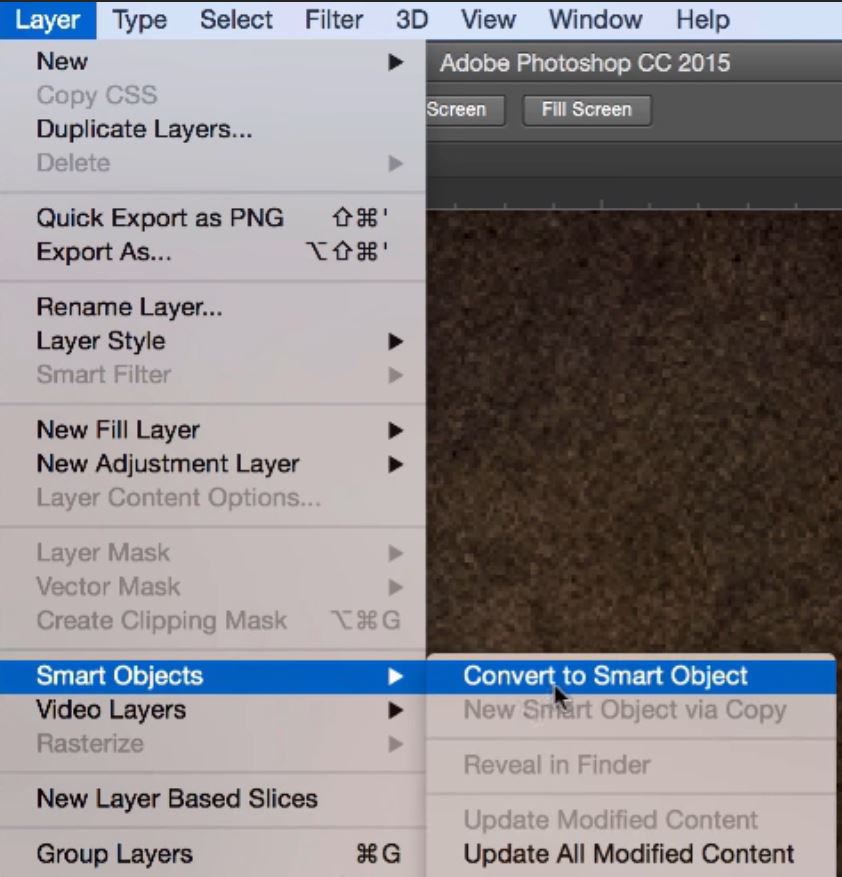
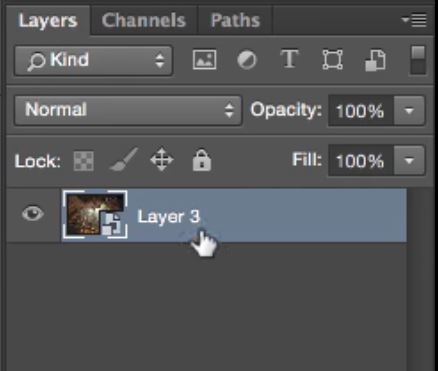
6. All of your layers should now be condensed into one Smart Object.
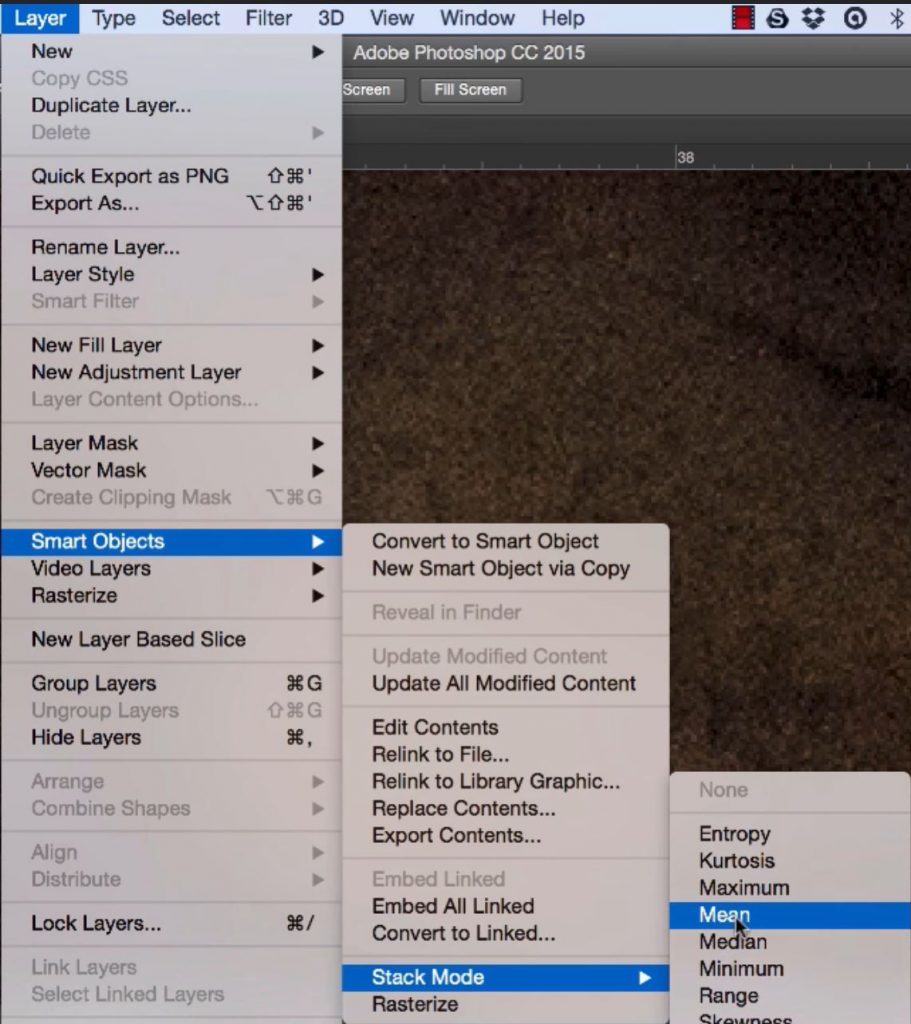
7. To remove the noise we go back to Layers>Smart Object>Stack Mode>Mean.
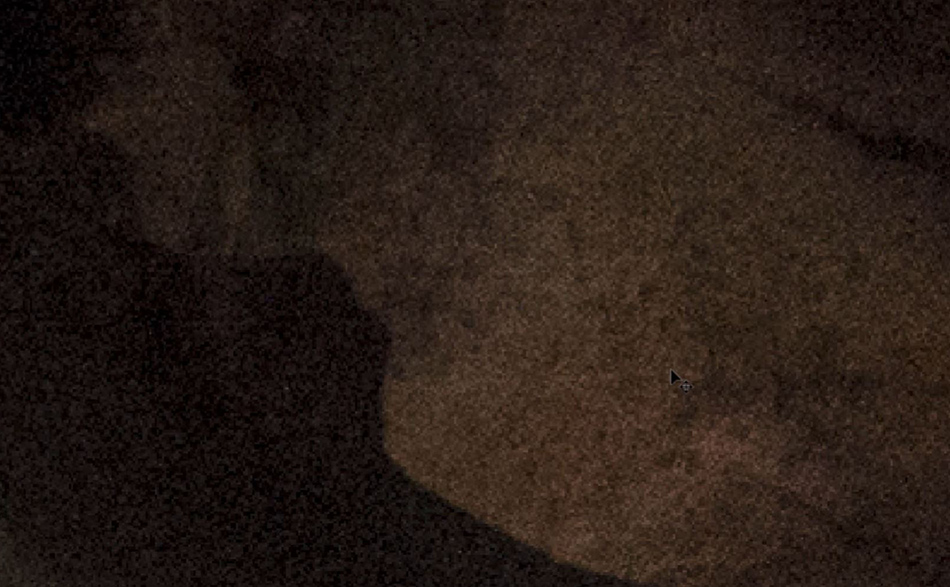
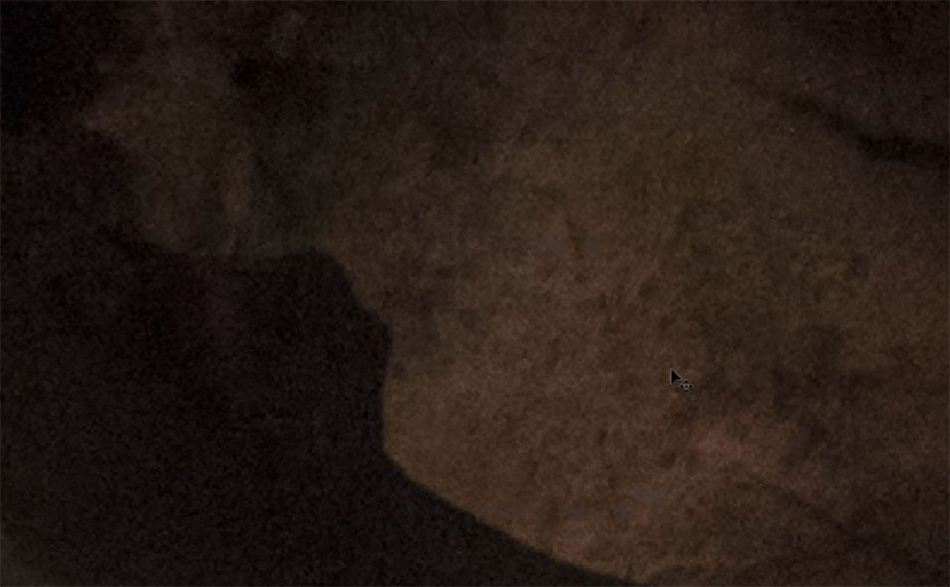
As you can see from this before and after comparison this is a very effective method of removing noise if you are forced to shoot with a high ISO.
[compare]
[/compare]
We also have a more advanced tutorial using the same method for Landscape Astrophotography Noise Reduction with Image Stacking.
I also discovered a really useful education site for beginners which shows different method to both Sharpening and Noise Reduction.
Enter your email below and join our community of more than 100,000 photographers who have also
Subscribed to our newsletter.
Downloaded our FREE Photoshop Course.
Got our FREE Easy Panel for Photoshop.
And, have our FREE Essential Guide To Luminosity Masks E-Book.
To go directly to any of our products, simply click on the image below.


