How To Get Good Leading Lines in Photoshop
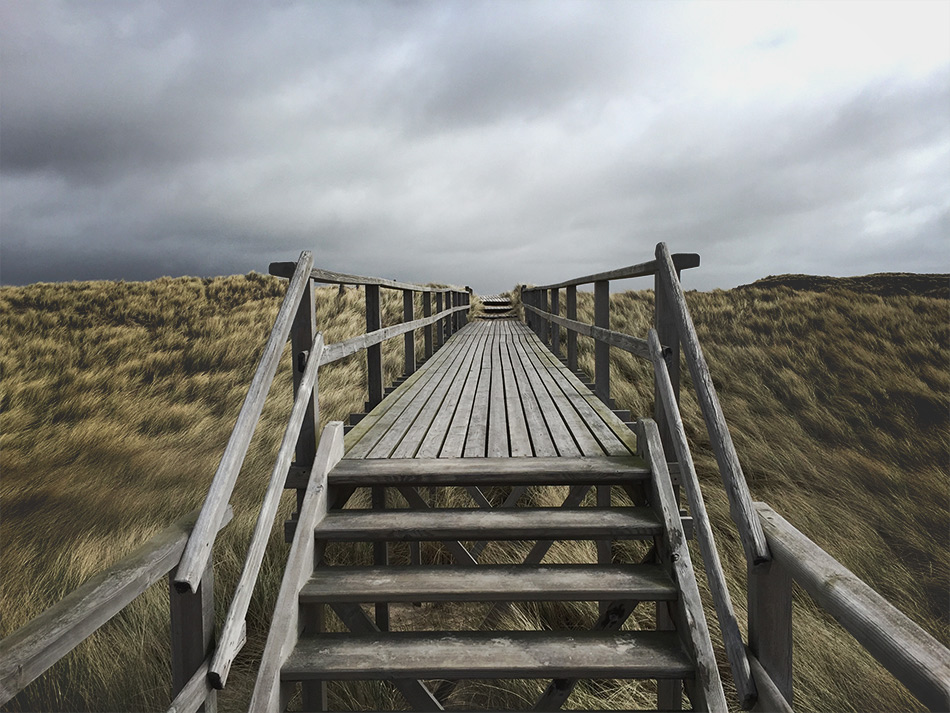
What are leading lines? They can take many forms, be it natural or man-made. Leading lines help to push our attention to a focal point or interesting subject. Forming a very important part of photography composition, they are one of the fundamental principles of capturing a good scene. By looking for leading lines and factoring them into our shots, we can direct the viewer’s attention to a particular area of interest with much greater ease. Making the most of leading lines is something that photographers overlook. I sometimes see images with great leading lines, but they’re not emphasized or enhanced. In this tutorial, we take a relatively flat image with good leading lines and make them stand out more. Follow along with our instructions below to find out how to get good leading lines in Photoshop.
How To Get Good Leading Lines in Photoshop
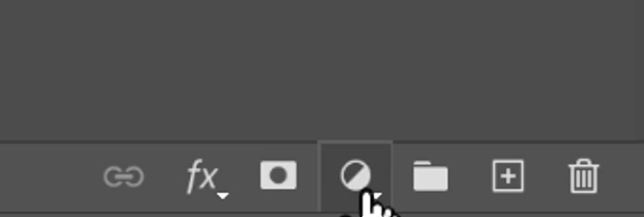
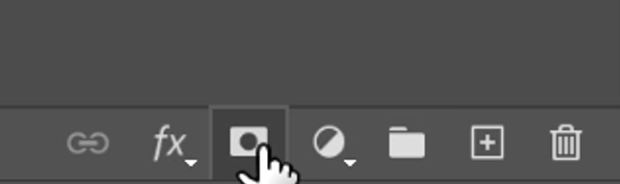
1. To begin bringing more attention to our leading lines we need to click on the ‘Create New Fill Or Adjustment Layer’ icon at the bottom of the Layers panel.
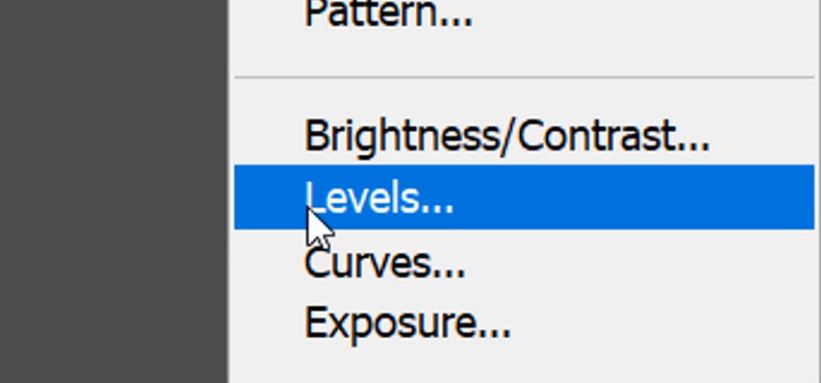
2. Select a Levels Adjustment Layer.
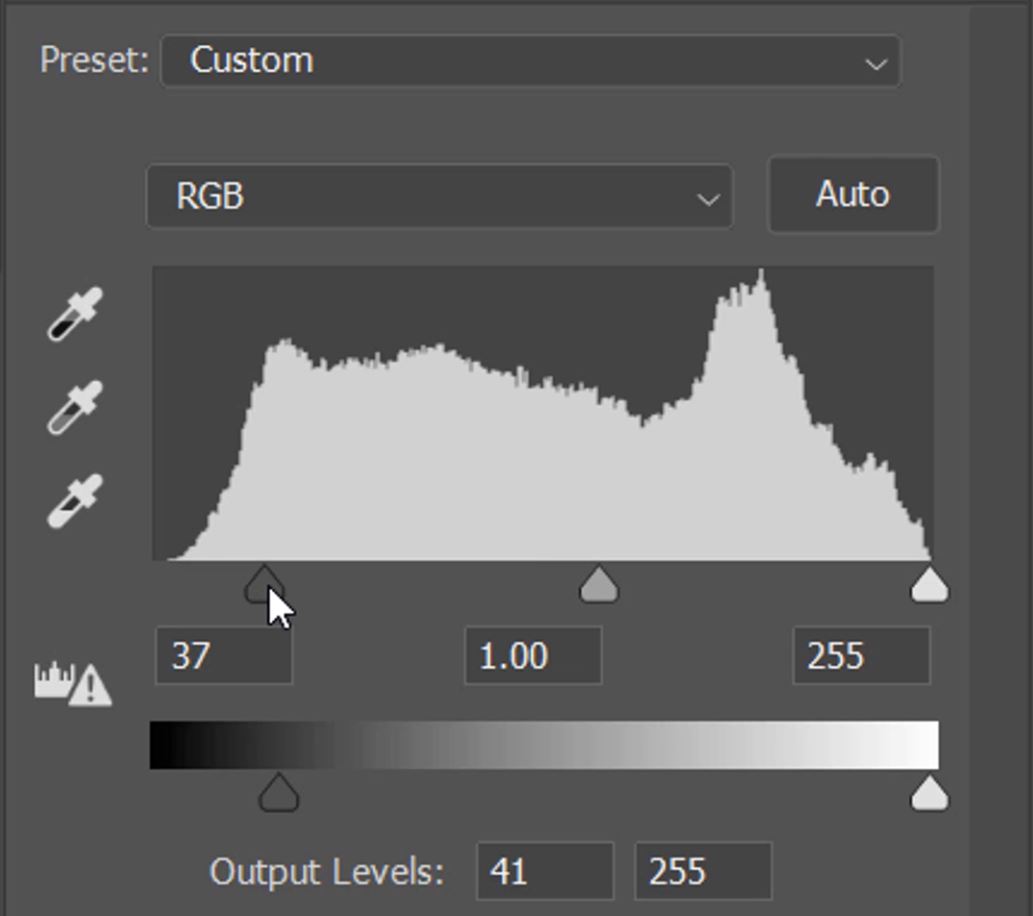
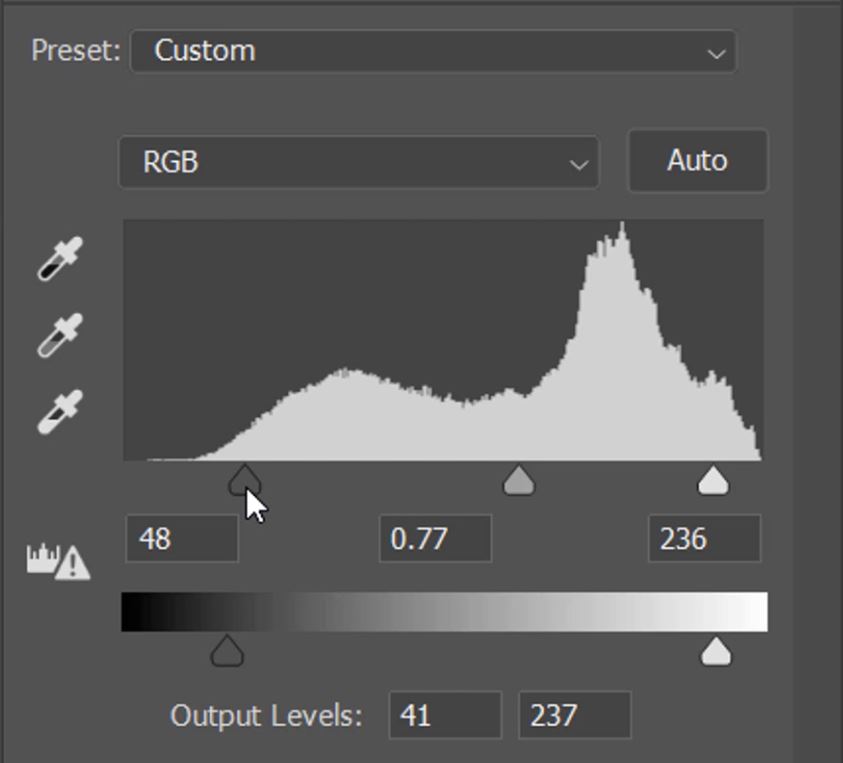
3. We’re going to make several adjustments to the Levels properties, starting with the Black Output slider. By moving the control slider to the right we soften the black within the photo.
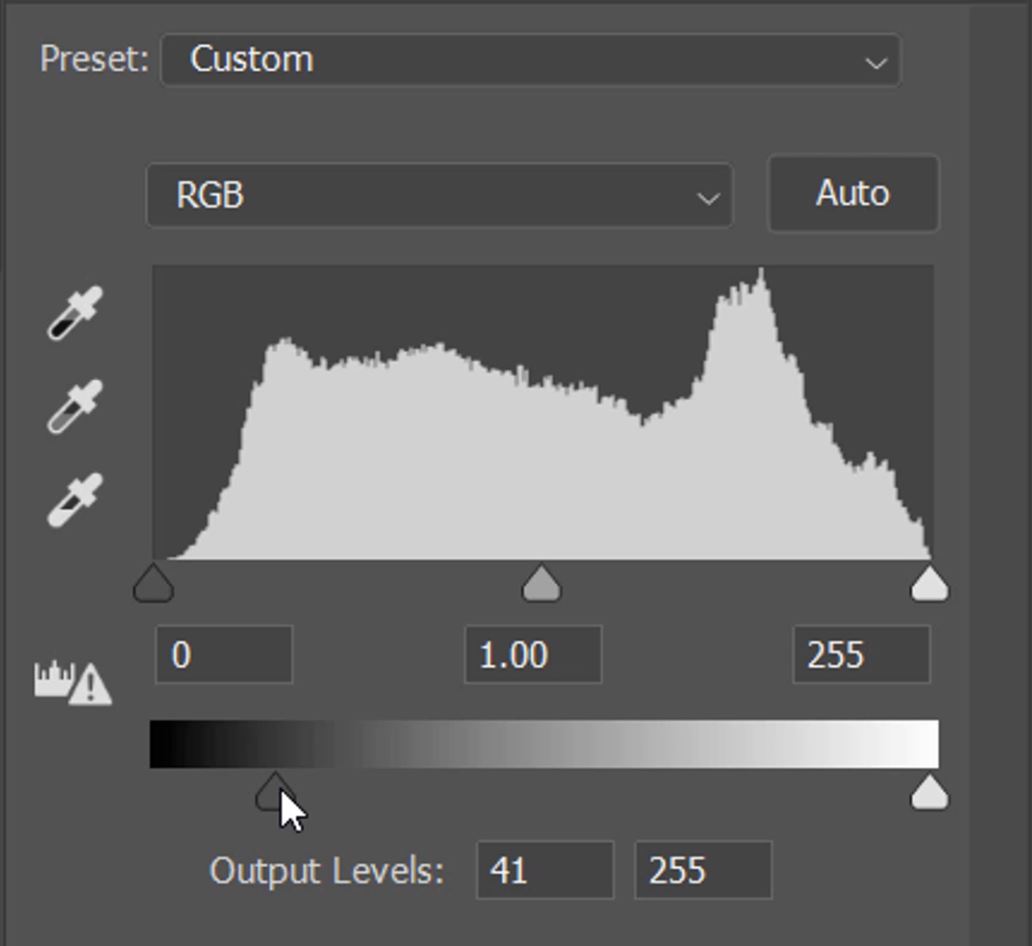
4. The next adjustment we make is to the Shadows Input slider, moving this right restores dark contrast in the shadows.
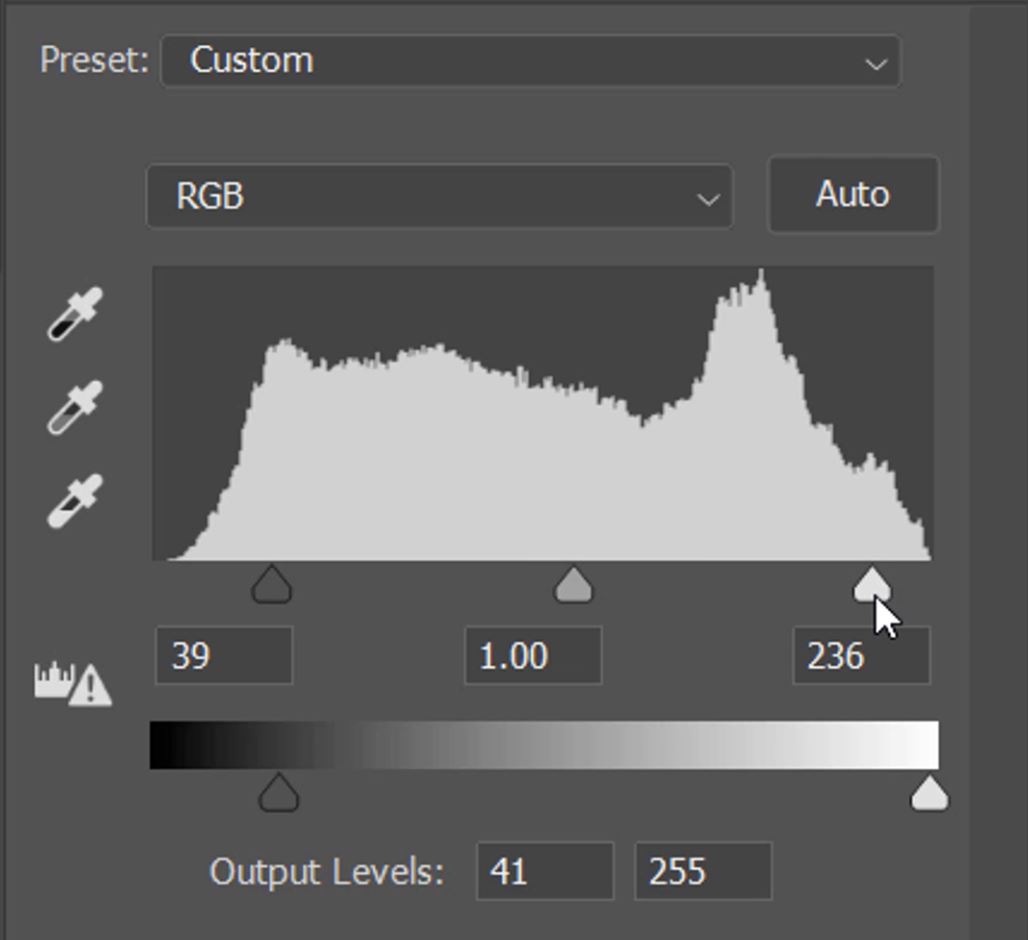
5. Now we will play with the Highlights by shifting the Highlights Input slider to the left, this will brighten the highlights in the image by setting the pixels from 236 upwards to white.
– Tutorial continued below –
Enter your email below and join our community of more than 100,000 photographers who receive regular tutorials and have also

Subscribed to our newsletter,
Downloaded our FREE Photoshop Course
Got our FREE Easy Panel for Photoshop
And have our FREE Essential Guide To Luminosity Masks E-Book
How To Get Good Leading Lines in Photoshop
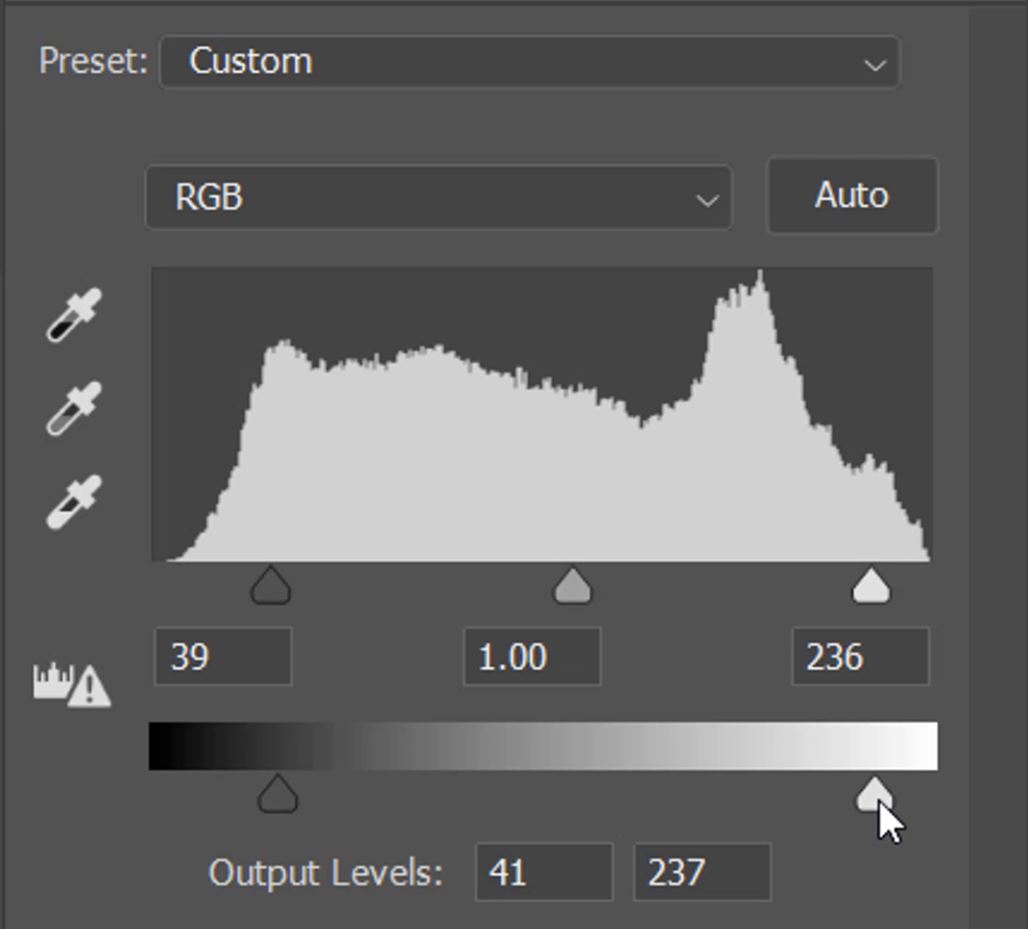
6. To soften the contrast of the highlights slightly we then adjust the White Output slider by taking it left from the edge.
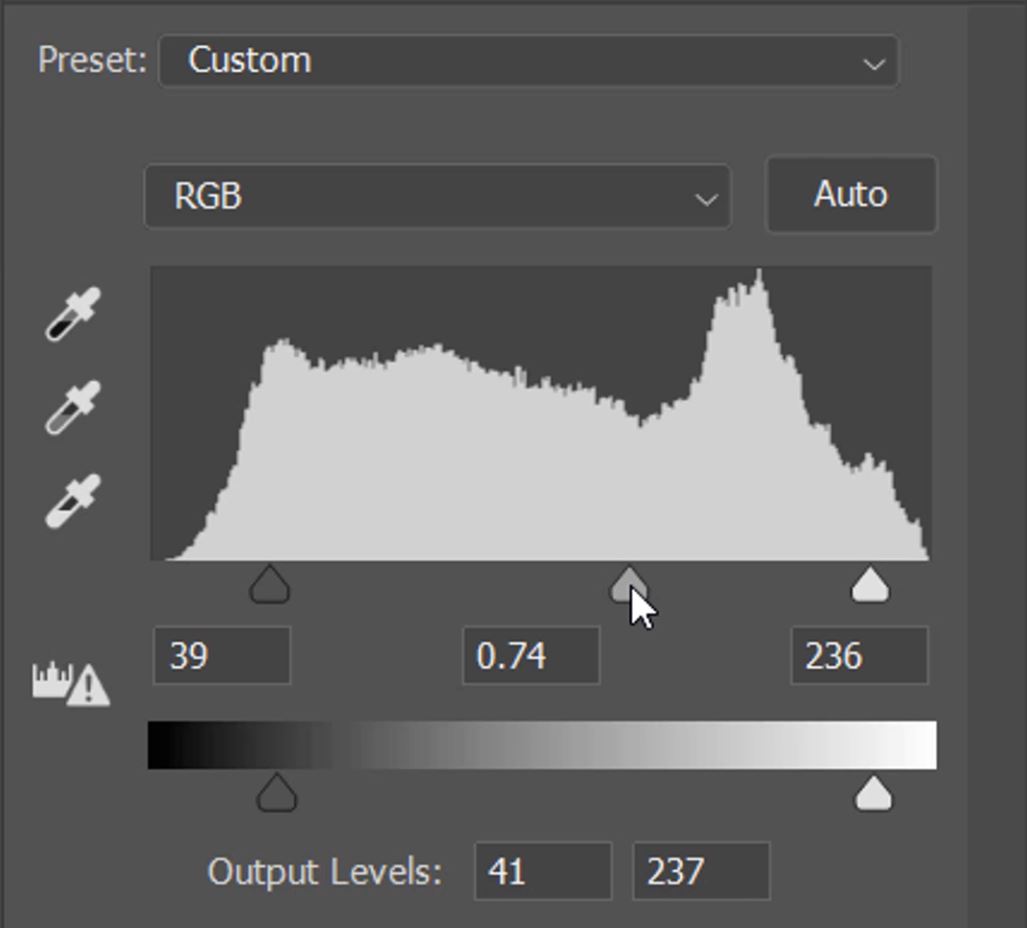
7. Lastly, to darken the entire image slightly we will move the Midtone Input Slider to the right. This will force more pixels into the darker proportion of the image. So now we have a moody background that is darker and softened.
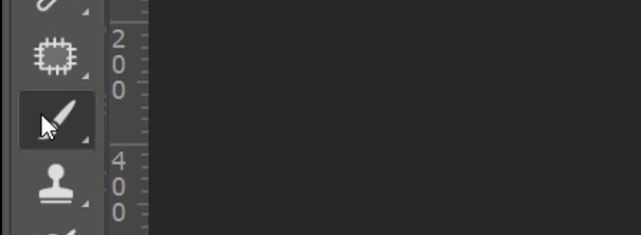
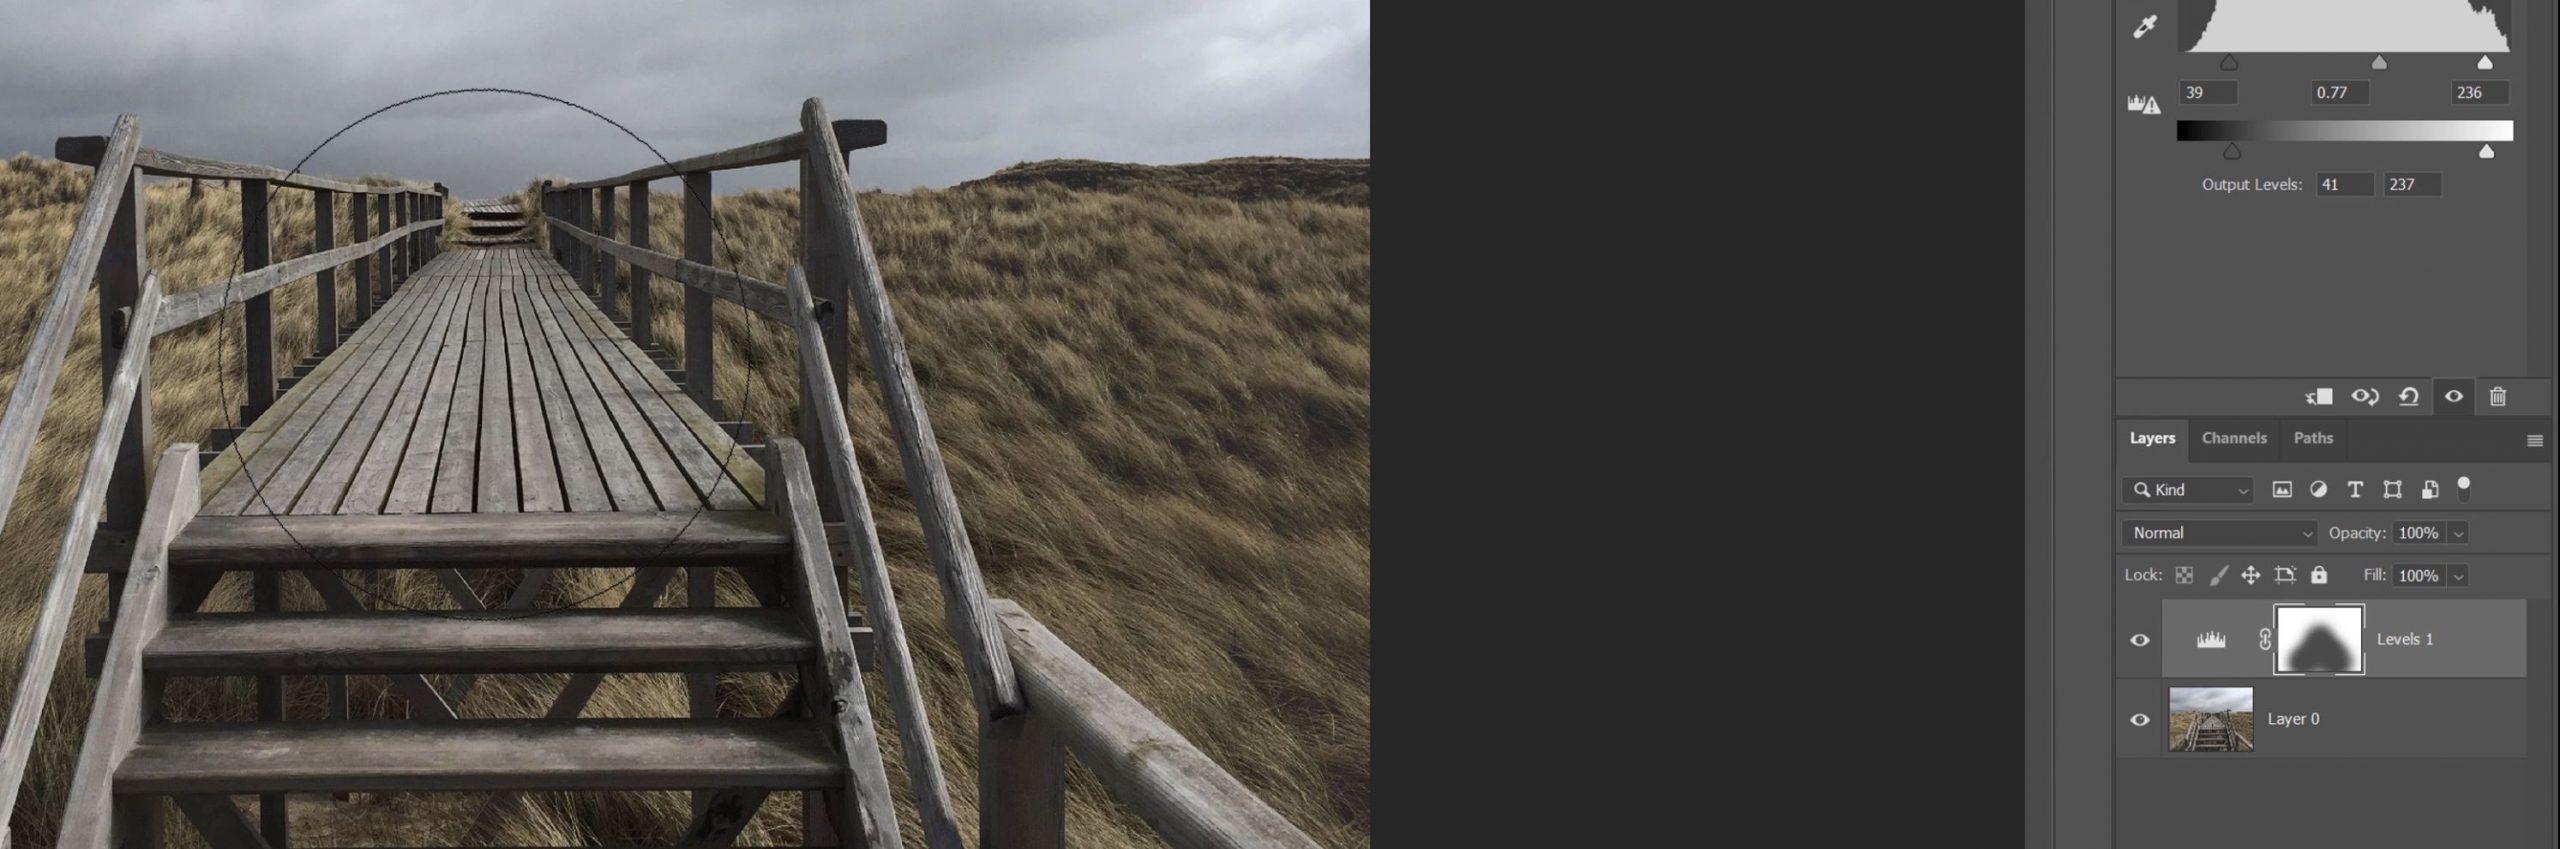
8. But, we don’t want this adjustment to affect the area of focus, which in this image is our walkway or leading lines. So to recover this focal point we need to use our Brush Tool.
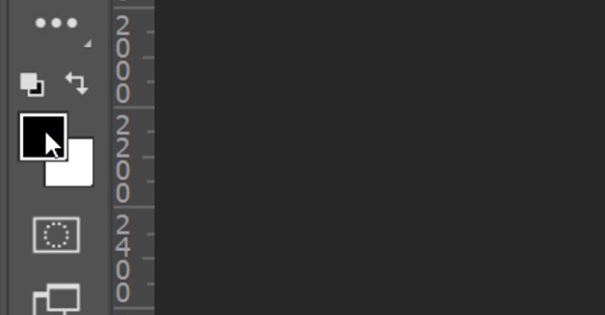
9. Set the foreground to Black, and the Opacity to around 50%.
10. With a large brush paint over the area that you want to restore. You may need to paint over certain areas more than once to restore more vitality.
11. You can make some final adjustments to the Levels layer, note this time however, the adjustmet will effect the areas that you didn’t paint more than the areas you did. That is because darker areas in a layer mask hide the effect of the layer.
12. The above steps have all been used to take the emphasis away from the background. Now let’s bring emphasis to the leading lines and interesting subject in this image which is the walkway. To do this we need to go to our Channels panel.
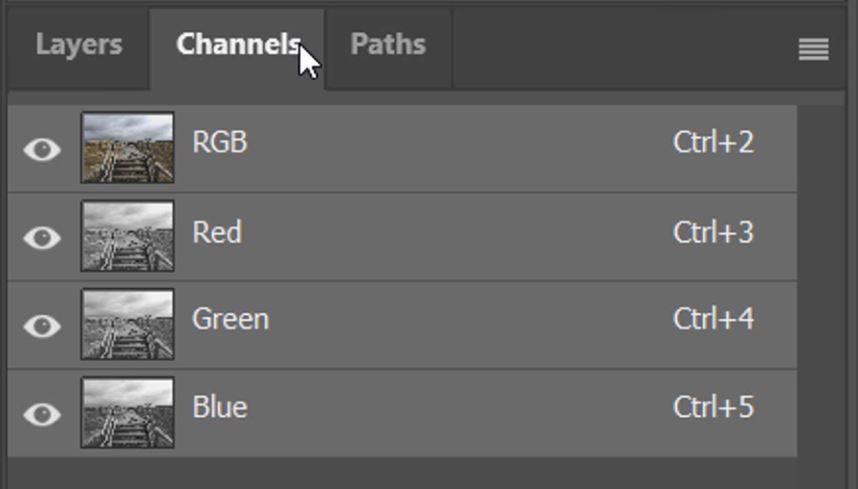
13. Hold down the Ctrl (PC) or Cmnd (Mac) key and left-click on one of the channels thumbnails. The thumbnail you chose to make a selection from might vary. I have chosen the Blue channel because the grass is dark whereas the walkway and sky are bright. You want to select which channel you use based on these same principles.
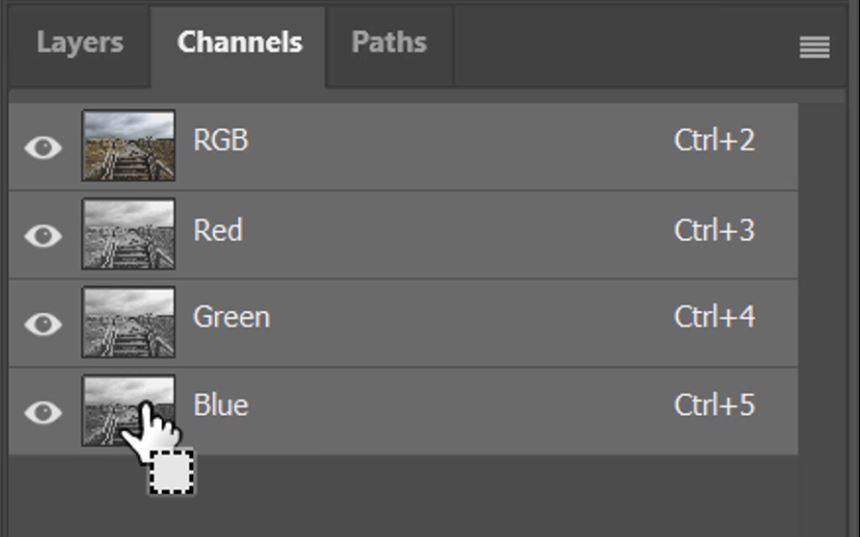
14. After you have clicked on the thumbnail, you will have an active selection based on the luminosity of that particular channel. Go back to the Layers panel with this active selection.
15. Click on the [+] icon at the bottom of the panel to ‘Create a new Layer’.

16. You should still have an active selection with marching ants appearing on the image. With the new layer selected, add a mask to the layer by clicking on the [o] icon at the bottom of the Layers panel.
17. This will apply a basic luminosity mask to the new layer. Now we need to lose our selection, so we press Crtl+D (PC) or Cmnd+D (Mac) to de-activate our active selection. Then we need to click on the layer thumbnail to ensure this is what we’ll be working on and not the layer mask.
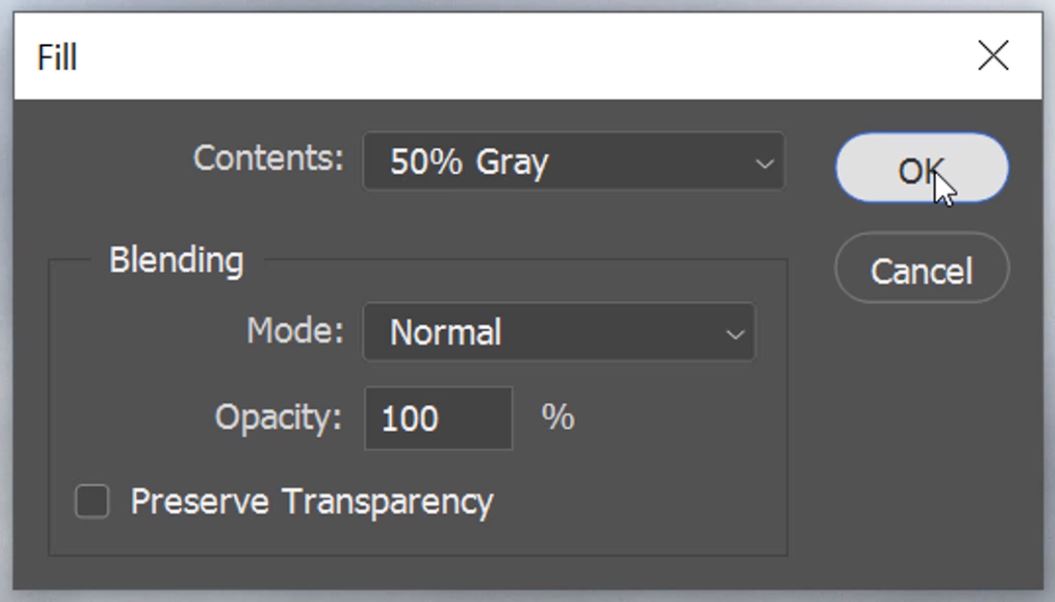
18. We use another keyboard shortcut to fill this layer. Press Shift + Backspace to bring up a Fill panel. In the Contents window click on the small down arrow and set the contents to 50% Gray, make sure your settings are the same as ours, and hit OK.
19. Set the blending mode of the 50% Gray fill layer to Overlay.

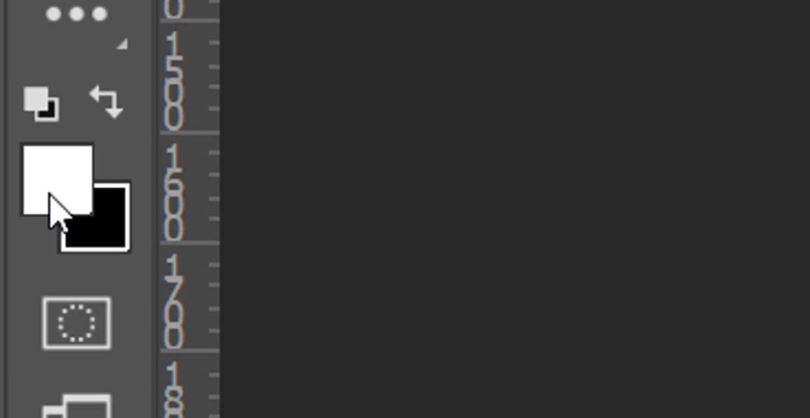
20. Select your brush tool again, but this time set the foreground to white.
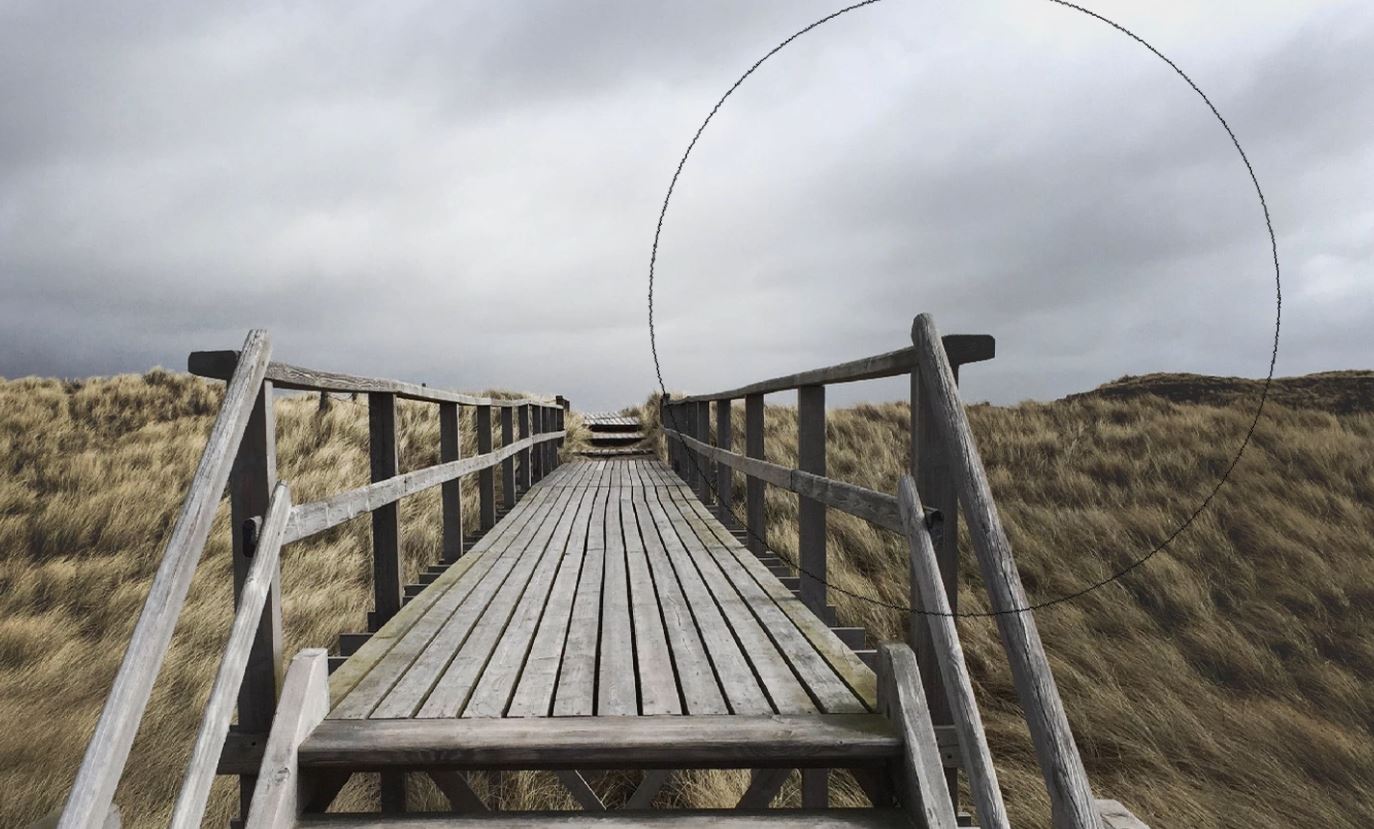
21. Again, with a large brush, paint over the areas that you want to bring more attention to. This is a non-destructive Dodging technique that will brighten these areas. If you wanted to darken some areas or Burn, you would paint with a black foreground. In this example, we don’t need to do this.
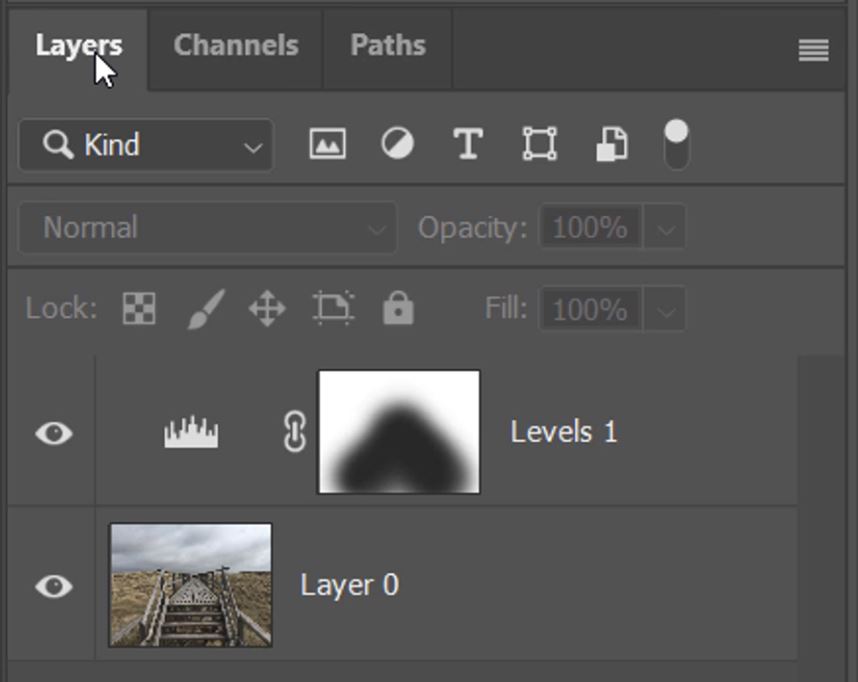
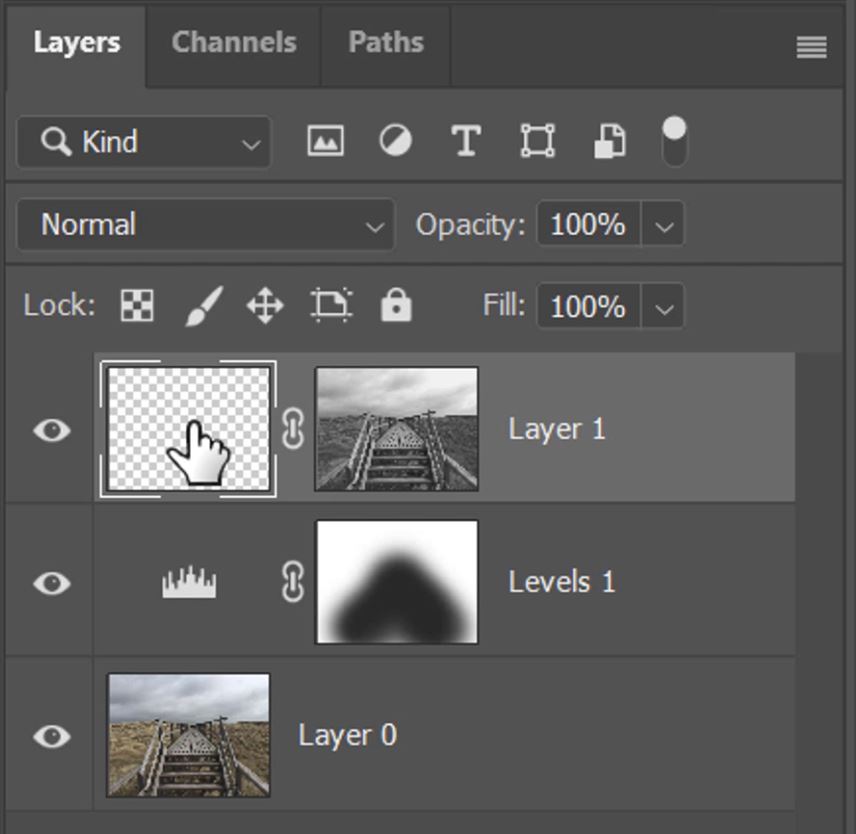
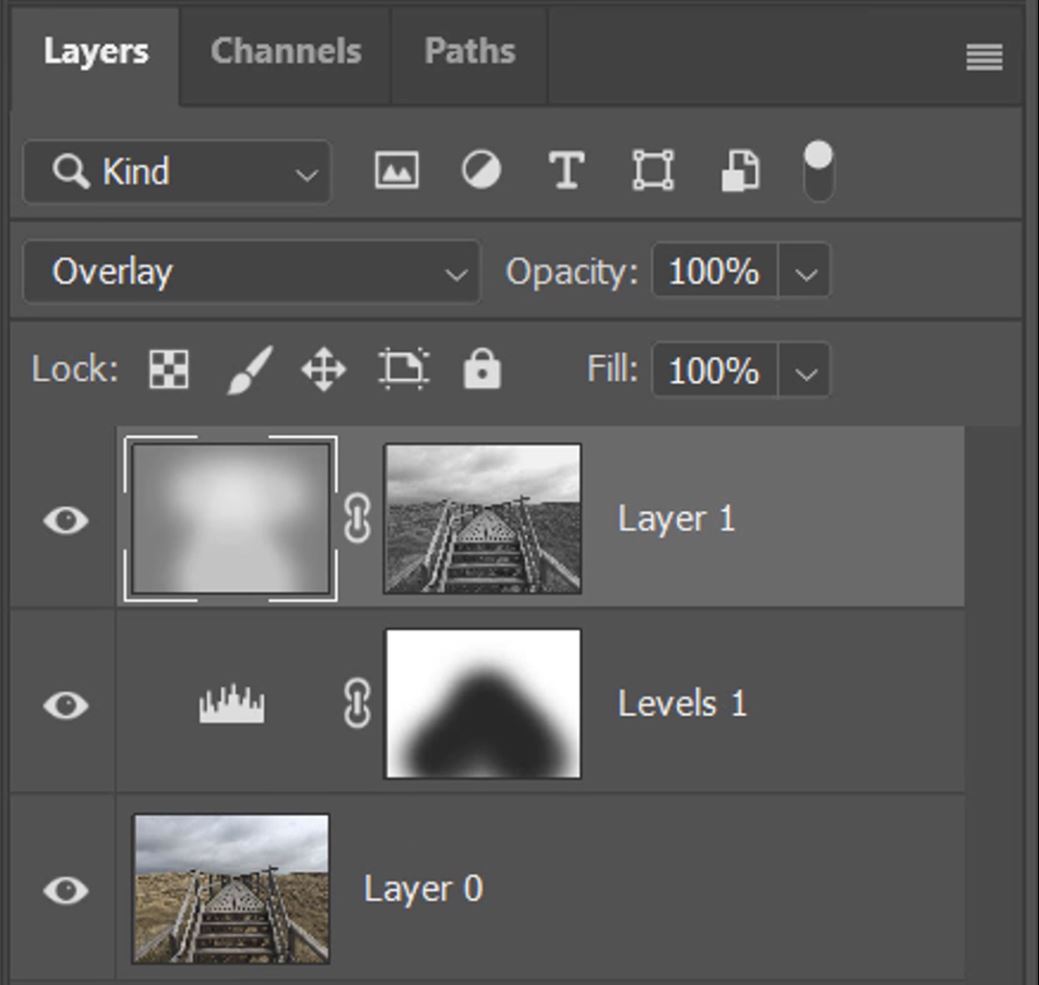
22. Here are my finished layers. Layer 0 is the original image. Levels 1 is what we used to darken the entire image, then we masked out the walkway using the brush tool with a black foreground. To finish, we have Layer 1 on top which has a luminosity mask applied and a 50% Gray fill. The Blending Mode is set to Overlay and with a white brush, we brighten the leading lines where we wanted to add more focus.
In the original image on the left, the tones in the grass, the sky, and the walkway are all very similar. After adding our adjustments, the grass is darker and carries more mood. Whereas the walkway is brighter, the steps begin to invite you to walk up to them and the sky is brighter at the end of the walkway, catching your eye. But, what drags you into the image is those good leading lines of the planks, they lead you perfectly from the foreground, through the scene.
[compare]

[/compare]
Photo by Susn Matthiessen on Unsplash
More articles on Leading Lines
Photography Composition: Leading Lines
How to Use Leading Lines for Better Compositions in Landscape Photography
Thank you for reading this article on How To Get Good Leading Lines in Photoshop, be sure to sign up for our newsletter for more tutorials and great offers.

Enter your email below and join our community of more than 100,000 photographers who have also
Subscribed to our newsletter.
Downloaded our FREE Photoshop Course.
Got our FREE Easy Panel for Photoshop.
And, have our FREE Essential Guide To Luminosity Masks E-Book.
FREE Photoshop Course

The Art Of Photography

Raya Pro for Photoshop
