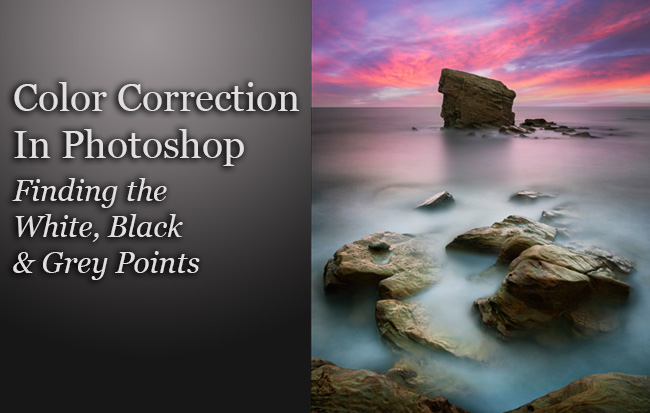
Color Correction Tutorial In Photoshop – Finding White Black & Grey Points
In this video tutorial, I show you how Finding White, Black & Grey Points can be a powerful method for removing even the strongest color casts from your images, restoring natural colors.
Essentially we are establishing the white, black, and grey points so that Photoshop can adjust the colors accordingly. Tools needed: Photoshop, Curves layer, Threshold layer, Color Sampler, 50% Grey layer, and a little bit of patience.

Feel free to join my youtube channel for more photography tutorials.
Colour Correction by Finding White, Black & Grey Points
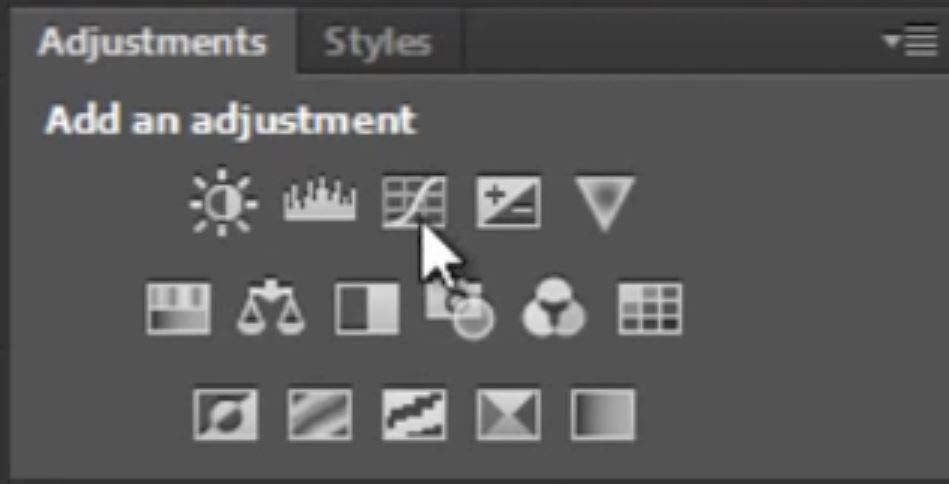
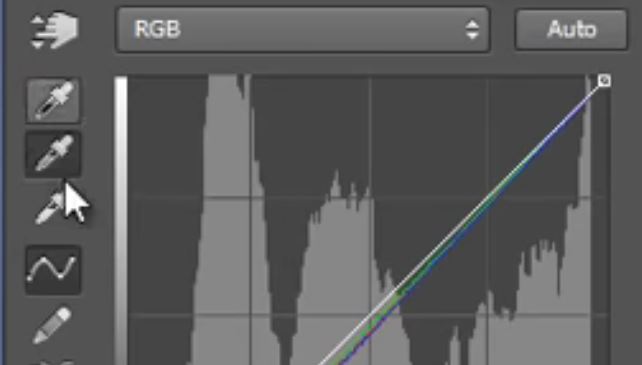
1. Add a curves layer.
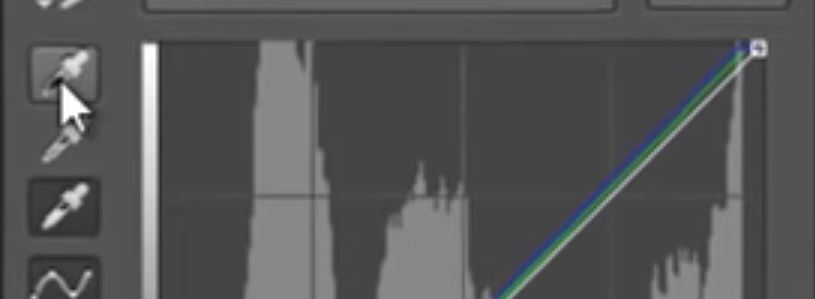
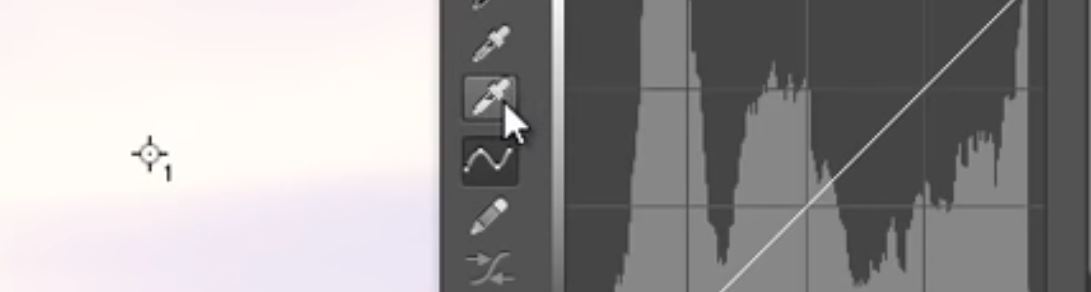
2. Select the sampler tool that looks like it has white fluid in it.
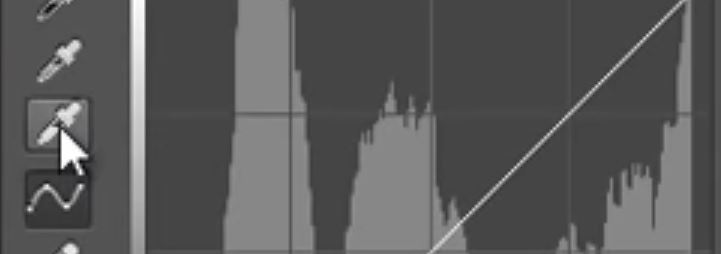
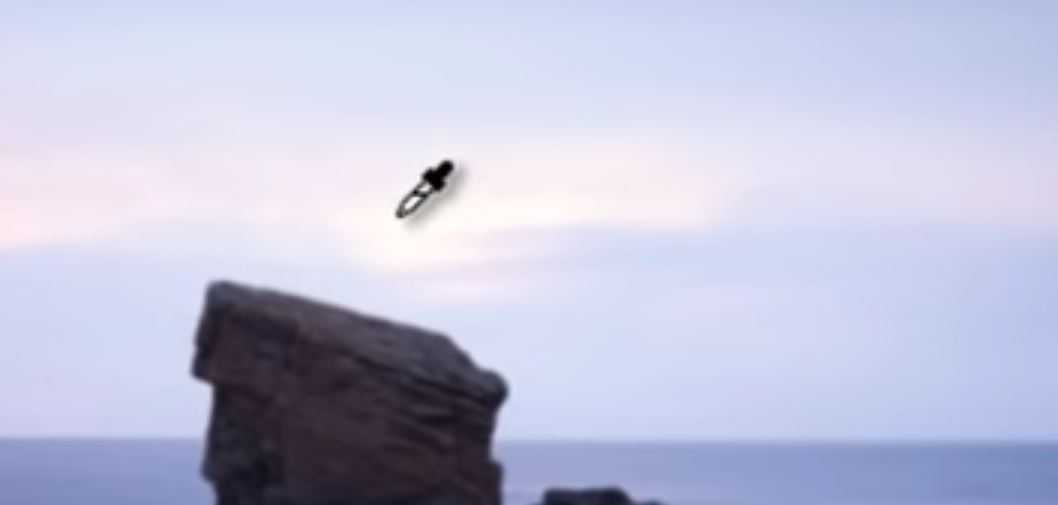
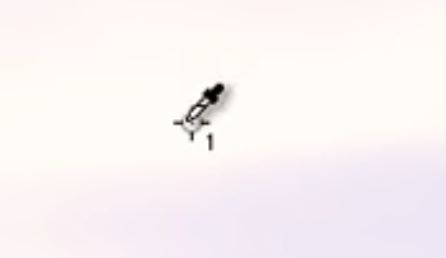
3. Now, click on the brightest part of the image that you believe is closest to white to set your white point.
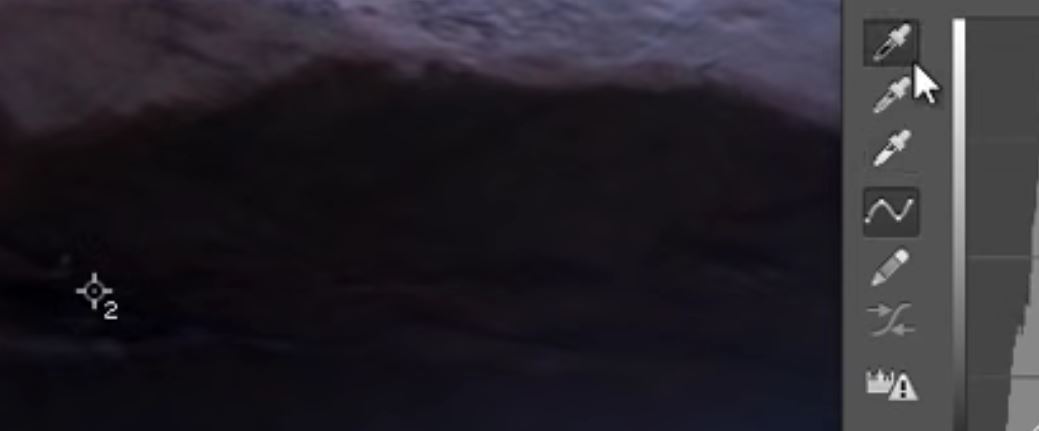
4. Once you have done that, select the sampler tool which looks like it has black fluid inside.
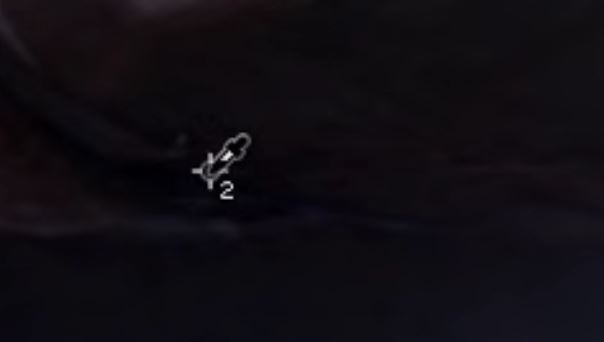
5. And click on the darkest part of the image to establish your black point.

6. Finally, select the sampler tool in the middle which looks like it has grey fluid inside.
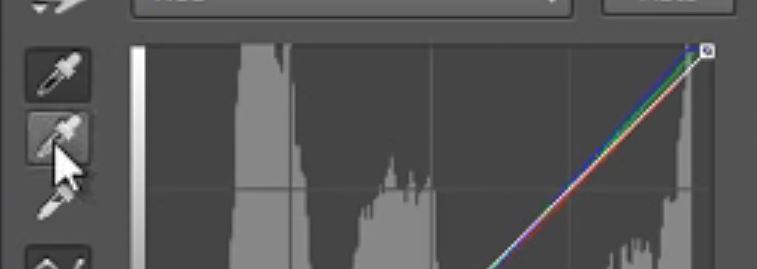
7. This is the tricky part. You need to click on where you think is closest to 50% grey, that is in hue, saturation and brightness.
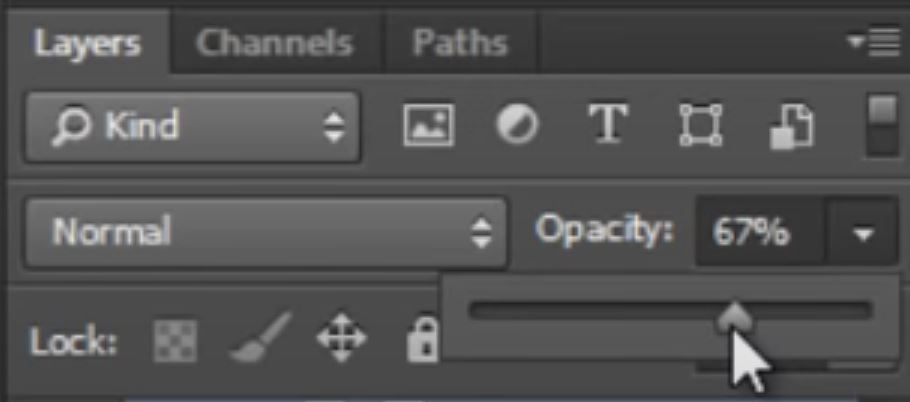
8. If the colour correction adds a different cast this is usually because the 50% grey selection is a little bit off. You can control this slightly by adjusting the curves layer opacity.
How To Find The White, Black & Grey Points In An Image
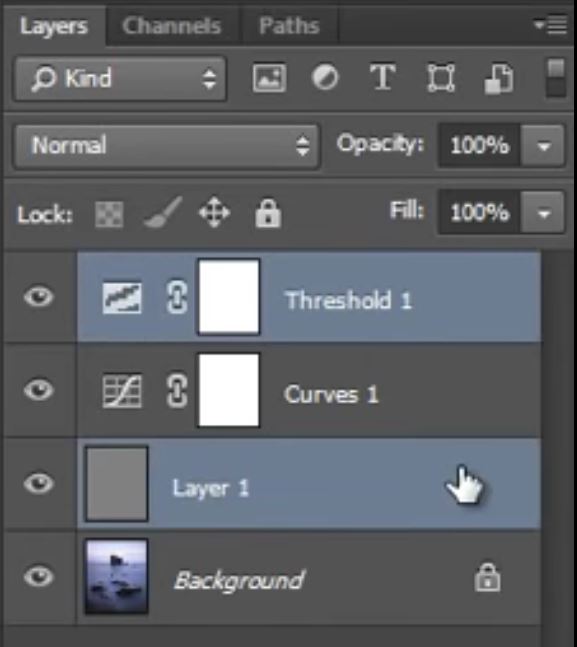
This is a follow on from the steps above. So you should already have at least two layers in your Layers Panel. An image layer and on top of that a Curves layer.
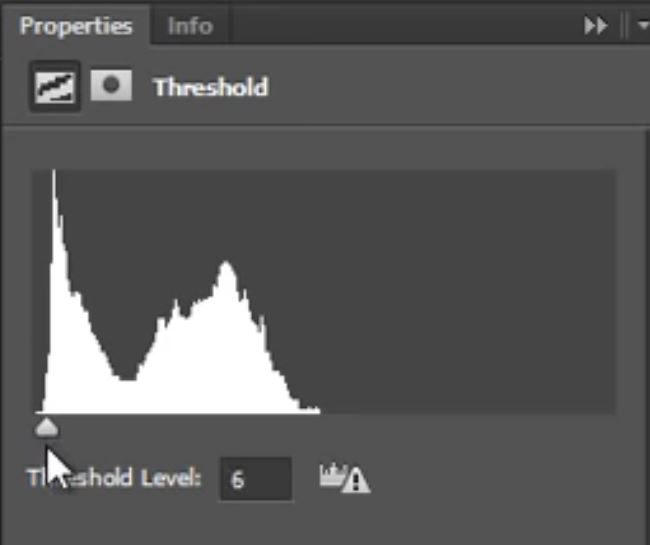
1. Add a new Threshold adjustment layer on top of the curves layer.

2. Slide the control all the way over to the right, then slowly slide it back toward the centre until some white areas appear.
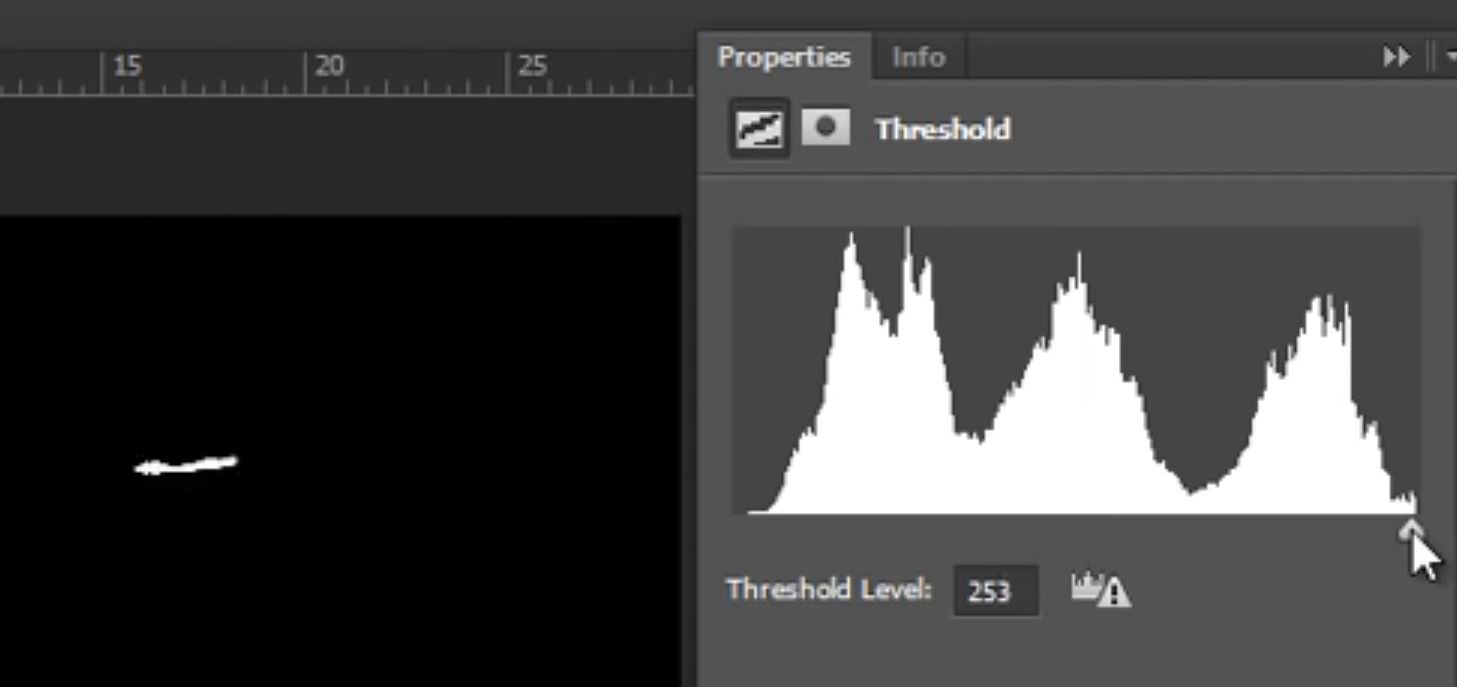
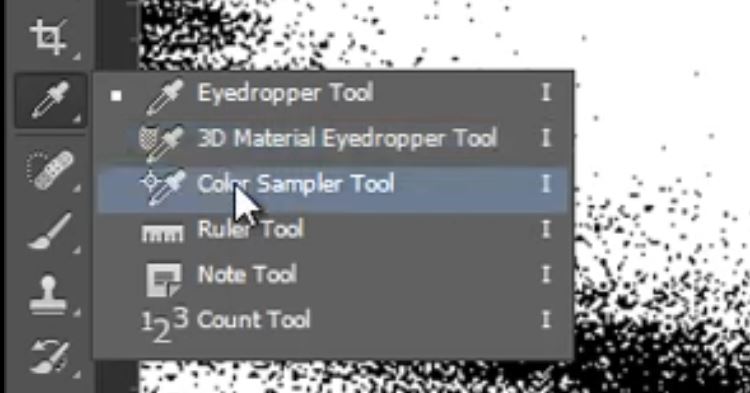
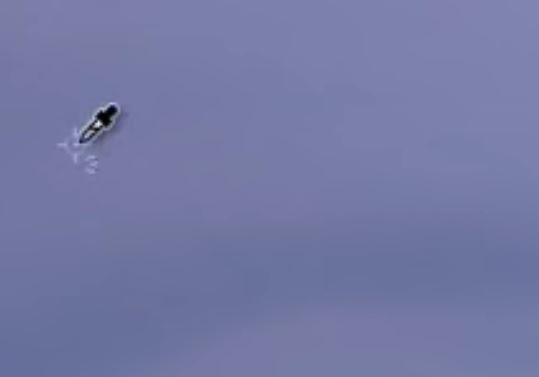
3. Right-click on the Eyedropper tool and select the Color Sampler Tool.

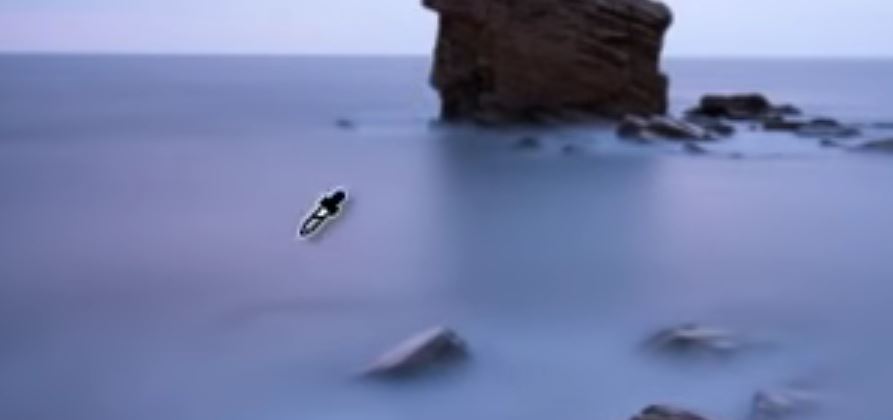
4. With the Color Sampler Tool selected left-click on the white areas that have appeared on your threshold layer to leave a marker.
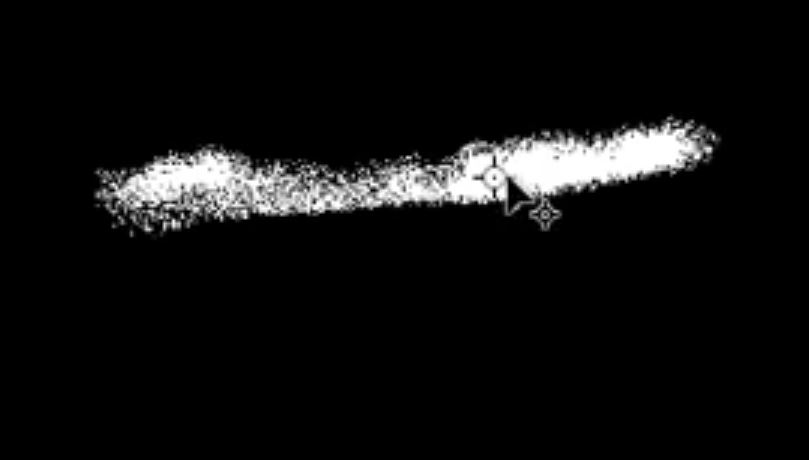
5. Now select your Threshold layer again and slide the control all the way over to the left. Slowly slide it toward the center until some black areas appear on your threshold layer.
6. You should still have the color sampler tool selected. If you don’t, press the I (i) key and then left-click on an area of black on the Threshold layer to leave a second marker.
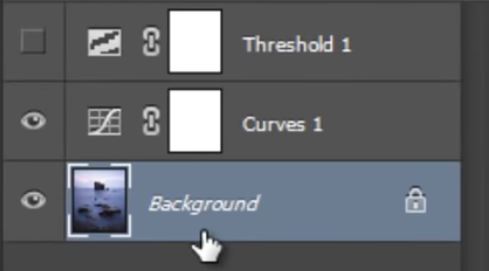
7. To find an exact 50% grey point you need to first hide the Threshold layer by clicking on the eye icon on the layer thumbnail.
8. Now select the image layer. In this example, it is the ‘Background Layer’.
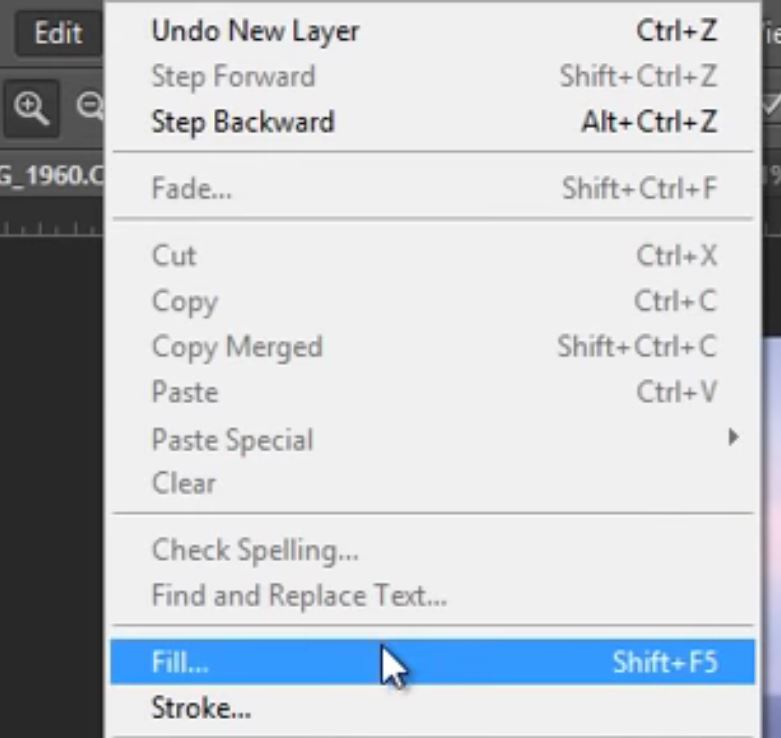
9. Add a new layer above the image layer.

10. With the new layer selected go to the Edit menu and choose Fill…
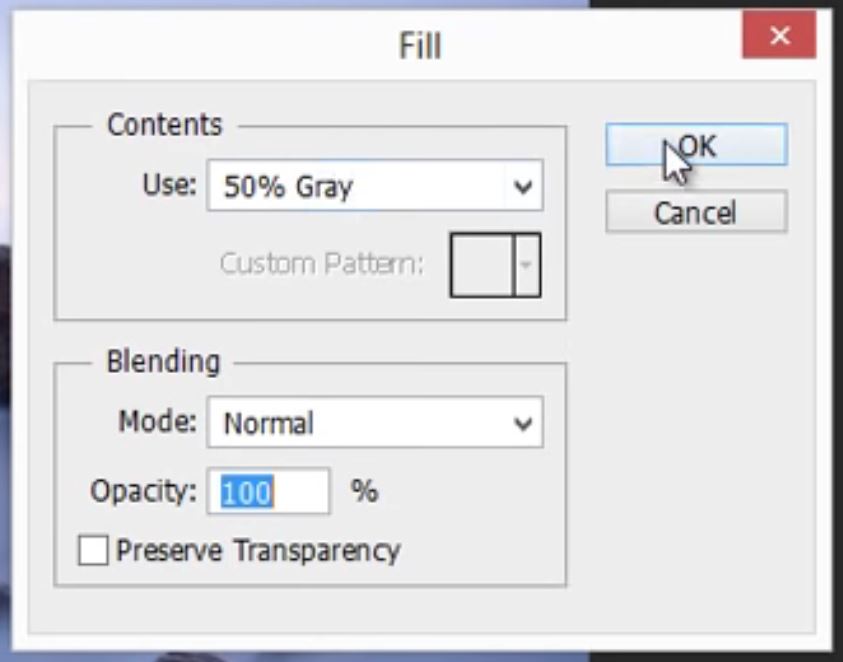
11. In the Contents window Use: 50% Gray and click OK.
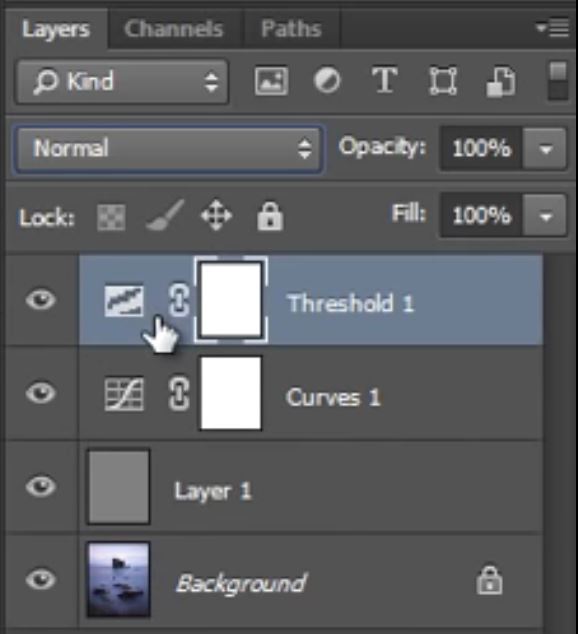
12. Change the blending mode of the 50% Gray layer to Difference.

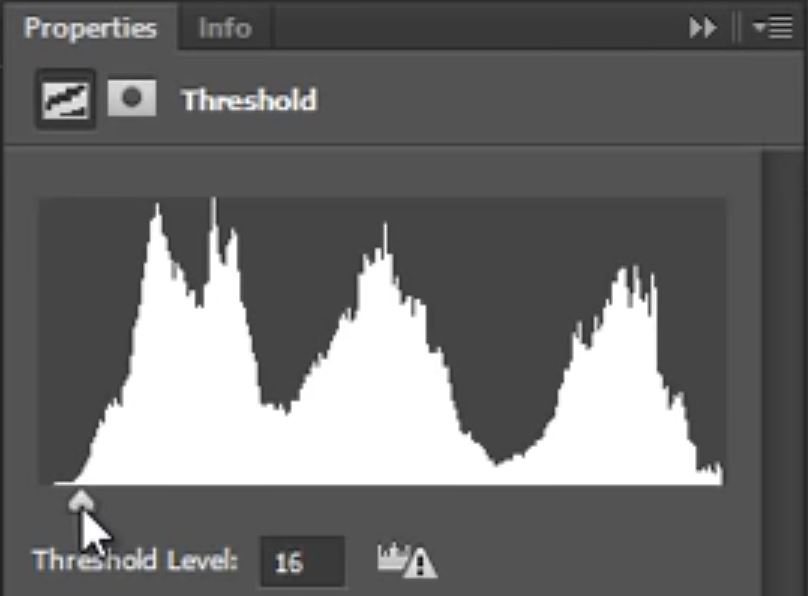
13. Now make the Threshold layer visible by clicking on the eye icon and left-click on the thumbnail to select the threshold layer.
14. Slowly move the control to the right until some black areas appear.
15. Just like before, use the Color Sampler Tool to place a third and final marker in the black areas.
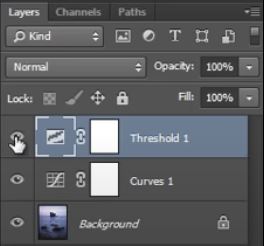
16. We no longer need the Threshold layer or the 50% Gray layer so we can delete them completely by dragging them down to the bin at the bottom of the Layers panel.
17. Select the Curves layer.
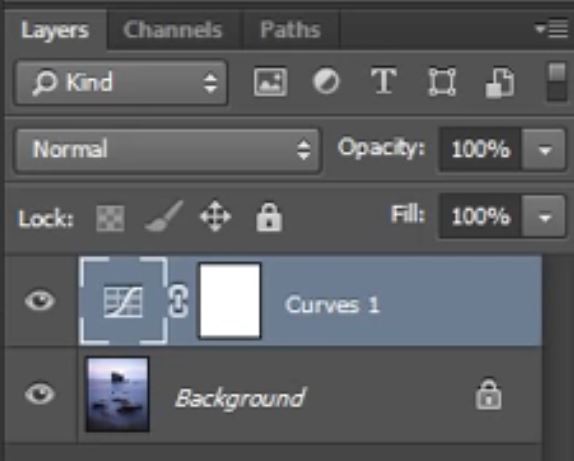
18. Left-click on the White Point Sampler Tool.
19. Now with the white point sampler selected left-click on the first marker that you placed on your white point.
20. Select the Black Point Sampler Tool.
21. Left-click on the second marker that you place to establish your black point.
22. Now click on the Gray Point sampler.
23. Left-click on the third and final marker that you made to establish your true 50% Gray point. Zoom in for greater accuracy.
This will give you the very best results for manual color correction by precisely locating the true white, black, and gray points in your image.
Enter your email below and join our community of more than 100,000 photographers who have also
Subscribed to our newsletter.
Downloaded our FREE Photoshop Course.
Got our FREE Easy Panel for Photoshop.
And, have our FREE Essential Guide To Luminosity Masks E-Book.
To go directly to any of our products, simply click on the image below.


