How To Change Hue And Saturation Of One Layer
When I first started using Photoshop this frustrated me so much. I could for the life of me figure out how to change hue and saturation of one layer in Photoshop. To me, there’s nothing obvious or logical about it and it took me a while to find out how to do it. This really quick Photoshop video tutorial will show you how it is done. We will show you how how to change the Hue of a layer and how to change the Saturation of a layer without affecting any of the other layers below.
How To Change Hue And Saturation Of One Layer
1. First thing you need to do is select the one layer that you want to change the Hue and Saturation.
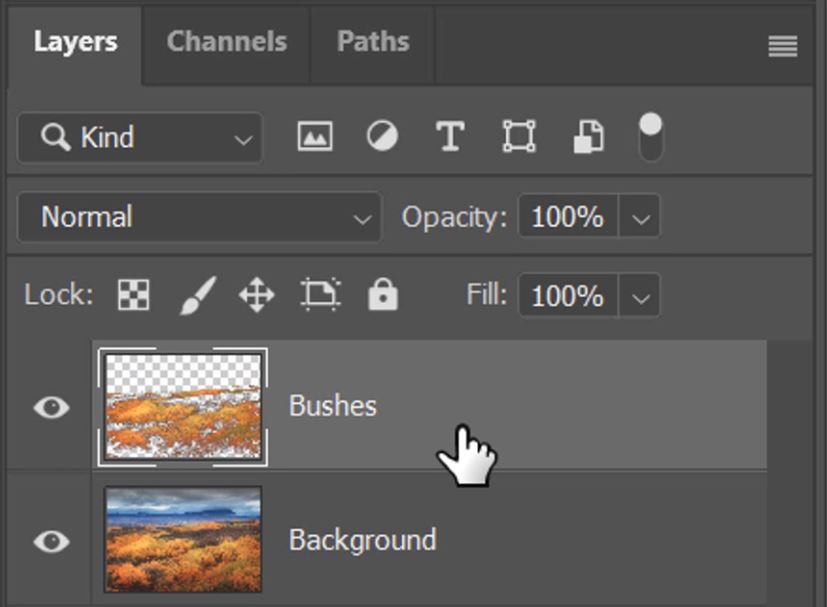
2. Click on the ‘Create New Fill Or Adjustment Layer’ icon at the bottom of the Layers panel.

3. From the list that appears, select Hue/Saturation.
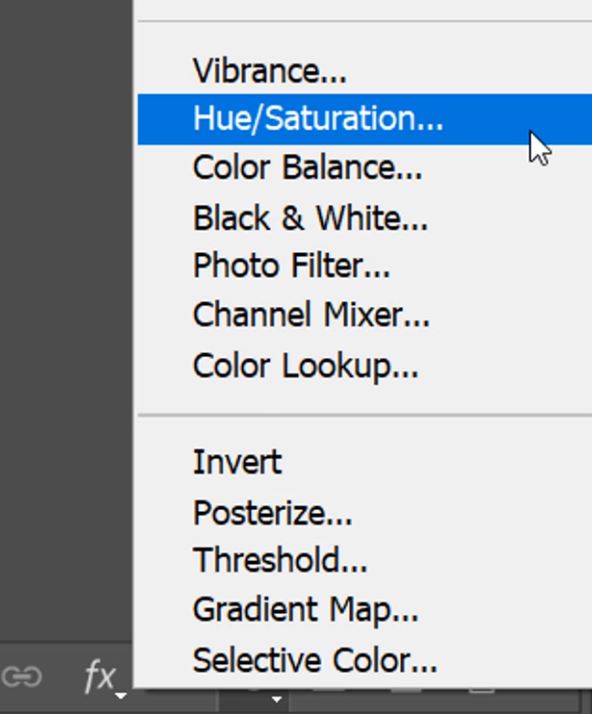
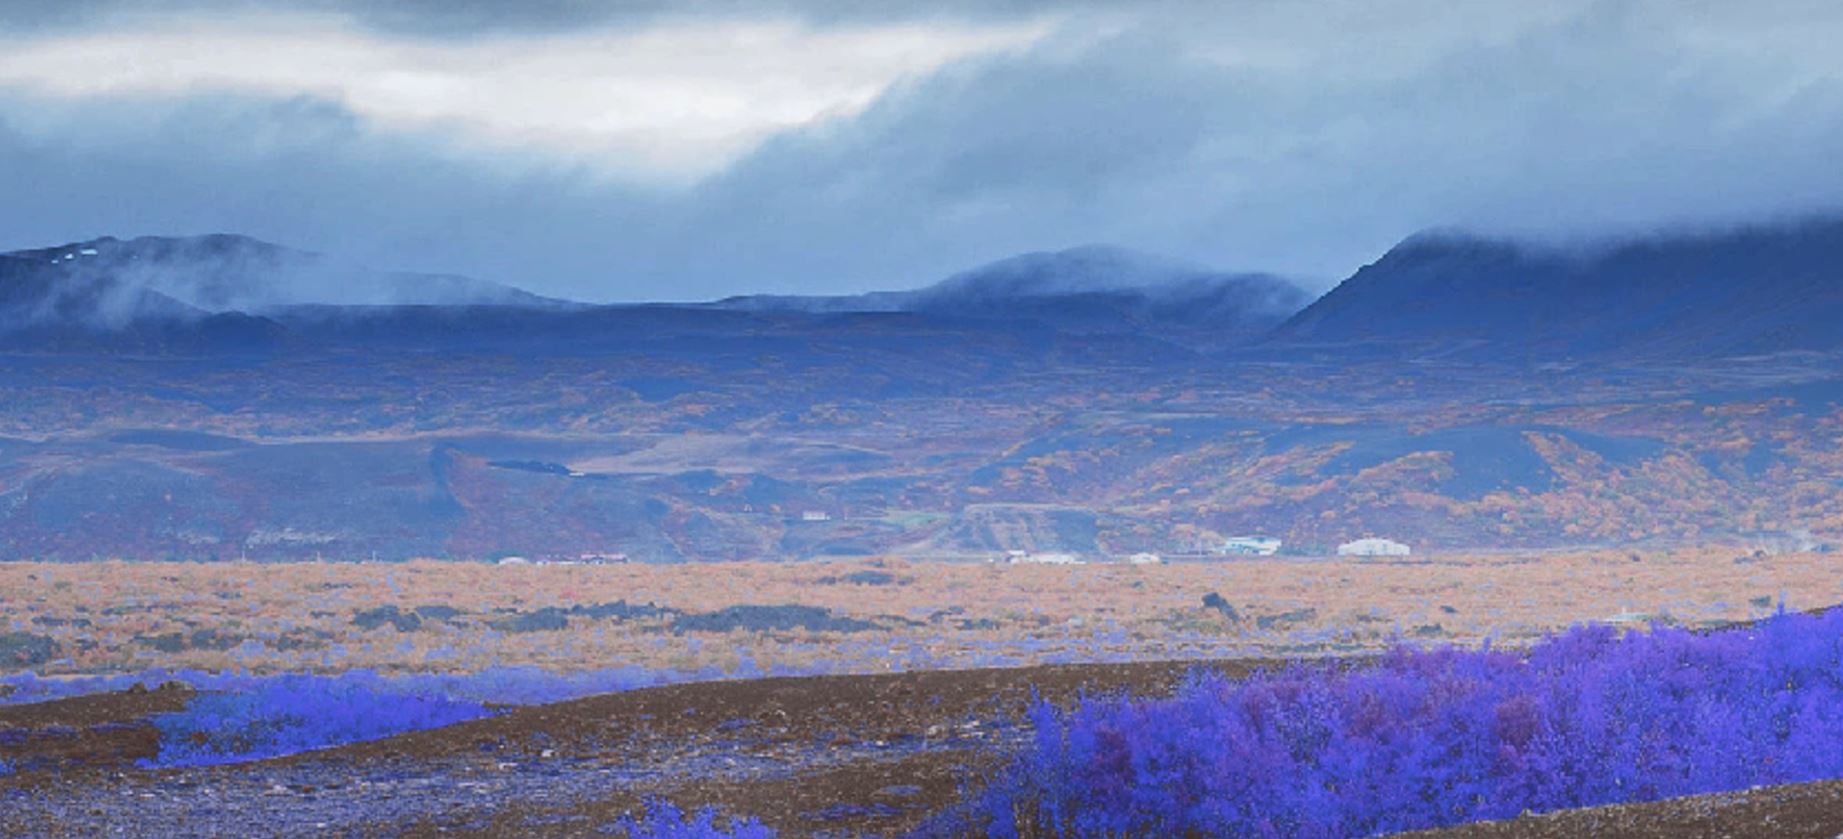
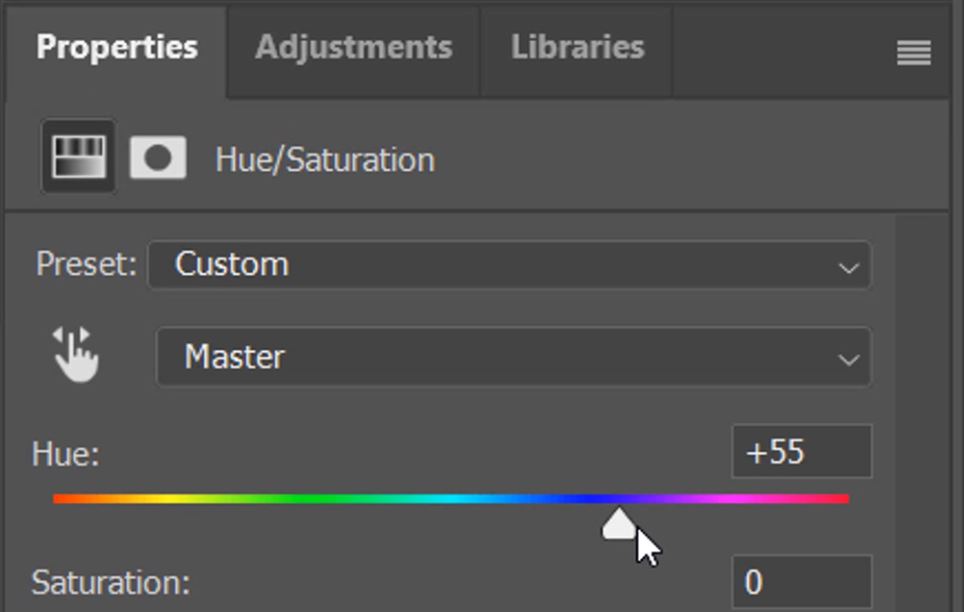
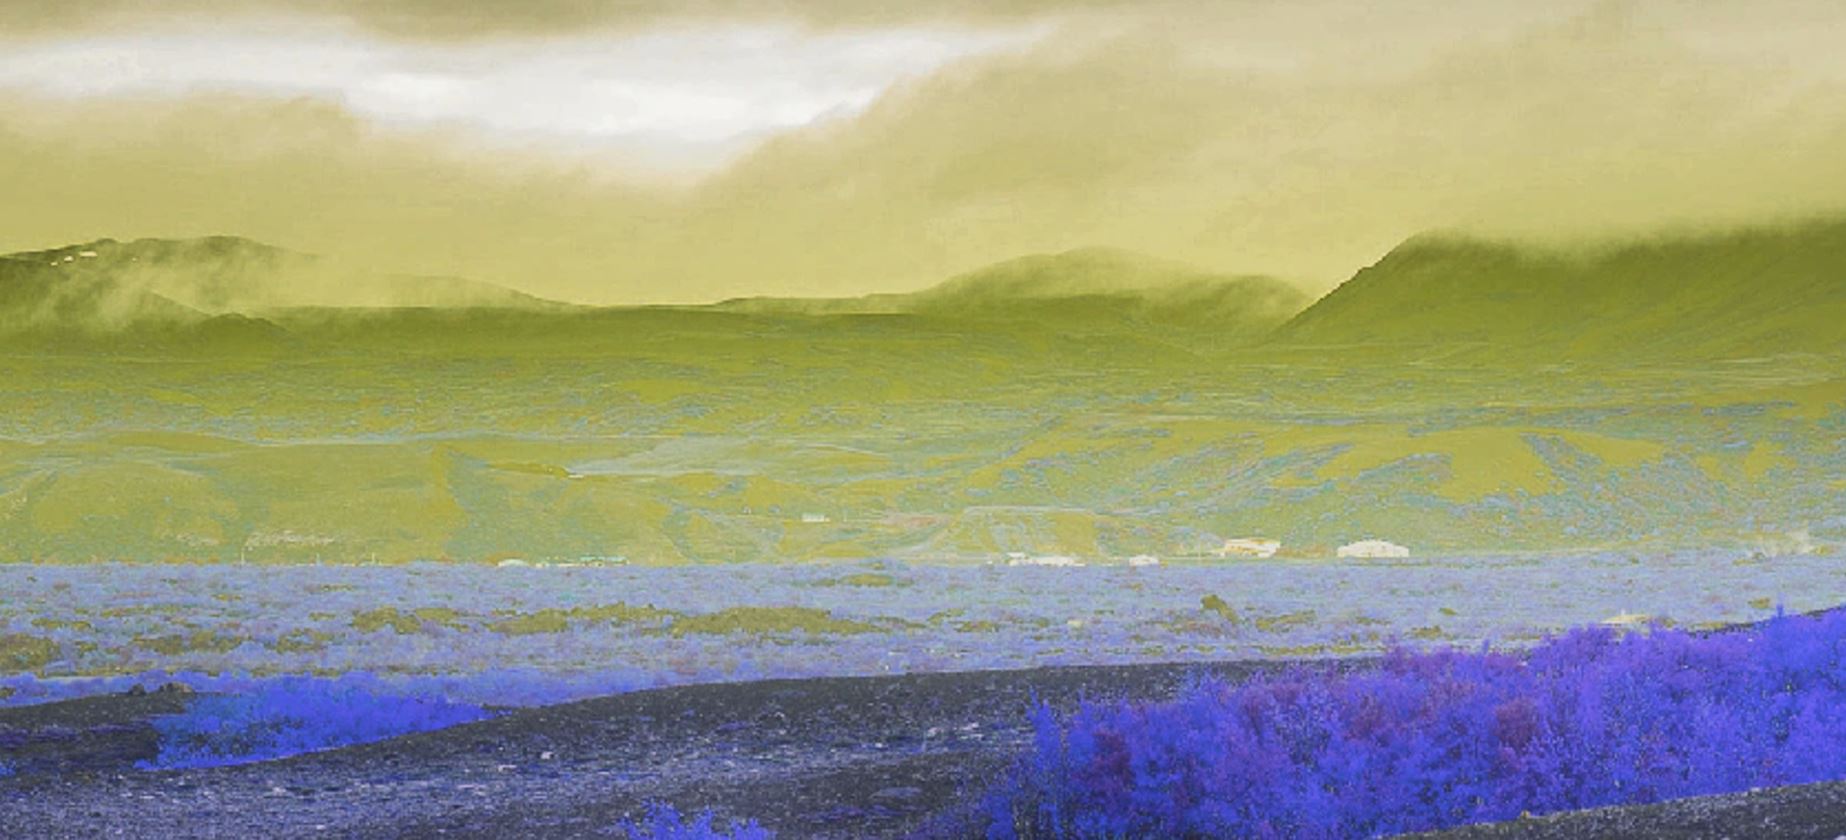
4. A properties window will appear with Hue, Saturation, and Lightness sliders. If you move the Hue slider you will change the Hue of the entire image.

5. In this example the blues have turned yellow and the yellows have turned blue.
– Tutorial continued below –
Enter your email below and join our community of more than 100,000 photographers who receive regular tutorials and have also

Subscribed to our newsletter,
Downloaded our FREE Photoshop Course
Got our FREE Easy Panel for Photoshop
And have our FREE Essential Guide To Luminosity Masks E-Book
How Do You Change The Hue Of Just One Layer
6. Right-click on the Hue/Saturation adjustment layer in the Layers panel.
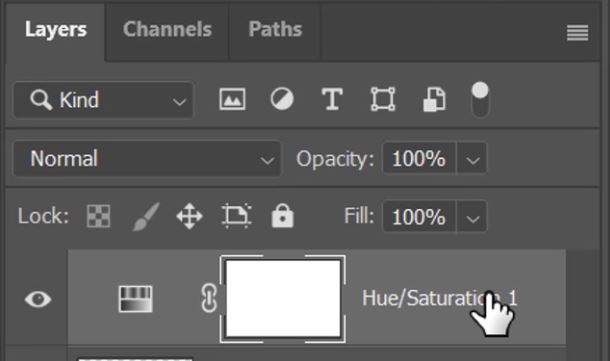
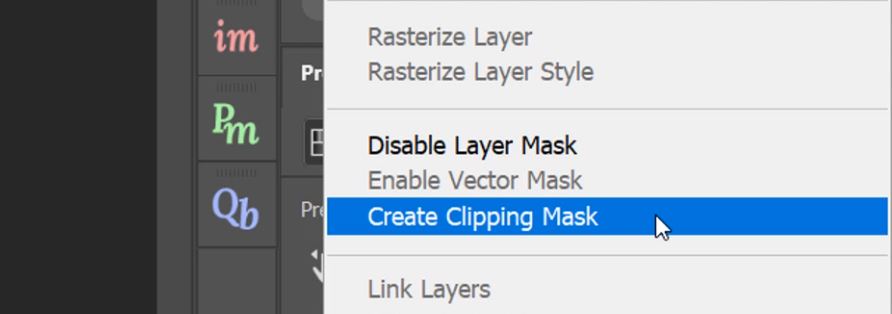
7. When a list appears you need to select Create Clipping Mask.
8. When you apply a Clipping Mask it makes any adjustments on that layer only applies to one layer immediately below. Now the bushes are still blue but the mountains in the background are back to normal.
This is because the layer directly under the hue/saturation layer contains only the bushes and not the background.
9. Now move the Hue slider to change the hue on just one layer. As you move it you will see only the layer below being affected by the adjustment.
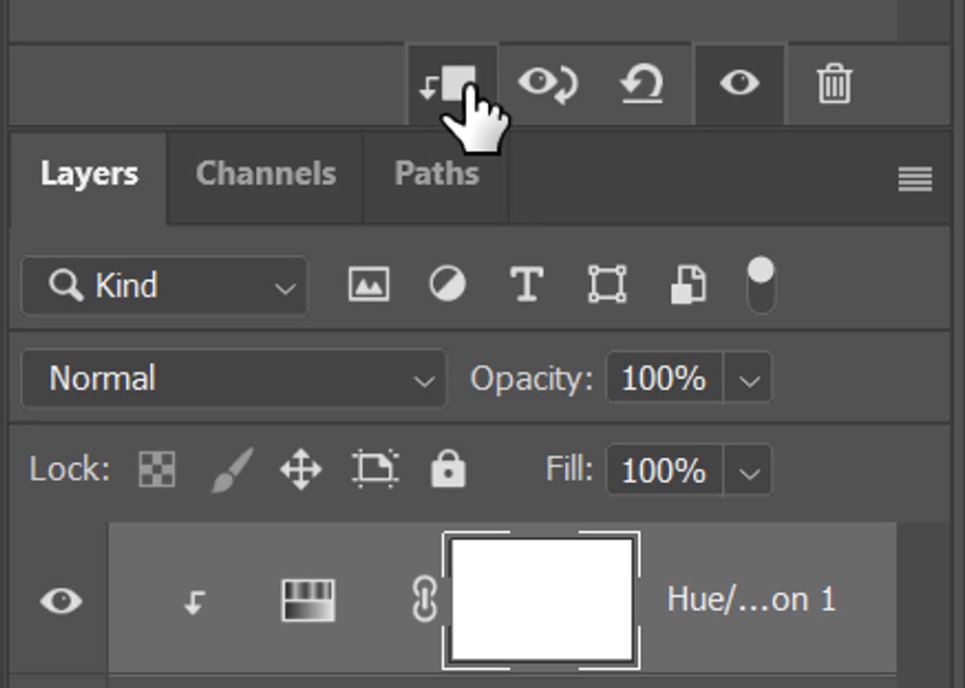
10. This tiny arrow icon indicates that this layer has a clipping mask applied.
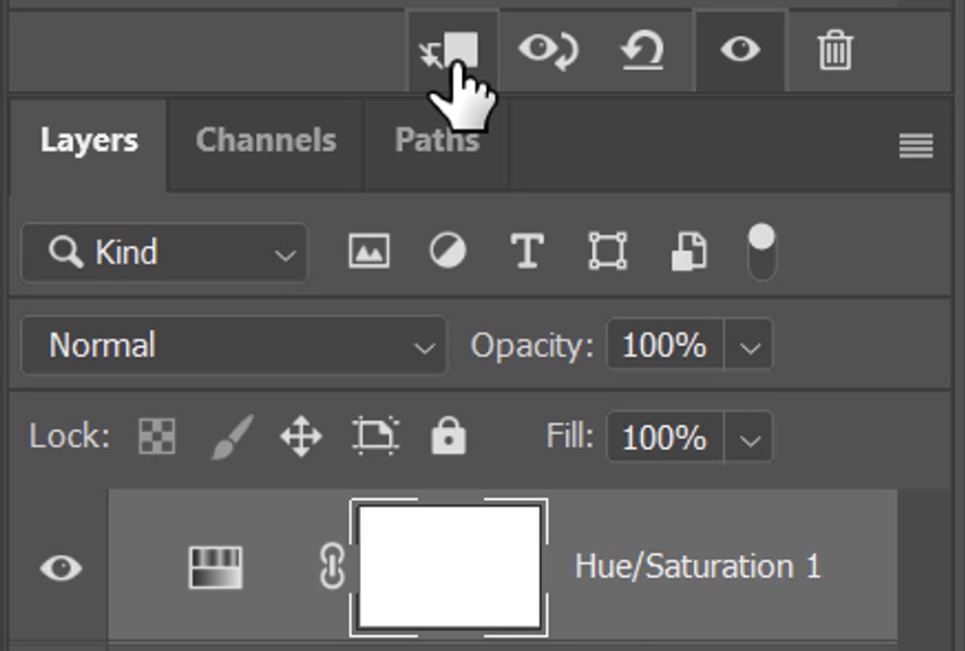
11. Also, at the bottom of the Hue/Saturation properties window, you will see the icon below. This can be used to apply the clipping mask and remove it.
12. If you click on this it will release the clipping mask (note the icon has also been removed from the layer). Clicking again will re-apply the clipping mask.
13. You can also move the lightness slider and this will change the lightness of one layer.
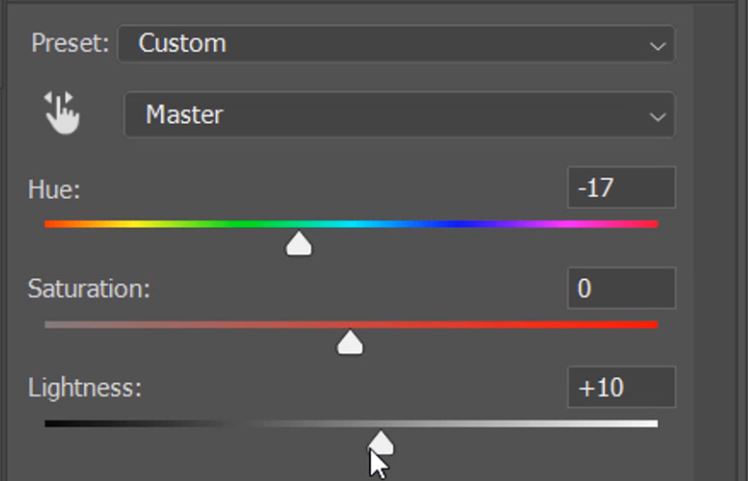
14. To change the Saturation of one layer in Photoshop, make sure the clipping mask is applied and move the Saturation slider.
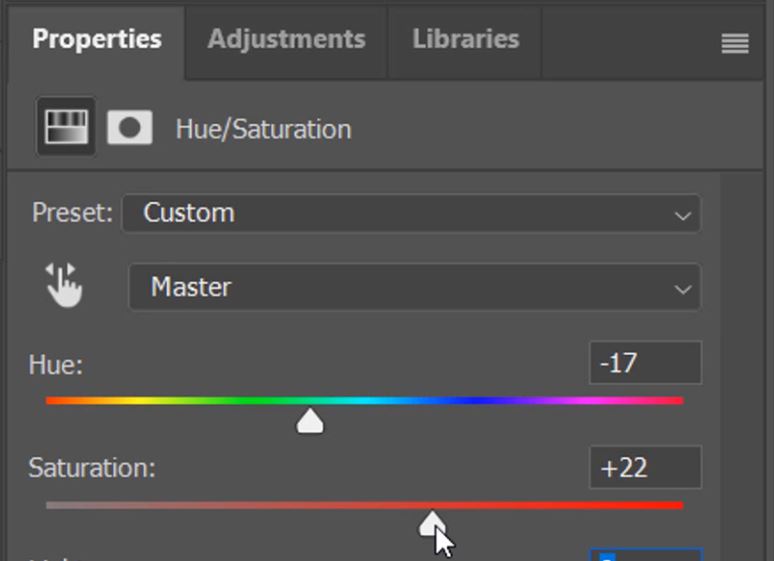
15. Adjust all three sliders to change the hue saturation of one layer and also the lightness, until you get a nice natural balance.
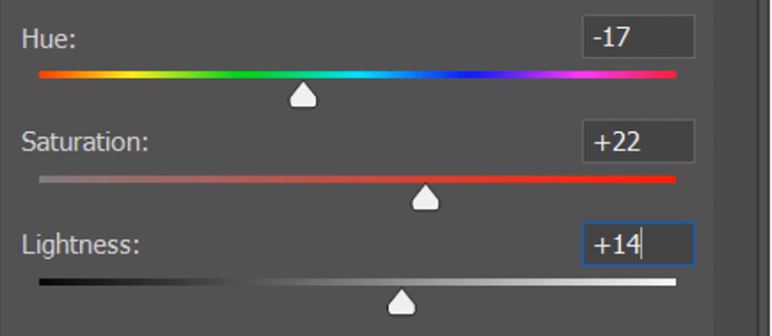
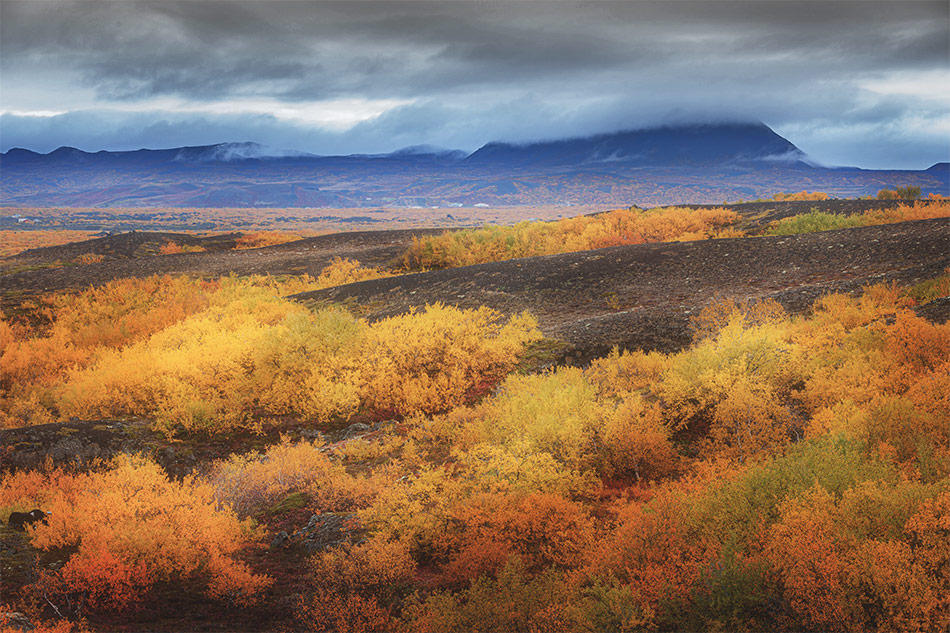
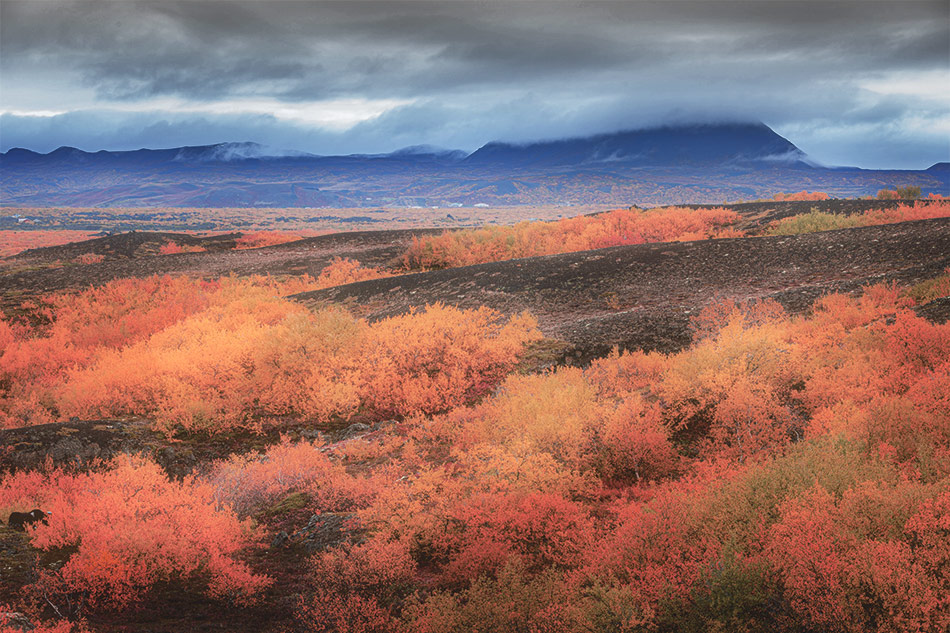
That is how you can change the hue and saturation on only one layer in photoshop, by using Clipping Masks to apply effects to just the layer below. Here are our before and after results.
