Lake District Full Photo Edit in Photoshop
In this tutorial, I’m going to take you through a full workflow using Raya Pro. I recently visited the lake district with my wife and kids, this is a place we love coming to and one with an abundance of natural beauty formed during the ice age some 40,000 years ago. As well as being the birthplace of the pencil, the lake district has some gorgeous hills and mountains which make for excellent photography subjects. Sadly the weather in the Lake District isn’t always on our side, so if you’re thinking of visiting for a Photography trip, come prepared. Below you will see the tutorial video for my Lake District Full Photo Edit in Photoshop, scroll further down for written instructions. I hope you enjoy the article.

Photo taken by Duke McIntyre
Taking the Shot
Before we even get to post-processing we have to consider taking the shot. The location of the boathouse creates a fantastic composition against the backdrop of the hills and trees but you still have to make sure the scene is balanced in your camera.

I have explained the composition from the image above. The yellow lines represent the vertical reference in correlation to the rule of thirds. You can see that the main subject (the Boathouse) is perfectly aligned on the right-hand side of the image on the thirds line. We also had a lone fisherman wonder in the shot and he is pretty much central to the scene. Combining that with the exceptional leading lines of the landscape that are further enhanced by the light in the sky and reflections we’re left with a really pleasant composition. I cropped the image to get this clean composition before I began to edit the image. continue reading below.
Editor’s Choice plugin on Adobe marketplace

Raya Pro, the most rated plugin on Adobe Marketplace.
Lake District Full Photo Edit in Photoshop – Exposure Blending
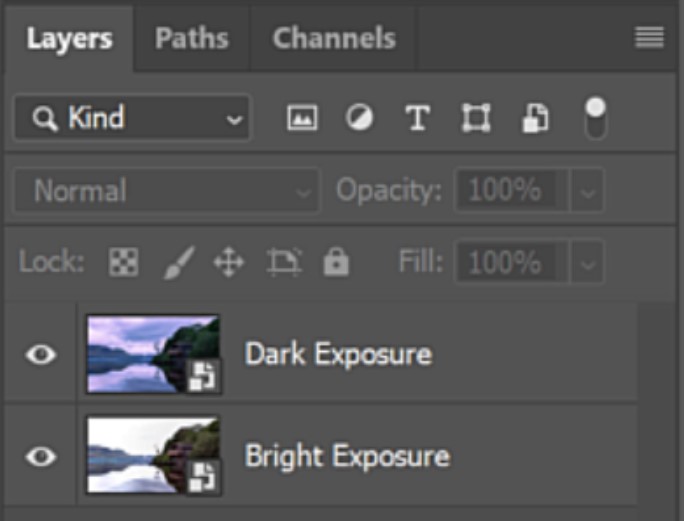
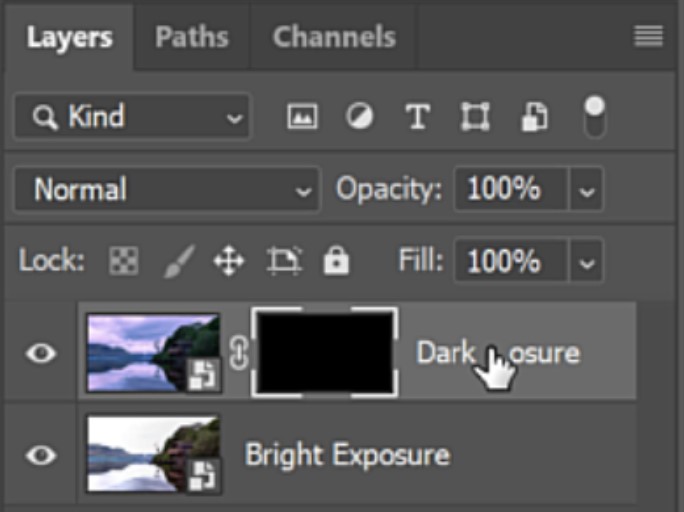
1. After stacking and Aligning the multiple exposures using the Ray Pro hub stacked the exposures so that the bright exposure was on the bottom and the dark exposure was on top.
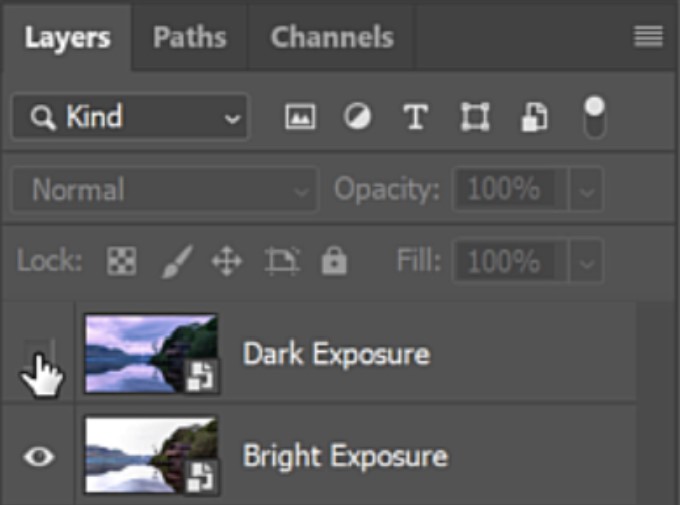
2. Hide the Dark Exposure by clicking on the eye icon.
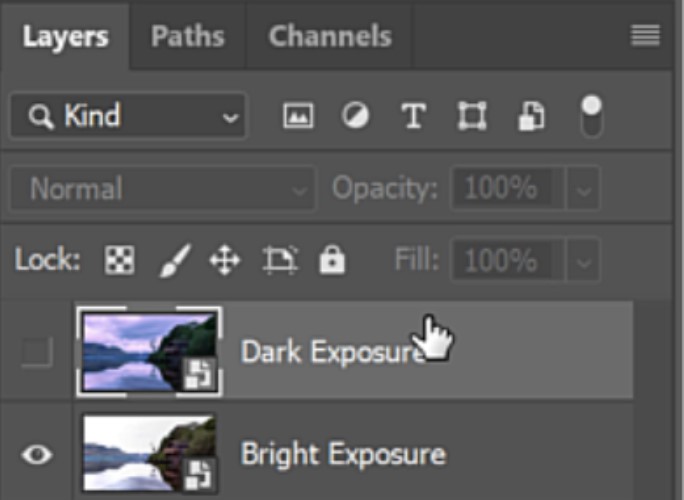
3. Click on the space to the right of the Dark Exposure layer thumbnail to select the layer.
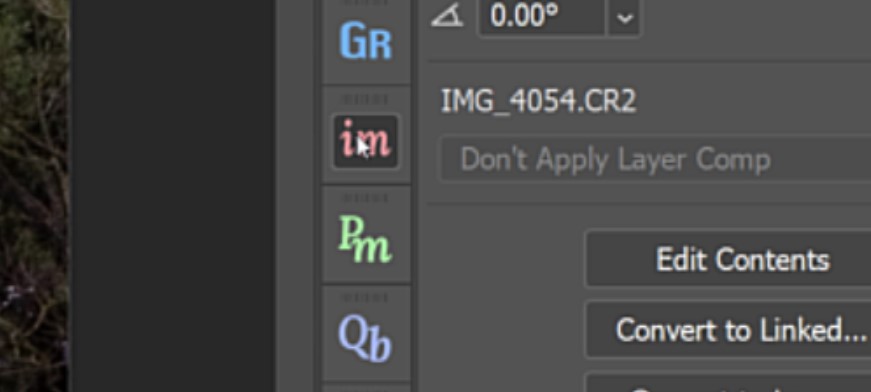
4. Open up the InstaMask Panel in Raya Pro.
5. We want to blend the sky in from the darker exposure. These are the brighter parts in the image so we’ll need a Brights mask. I clicked on the number 2 in the B row to create Brights 2 mask.
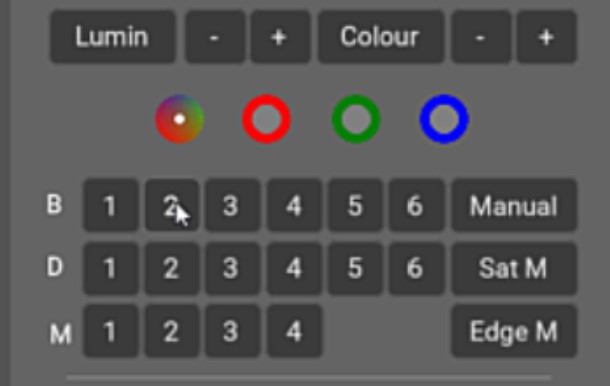
6. The Brights 2 mask is perfect for this blend as it shows the sky as a bright white and the midground (hills) and foreground (trees and boathouse) as black.
7. You can further refine the mask by sliding the S, M, and H (shadows, Midtones, Highlights) sliders in InstaMask until the mask serves the purpose that you want it to. Once you’re happy with the luminosity mask that you’ve made, click on Select White.

8. This will apply a black mask to the selected layer and it will also give you an active selection based on the luminosity mask that you created.
9. This will also automatically select the Brush tool for you and set your foreground colour to White. All you need to ensure is that your Opacity and Flow are both set to 100%.
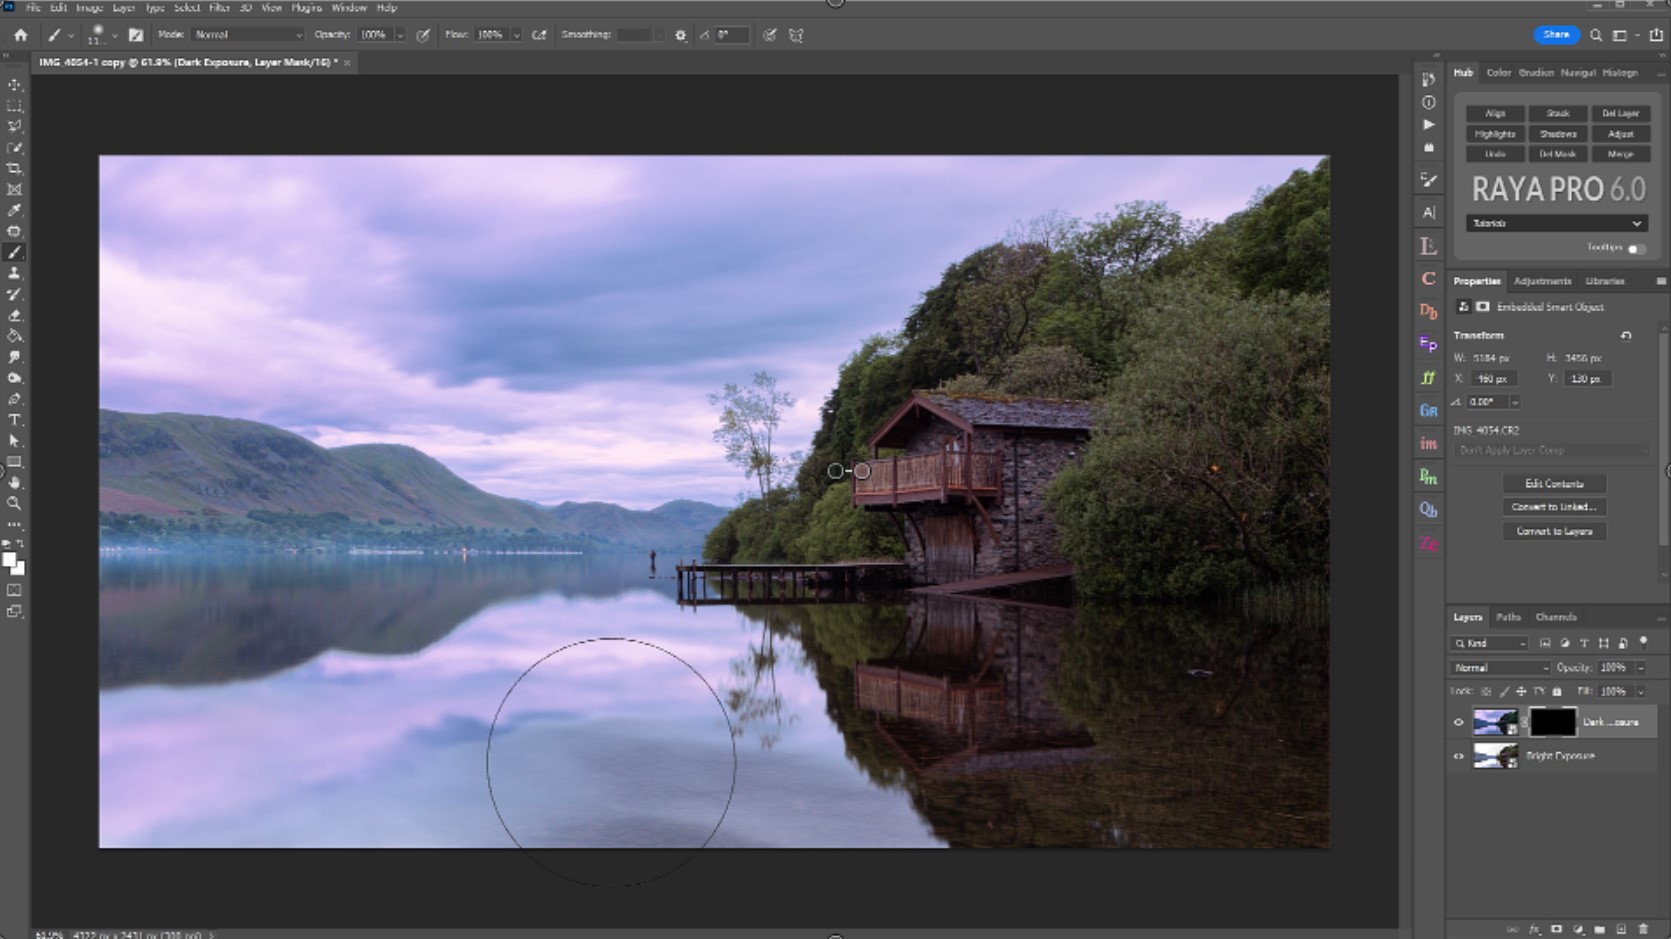
10. With a large brush that has a soft edge, begin to paint over the image. You can paint over the image more than once to bring more of the darker exposure into view.
Remove Edging/Ghosting
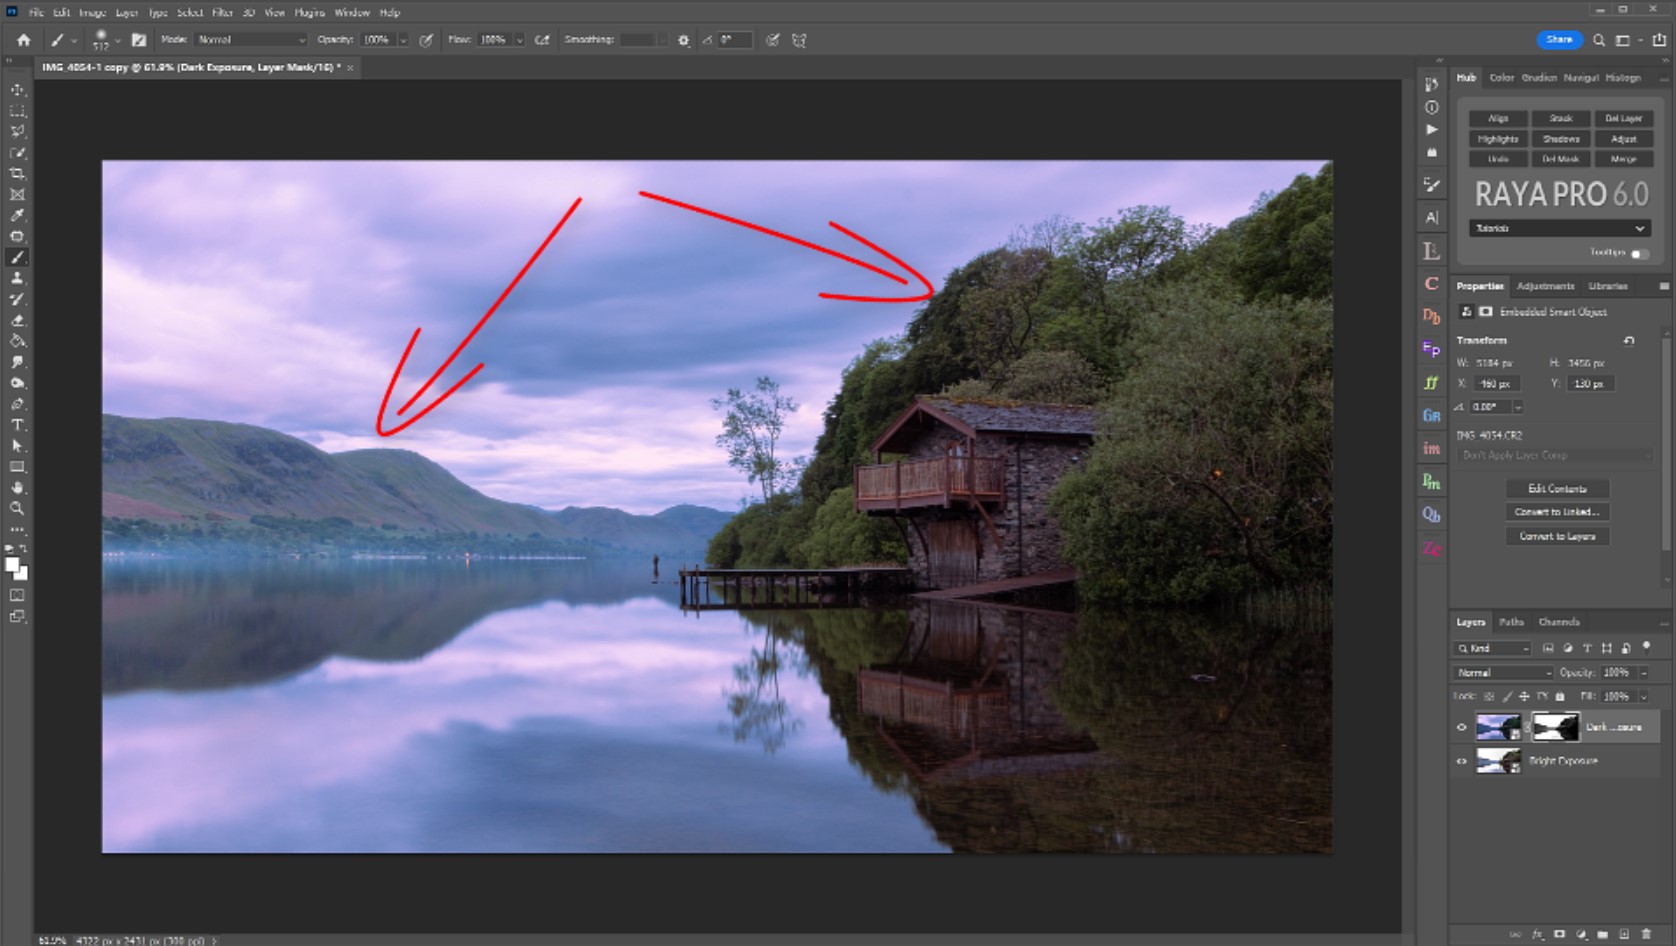
11. After exposure blending check for any image degradation. As a result of blending two images of different exposures you sometimes get side effects like edging. This is more significant when exposures are too many stops apart. Zoom into the image and look at the edges where the black from the mask met the white of the mask. We have a little bit of edging on the hills and a tiny bit on some of the branches and leaves.
12. To fix this, open up the Filters and Finish panel in Raya Pro.
13. Now click on the button in the top-right corner of the centre cluster called Clean CA.
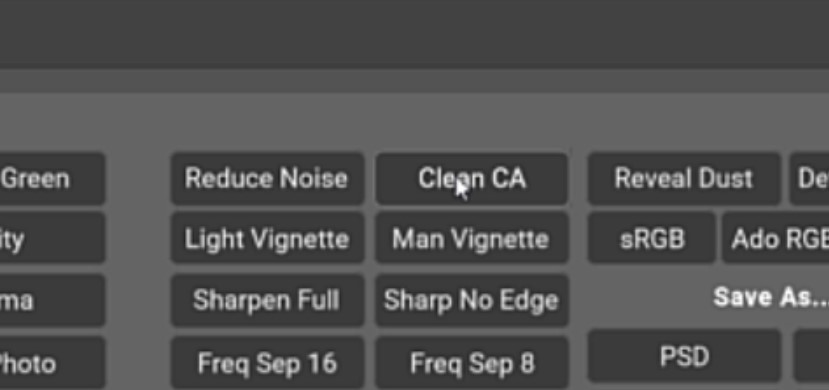
14. When the Gaussian Blur box appears, adjust the Radius pixels until the edging has dissapeared. This setting will need to be changed depending on the amount of degradation and the size of your image. Click OK when the preview shows that the edging has faded.

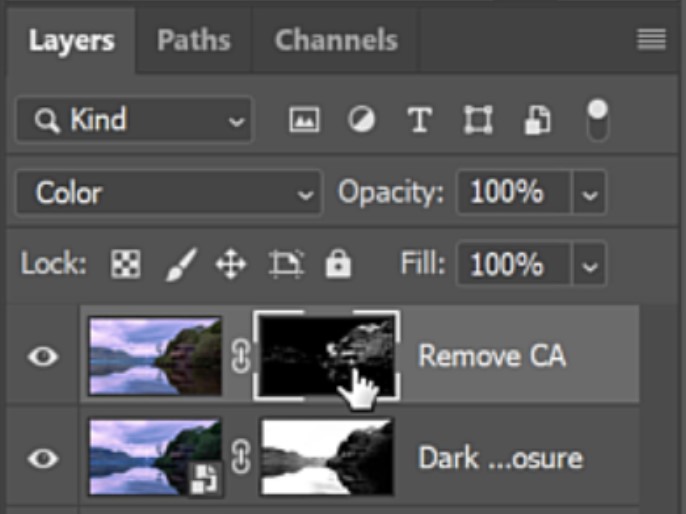
15. This applies a new layer called Clean CA that has a black mask applied. you can manually paint over the edges to remove the degradation. Or, to apply this fix to ALL of the edges in the image open InstaMask and this time click on Edge M.
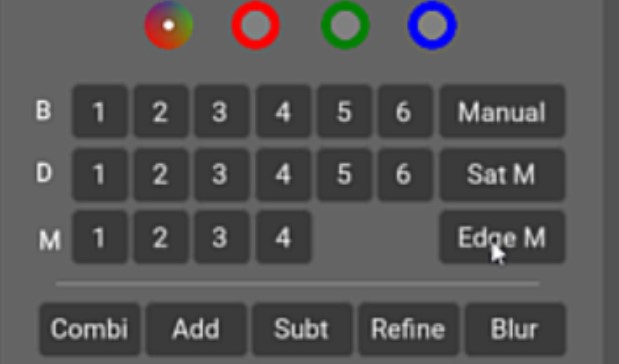
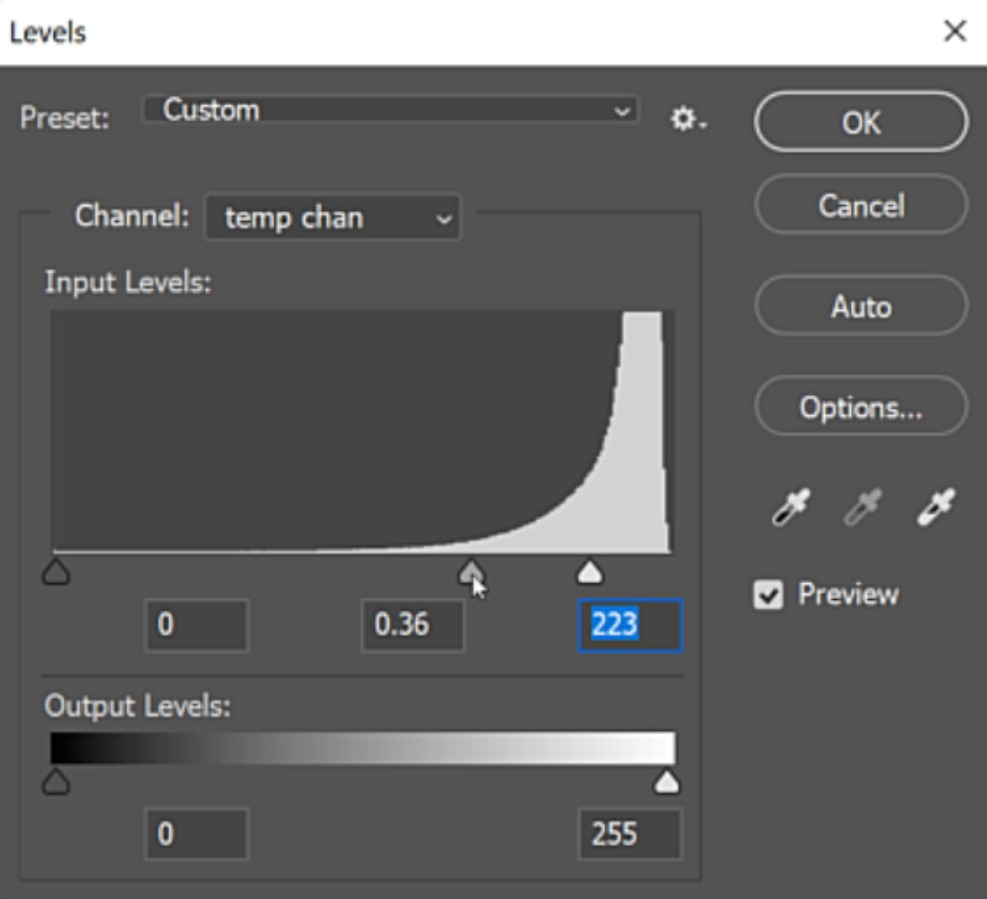
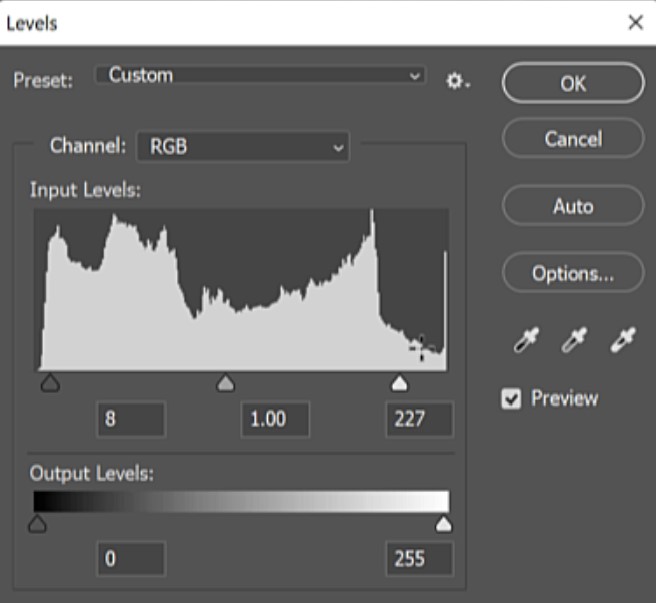
16. This will create a mask that targets the edges of your image and display a Levels property window. Adjust the levels slider to increase the contrast of the edge and then click OK.
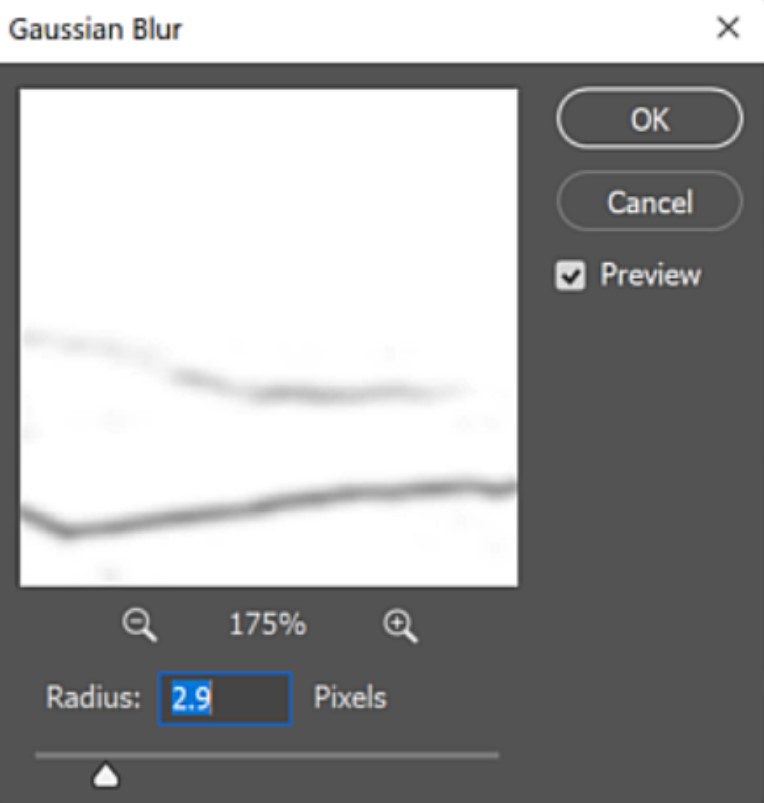
17. Now a Gaussian Blur properties box will appear, adjust the radius so that the edge becomes blurred and feathered then click OK.
18. Left-click on the black mask on the Remove CA layer to select it.
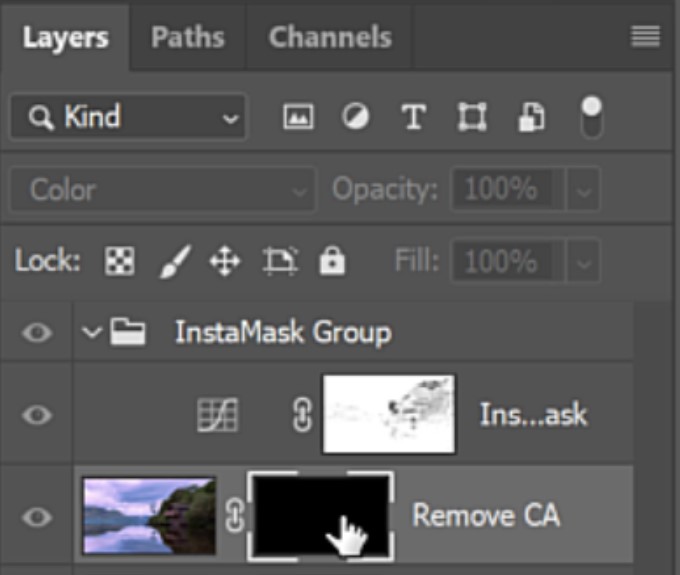
19. No click on Apply in Instamask to replace the black mask with the Edge Mask.

20. On the edge mask the edges are black and we need them to be white, so select the edge mask and press CTRL+E (PC) or Cmd+E (Mac).
Removing Distractions
To help clean the image and the composition it’s always good to remove anything that can cause a distraction. This can be made so much simpler if you shoot a scene that doesn’t have them in the first place. I’m not going to list how we use the patch tool to remove distractions as I have already covered this in previous 2-minute tutorial.

-Tutorial Continued Below-
Enter your email below and join our community of more than 100,000 photographers who receive regular tutorials and have also

Subscribed to our newsletter,
Downloaded our FREE Photoshop Course
Got our FREE Easy Panel for Photoshop
And have our FREE Essential Guide To Luminosity Masks E-Book
Lake District Full Photo Edit in Photoshop – Continued
Remove Sensor Dirt
Sensor dirt can be a real pain. Sometimes it’s very difficult to spot, other times it’s glaringly obvious. Regardless, it can ruin an image if it is not removed. It doesn’t matter how well you look after your camera and lenses, dirt can always get in there somehow. Fortunately for you, we have a special function in Raya Pro that will help you reveal Sensor Dust.
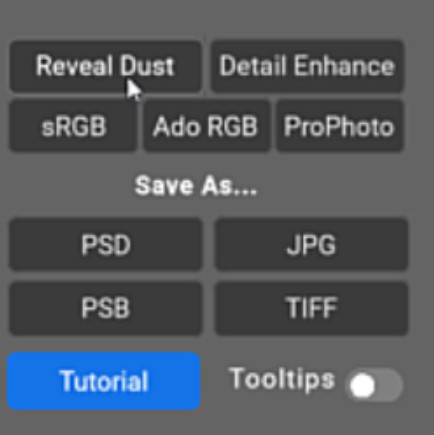
21. Go into the Filters and Finish panel again.
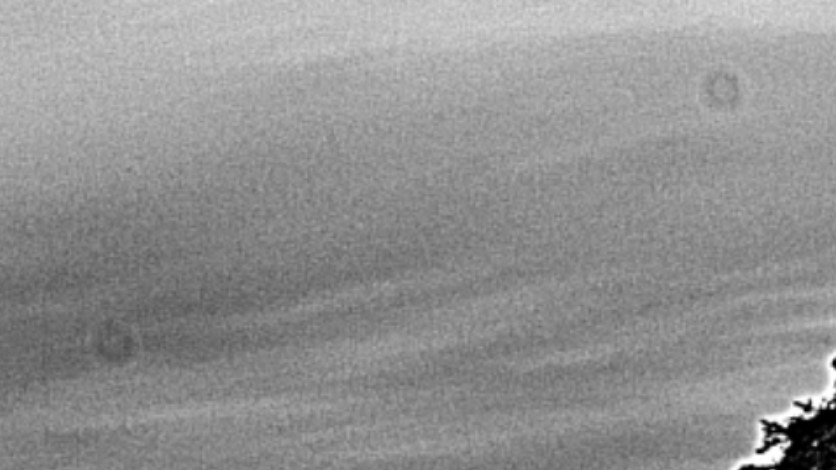
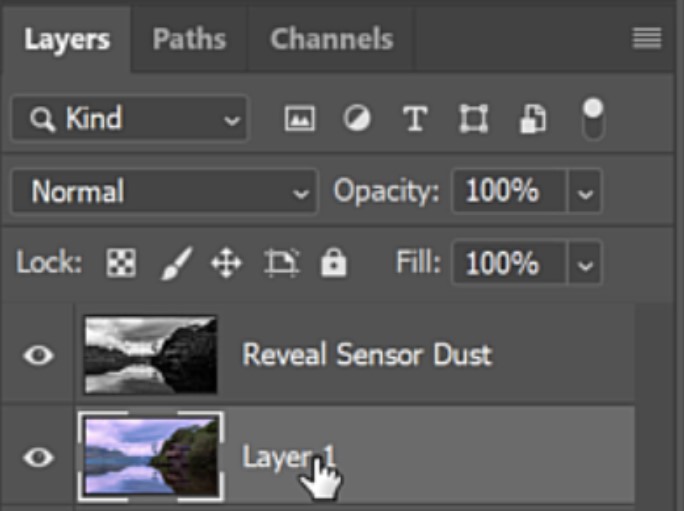
22. This time click on Reveal Dust.
23. Agrainy black and which image should now appear that shows the sensor dust and dirt as blotches.
24. Select the layer below the Reveal Sensor Dust layer.
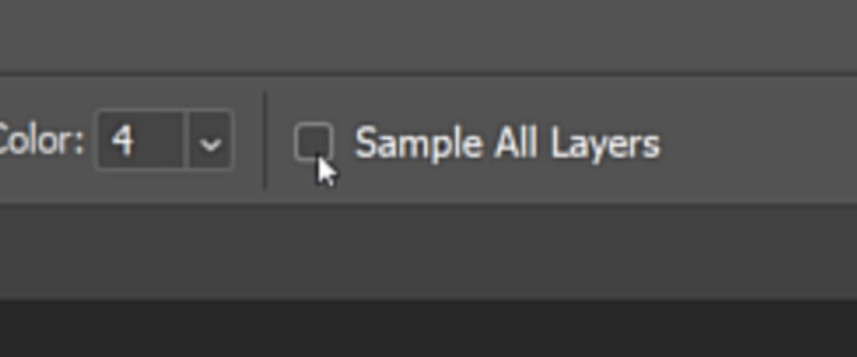
25. And select the Patch Tool again. This time with the patch tool, it is very important to make sure that the box that says “Sample all Layers” in the patch tool options is unchecked.
26. Now just as you did with removing distractions, remove the dirt and dust that has been highlighted by the Reveal Dust function.
Shifting The Viewer’s Attention
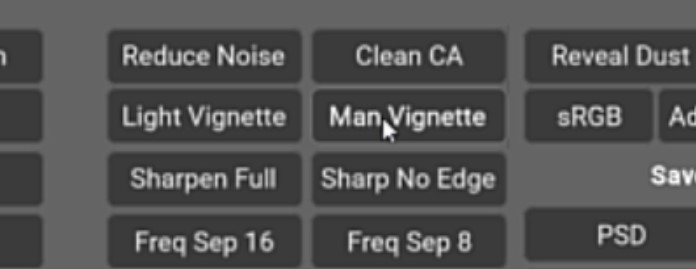
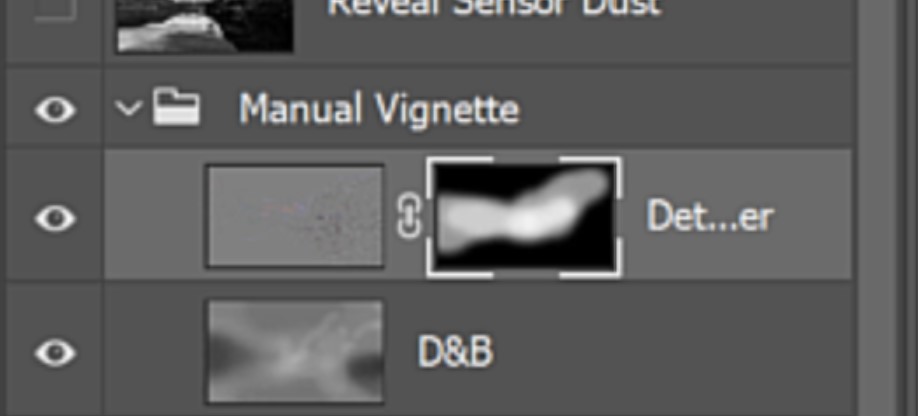
27. Again, open the Filters and Finish panel, but this time click on the Man Vignette button.
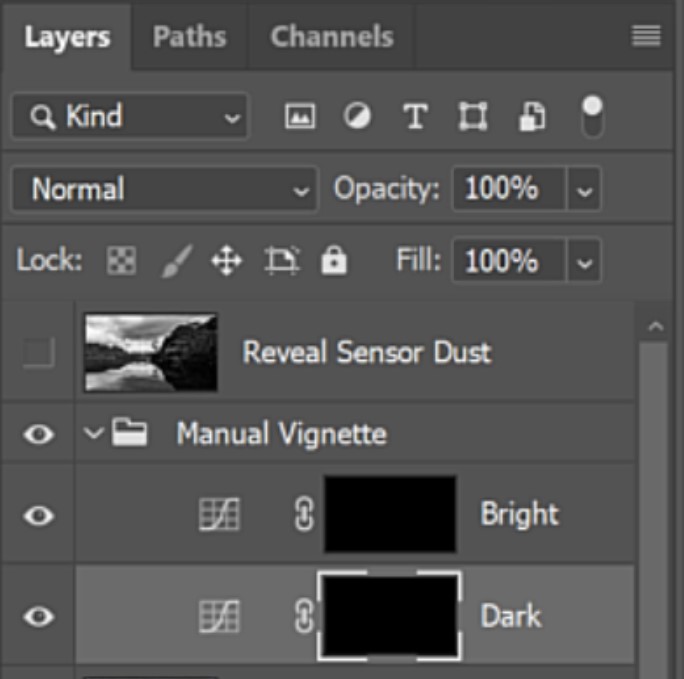
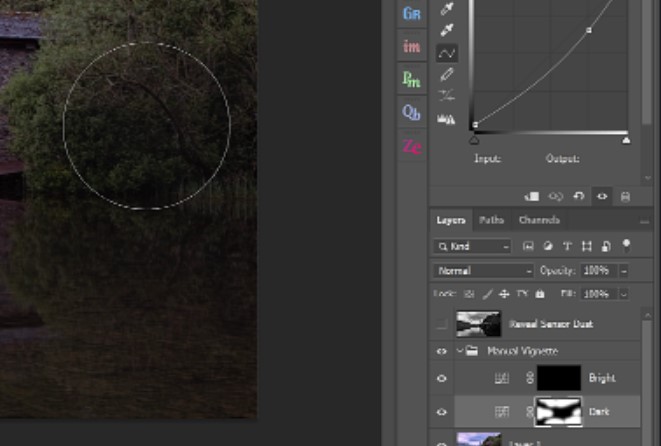
28. This will create a Manual Vignette folder. Inside that folder, there will be a Bright Layer and a Dark Layer both of which will have a black mask applied. Left-click on the Dark vignette layer.
29. Select the Brush tool with a white foreground. Use varying brush sizes and opacity, and then begin to paint over the areas that you want to take the viewer’s attention away from. These will be areas of little or no interest.
30. Again, open the Filters and Finish panel, but this time click on the Man Vignette button.
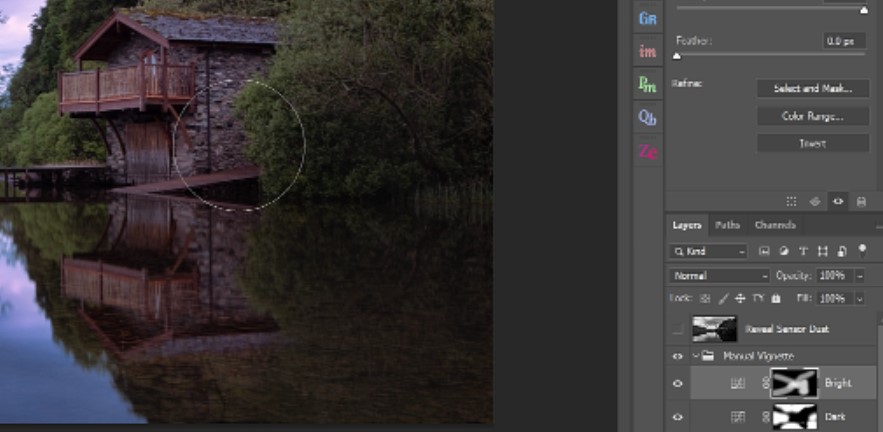
31. Once you have finished building your dark vignette select the Bright vignette layer mask and build the bright vignette the same way that you built the dark vignette. This time you’re building the vignette to draw the viewer’s attention toward, so these would be points of interest and subjects.
Dodging and Burning
Dodging and burning can be a great way of adding a deeper dimension to your image, but it can also be used effectively as tool for enhancing the same principles of a vignette. Dodging and Burning in Photoshop is destructive so we tend not to use this function in Photoshop. Instead we have included a non-destructive Dodging and Burning method.
32. Open up the Dodge and Burn panel.
33. And click on the 50% Grey button.
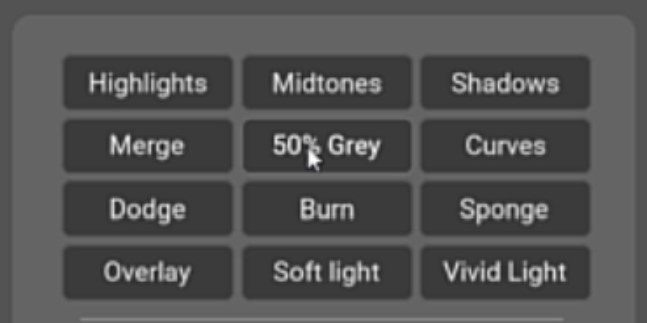
34. This will add a 50% grey layer to your layers panel. Now when you paint over this 50% grey layer with white, it will brighten the area that you are painting. Conversely, if you paint over the area in black it will darken the image. Please note that this is a very powerful tool so it is advised you use a brush with a very low opacity such as 10%.

Enhancing Details
Enhancing details of a detailed subject like this boat house is a sure-fire way of getting the viewer to look that way. Even a subtle change in the sharpness of detail and texture can be luring, so sometimes less is best. We have a tool in the Filters and Finish panel in Raya Pro that will enhance details for you.
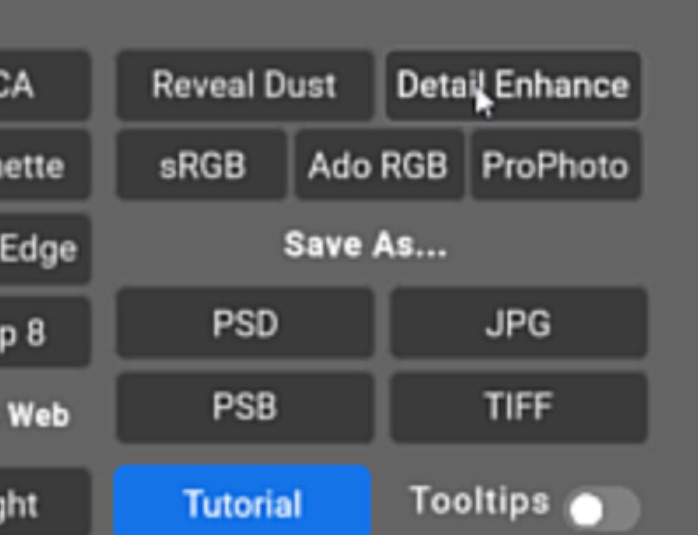
35. Open the Filters and Finish panel and click on the Detail Enhance button.
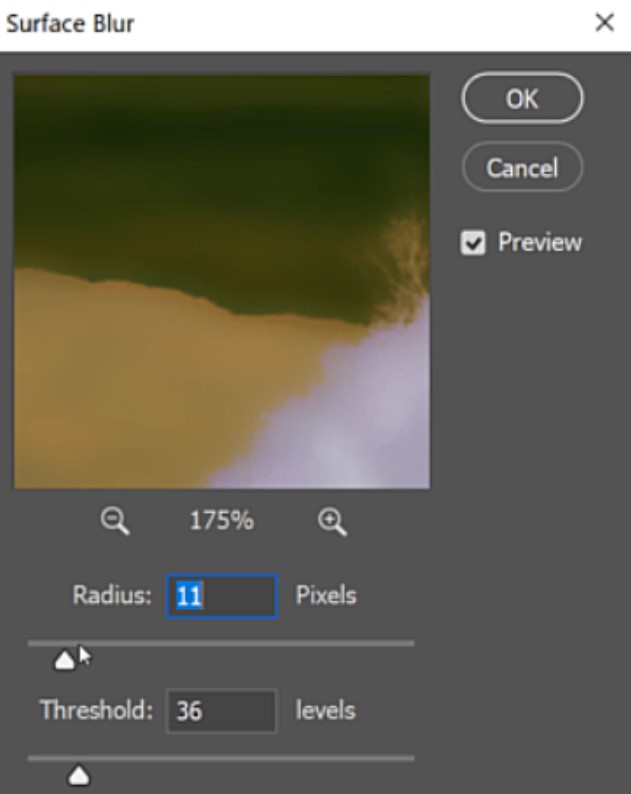
36. Adjust the surface blur radius lower to reduce the strength of the effect. the smaller the texture appears the finer the adjustment. And visa versa. When you’re finished adjusting, click OK.
37. All of the details in your entire image will be sharpened. This is a really strong effect, so it is advised you reduce the layer opacity significantly to control the strength of the effect.
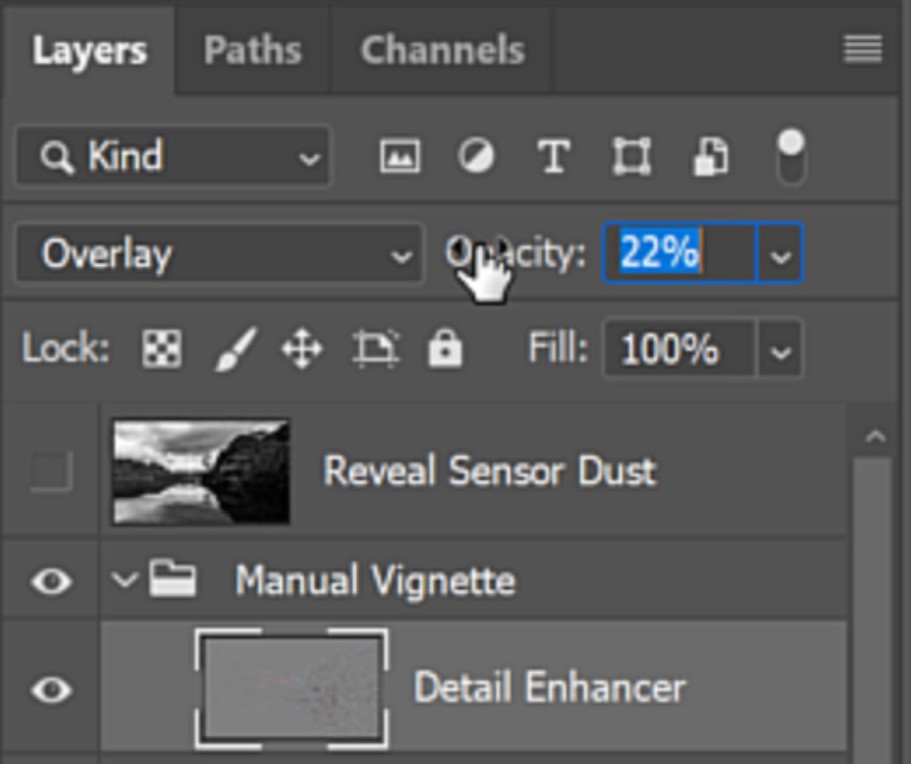
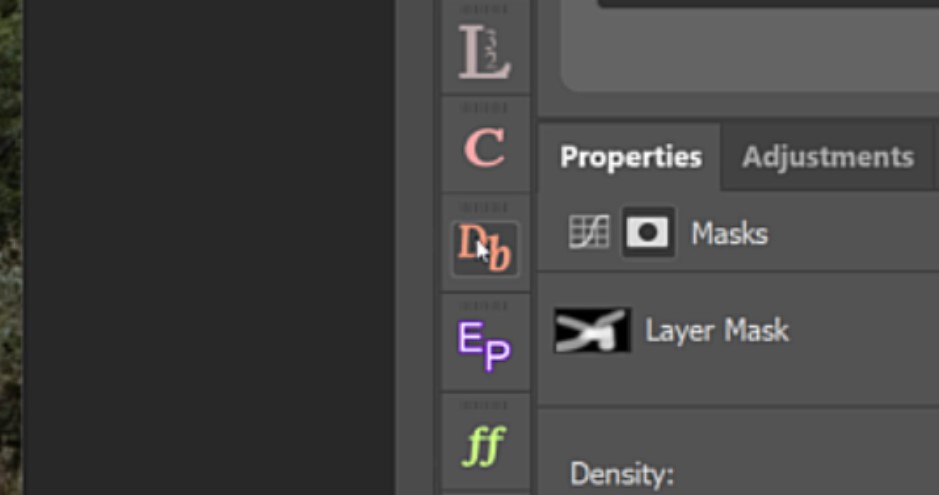
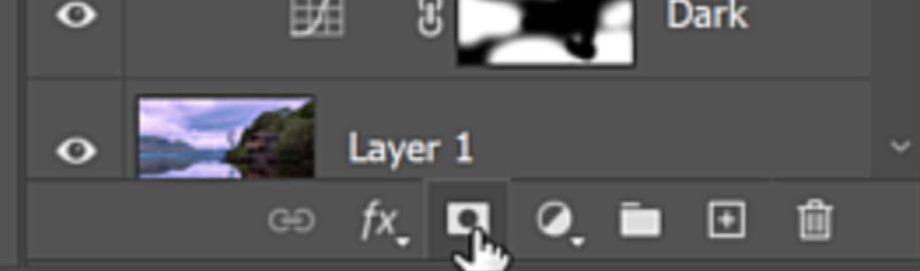
38. To apply the detail enhancement to a selected area such as the boathouse. I applied a black mask to the layer by holding down the Alt (PC) or Opt (Mac) key and clicking the icon to add a new layer mask.
39. Then with a white brush and an opacity of around 30% I painted over the building and some of the hills in the background.
Complimentary colours
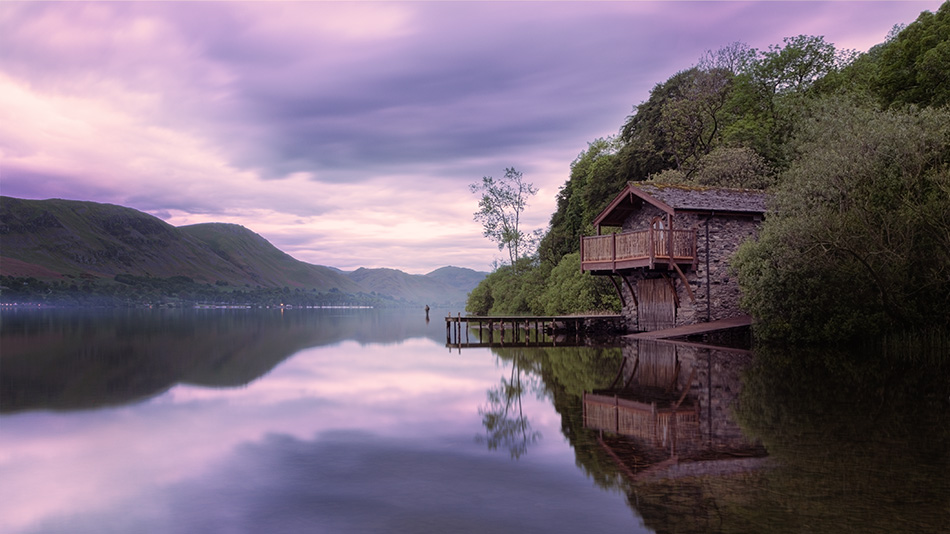
When I took the exposed image for the sky, I used an ND filter to capture rich colours and textures. This gave this exposure a purple colour cast that wasn’t present in the exposure for the foreground. We need to make sure the blended exposures look seamless, if we overlook complimentary colours it makes the images look fake, and with digital blending, especially in landscape photography, we want the scene to look as natural as possible. Light bleeding or colour bleeding can help us subtly blend colour tones effortlessly.
40. Open the Dodge and Burn panel. This time select Glow Free.

42. Click on the foreground colour to set it to a complementary colour.
43. Paint over the area that you want to colour match.
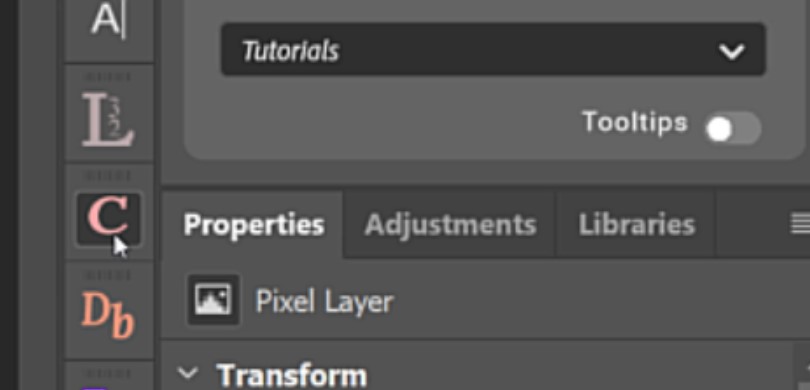
44. At this stage I felt the cold purple tones of the darker image were still too strong and prominent so I opened up the Colour Center panel.
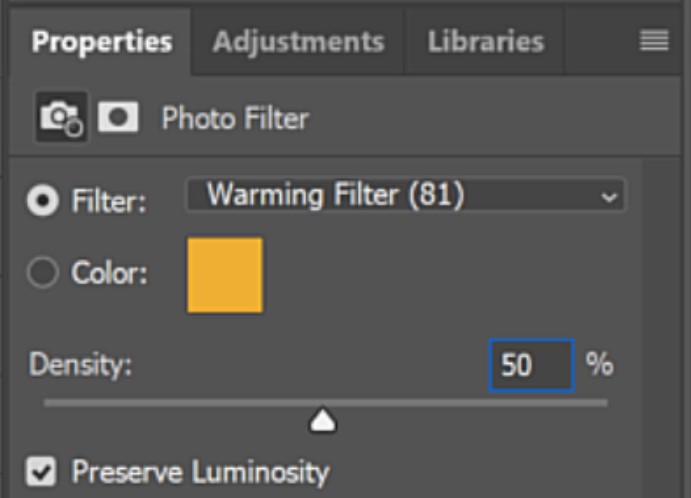
45. And added a Warmer Photo filter to affect the whole scene and tone down those cold colours from the sky.

46. Changing the density of the filter will change how strongly it affects your image.
Finishing touch
It was a peaceful evening when this scene was captured. After days of stormy weather, the lake was still and dreamy. I wanted to portray this in the shot. And there’s no better way to make an image feel soft and dreamy than by adding an Orton Effect which Raya Pro is great for.
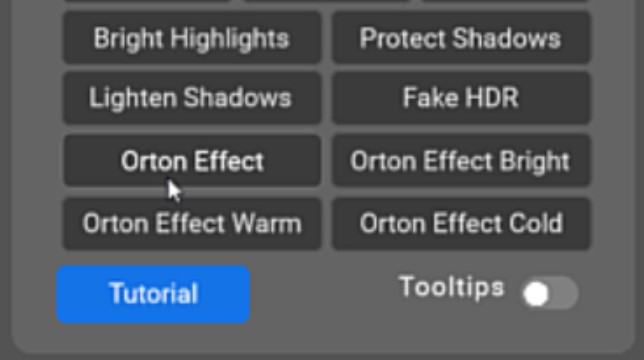
47. Open the Dodge and Burn panel for the final time.
48. The function that we’re going to use this time is the Orton Effect function found near the bottom of the panel.
49. Adjust the blur radius and threshold to suit the strength of the effect that you desire and click OK.

50. You can also change the levels sliders to adjust the contrast of the effect and hit OK when you’re done.
Lake District Full Photo Edit in Photoshop – Summary
I really enjoyed the adventure of capturing this image and the processing workflow. I’ve spent an unimaginable amount of time waiting for the perfect shot, but sometimes without warning, it unfolds before your very eyes. Or an opportunity presents itself and you have to jump at it. As photographers, we must always be ready for when that opportunity pops up. I hope you enjoyed the tutorial on our Lake District Full Photo Edit in Photoshop and the advantages that having Raya Pro can bring to us all.
[compare]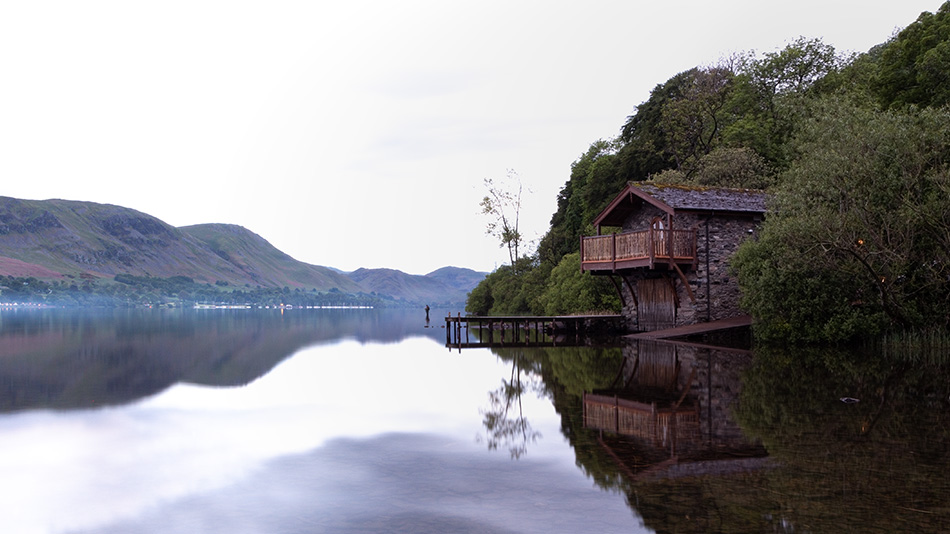
 [/compare]
Thank you for reading.
Enter your email below and join our community of more than 100,000 photographers who have also
Subscribed to our newsletter.
Downloaded our FREE Photoshop Course.
Got our FREE Easy Panel for Photoshop.
And, have our FREE Essential Guide To Luminosity Masks E-Book.
To go directly to any of our products, simply click on the image below.


