
Photoshop Secrets 12: Awesome Frequency Separation for Landscape/Cityscape Photos
Frequency separation is an immensely useful tool in Photoshop, which portrait photographs have been enjoying for a long time. But we can also use frequency separation to drastically clean up our images, giving our photos a beautiful finishing touch.
In this video I show you how to even out a sky with lens flare and sensor dust. I also show you a creative use for removing reflective glare, and finish with incredibly accurate sharpening.
Step-By-Step Guide to Frequency Separation
1. Duplicate your layer so that you have three. You can do this quickly by pressing Crtl+J on a PC or Cmd+J on a Mac.
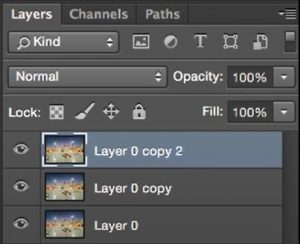
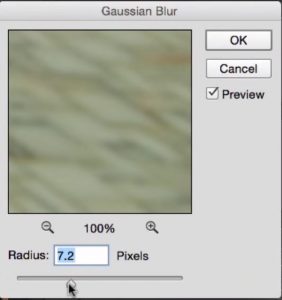
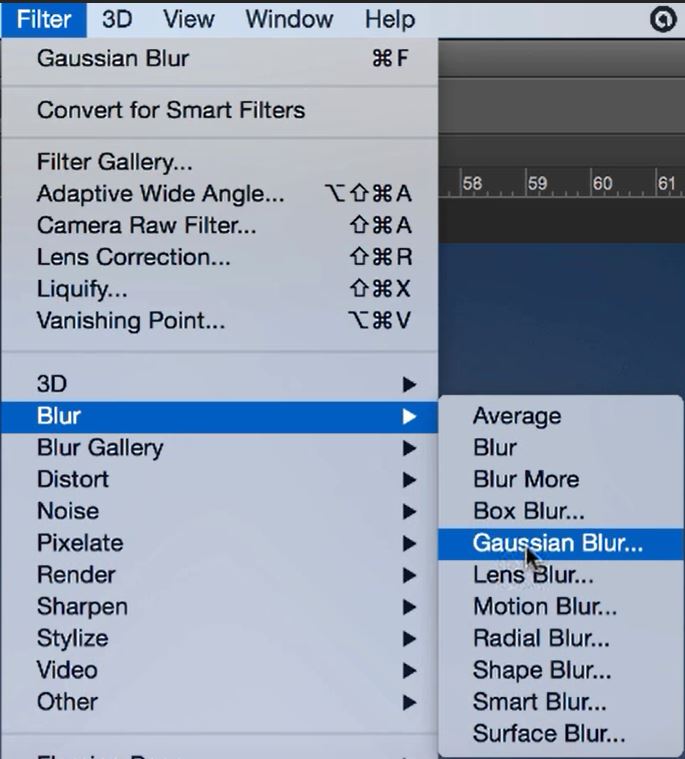
2. Select and rename your middle layer. This will hold your colours. Then add a Gaussian Blur by going to Filters>Blur>Gaussian Blur.

3. Increase the blur so that the colours start to blend smoothly with each other.
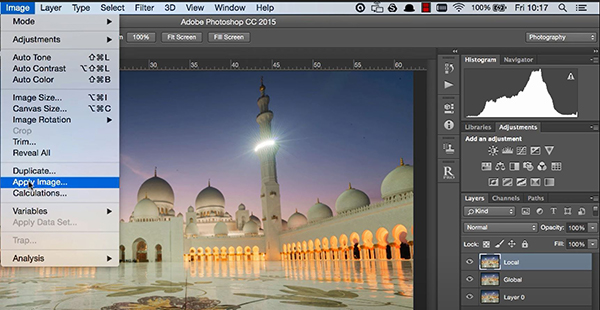
4. Select your top layer and rename it. This layer will house the details or texture. Go to Image>Apply Image.
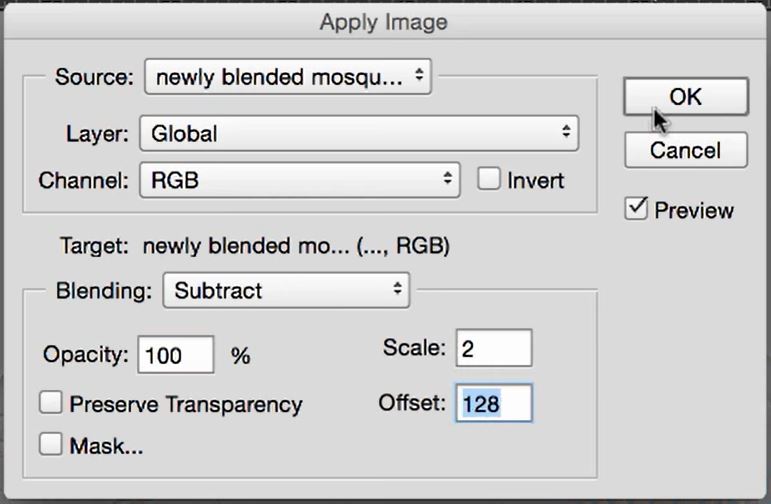
5. Make sure your settings are the same as ours. For the layer select the layer with your colours (ours is named ‘Global’). Blending should be set to subtract. With a scale of 2 and offset of 128.
6. Now set the top layer blend mode to Linear Light.

Now the colours in your image have been put in your middle layer. And the details/textures have been put in your top layer. With your top layer selected hid the layer to see what layer the problems you want to fix are in. If the issues disappear when you hide the top layer, then the problem is in your top (texture) layer. This is the first stages to using frequency separation for Landscape and Cityscape Photos.
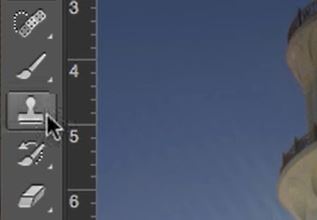
7. With the texture layer selected. Select the Clone Stamp Tool.
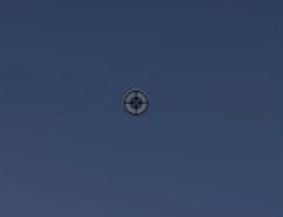
8. Now clone an area of you Texture layer that doesn’t have any faults. Do this by holding down the Alt or Opt key until a target appears. Now, left-click on the desired area that you want to clone.
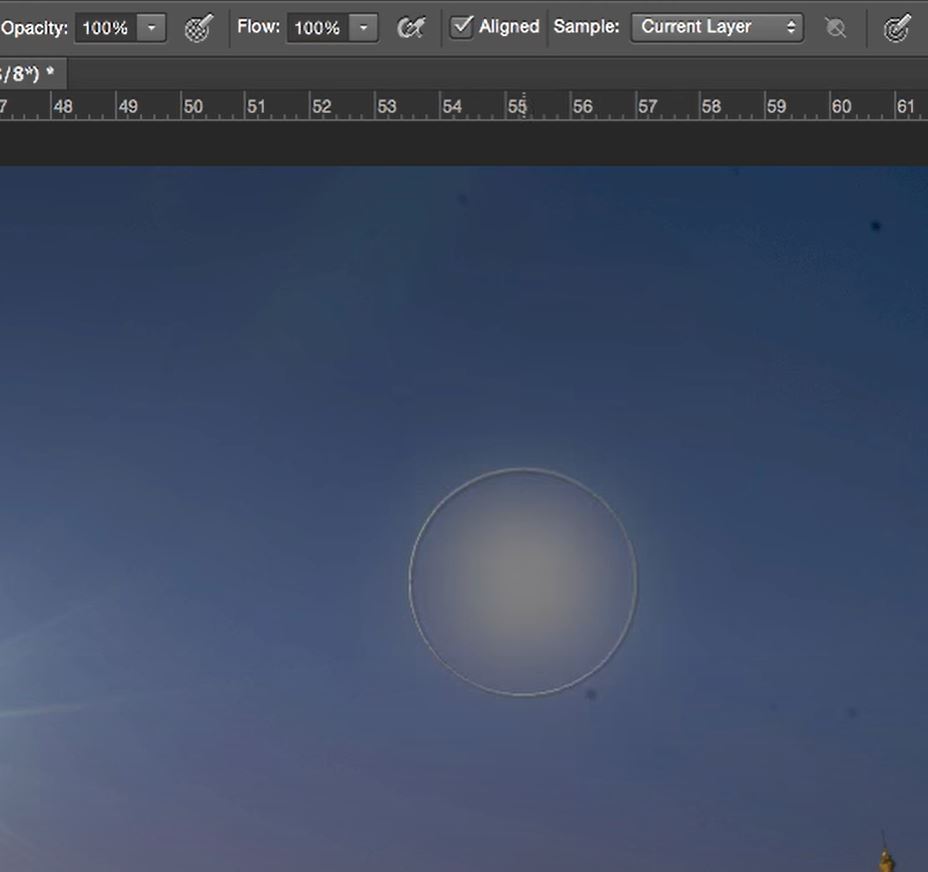
9. With the area cloned, start to paint out the areas where the issues lie. In this case the sensor dust.
10. Once you have fixed all the errors in your texture layer. Select your colours layer to address any issues that weren’t in the textures layer.

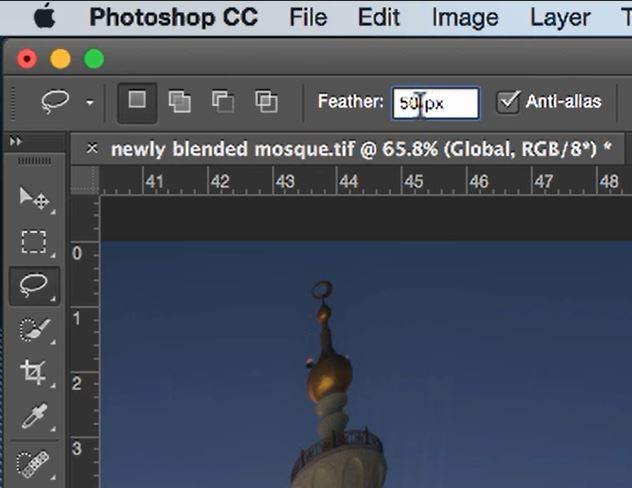
11. Select the Lasso tool with a feathered edge.
12. Select the areas that need correction by drawing a lasso around the area.
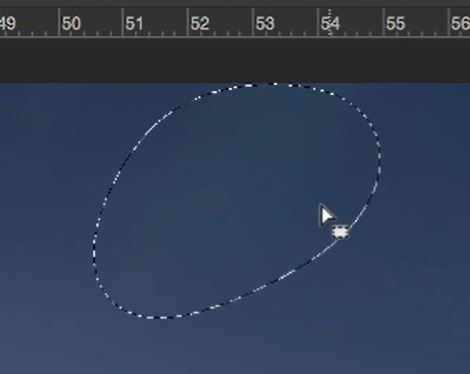
13. Apply another Gaussian Blur to your selection by going to Filter>Blur>Gaussian Blur.
14. Blur the selected area further to dissolve the colour errors as much as possible.

Repeat the above frequency separation processes until all of the necessary corrections have been made.
[compare]

 [/compare]
Download My Free Frequency Separation Action for Photoshop by subscribing here.
If you struggled with this Tutorial we have another tutorial on Frequency Separation for Beginners.
Or, to find out more about Frequency Separation and its uses. I found an article on What it is and When it should be used.
Enter your email below and join our community of more than 100,000 photographers who have also
Subscribed to our newsletter.
Downloaded our FREE Photoshop Course.
Got our FREE Easy Panel for Photoshop.
And, have our FREE Essential Guide To Luminosity Masks E-Book.
To go directly to any of our products, simply click on the image below.


