Frequency Separation In Photoshop
Frequency Separation is a fantastic tool that we use to remove unwanted objects or textures in Photoshop. Watch our 2-minute tutorial video to learn how to do it. In this tutorial, we’ll tell you how Frequency Separation works. Follow our step-by-step guide and use our technique on any of your photos with surprising results every time.

How Does Frequency Separation Work?
The way Frequency Separation works is by separating the colours and the textures. Once these have been separated from each other, we can make adjustments to them individually to remove anything that we don’t want in our photos. With the colours, if there is unwanted tones or shadows we can replace them by either cloning surrounding colours or, by painting in new colours. If the problem lies in the texture such as a crack, blemish or surface. All we do is copy desirable texture and replace the bad with the good.
This is by far the best way to remove unwanted objects in photoshop, from skin blemishes to graffiti. The possibilities are literally endless and you can have so much fun using this technique when you’re editing your images.
The Easy Way To Apply Frequency Separation In Photoshop
The easiest way to apply Frequency Separation In Photoshop is with one click of a button on Raya Pro. Not only is Raya Pro a world-leading editing panel for Photoshop, but it is also packed full of touch-up features such as Frequency Separation. In fact, it has two frequency separation buttons, one for 8-bit images and one for 16-bit images so you can be certain whether you’re removing blemishes, textures, or graffiti, whatever it may be it can be fixed quickly and professionally with Raya Pro.
Editor’s Choice plugin on Adobe marketplace

Raya Pro, the most rated plugin on Adobe Marketplace.
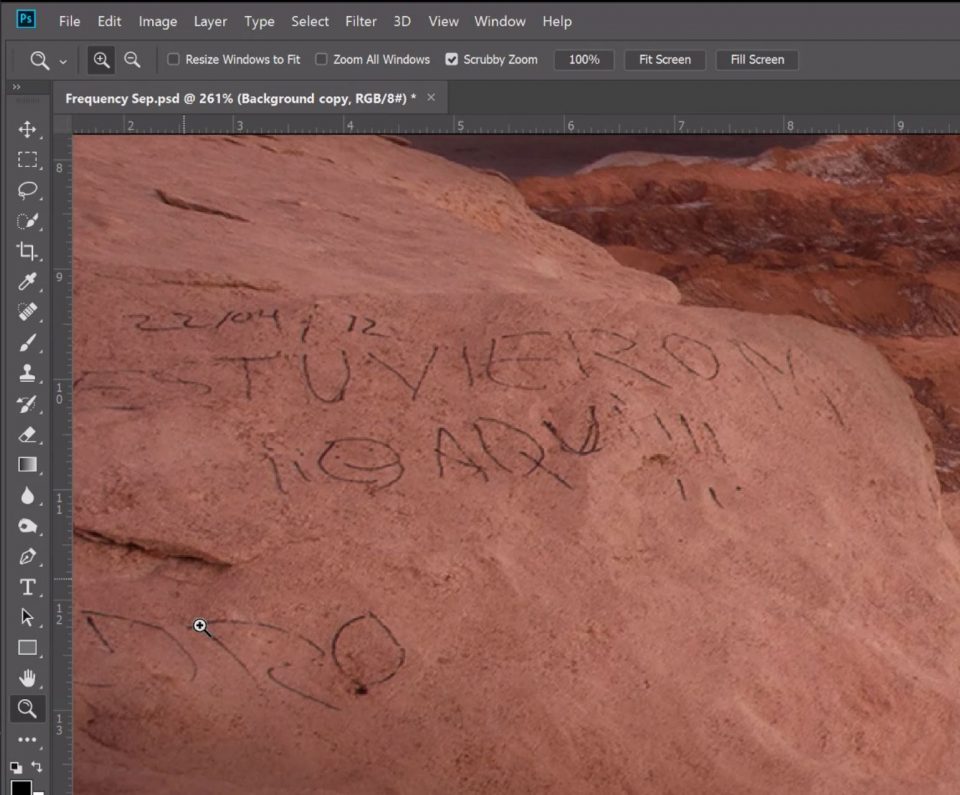
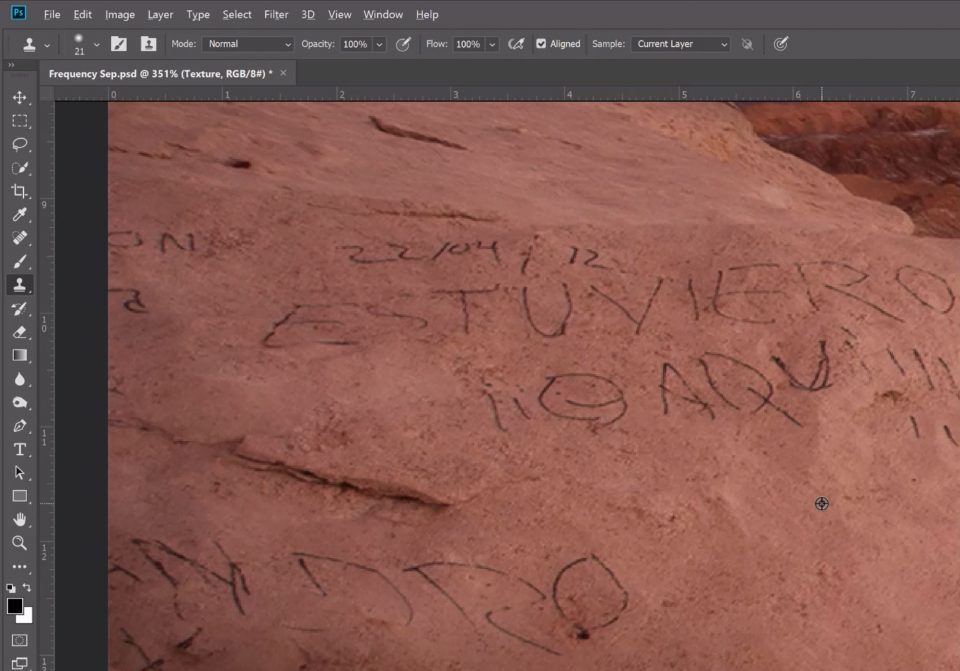
I wanted to remove this graffiti from an image, below is the step-by-step guide to Frequency Separation for Beginners and the technique that I used.
Frequency Separation In Photoshop
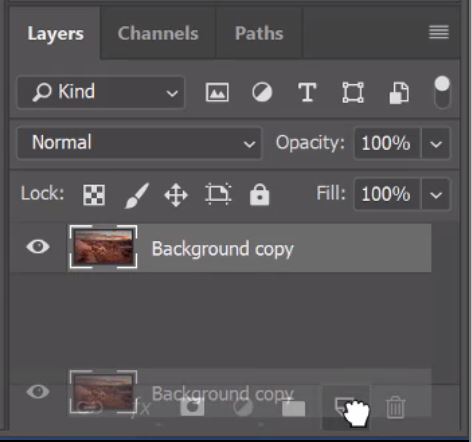
1. From your base images create two more Duplicated layers
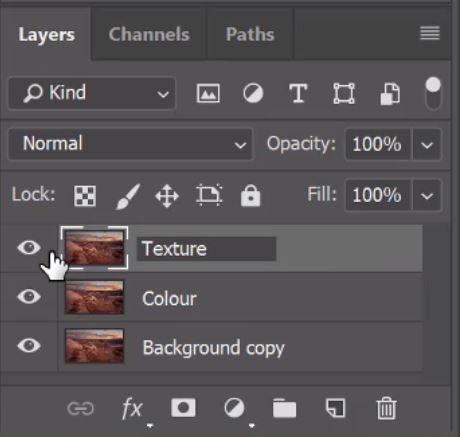
2. Rename the two duplicates, the middle one will contain your colours and the top one will hold your textures
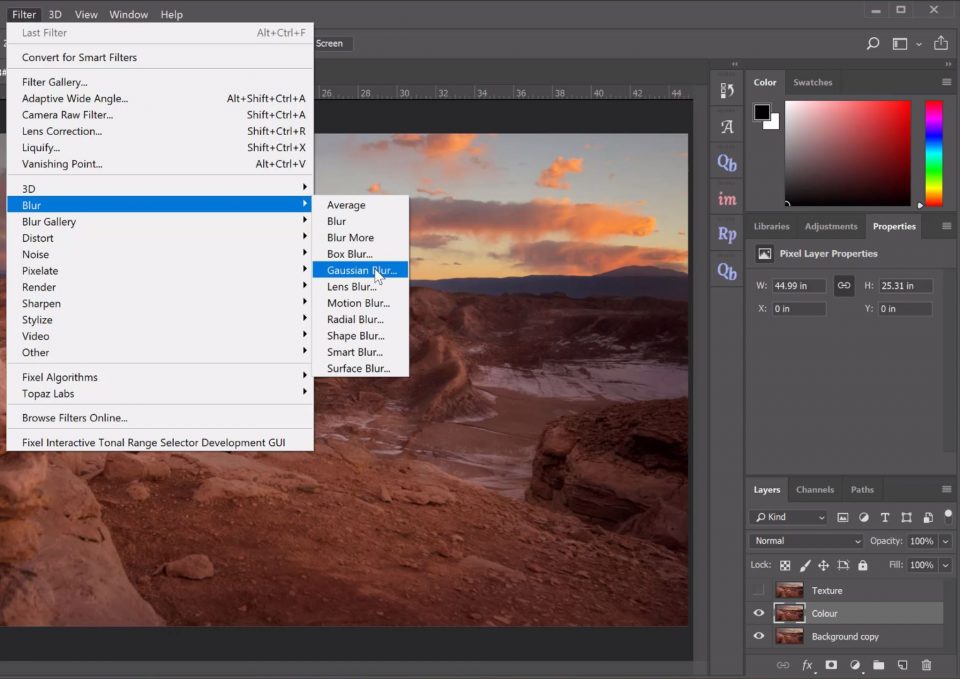
3. Hide the Textures layer and select the Colours layer. We are going to add a Gaussian Blur by going to Filter>Blur>Gaussian Blur.
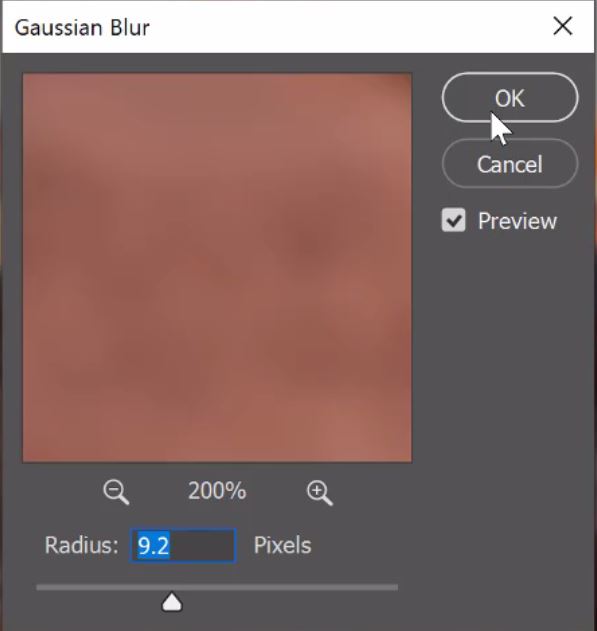
4. Adjust the blur Radius so that we lose the unwanted colours. This blur will seem extreme. That’s OK.
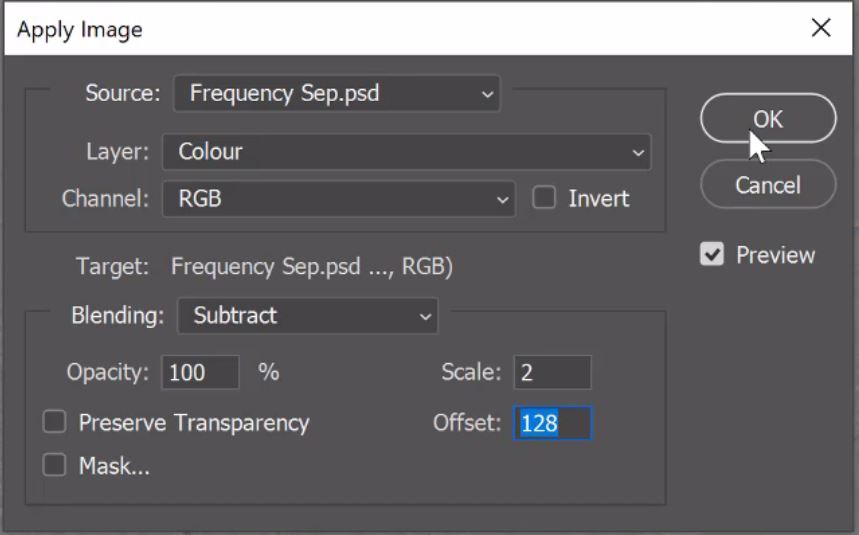
5. Now, Select your texture layer and go to Image>Apply Image.

6. For Layer choose your Colour Layer. For Blending lending select ‘Subtract’ and ensure your Scale is set to 2 and Offset is set to 128 then click OK.
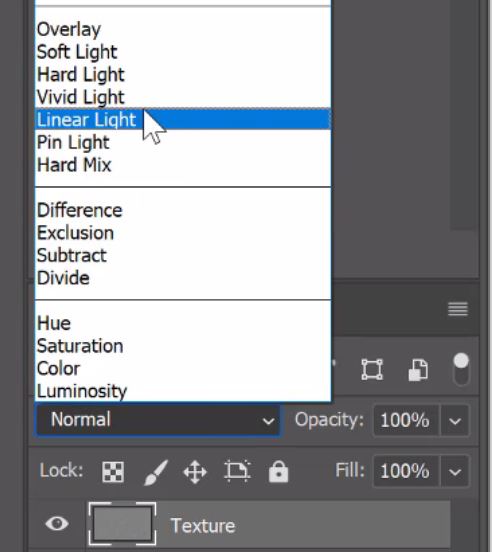
7. Change the Blend Mode of your texture layer to Linear Light.
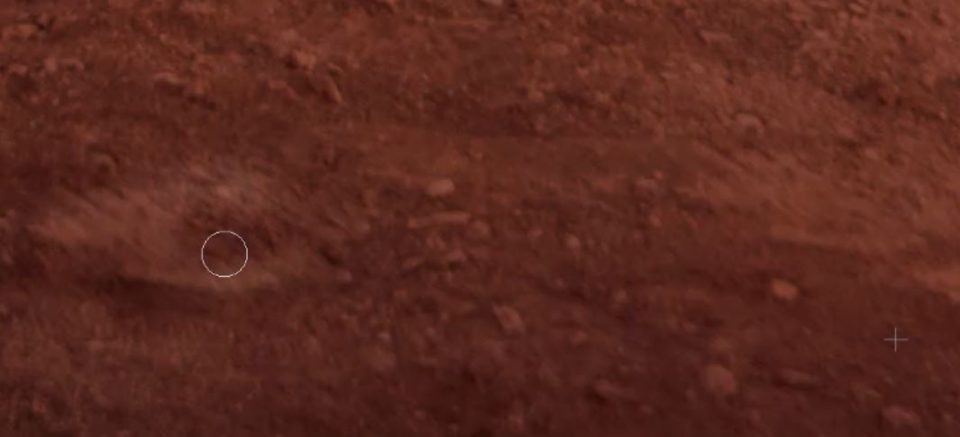
8. With the texture layer selected. Select the Clone Stamp tool. Now hold the Alt or Opt key and select an area that you want to copy texture from. Then, left-click on the area you want to replace and continue to paint over the bad texture.
9. Once you have made all the corrections to the texture layer, repeat the same process on the colours layer. Using the Clone Stamp Tool, select the colour layer and clone the desired colours over unwanted colours.
[compare]
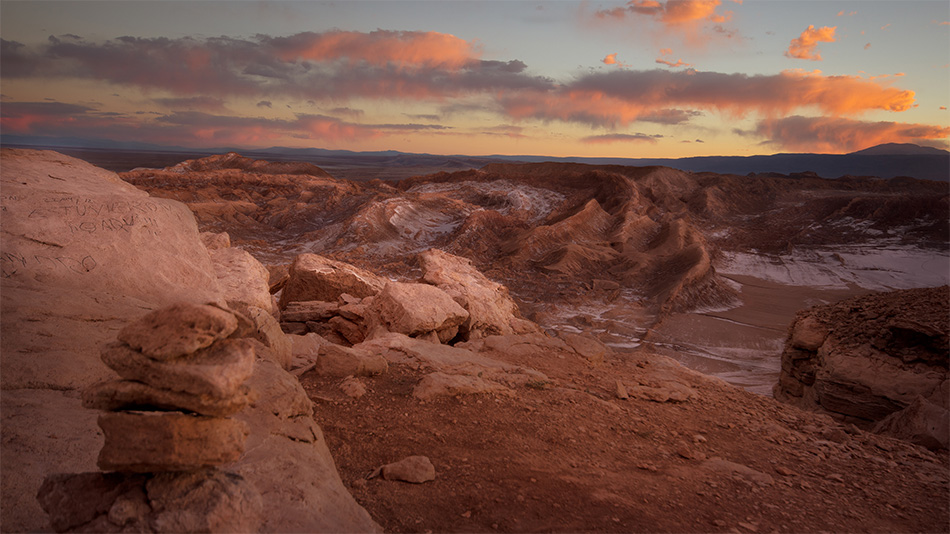
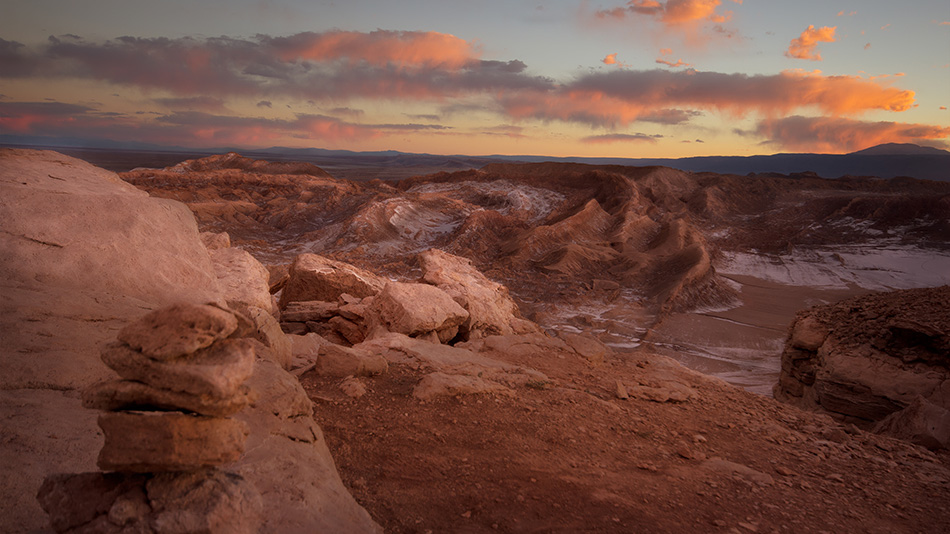
[/compare]
Thank you for reading this article on Frequency Separation In Photoshop, You might also be interested in the articles below. Be sure to sign up for our newsletter for more tutorials and great offers.
Additional Resources
Here is another article to Clean Up Your Landscape Photography Using Frequency Separation.
Also, see how we used Frequency Separation to process a challenging landscape using Luminosity Masks on DIFFICULT Landscape Photo
Other Online Resources
If you want to find out how to use frequency separation to remove freckles or blemishes, I found a really useful video here on Youtube.