Photoshop Secrets 19: Create An Instant Perfect Luminosity Mask
If you’ve been following my tutorials for a while, you’ll know how powerful luminosity masks are. But did you know that you can create your own perfect luminosity mask in Photoshop, without complex actions?
This tutorial will show you how to do just that. We will create a luminosity mask that will perfectly suit our needs when standard luminosity masks can’t. We’ll do this by creating a black and white layer, and playing with a Levels slider.
Then, when everything looks good, we’ll visit the Channels palette and make our selection! You’ll see just how easy this is in today’s video.
Step-By-Step Instructions
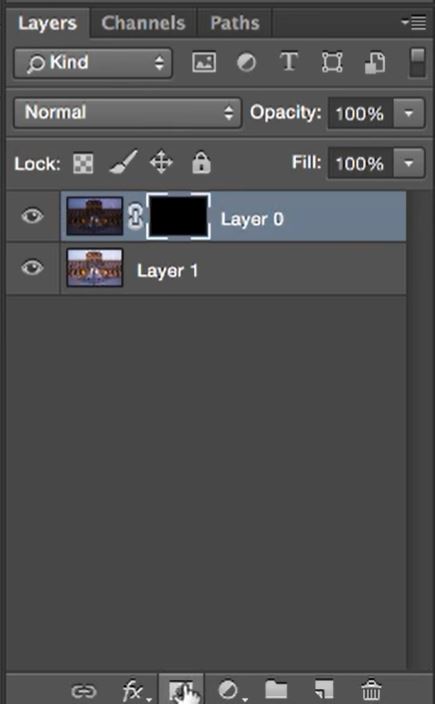
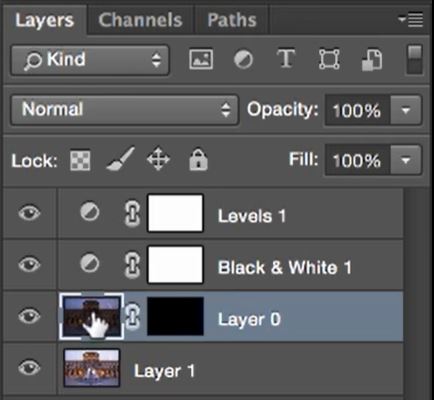
1. Select the top layer and add a Black Mask by holding down the Alt or Opt key and clicking on the create mask icon.
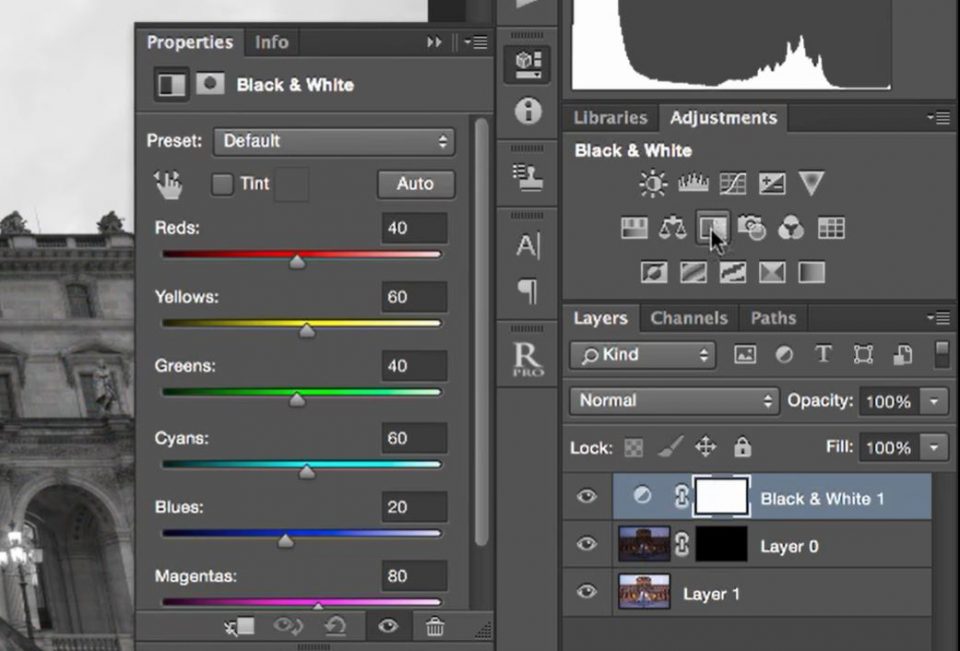
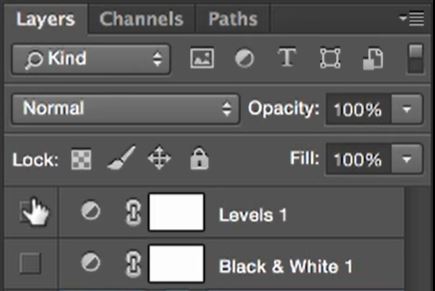
2. Add a Black and White Adjustment Layer.
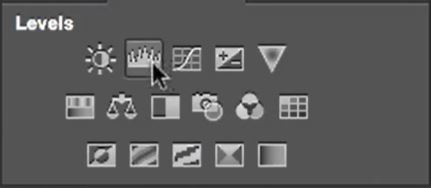
3. Add a new Levels Adjustment Layer.
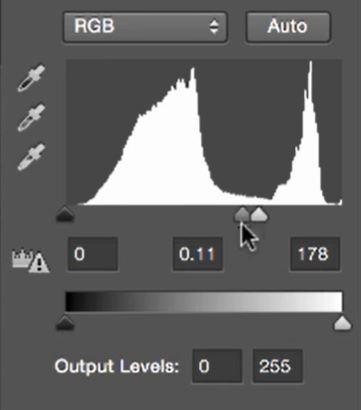
4. Adjust the levels to brighten your selection and darken the areas you don’t want to be selected.
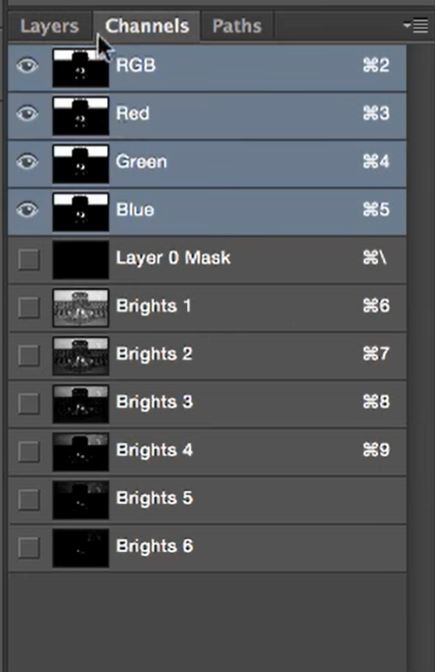
5. Go to the Channels Pallet.
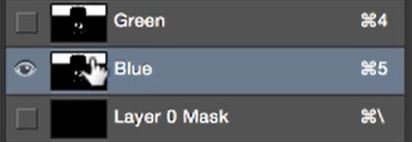
6. Find channel that has the type of selection that you’re after. Hold down the Ctrl or Cmd key and left-click on the thumbnail to make a selection.
7. Go back to the Layers panel and select the layer with your black mask on.
8. Select the mask on the layer by clicking on the mask thumbnail.
9. Now, hide the Black & White adjustment layer, the Levels adjustment layer and, the marching ants be pressing Ctrl+H or Cmd+H.
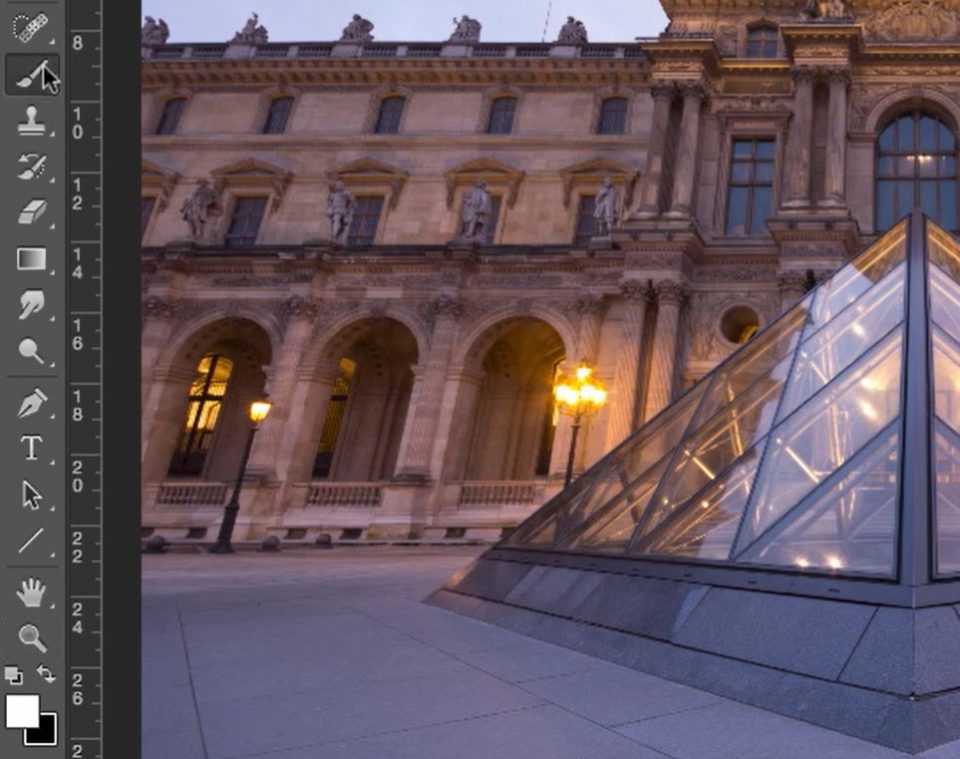
10. Select the Brush tool and a white foreground colour.
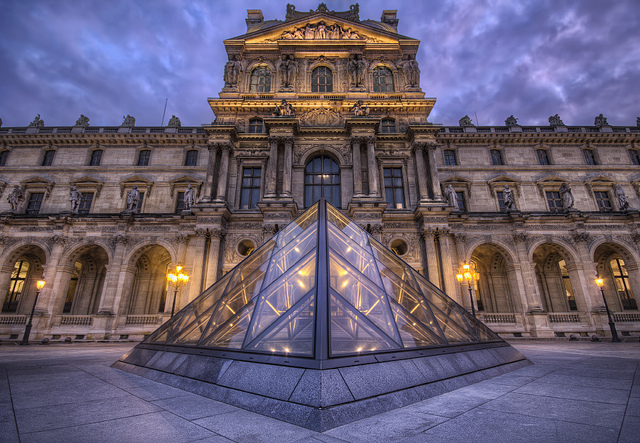
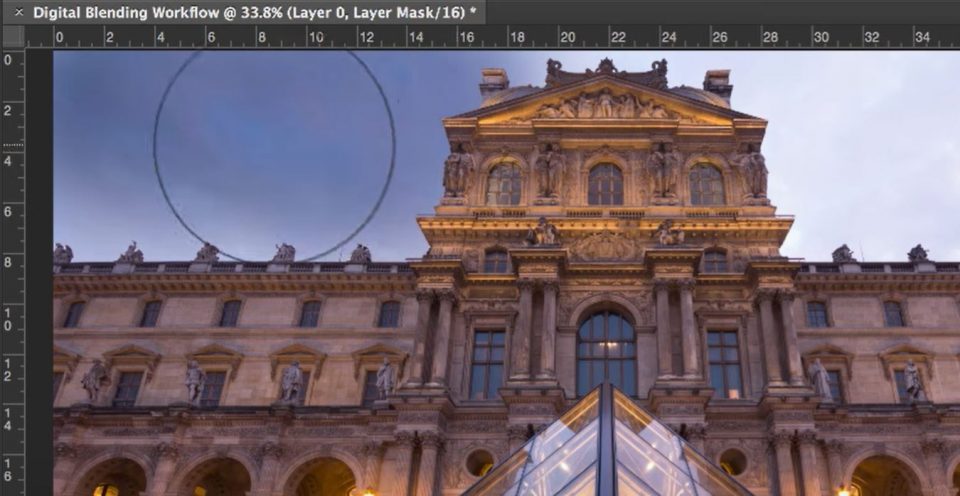
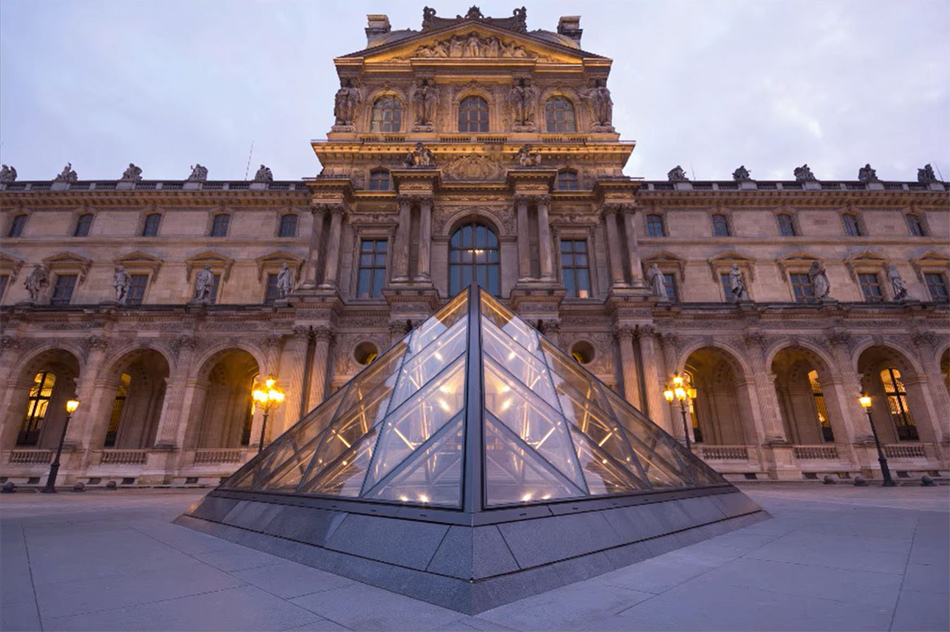
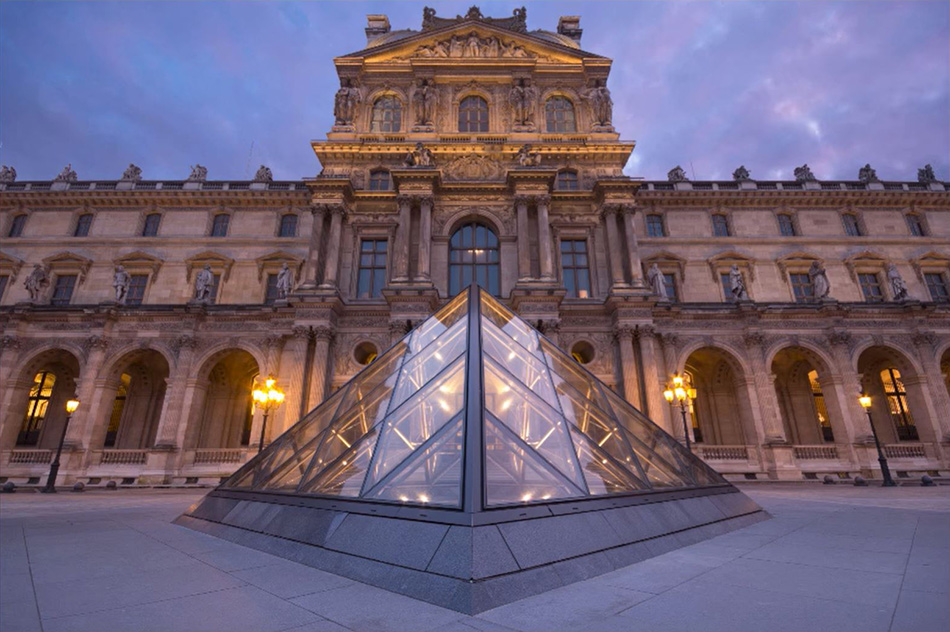
11. Paint in the sky from the top layer.
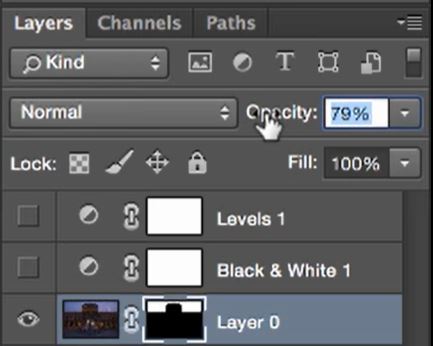
12. If the effect is too strong. Reduce the layer opacity level.
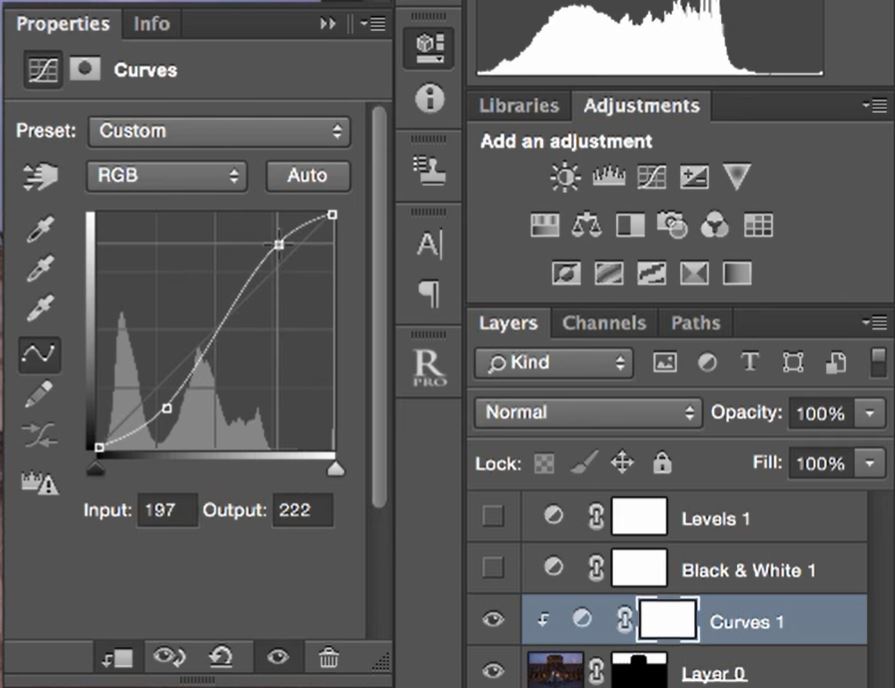
13. Make some final adjustments with a curves layer.
Additional Resources
If you want to learn more about Luminosity masks please see our Essential Luminosity Mask Tutorial for Beginners.
I found this post on Photography World which can help with Understanding Luminosity Masks in Photoshop.
