How To Digitally Blend a Single RAW file
A question I receive regularly is how can we digitally blend a single RAW file in Photoshop. For best results, we should always aim to work with multiple exposures. But, if for whatever reason you’re left with just one exposure to work with, there are many ways that we can use that exposure in a digital blending workflow. Follow our step-by-step instruction and video, we will show you one quick and easy way to do this.
Step-By-Step Guide to Blending a Single RAW file
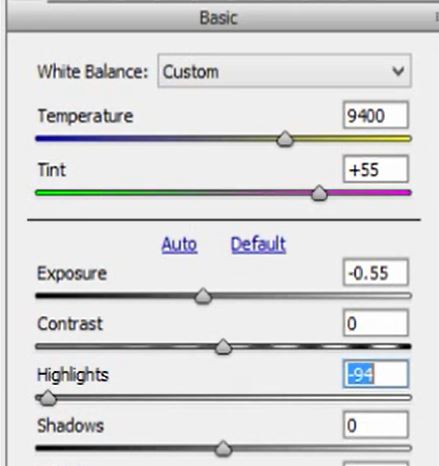
1. In Adobe Camera Raw lower the Exposure and Highlights to correct any overexposed areas in your image.
2. Press and hold the Shift key and click on Open Image. This will open your image in Photoshop as a Smart Object.

3. Duplicate this base image by pressing Crtl+J on a PC or Cmd+J on a Mac.
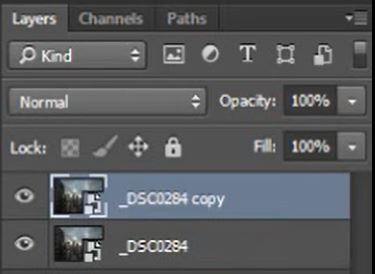
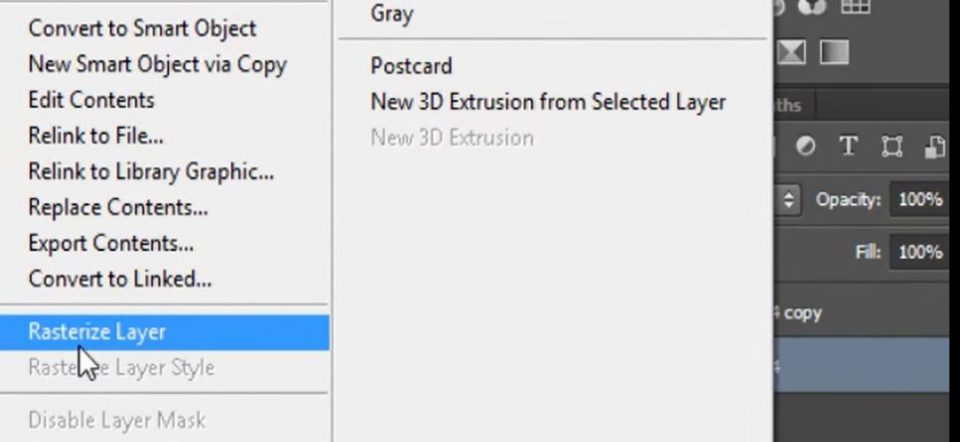
4. Right-click on the base layer and select Rasterize Layer.
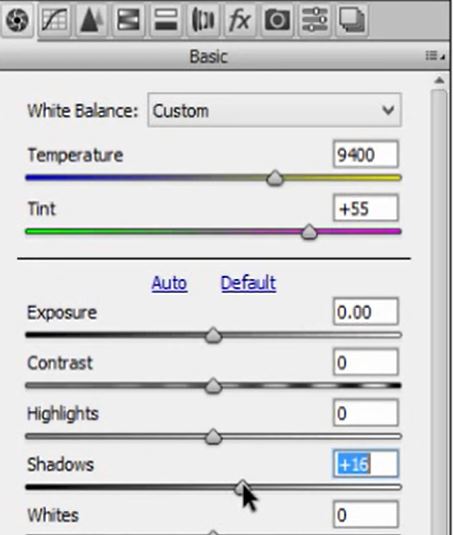
5. Double-click on the thumbnail of the duplicated layer to open it in ACR. Press Default to restore the image to its original state. Now, adjust the image to correct and underexposed areas of your photo. Once you’re finished click OK.
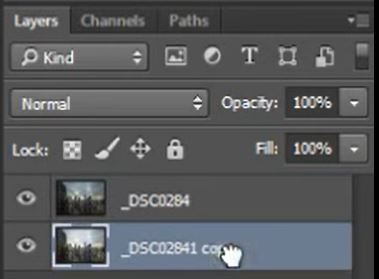
6. If you’re confident that you won’t be making any further changes to the exposure levels, right-click and rasterize this layer. Organize the layers based on how you would usually wark, we have put the lighter layer on the bottom.
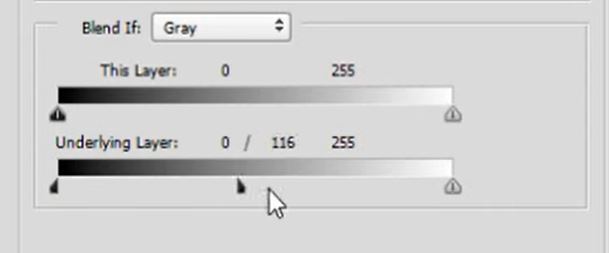
7. Now, to blend a single RAW file Double-click on the top layer (our darker layer). At the bottom of the ‘Blending Options’ dialogue box, you will see Blend If. The sliders in here are split, two on the left (dark) two on the right (light). Press and hold Ctrl+Alt on a PC or Cmd+Opt on a Mac and select the right-hand slider of the darks slider on the left. And slide it to the right, you will see your image rapidly blend.
Lets have a look at the before and after. Slide to the right to see the Before image, slide to the left to see the After Image.
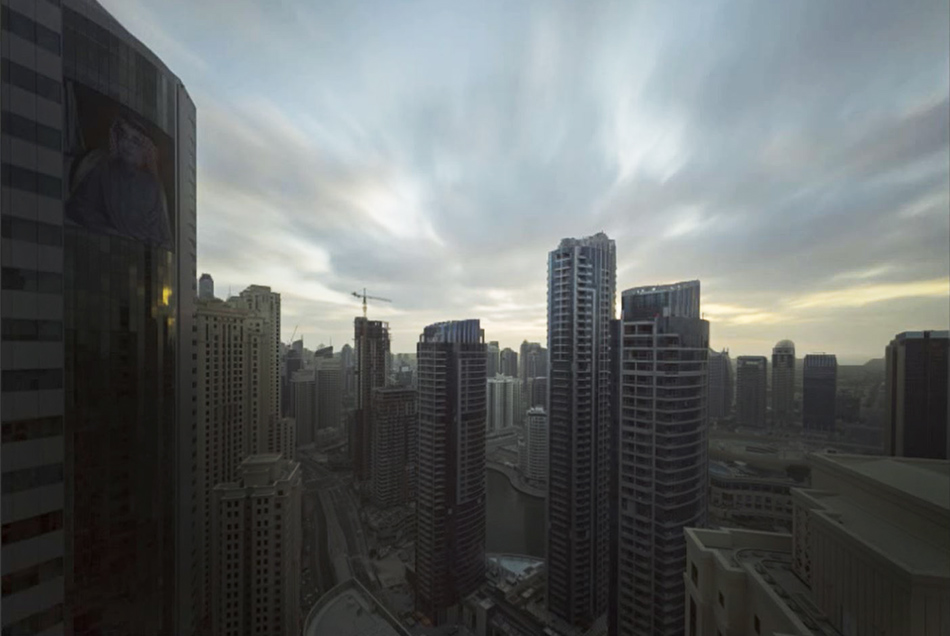
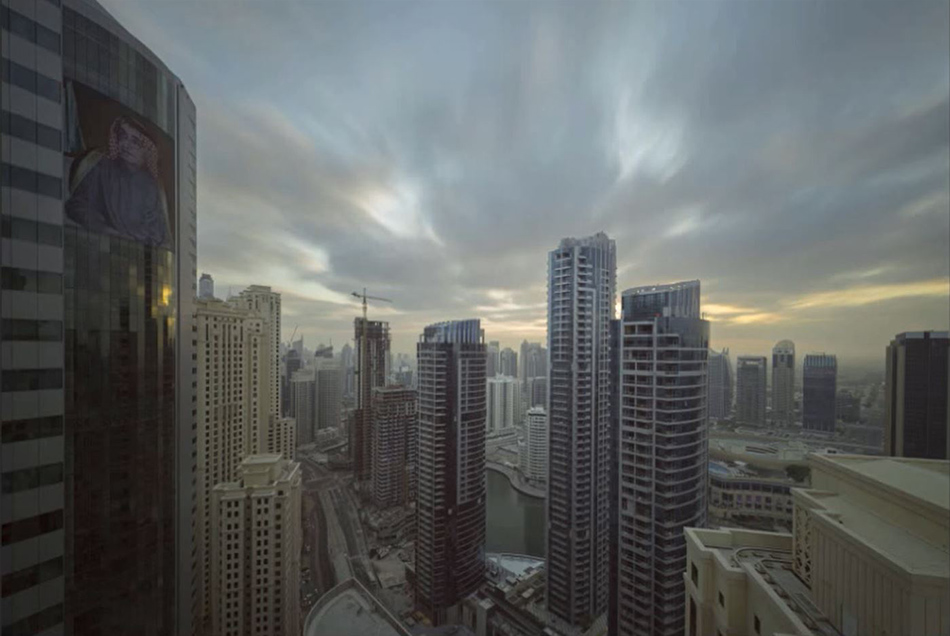
Thank you for reading our article. If you would like to learn the basics of blending and don’t have Raya Pro, don’t worry. We have our FREE Easy Panel to now include 16-bit luminosity masks. You can download our FREE Photoshop Extension “Easy Panel” HERE.
If you liked this article, you might also like to see how we used the same technique in one of our challenge Jimmy series. This is a more advanced demonstration of Triple Blending single Exposures.
