Real-Estate Window Pulls in Photoshop using Easy Panel
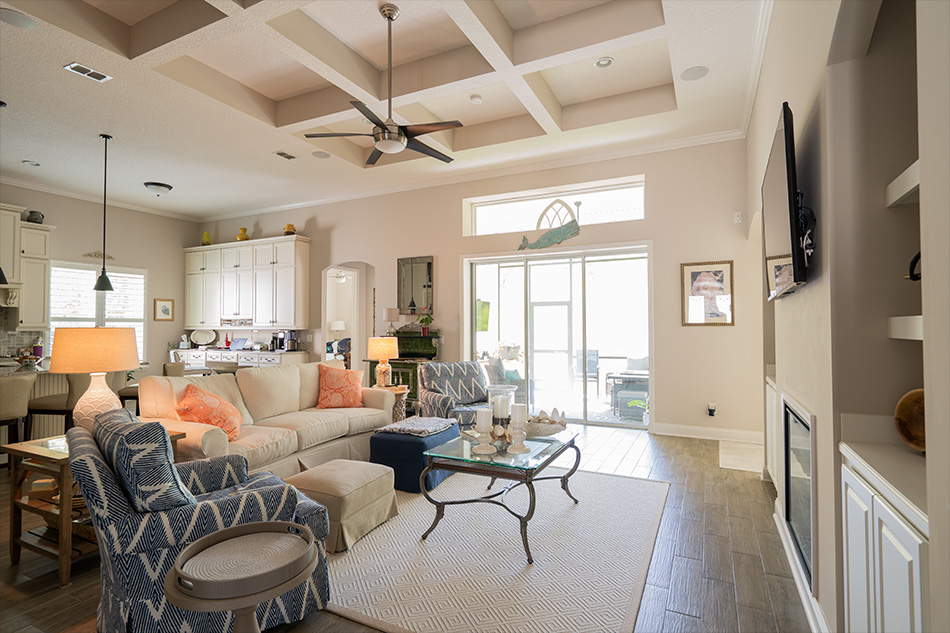
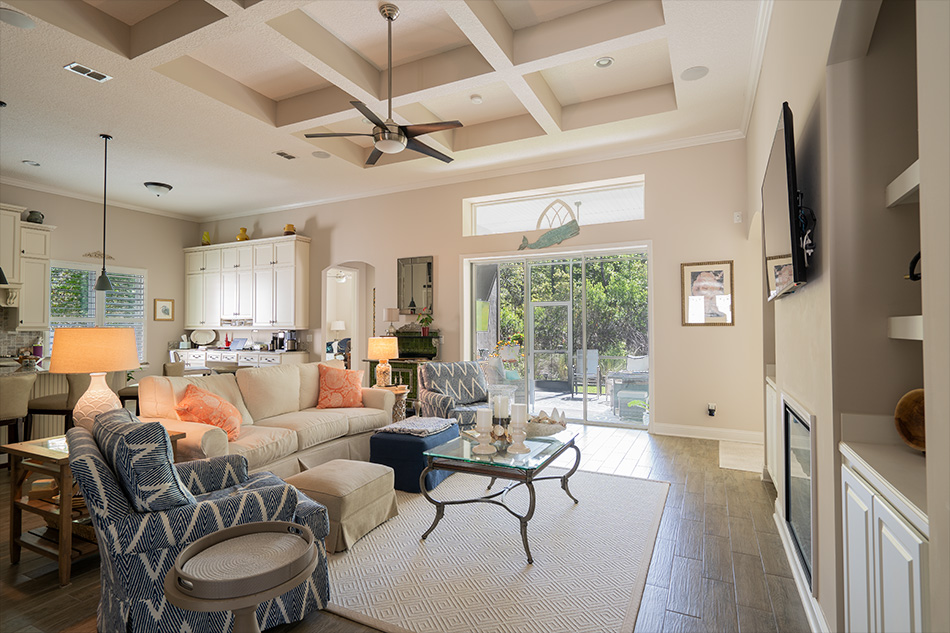
Window pulls in Real estate photography doesn’t have to be hard. We have some world-leading plugins for luminosity masking in photoshop which are perfect for window pulls. The reason why window pulls are so important in real estate photography to help balance exposures. We often need to take multiple images at different exposures to compensate for the available light. If we’re shooting from inside a building, the outside is often overexposed, as it is generally brighter outside. We then shoot an underexposed shot to capture details from the outside, but then the interior is really dark. Here we show you a really simple technique for Real-Estate Window Pulls in Photoshop using Easy Panel.

How To Do Window Pulls in Photoshop
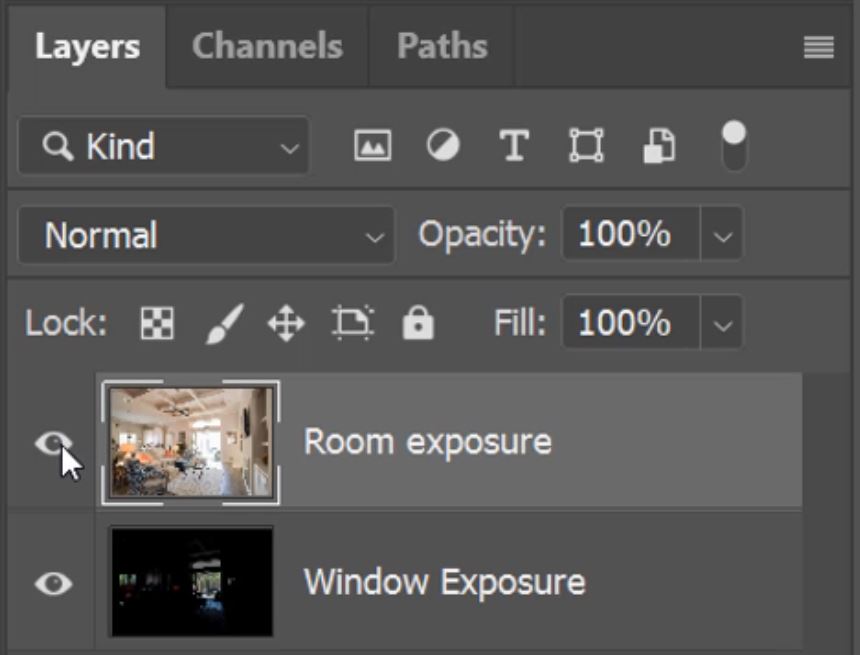
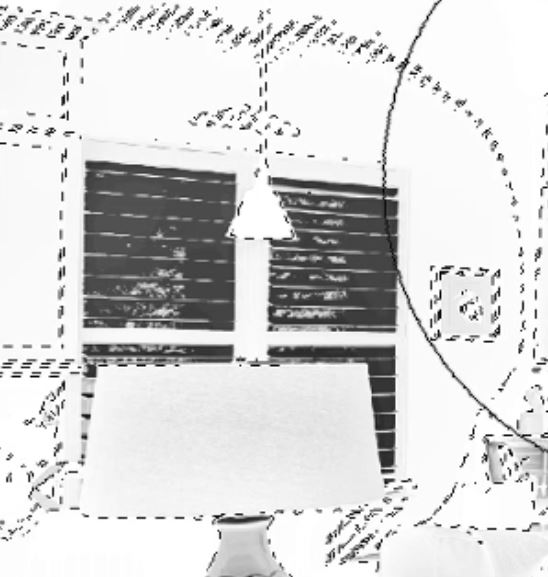
1. First you need to have two exposures with the brighter room exposure stacked on top of the darker window exposure.
2. If you have Easy Panel in your panels placeholder click on the EP icon. If not, once you have installed Easy Panel go to the Window > Extensions menus, there you should find Easy Panel.

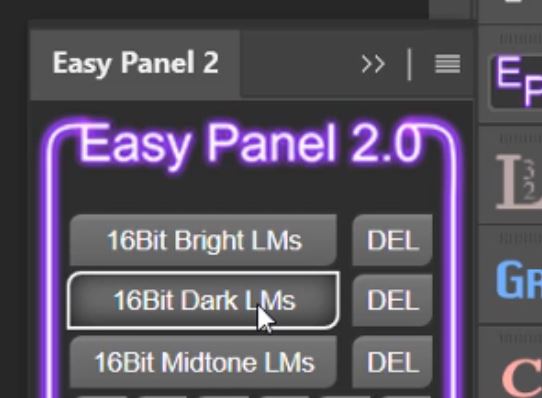
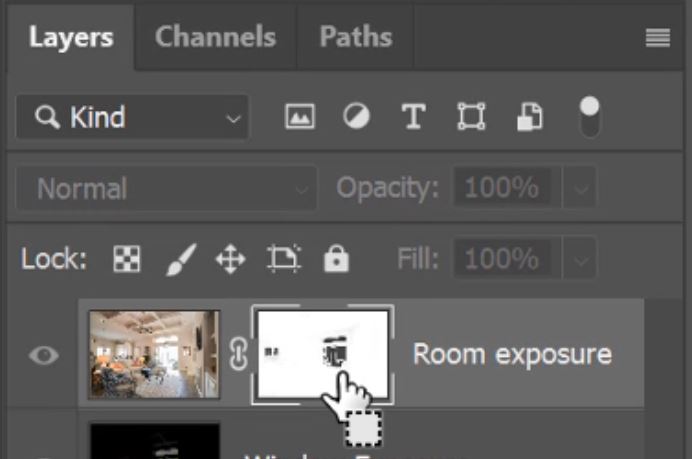
3. Because we have our room exposure on top and we want to keep the darkest parts of the image and lose the overexposed windows, we need to click on 16Bit Dark LMs.
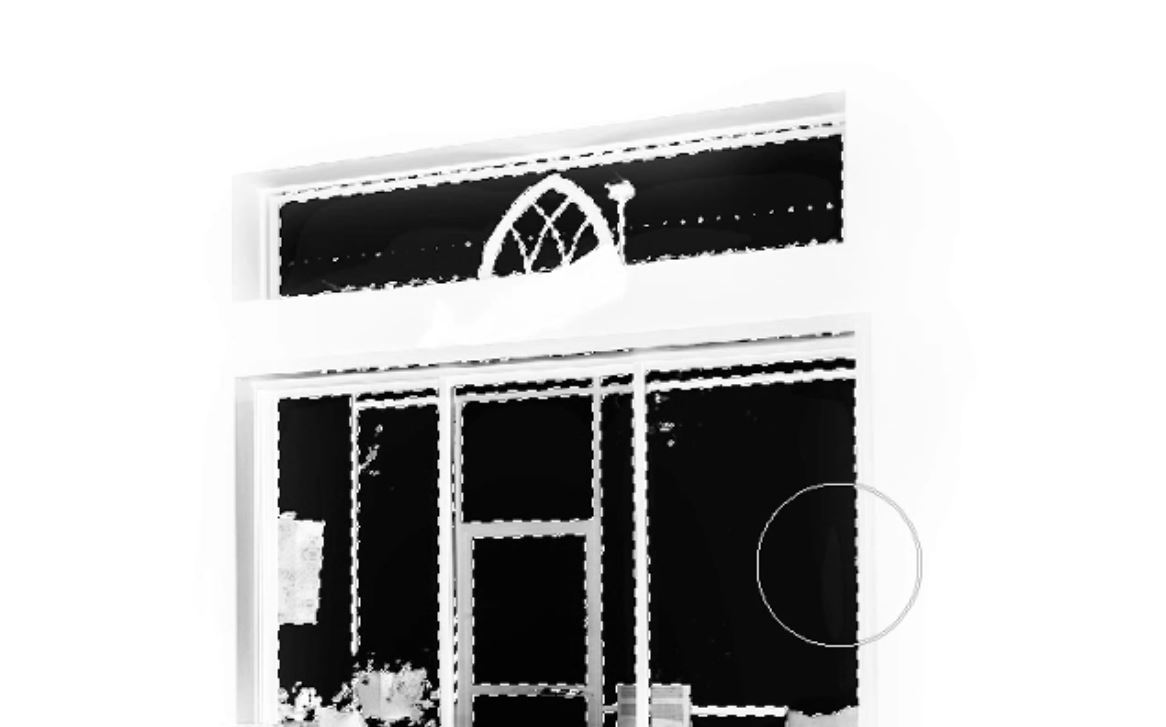
4. Once Easy Panel has made all of the masks for you, click through them by pressing the numbers 1 to 6. We’re looking for the best mask that gives the highest contrast between the windows and the interior. The windows should be black whereas the interior should be white/grey.

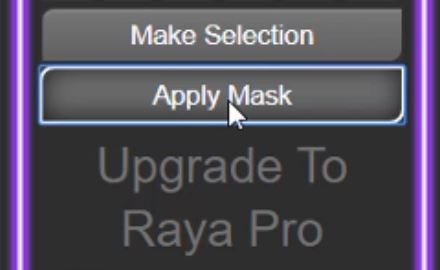
5. Once you’ve selected the best mask for your exposures, click on the Apply Mask button.
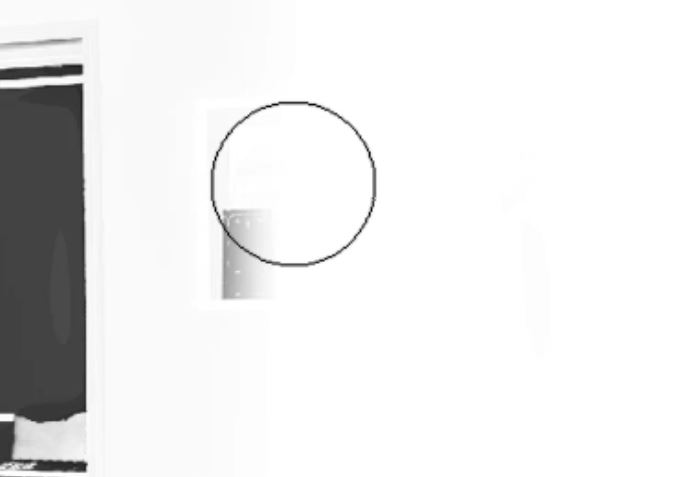
6. To view a luminosity mask in Photoshop press and hold Alt (PC) or Option (Mac) key and click on the mask thumbnail to view it.

– Tutorial continued below –
Enter your email below and join our community of more than 100,000 photographers who receive regular tutorials and have also

Subscribed to our newsletter,
Downloaded our FREE Photoshop Course
Got our FREE Easy Panel for Photoshop
And have our FREE Essential Guide To Luminosity Masks E-Book
Real-Estate Window Pulls in Photoshop
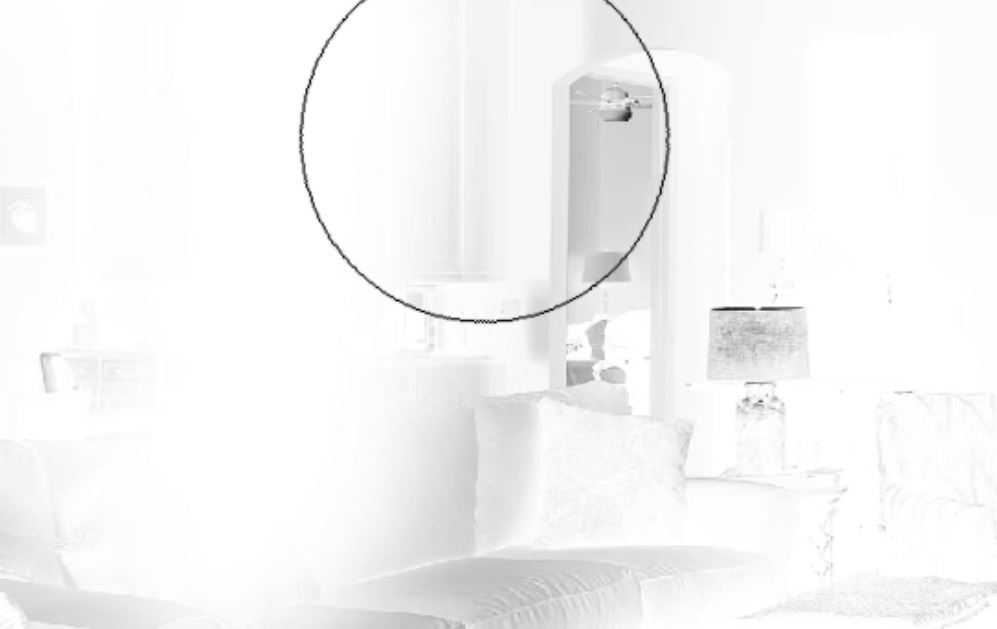
7. To make a selection from a mask hold down the Ctrl (PC) or Command (Mac) key and click on the mask thumbnail to get an active selection. This will give you a selection based on luminance, whiter areas will be heavier selected than the darker areas.
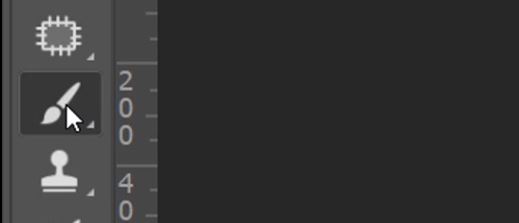
8. Select the Brush tool.
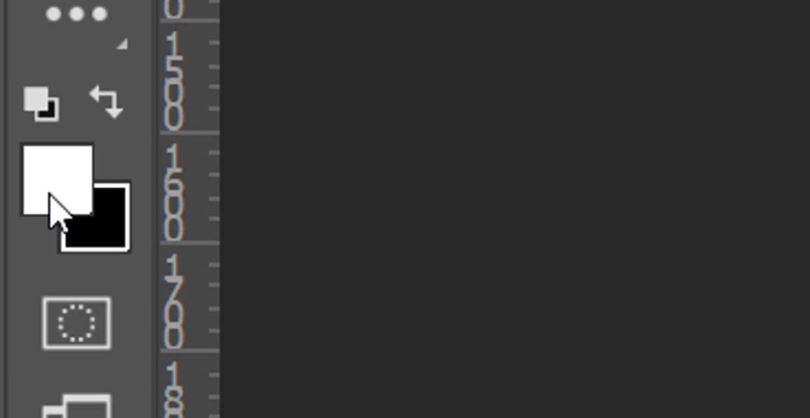
9. Set the foreground to white.
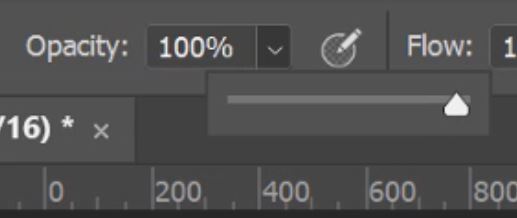
10. Set the Brush Opacity to 100%.
11. Now with a large brush, begin to paint over the visible image, this will brighten the active selection more than the rest of the image.
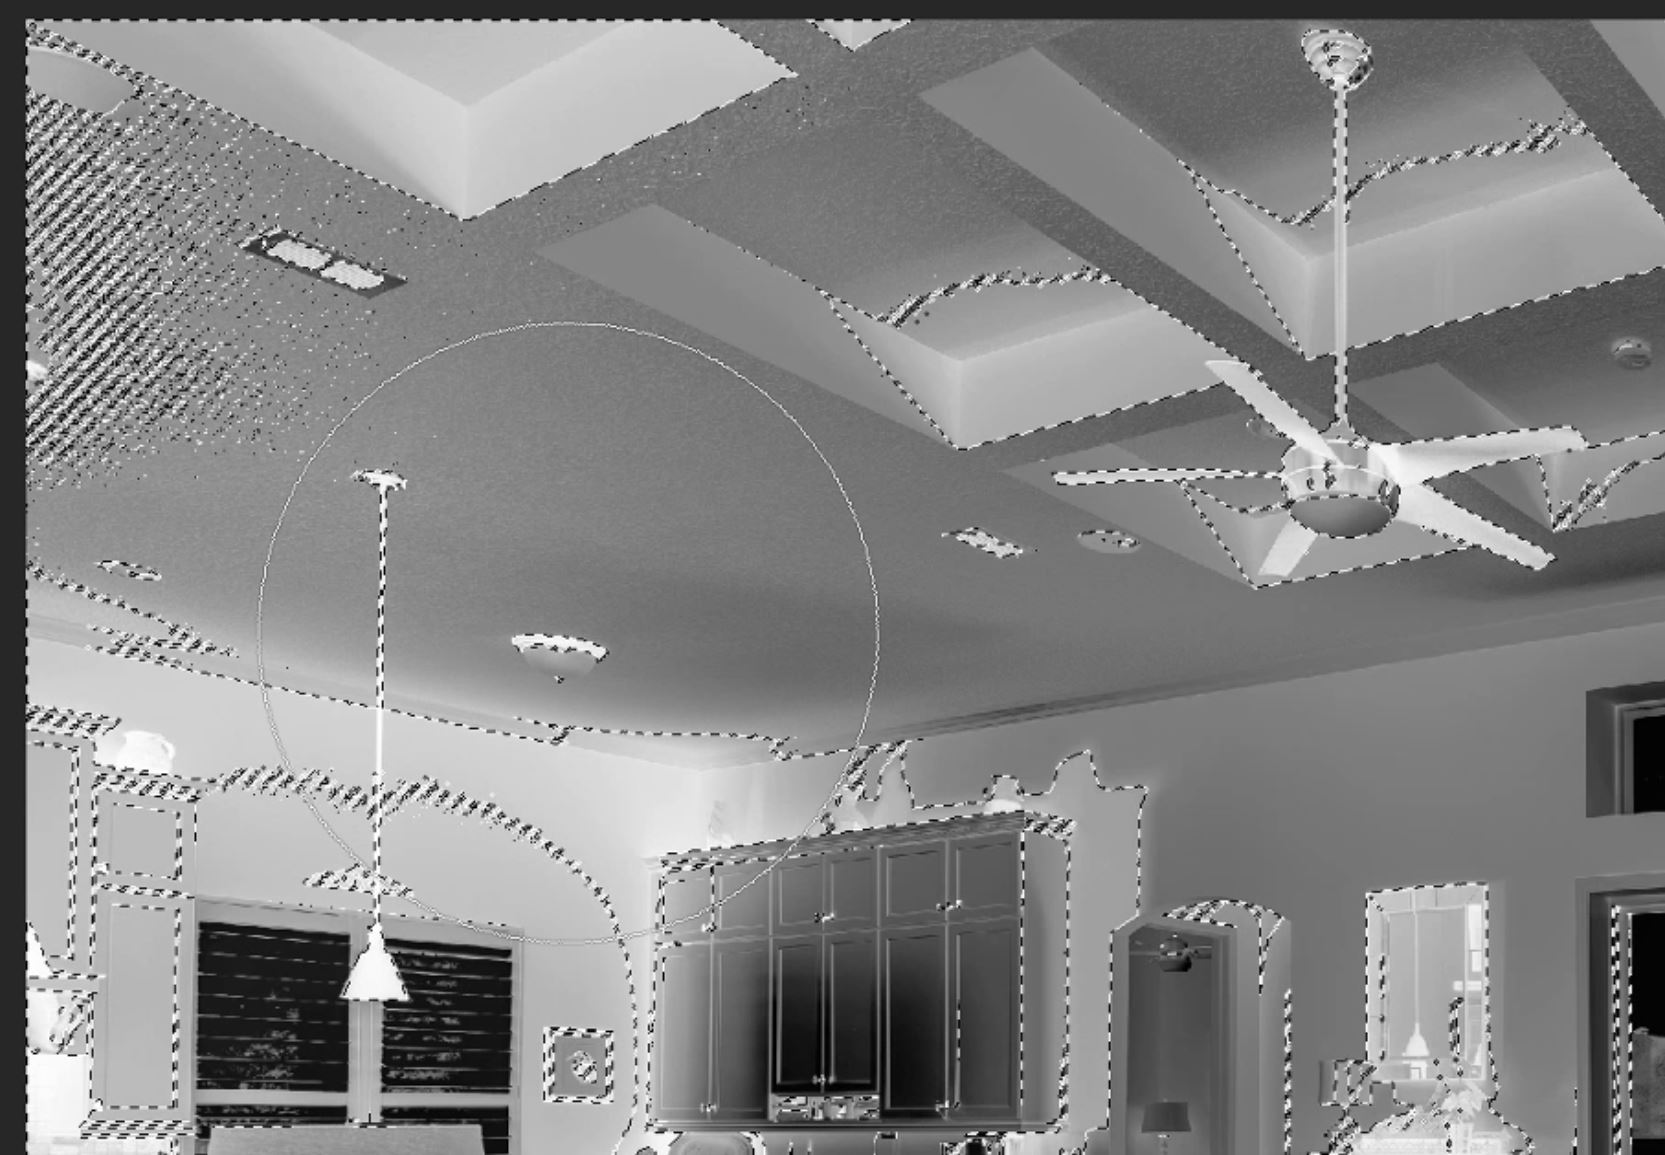
12. Paint around the windows more than the rest of the selection to increase the contrast between the walls and windows.
13. Press Ctrl+D (PC) or Command+D (Mac) to deselect your active selection. Now paint the rest of the room, steering clear of the windows.
14. Be sure to paint in short bursts instead of continuously. So if you do accidentally paint over the windows, all you need to do is undo the last little bit, as opposed to starting over again.
15. If you need to get closer to the windows then adjust the brush size to a smaller brush which will then allow you to get closer without painting over the window.
16. Once again, hold down the Ctrl (PC) or Command (Mac) key and click on the mask thumbnail to get an active selection.
17. Because we’ve increased the contrast between the windows and the walls your selection will be more refined. You will now be able to paint even closer to the windows and affect them less.
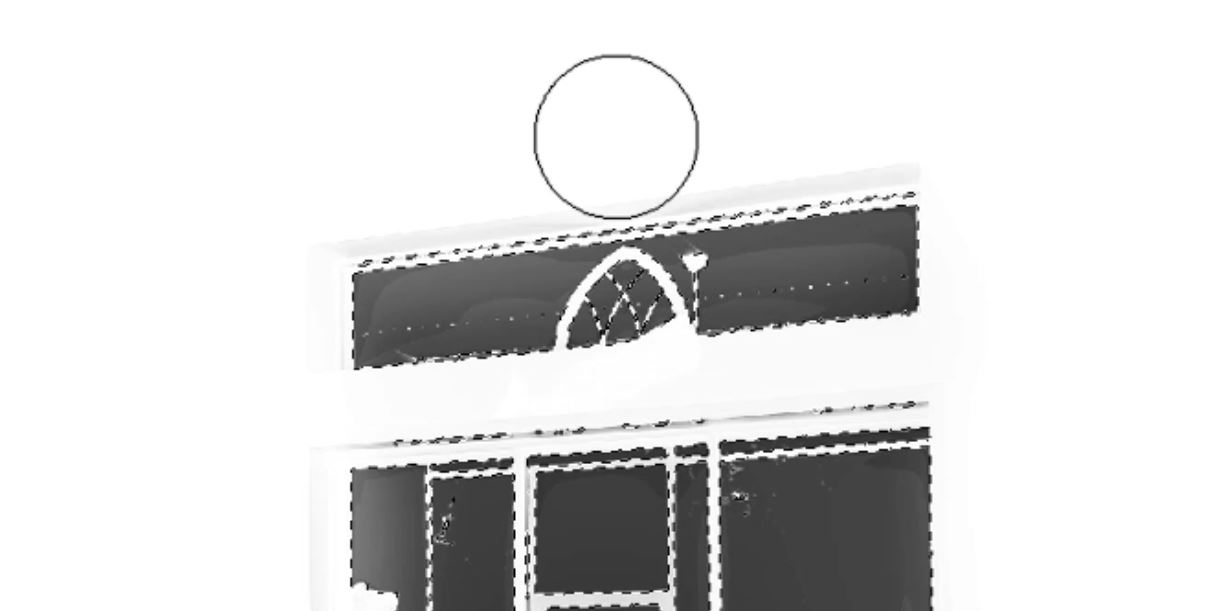
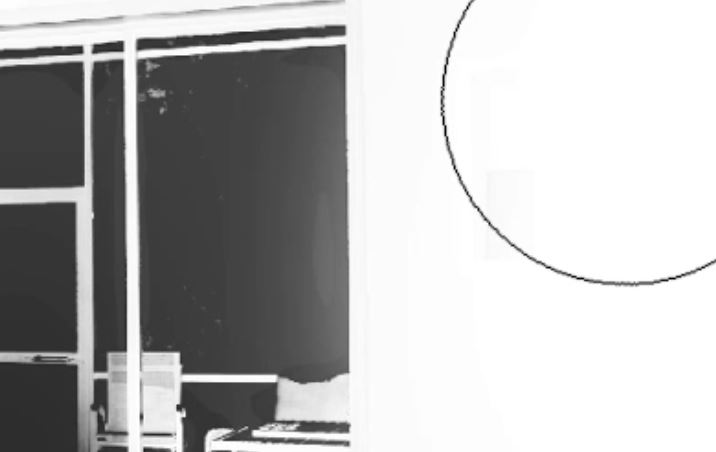
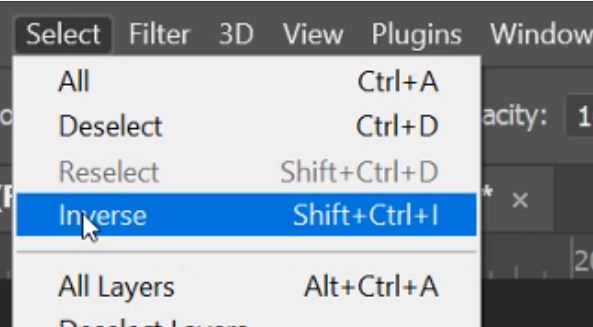
18. Now go to the Select menu and choose Inverse. This will invert the selection so now the darker areas will be selected.
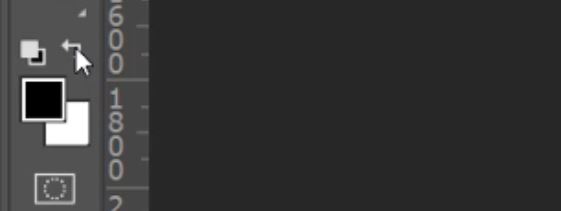
19. Change your foreground to black.
20. Now paint over the windows to really darken them.
21. You can repeat this process of inverting the selection and swapping the foreground as much as you like and really sharpen the mask in the process. This is only necessary with Easy Panel. As both Lumi32 and Raya Pro have the ability for you to refine the mask prior to its application.
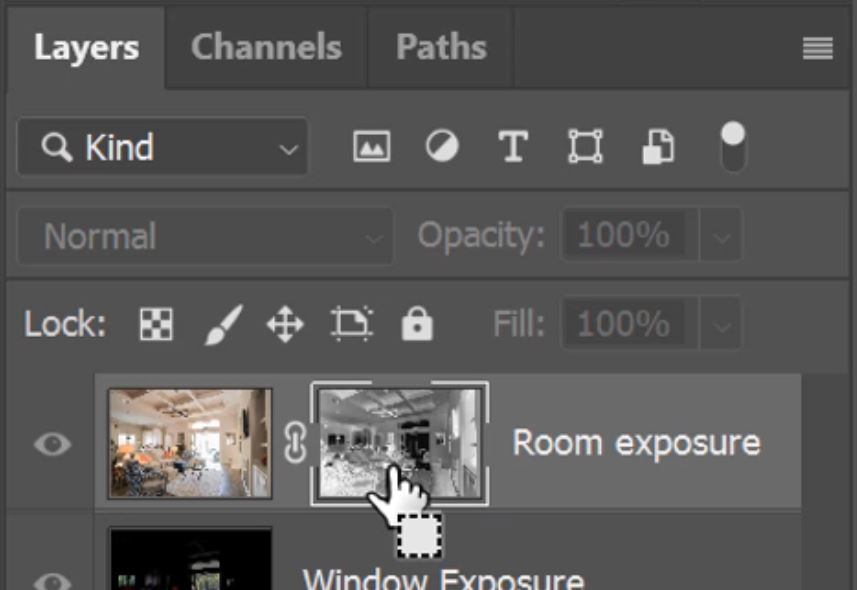
22. Once you’ve finished refining the mask, all you need to do is left-click on the layer mask thumbnail to reveal the image.

That is how you can do Real-Estate Window Pulls in Photoshop using Easy Panel. Easy Panel is completely FREE to download here. Or for a cleaner and more automated solution please check out Raya Pro or Lumi32.
NOTE: You will more than likely have some contrast and colour saturation imbalances between exposures now that they are blended. To fix these all you will need to do is click on the window exposure and add some adjustment layers above it. These will not affect the room exposure and will help to balance the tones of the two exposures.
[compare]
[/compare]
Photo provided by Dave Hale
More articles on Window Pulls Real Estate Photography
4 Ways To Improve Your Real Estate Photography
Thank you for reading this article on Real-Estate Window Pulls in Photoshop using Easy Panel, be sure to sign up for our newsletter for more tutorials and great offers.

Enter your email below and join our community of more than 100,000 photographers who have also
Subscribed to our newsletter.
Downloaded our FREE Photoshop Course.
Got our FREE Easy Panel for Photoshop.
And, have our FREE Essential Guide To Luminosity Masks E-Book.
FREE Photoshop Course

The Art Of Photography

Raya Pro for Photoshop
