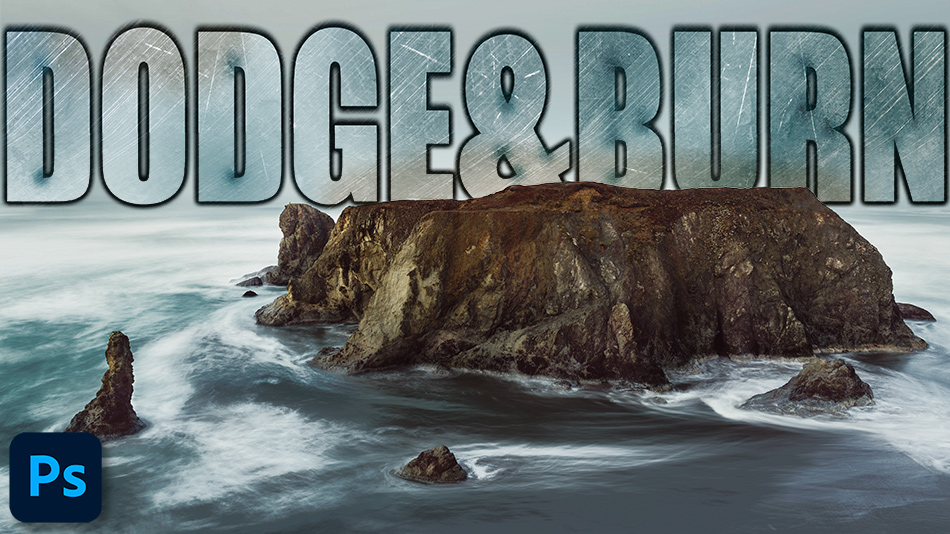
The Best Way to Dodge and Burn in Photoshop
What is Dodge and Burn in Photoshop? It is a process that we refer to when brightening or darkening tonal ranges such as highlights, midtones, and shadows. There are two tools in Photoshop specifically for this, they can be found in the left-hand toolbar. The Dodge Tool, its icon looks like a filled Magnifying glass, this is used for brightening. Then we have the Burn Tool displayed by an icon resembling a human hand pinching something small, this is used for darkening. But, there is a major problem with these tools, they’re destructive. This means they directly affect the layer or image that they are being applied to. Sometimes if we make a mistake we can’t go back to rectify it. So, we’re going to show you The Best Way to Dodge and Burn in Photoshop non-destructively.

What is The Best Way to Dodge and Burn in Photoshop?
1. The best way to dodge and burn is on a new layer. Go to the Layer menu and select New, or press Ctrl+Shift+N (PC) or Cmnd+Shift+N (Mac).

2. You can change the name of the layer if you like. This is helpful, especially if you have multiple layers open. Click OK to create your new layer.
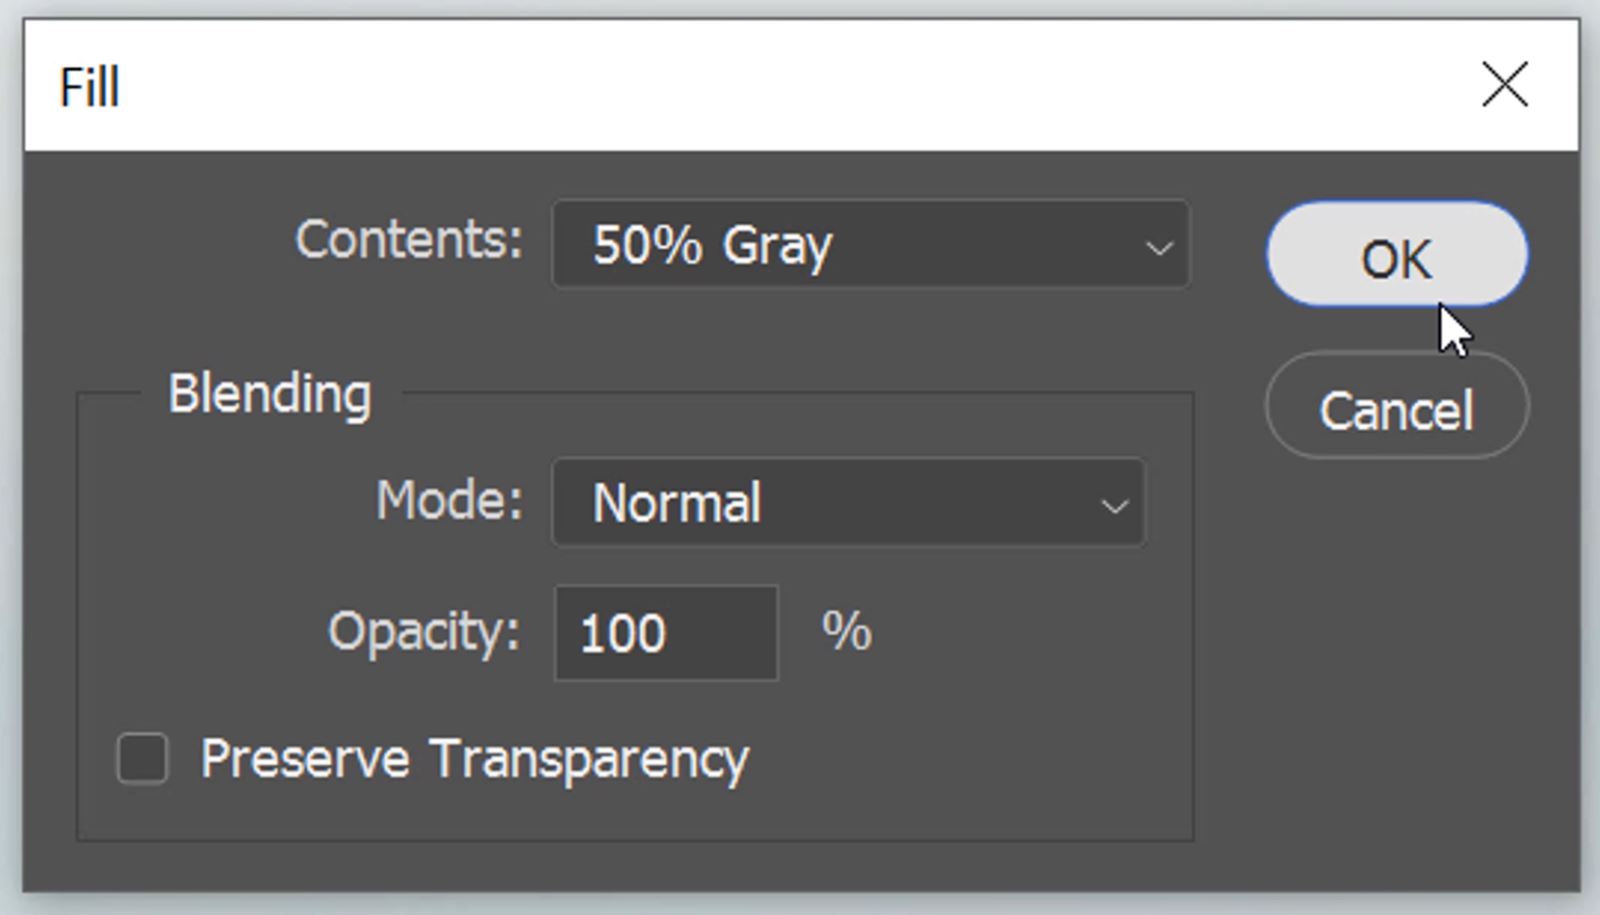
3. Fill the new layer by pressing Shift+Backspace. When the dialog box pops up, in the content dropdown select 50% Gray and then click OK.
4. Change the Blending mode of this new Gray layer of Overlay.
5. The gray layer will appear to vanish. But, it hasn’t. Now, any tonal changes to this layer will dodge and burn the layers under it.
– Tutorial continued below –
Enter your email below and join our community of more than 100,000 photographers who receive regular tutorials and have also

Subscribed to our newsletter,
Downloaded our FREE Photoshop Course
Got our FREE Easy Panel for Photoshop
And have our FREE Essential Guide To Luminosity Masks E-Book
The Best Way to Dodge and Burn in Photoshop
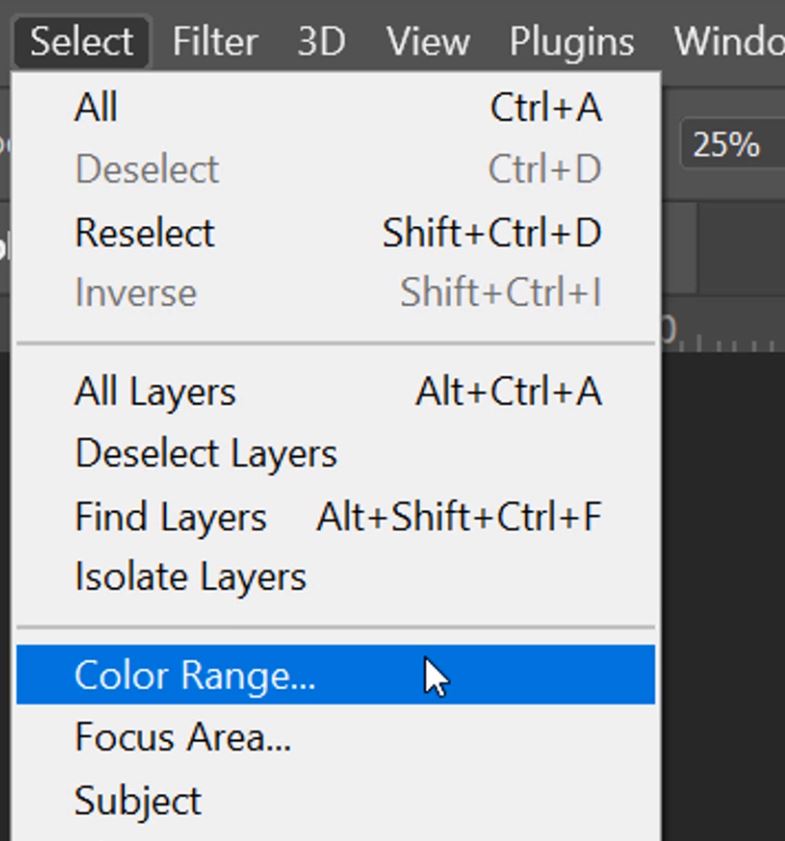
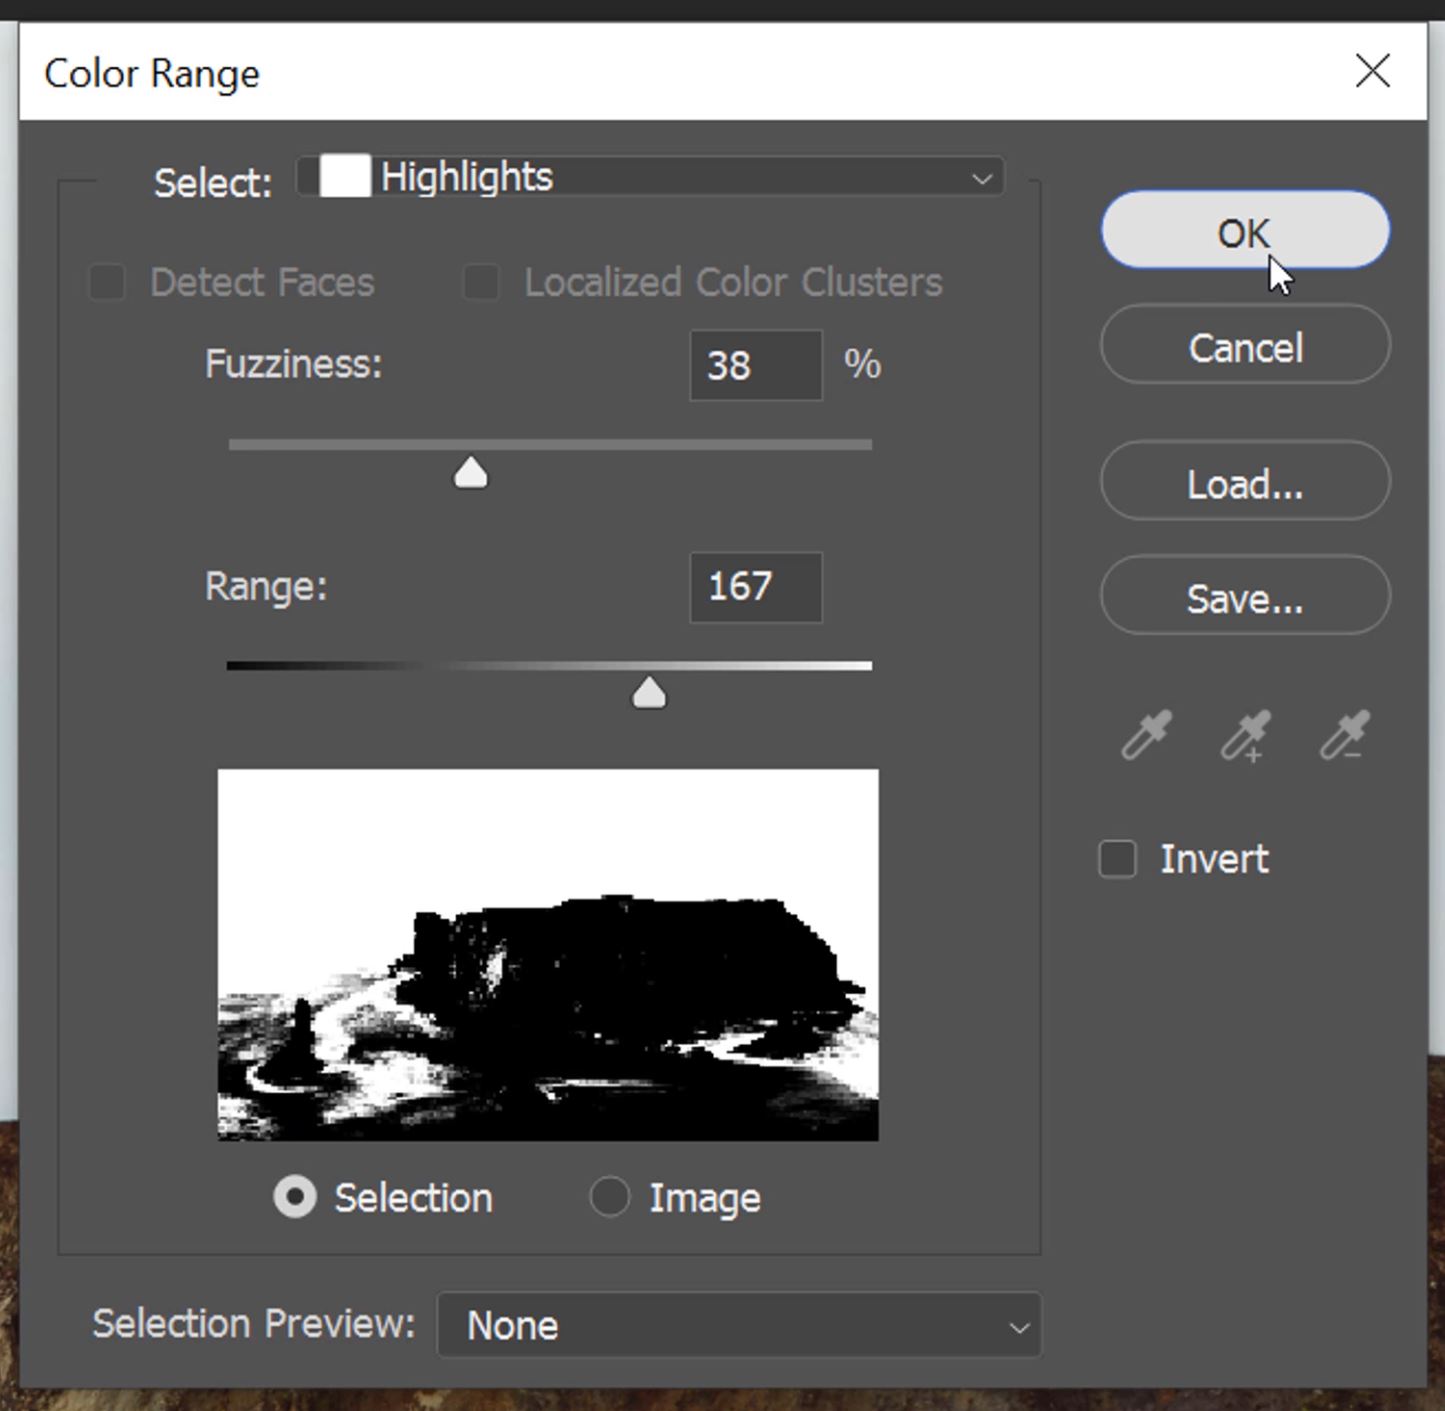
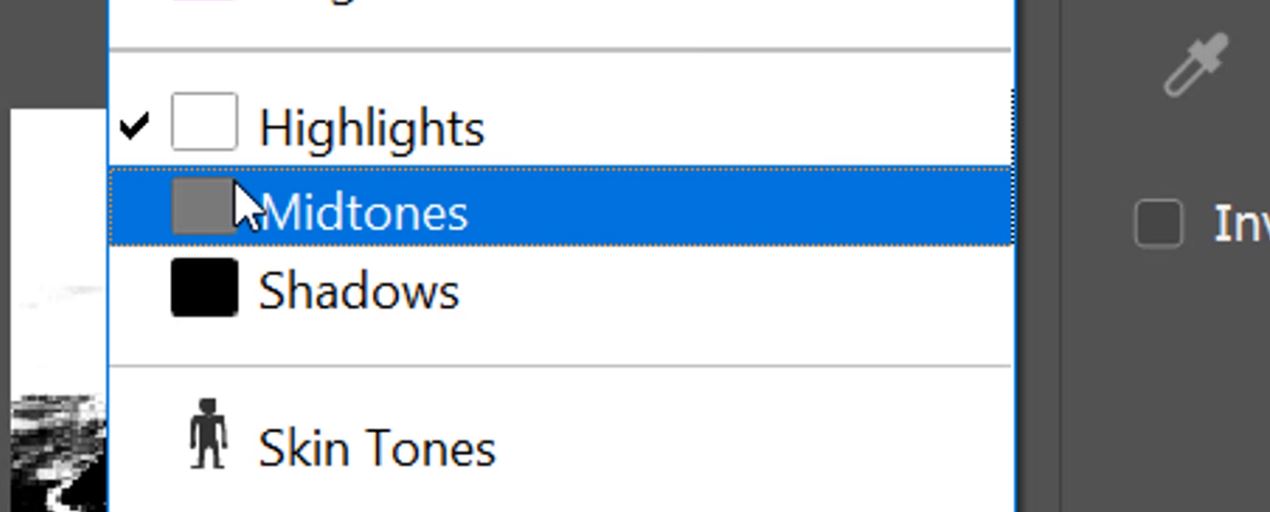
6. The sky is too bright and overexposed so that needs darkening. On the flip side, the swirling waves in the foreground look a bit dull, so they need brightening. To work on the highlights only, we need to select them. You can do this by going to Select > Colour Range.
7. When the Color Range options box pops up we need to Select what we want to work with. Click on the little arrow in the Select window and when the various options appear, select Highlights.
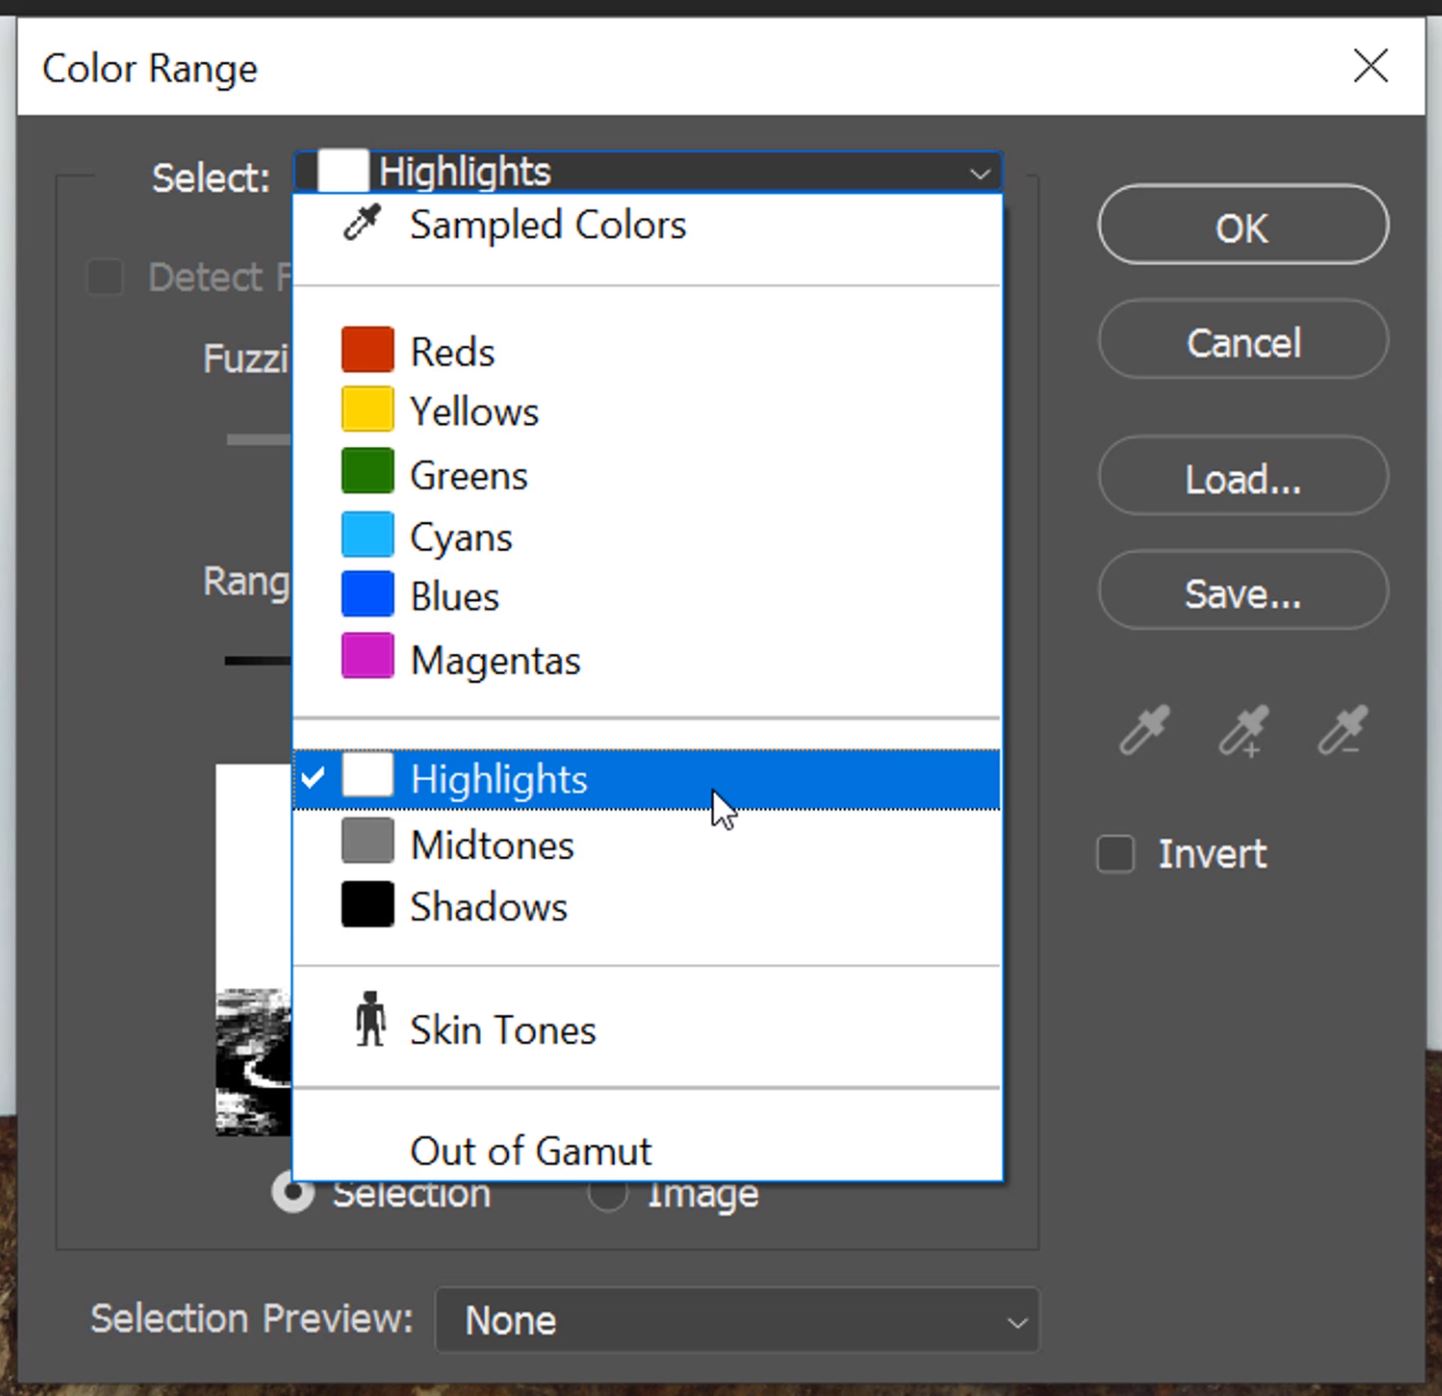
8. You can adjust the Range and Fuzziness slider to refine your selection. When you’re done, click on OK.
9. Now you will have an active selection of the highlights. To hide the marching ants press Ctrl+H (PC) or Cmnd+H (Mac).
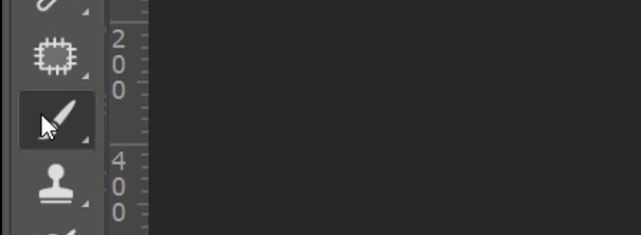
10. Click on your brush tool and set the foreground colour to black.
11. Set the Brush Opacity to between 20-30%.

12. And, begin to paint over the areas that you want to darken. You can paint over the same areas multiple times to darken it more.
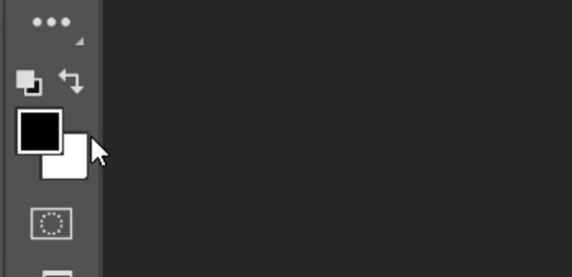
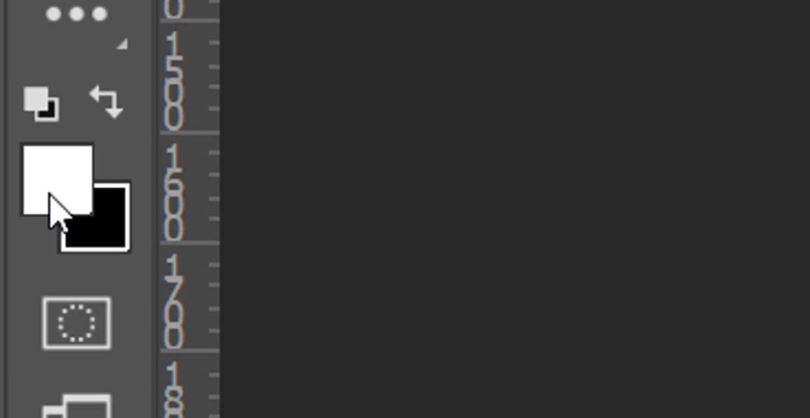
13. Once you have finished darkening the highlights that needed it, you can now concentrate on the ones that need brightening. Swap the foreground color to white by left-clicking on the small arrow icon above the foreground and background colors or by pressing the X key.
14. Now paint over the highlights that you wist the brighten.
15. IMPORTANT – Once you have finished editing the highlights you must drop your current selection. Press Ctrl+D (PC) or Cmnd+D (Mac) to de-activate your active selection. After you have dropped your active selection, go to the Select menu and choose Color Range again.
16. This time, in the Select window, choose Midtones.
17. Adjust the Range and Fuzziness slider if you need to, then click on OK. This will give you a new selection based on the Midtones.
18. Using the same principles as before, by switching your foreground color from white (to brighten) to black (to darken) using this technique to Dodge and Burn in Photoshop you can brighten and darken your midtones. In this example, I brightened some of the rocks, and darkened some of the sea in the foreground.
19. Once finished with the midtones, you guessed it…. I worked on the shadows. First though, I need to drop my current selection of midtones by pressing Ctrl+D (PC) or Cmnd+D (Mac).
20. For the final time go to the Select menu and choose Color Range. For the Select option we choose Shadows, and adjust the sliders if necessary then click OK.
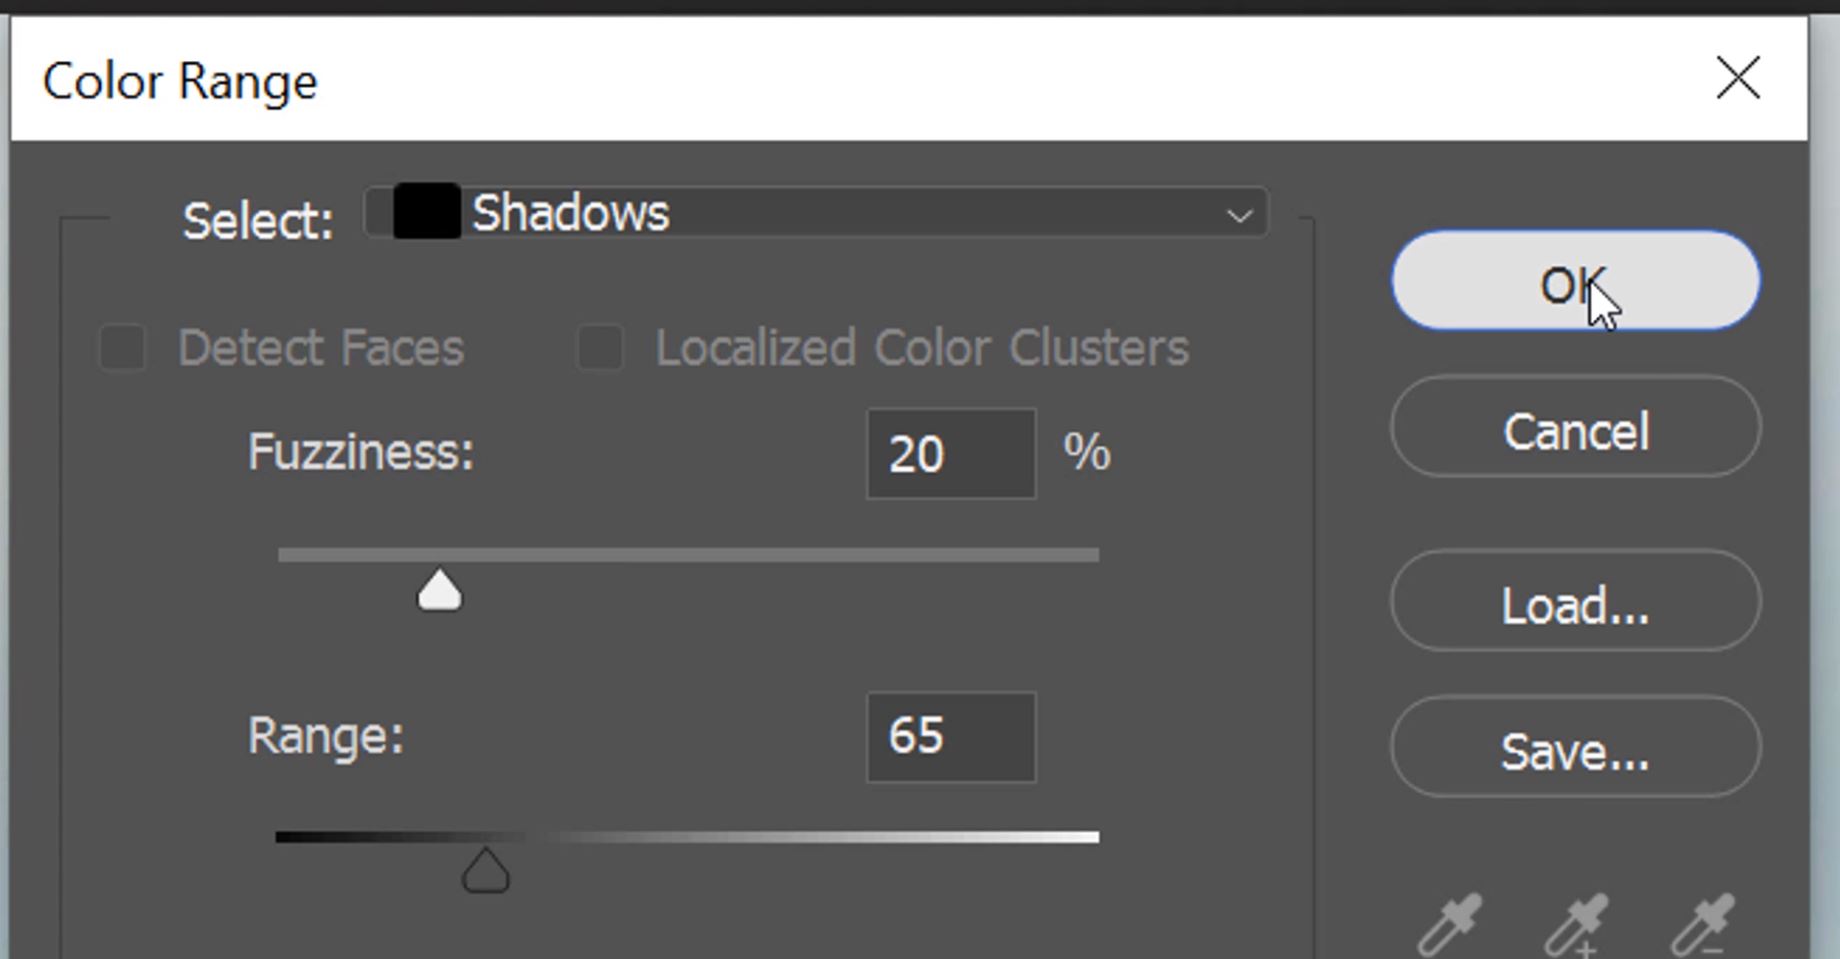
21. All I did with the shadows was brighten up the overshadowed rocks to bring out more detail.
This is a completely non-destructive process, so it hasn’t affected the image file directly. All of the dodging and burning has been confined to a separate layer. Here is a comparison for you. The image on the left is the original. On the right, the changes are;
BURNING
- The Sky (highlights)
- Frothy white Sea in the background (highlights)
- The blue Sea in the Foreground (midtones)
DODGING
- The swirling waves in the foreground (highlights)
- The Rocks of the main subject (midtones)
- The lone rocks in the immediate foreground (shadows)
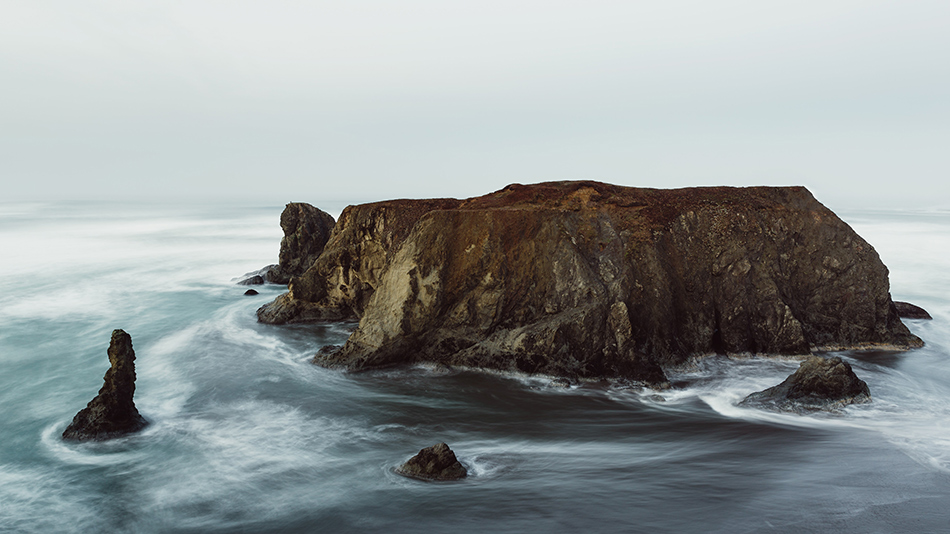
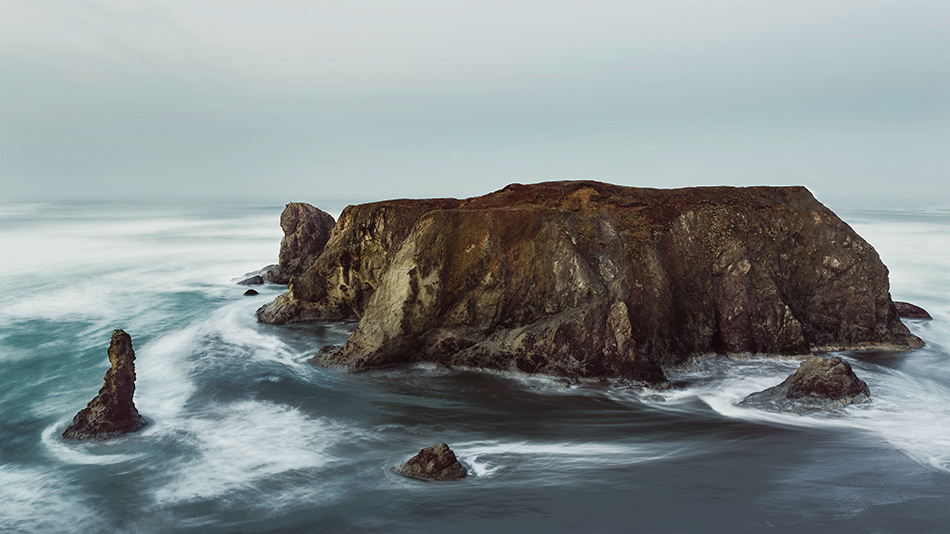
Photo by Dave Hoefler on Unsplash
More articles on Dodge and Burn in Photoshop
The New Dodge and Burn Tools in Photoshop
3 Easy Options For Using Dodge and Burn In Photoshop
Thank you for reading this article on The Best Way to Dodge and Burn in Photoshop, be sure to sign up for our newsletter for more tutorials and great offers.

Enter your email below and join our community of more than 100,000 photographers who have also
Subscribed to our newsletter.
Downloaded our FREE Photoshop Course.
Got our FREE Easy Panel for Photoshop.
And, have our FREE Essential Guide To Luminosity Masks E-Book.
FREE Photoshop Course

The Art Of Photography

Raya Pro for Photoshop
