What Layer Masking Does in Photoshop
Masking is a technique that is used to hide or show certain aspects in layers. It gives us more control over edits. Masking is far superior to erasing as it is non-destructive so can quickly be undone without any damage to layers. Masking is used extensively in exposure blending and in creating composites. In this beginners tutorial, we’ll explore the basics of masking and look at various scenarios where masks can be applied.

The Basics of What Layer Masking Does in Photoshop
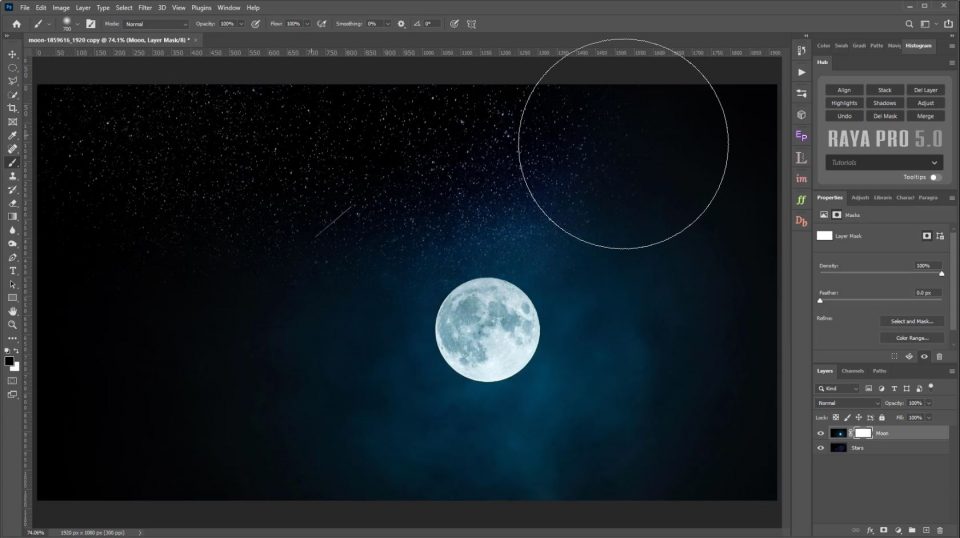
1. We have two different images in our layers panel. The top layer has the Moon and the bottom Layer has the stars. We have selected the layer that we want to apply the mask to in this case, the top layer.
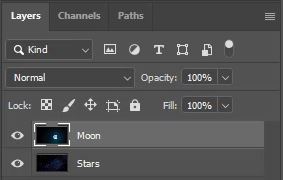
2. We’re going to use a Vector Mask to hide the sky on the top layer and only show the moon. Click on the Vector Mask icon.
![]()
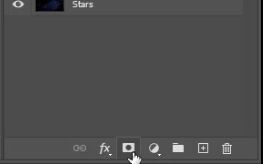
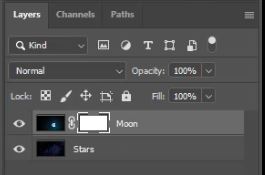
3. Now on the top layer there is a white rectangle to the right of the layer thumbnail. This is your mask applied. There is no change to your image because the mask is entirely white, which means the entire layer is visible. Make sure the mask is selected by clicking on the white rectangle so that there is a frame around it.

4. Now select the Brush Tool.
![]()
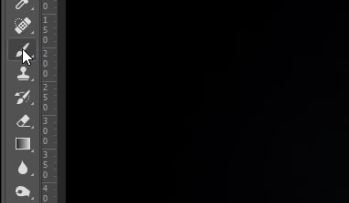
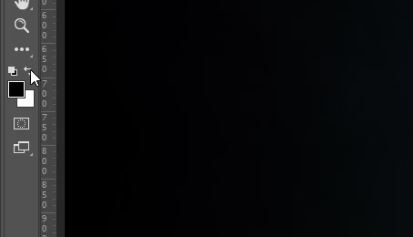
5. Go a little bit further down the tools menu and set your foreground colour to Black, just like what you see below.
![]()
6. On the brush settings bar near the top of your screen make sure the brush Mode is set to Normal. And the brush Opacity and Flow are both 100%.
![]()
7. Make absolutely sure you have the layer mask is selected by clicking on the white rectangle so that it has a frame surrounding it.
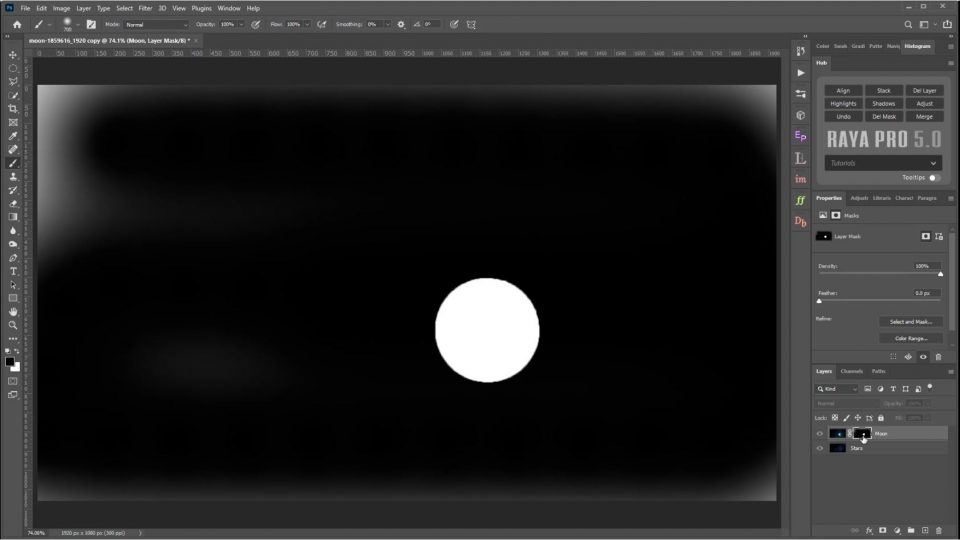
8. Now with your Brush tool selected, a black foreground colour, 100% opacity and flow begin to paint over the mask. You will start to reveal the layer underneath as you paint.
9. If you hold down the Alt key on a PC or Opt key on a Mac and click on the layer mask thumbnail, the mask is displayed. Whatever is whit is visible and whatever is black is hidden.
Enter your email below and join our community of more than 100,000 photographers who receive regular tutorials and have also

Subscribed to our newsletter,
Downloaded our FREE Photoshop Course
Got our FREE Easy Panel for Photoshop
And have our FREE Essential Guide To Luminosity Masks E-Book
The Basics Of Masking and How they Can Be Applied
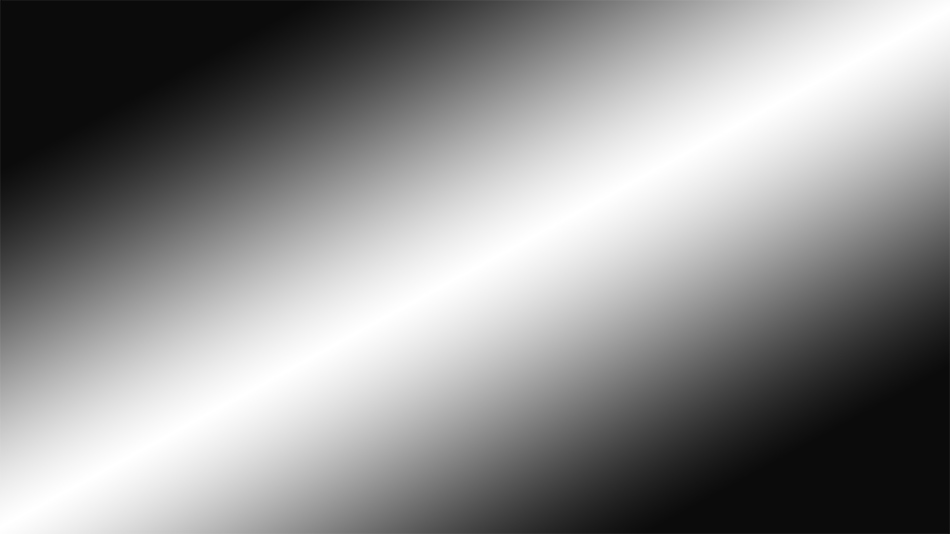
Masks are used to either hide or reveal the content of a layer. Black hides areas, whereas white reveals them. White will show 100% of the layer, 50% grey will show 50% of the layer, and black will show 0% of the layer. Using a Gradient Fill on a mask will demonstrate how layers can be gradually faded out from black to white.
Here is an example where a Gradient fill has been used in a mask.
Bottom Layer 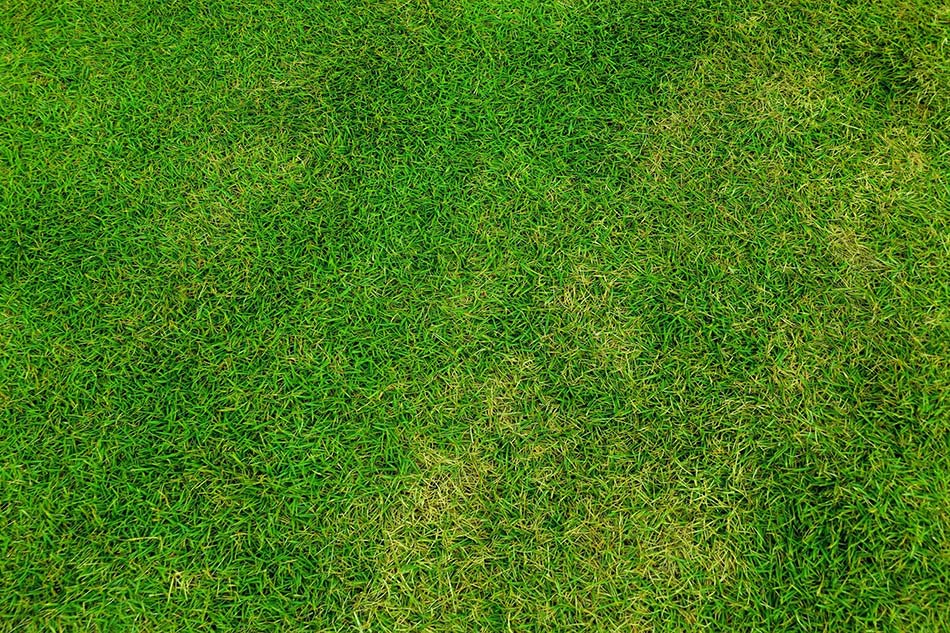
Top Layer 
Gradient Mask 
Final Image After the Mask has been Applied
If you were manually painting in the mask using a black or white paintbrush but wanted areas to show only a little bit, you would need to reduce your brush opacity. Reducing the brush opacity essentially reduces the strength of the brush. For example, if you had a black brush with 100% opacity and painted onto a mask, this would hide everything that you painted. But, if you reduced the opacity to 50% it would be the equivalent of painting 50% grey so only some of the layer would be hidden. The same can be said for flow. If you wanted a smoother blend or fade like in the gradient fill mask but you were manually painting, you can get this by adjusting the brush Hardness as well as the Opacity.
Bottom Image 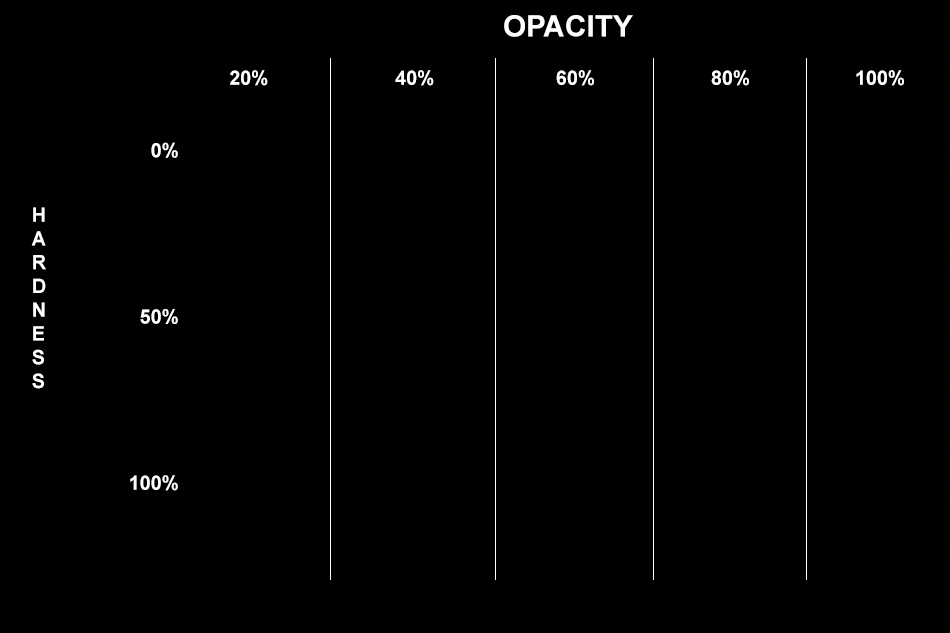
Top Image 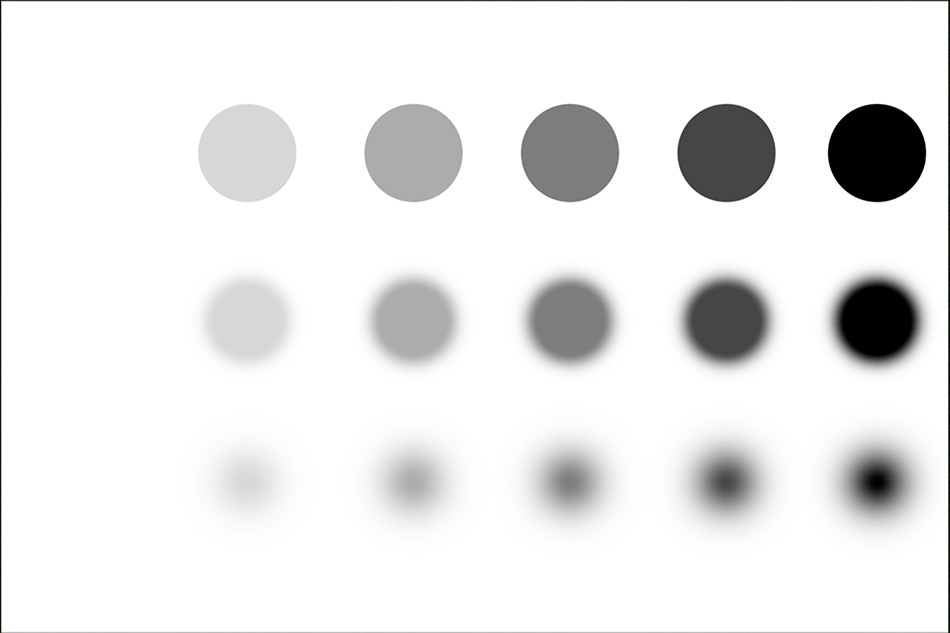
Mask Applied 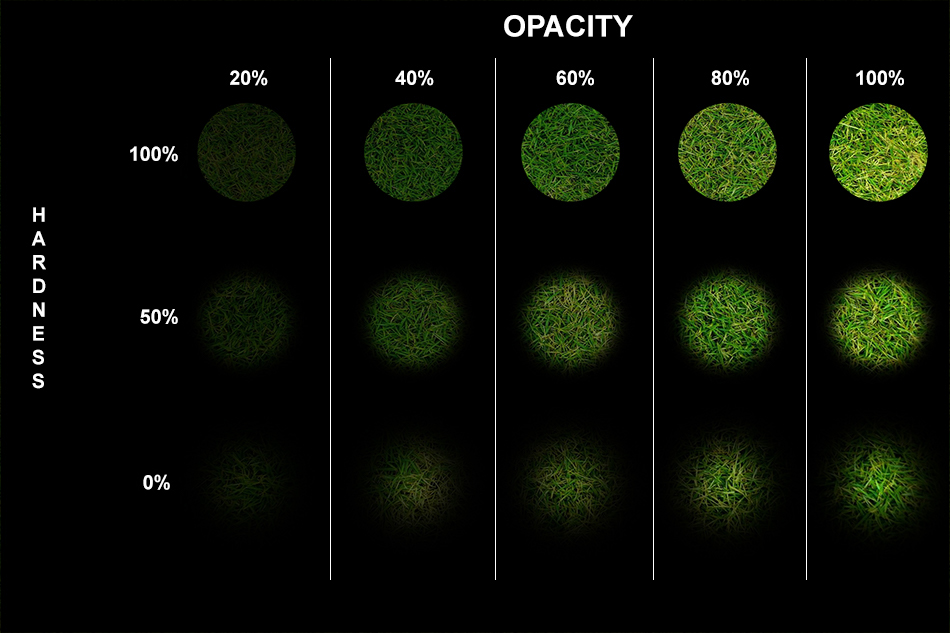
Final Image After the Mask has been Applied
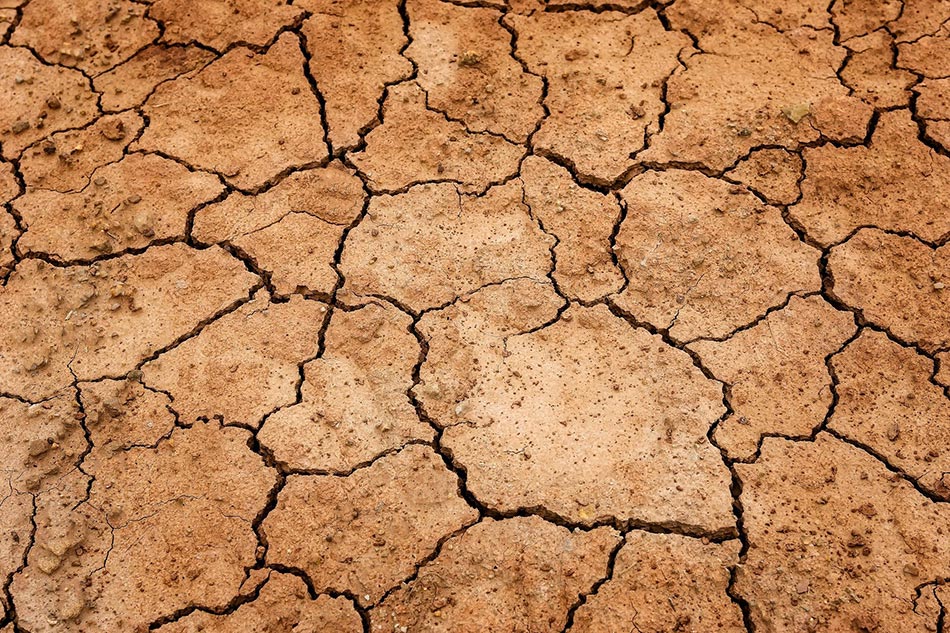
Masks can also be used to transport objects or people or, to replace a background. The example below demonstrates how we can do both of these with masking.

Bottom Image 
Top Image 
Mask 
Final Image After the Mask has been Applied
Our final example shows how we can have a bit of fun with text and masks in photoshop. By using a layer mask we can fill the text with a pattern, texture or image.
Bottom Image 
Top Image 
Mask 
This has been just a basic look at masking. There is so much more to masking and so many more ways that we can use masks. These are all slightly more advanced techniques which you may have seen us cover in our workflows and other tutorials such as How To Use The Brush Tool To Paint A Mask.
Thank you for reading this article on What Layer Masking Does in Photoshop, You might also be interested in the articles below. Be sure to sign up for our newsletter for more tutorials and great offers.
Enter your email below and join our community of more than 100,000 photographers who have also
Subscribed to our newsletter.
Downloaded our FREE Photoshop Course.
Got our FREE Easy Panel for Photoshop.
And, have our FREE Essential Guide To Luminosity Masks E-Book.
Other Online Resources
There is a lot to understand about masks and their application. Once you figure out their purpose and how it can be used everything seems to slot into place. At first, it can be confusing but soon you’ll get the hang on it. This is a really good article to help – Understanding Layer Masks In Photoshop.
I also found a quick informative youtube video to show you more of what we have written about in this article. Please check it out Masking in Photoshop: How to Use Layer Masks.
Another great place to learn about masking is on one of our favourite websites. The Digital Photography School has a brilliant article on Understanding Masking in Photoshop.
If you want to learn about The Basics Of Luminosity Masks In Digital Blending, check out the article we wrote last year for 500px.