3 Simple Ways To Blend Exposures With Raya Pro in Photoshop
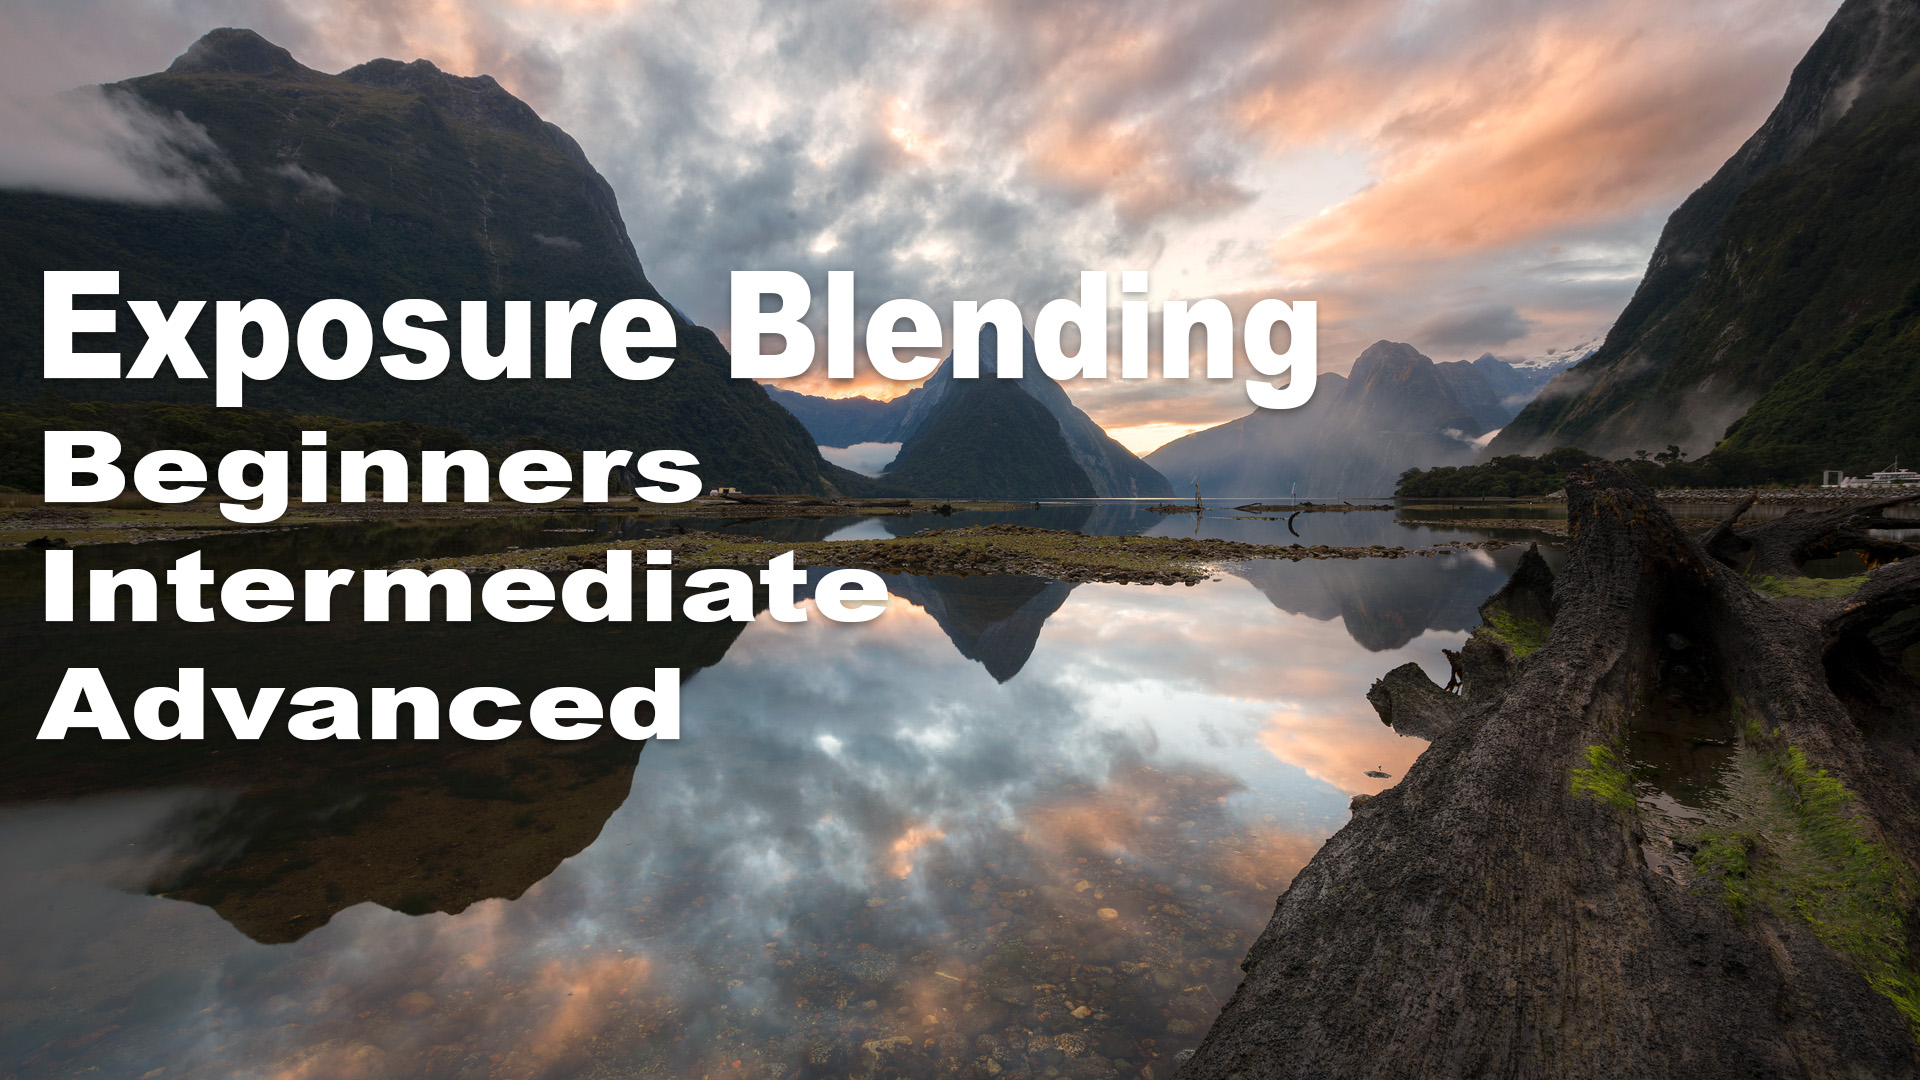
In this quick tutorial I demonstrate three methods for exposure blending with Raya Pro 3.0. RP3 is set up so that it has something for all levels of experience. For beginners we have Instant Auto Blending. For intermediates there are Precision Masks. And for advanced users we have InstaMask and the RGB Masks panel.
For each of these panels I demonstrate how they work. Both Instant Auto blending and Precision Masks also include the ability to fix bad blends. I teach users how to do this in the cleanest way in my Exposure Blend Like An Expert course, but if you haven’t followed that, then using the in-built fix options in those two panels will be a decent substitute.
With Raya Pro we can blend really any scene, two of which are demonstrated in this video (interior and landscape).
