How To Add Dramatic Car Trails To Your Photos In Photoshop
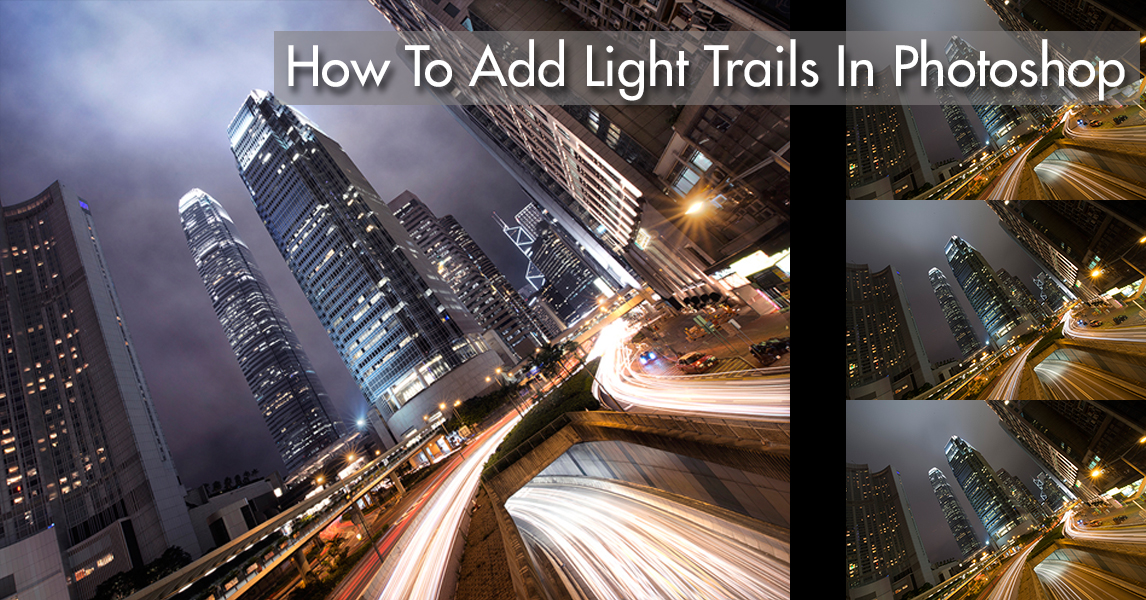
In this tutorial we’re going to look at How To Add Dramatic Car Trails To Your Photos In Photoshop to make your images more impactful. Light trails in your images can bring some real dynamics to your image. They can be used to steer the viewer’s eye as leading lines, one of the key principles in composition. Light trails can also bring a real sense of bustle to your scene.
Making sure you shoot multiple long exposures (you can extended exposure time by widening your aperture – using a larger F value), at the same exposure bias, you can then layer them in Photoshop and simply change the blend mode to Lighten merge all of your wonderful light trails together.
This video will show you that process and it will also show you how to enhance those light trails to make them more dramatic.

How to Add light Trails to an image in Photoshop
Using the same example image as we used in our last tutorial on How To Add Clouds To A Sky In Photoshop, this time we’re looking at how to add dramatic car trails to your photos in Photoshop in just a few steps.
In-Camera
Step 1 – Your Base Exposure
You’ll probably end up taking several images before you commit to your camera settings. The duration of the exposure will vary depending on the speed of the vehicles and the strength of the trails that you want. Other factors helped determine the appropriate shutter speed. The weather played a big part in determining the shutter speed for this example as I wanted soft clouds and also to avoid raindrops on the lens. Once you have found your composition, you need to take a solid base exposure to start from.
Step 2 – Take Multiple Exposures
Take several multiple exposures at a much higher F/stop. This will increase your exposure time significantly and stretch out those light trails that were after. I ended up taking 6 exposure at f/22 with an exposure time of 25 seconds.
In Post Processing
Step 1 – Stack Your Exposures
Open all of the images that you want to use to create dramatic light trails in Photoshop. Using Raya Pro click on the Stack button to stack all of your exposures as layers in one window.
Step 2 – Align Your Exposures
With all of the images now stacked in the layers panel, hit the Align button in Raya Pro to align them all perfectly. Ensure your base exposure is set as the bottom layer, so all of the longer exposures should be above it.
Step 3 – Blend Multiple Exposures Together
Select the top layer in your stack by left-clicking on it. Now, hold down the shift key and click on the second to bottom layer. This will select all of the long exposures and not the base exposure. With all of the long exposures now selected, change the Blend Mode to Lighten.
Step 4 – Tidy up your Image
Select all of the longer exposures again, this time group them by pressing Ctrl+G (PC) or Cmnd+G (Mac). By toggling this new groups visibility on and off you will find unwanted artefacts that have been captured in the longer exposures. Add a layer mask to the group folder and select the brush tool with a black foreground. Ensuring you have the mask thumbnail selected, begin to paint out any unwanted parts.
Step 5 – Add The DRAMA!
To really exaggerate the light trails all you need to do is duplicate them. I used the Lasso Tool to create an active selection of the light trails, as demonstrated in the video tutorial. Then, simply right-click on the active selection and choose Layer via Copy. Now select the Move Tool (V) and move the duplicated trails ever so slightly. Duplicate the same trails again by right-clicking in the space next to the layer thumbnail and select Duplicate Layer, then shift the layer position again. Repeat this process to add more and more drama. Be sure to tidy up as you go.
Step 6 – Even more DRAMA!
Use a levels adjustment to illuminate your light trails even more. All you need to do is slide the right slider in the level properties window toward the centre. To ensure the Levels adjustment only affects the light change the blend mode of the Levels adjustment to Luminosity.
Alternative Articles that you might Be Interested In
How to do Long Exposure Photography and Light Trails at Night
Five tips to photographing light trails by night
Thank you for reading this article on How To Add Dramatic Car Trails To Your Photos In Photoshop, be sure to sign up for our newsletter for more tutorials and great offers.

Enter your email below and join our community of more than 100,000 photographers who have
- Subscribed to our newsletter.
- Downloaded our FREE Photoshop Course.
- Use our FREE Easy panel in Photoshop.
Also you can now download our Photoshop course for beginners for FREE, click HERE.
FREE Photoshop Course

The Art Of Photography

Raya Pro
