Add Intensity To Photos In Photoshop In Just 21 Mouse Clicks
Editing your images doesn’t have to be complicated or time-consuming. In this tutorial, we show you how you can fully edit any photo in under 2 minutes. This technique uses a combination of very simple adjustments and basic luminosity masks to Add Intensity To Photos In Photoshop In Just 21 Mouse Clicks. Watch our 2-minute tutorial video to find out how to complete a full photoshop edit quickly and easily. To make things even easier for you, we’ve saved these adjustments as an action for you. Download the action (instructions are at the bottom of the article) to carry out full Photoshop edits in just 2 clicks. We also have additional photography editing hints and tips for using this technique.

Photoshop Editing Hints and Tips
In this tutorial, we have used three different Adjustment layers and have applied some very basic luminosity masks. The setting that we have used don’t have to be the ones that you use for your edits. What this tutorial will do is show you that editing doesn’t have to be strenuous. I wholeheartedly urge you to try different combinations of adjustment layers. You will be surprised by the outcome! Even with the action that we have recorded for you to download for free, you don’t have to keep the same settings. Here are some photoshop editing hints and tips for you to try with our action.
Vibrance Layer
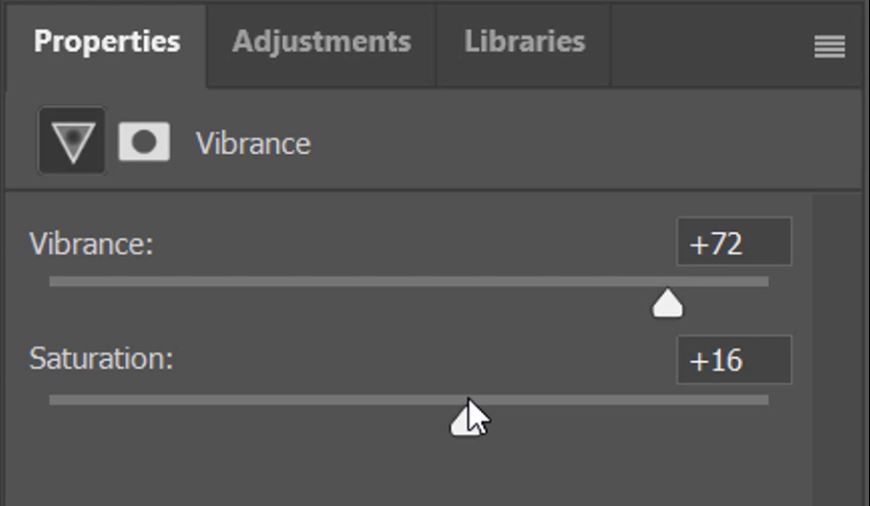
We used a Vibrance setting of 72 and a Saturation Setting of 16. We tested this on a lot of images and the combination worked well. That doesn’t mean you have to keep them the same.
- Try having a higher Saturation and lower Vibrance.
- Set Vibrance to -100 or +100.
- Set Saturation to -100 or +100.
- Change the layer Blending Mode.
Black & White Layer
Using a Black and White layer the way that we have in this technique is a great way to add intense contrast. There’s a lot more that you can get simply from a Black & White adjustment layer.
- Try the ‘Tint’ button in the Vibrance properties window.
- Use different Blend Modes.
- Change the color sliders.
- Explore the different presets.
Photo Filter Layer
Photo Filters are really cool. They can be used to really change the dynamic of an image overall. We used one in this technique to turn the misty clouds blue. What else could we have done?
- Untick ‘Preserve Luminosity’ to use a photo filter to soften an image.
- Change the photo filter density.
- Play around with the different filters.
- Don’t apply a luminosity mask.
– Tutorial continued below –
Enter your email below and join our community of more than 100,000 photographers who receive regular tutorials and have also

Subscribed to our newsletter,
Downloaded our FREE Photoshop Course
Got our FREE Easy Panel for Photoshop
And have our FREE Essential Guide To Luminosity Masks E-Book
How To Quickly Add Intensity To Photos In Photoshop
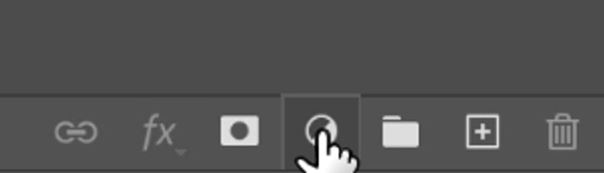
1. Left-click on the ‘Create New Fill or Adjustment Layer’ icon at the bottom of the Layers panel.
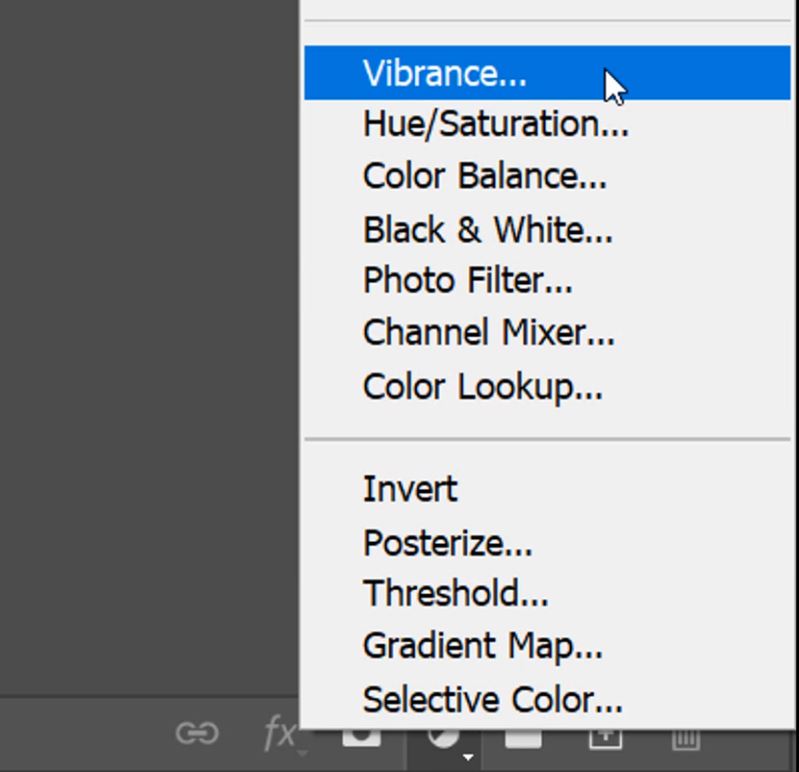
2. When the various Adjustment Layer options appear, click on Vibrance
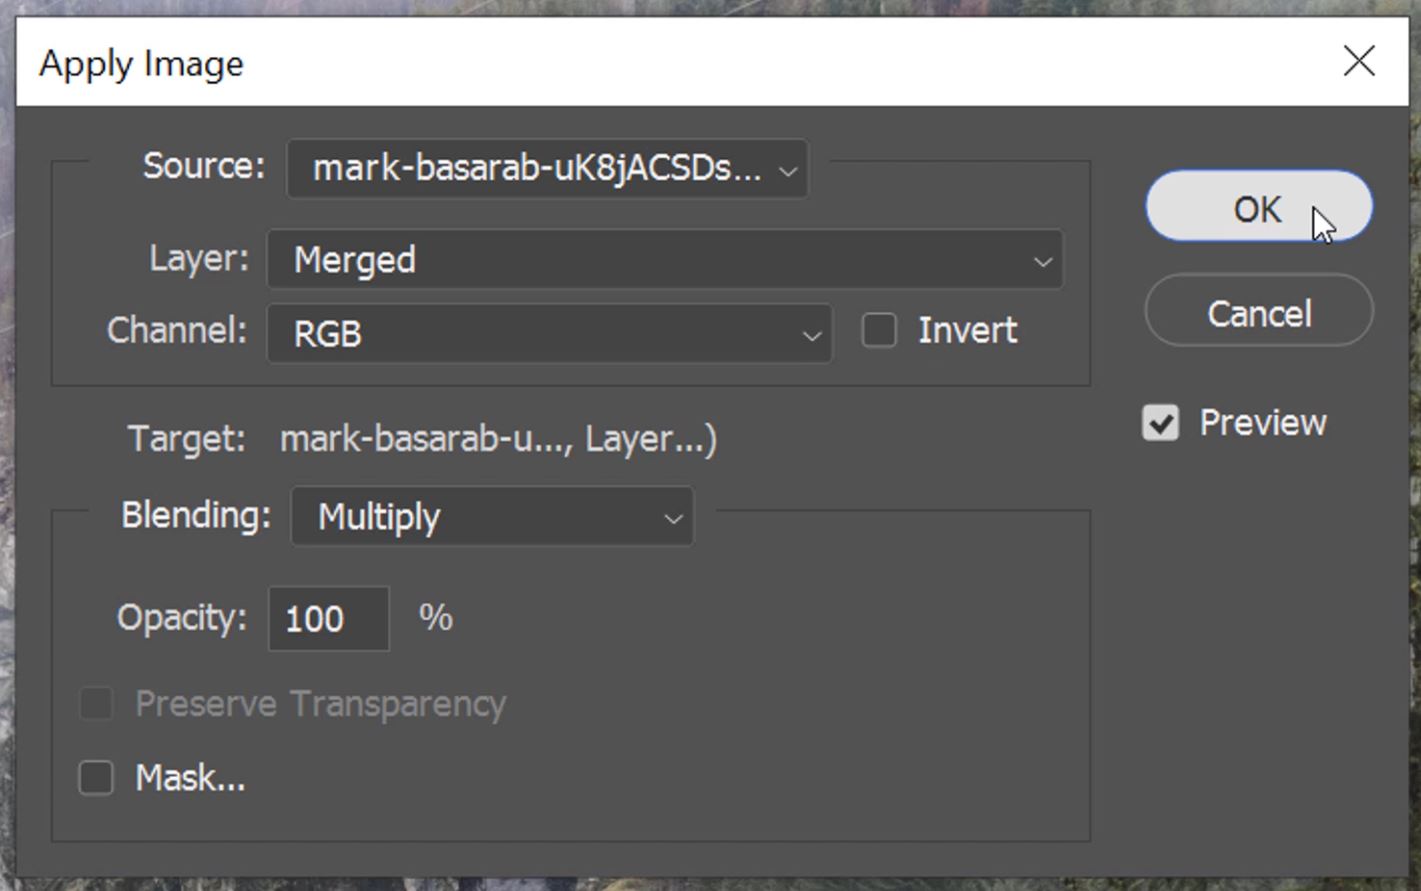
3 & 4. Go to the Image menu and click on Apply Image.

5. Leave the settings as default and click OK.
6 & 7. Adjust the Vibrance and Saturation sliders.
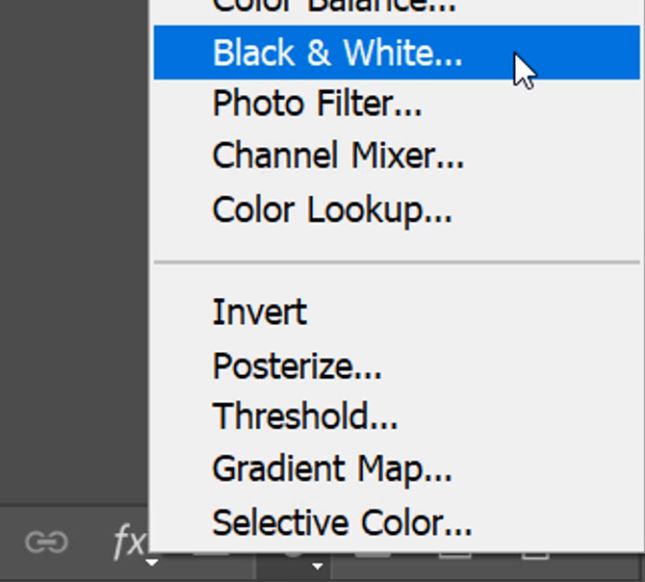
8 & 9. Add another new Adjustment Layer, this time we use a Black & White layer.
10 & 11. Change the Blending Mode of this new layer to Overlay.

12 & 13. Just like you did earlier, go to the Image menu and select Apply Image.
14. leave all of the default settings in the Apply Image properties and click OK.
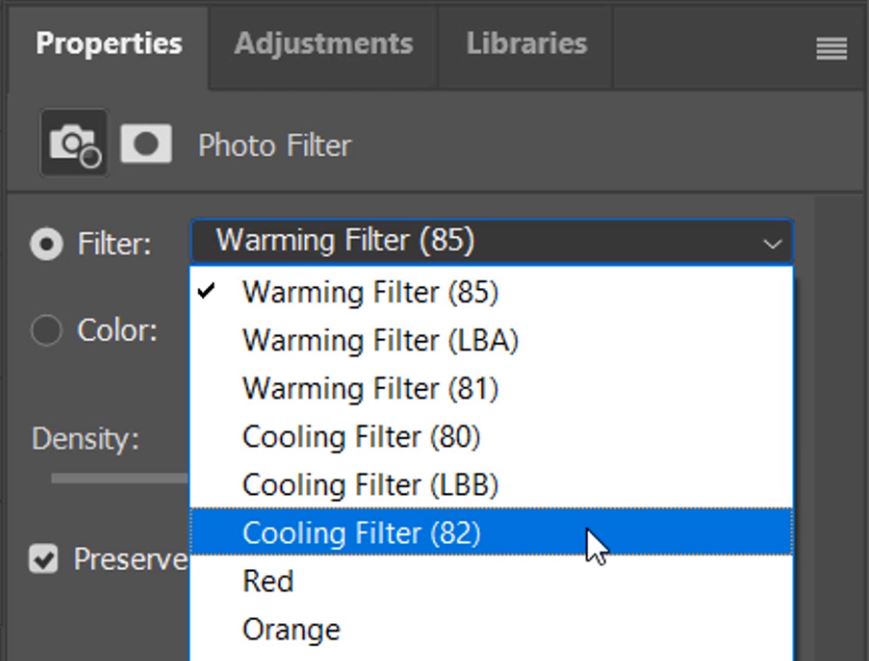
15 & 16. The final Adjustment Layer that we use is a Photo Filter.
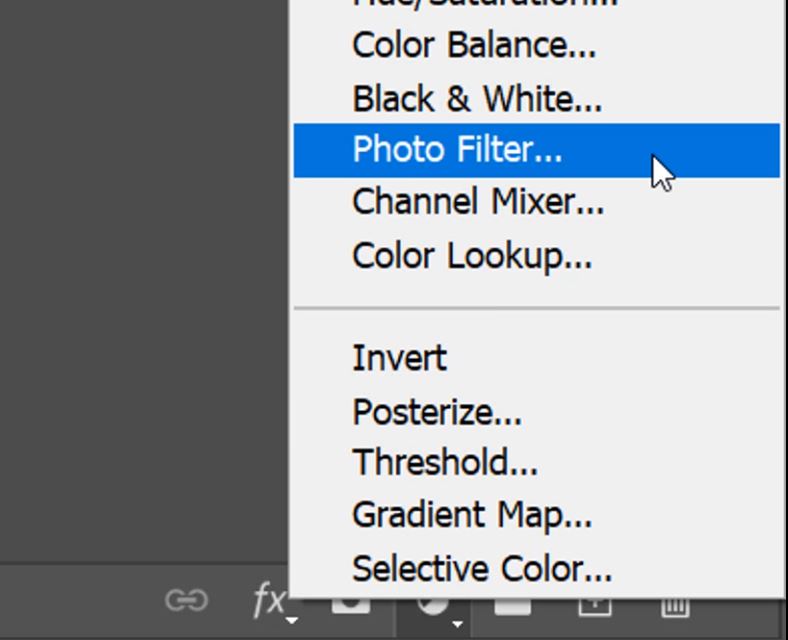
17 & 18. When the Photo Filter properties appear, choose a Cooling Filter (82).
19 & 20 &. Just as we did with the previous two adjustment layers, go to Image>Apply Image.
21. And again, leave the settings as default and click OK to apply a basic luminosity mask to the final layer.
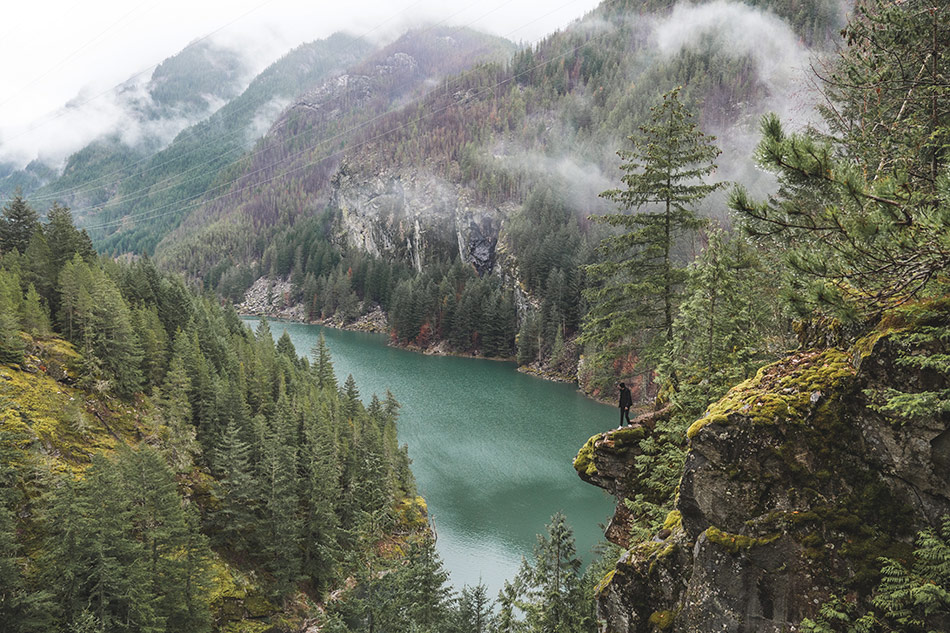
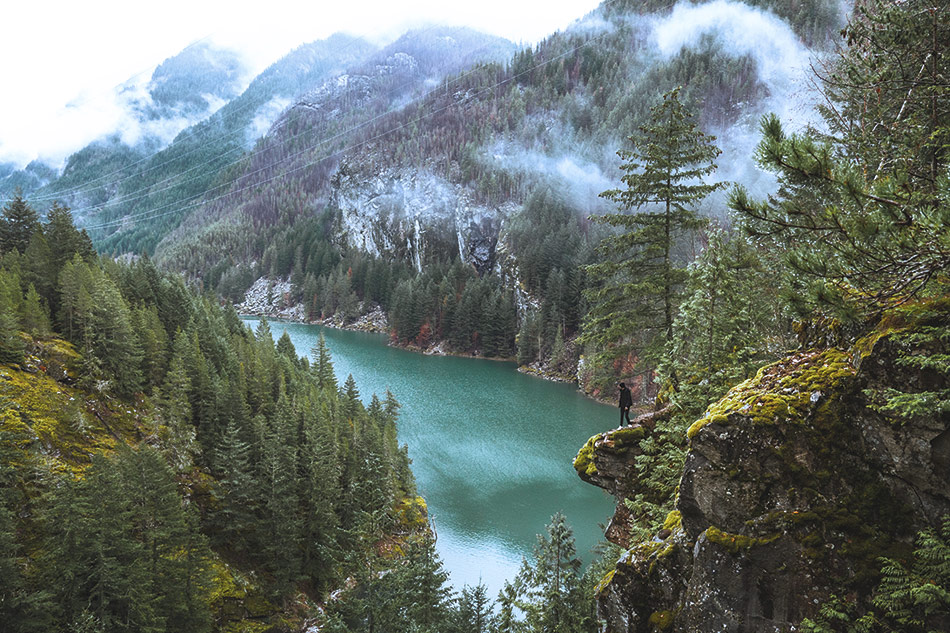
The Vibrance layer gave us a real boost to the colours in the image. By adding a Black and White layer and setting the Blend Mode to overlay we added some intense contrast. The final adjustment layer that we brought in was a Photo Filter which added a nice cold chill to the low lying clouds and fog. With every layer, we added a basic luminosity mask in photoshop to control the adjustments, ensuring they affected the image exactly where we wanted to. If we wanted to affect other areas of the image we could have used Raya Pro to create precision luminosity masks to target, highlights, shadows, colour tones, and much more. Find out more about Raya Pro.