Adjusting Contrast using Curves in Photoshop
By adjusting the contrast within our images, we can give them a whole new dimension. Curves adjustment layers are great for manipulating contrast levels in our images. With Curves, we can control all of the tones in an image from Shadows to Highlights, and everywhere in between. High contrast can bring images to life by increasing contrast, so you can make images bold and vibrant. By softening contrast, images become hazy, making them wonderfully dreamy. With curves, tonal ranges don’t have to be the same. For example, you can increase contrast in your highlights and decrease it in the shadows. This tutorial will show you the basics to apply a Curves adjustment layer and how to adjust it.

Adjusting Contrast in Photoshop using Curves
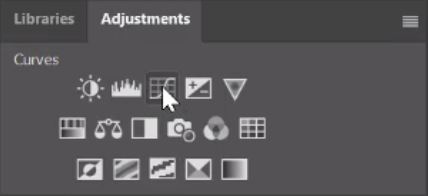
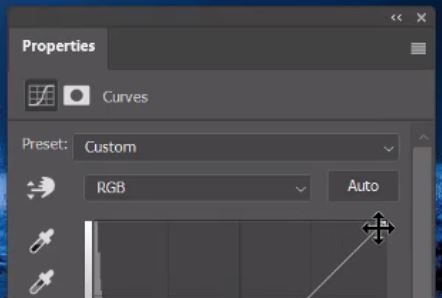
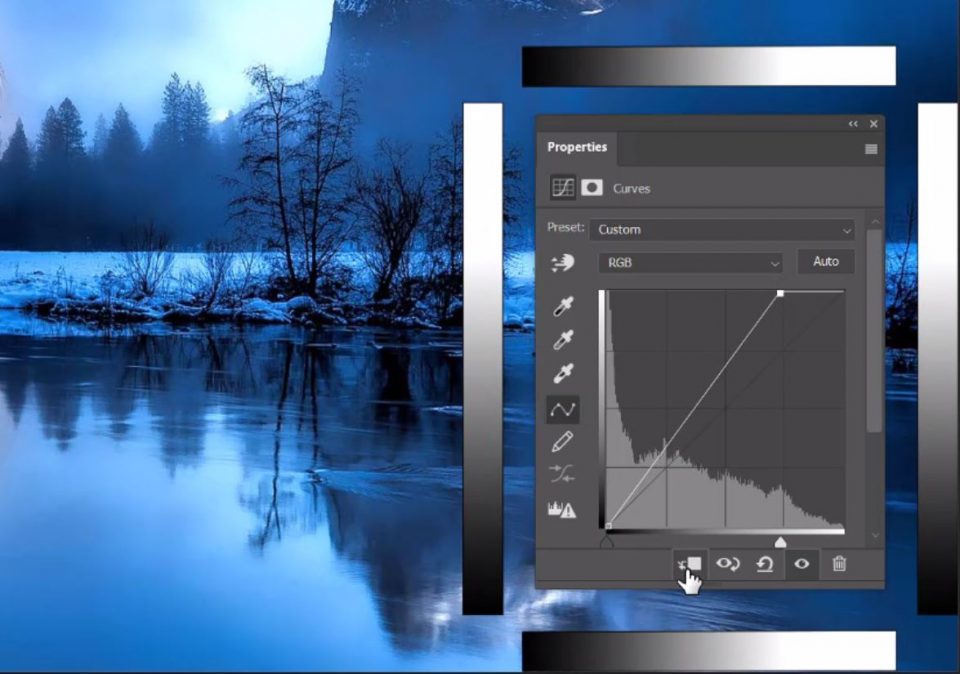
1. Click on the Curves Adjustment Layer Icon.
![]()
2. The bottom left corner is where the darker parts of images are controlled, such as shadows.

3. The top right corner is where the brighter parts of images are controlled from such as highlights.
-Tutorial Continued Below-
Enter your email below and join our community of more than 100,000 photographers who receive regular tutorials and have also

Subscribed to our newsletter,
Downloaded our FREE Photoshop Course
Got our FREE Easy Panel for Photoshop
And have our FREE Essential Guide To Luminosity Masks E-Book
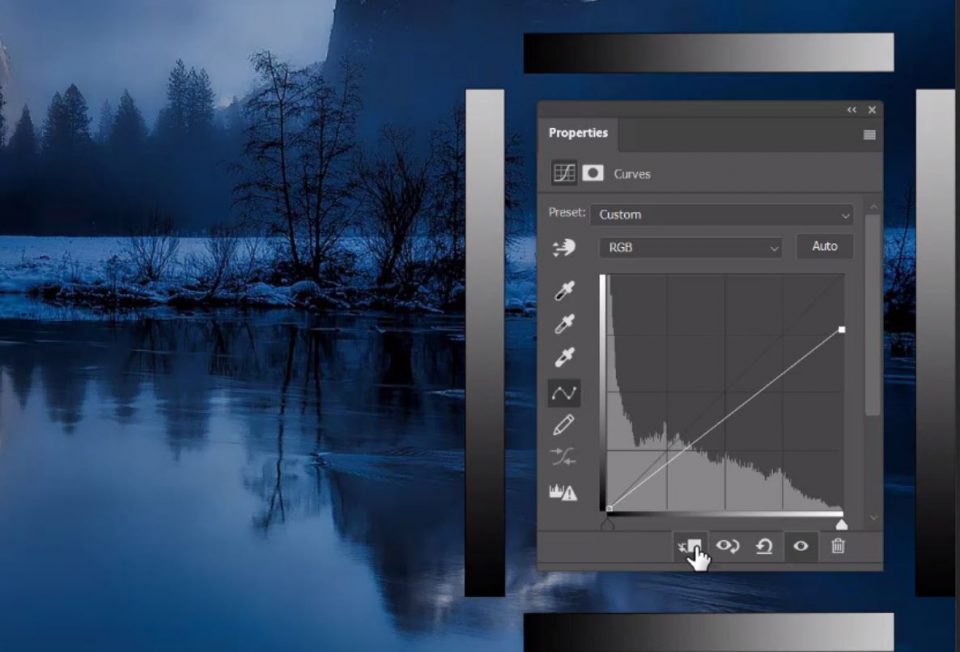
4. Sliding the control at the bottom left corner to the right increases the darkness. It turns the darker greys to black, the further you take it to the right the more greys that it affects all the way to white.
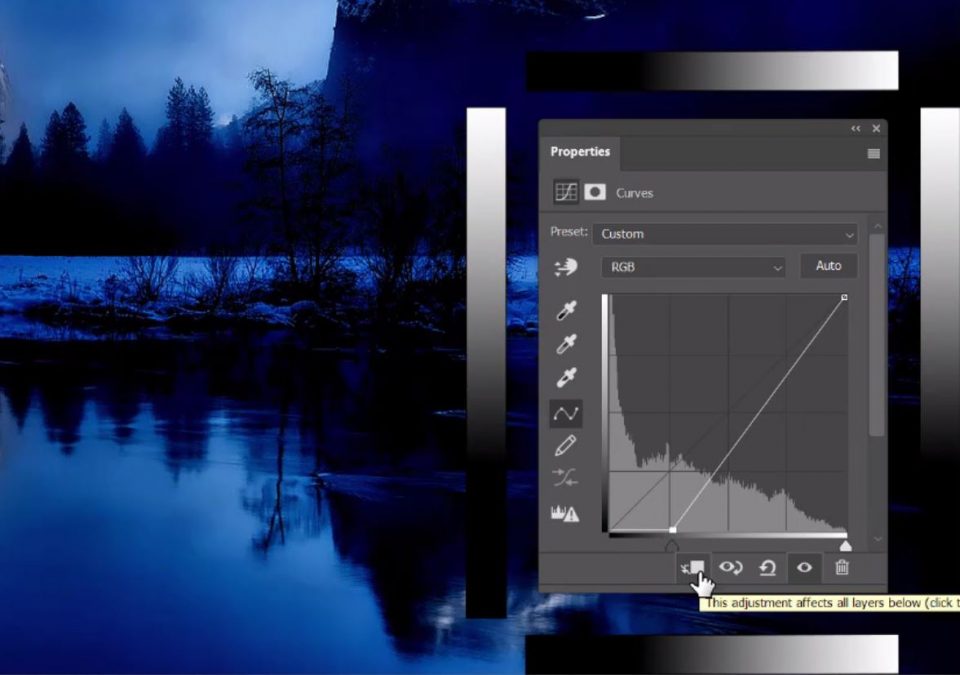
5. Sliding the control at the bottom left corner upwards decreases the darkness. It turns black into grey. the higher you take it, the more greys will become white until there is no black or grey at all.
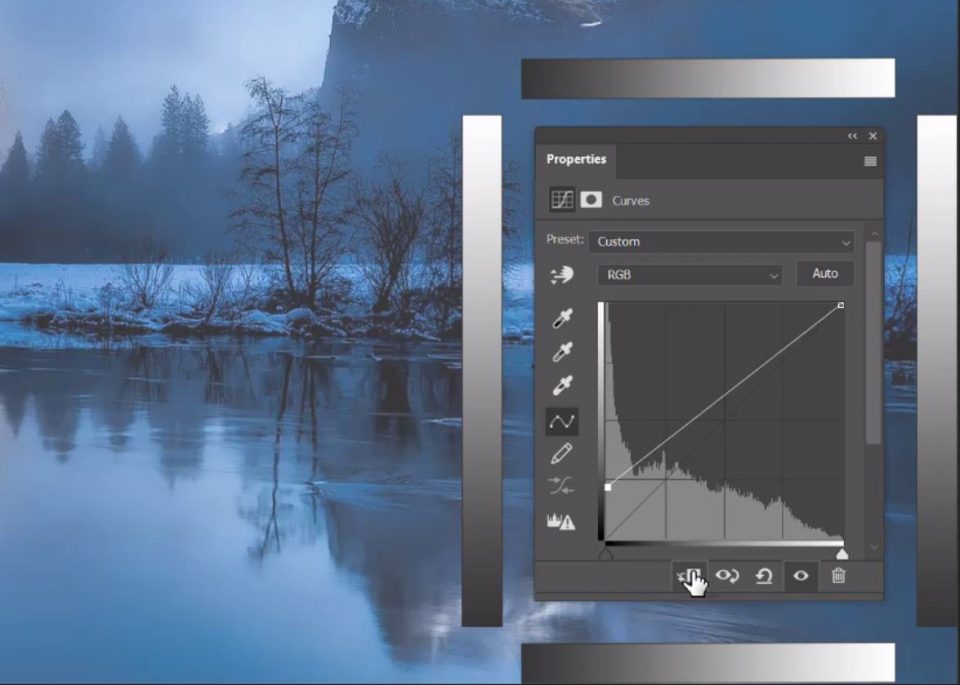
6. Sliding the control at the top right corner to the left will increase brightness. It turns grey into white. Starting with the lightest grey, it can work through the whole tonal range, eventually turning black to white.
7. Sliding the control at the top right corner downward will darken the brightness. It turns whites into grey. The further down you take it the more black bleeds into grey making those tones darker.
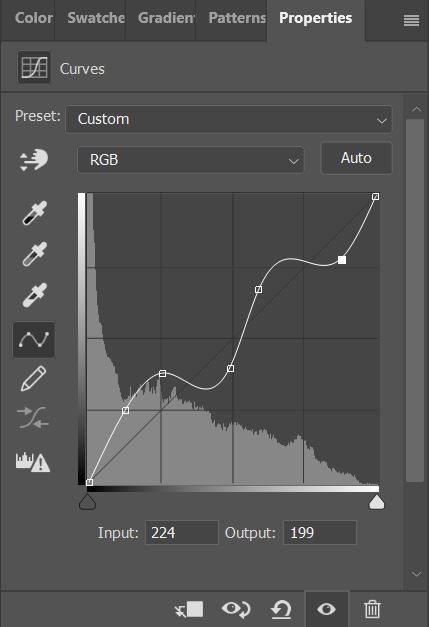
8. You can click anywhere on the line to set a control point in the mid-tones. From the center to the top right effect upper mid-tones, from the center to the bottom left targets the lower mid-tones.
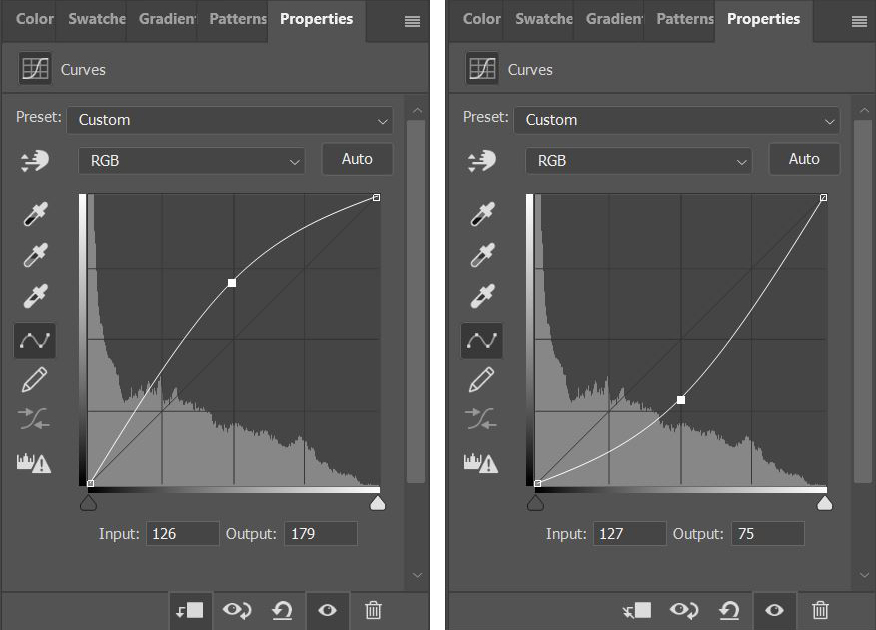
9. You can add as many control points as you like. The beauty of a Curves Adjustment Layer is that it is non-destructive so feel free to have a really good play around with it. You will soon learn how to use /curves to your advantage.
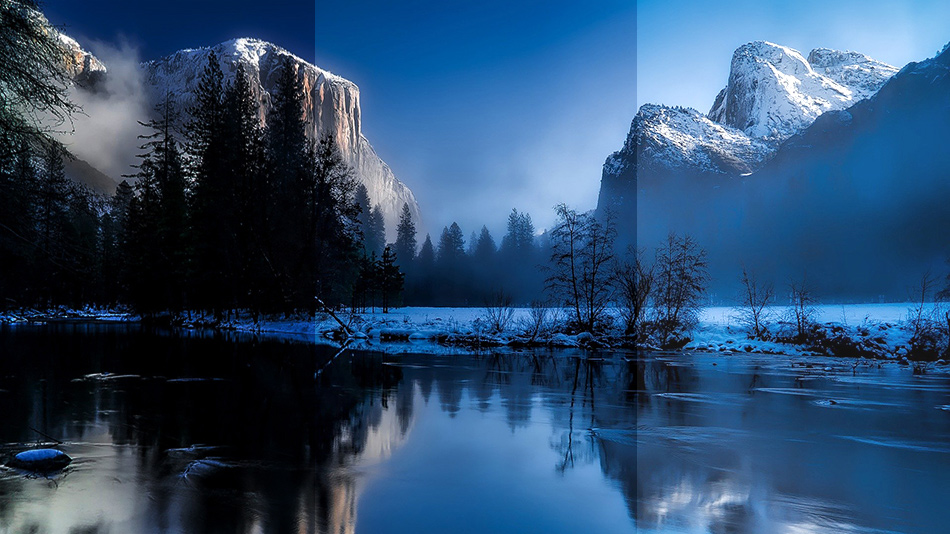
Here you will see the original image compared to an image that has had the left darkened and the right lightened using curves.
[compare]

[/compare]
This image of Yellowstone Park was taken from royalty free stock images provided by Pixbay
Download our Contrast bars?
Feel free to right-click on the image below and select “Save image as…” to save it so that you can open it up in photoshop and play around with a Curves Adjustment Layer to see what happens when you play with the curves line. Try making an s-curve, softening shadows or highlights. You can even use a curves layer to adjust colours in the RGB channels, but that a tutorial for another day.

Thank you for reading this article Adjusting Contrast using Curves in Photoshop, You might also be interested in the articles below. Be sure to sign up for our newsletter for more tutorials and great offers.
Enter your email below and join our community of more than 100,000 photographers who have also
Subscribed to our newsletter.
Downloaded our FREE Photoshop Course.
Got our FREE Easy Panel for Photoshop.
And, have our FREE Essential Guide To Luminosity Masks E-Book.
Other ways to adjust contrast
There’s more than 1 way to adjust contrast in photoshop, there’s the Brightness/Contrast sliders and Levels. This webpage can help you understand the difference between Levels Curves and Colour.
One of the most common debates around photoshop is “Levels or Curves” here are 5 Reasons to Use Photoshop Curves Instead of Levels.