Balance Colour in Photoshop Using Gradiate
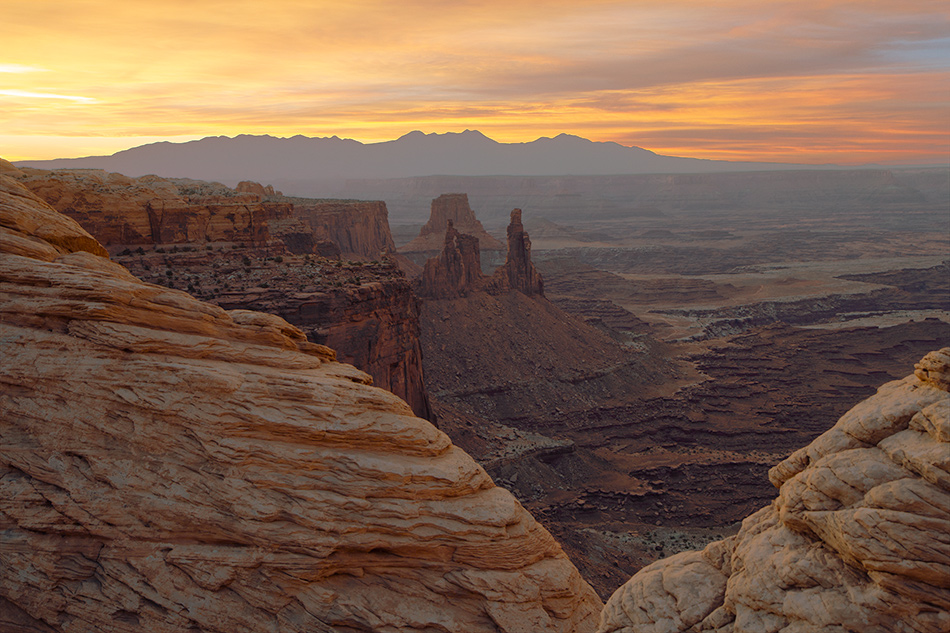
Try our new way to balance colour in photoshop using Gradiate. Gradiate in a new Photoshop plugin that brings complete colour control to you, the user. In this short example, we have two exposures. The darker exposure contains gorgeous colours in the sky but no detail in the foreground or midground. The lighter exposure has some fantastic detail, but the sky is almost entirely blown out and white. Another concern is that the colour in the brighter exposure has a strong magenta tinge, making it appear more pink and purple than it was. Using Easy Panel and Gradiate, we will help bring balance to these two exposures for a more naturally blended single image.

Our Steps to Balance Colour Using Gradiate
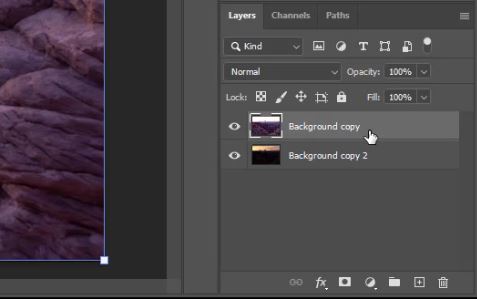
1. We positioned our brighter exposure on top of the darker exposure, and selected the top layer.
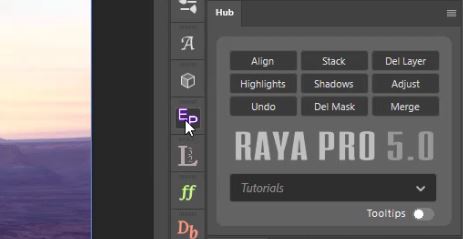
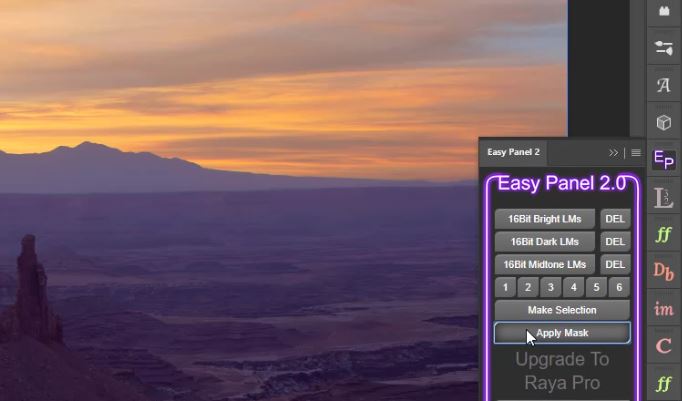
2. Open up Easy Panel. (if you don’t have easy panel it is free to download HERE)
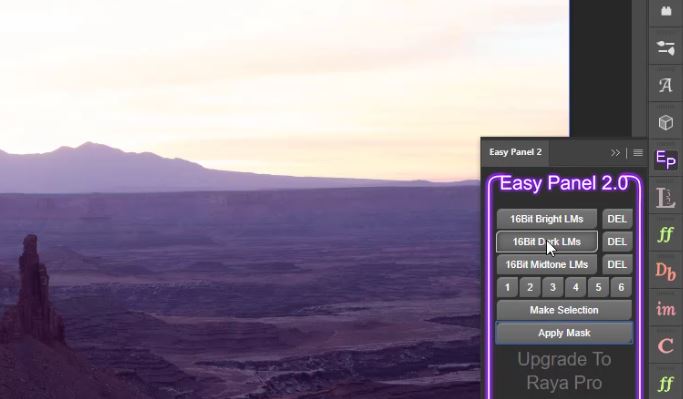
3. Click on 16Bit Darks LM’s to create Luminosity masks targeting darker parts of the image.
4. Cycle through the masks by click 1-6. The number 1 mask worked well for this example.
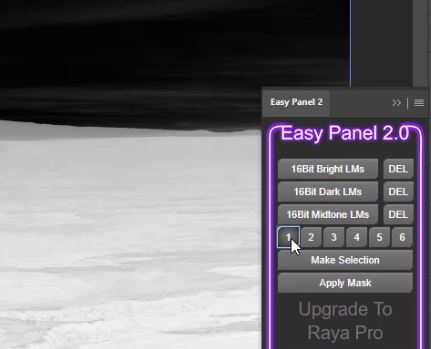
5. Apply the mask to the layer by hitting the “Apply Mask” button.
6. The layers are now exposure blended using luminosity masks. Now we can open up Gradiate.

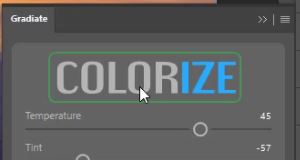
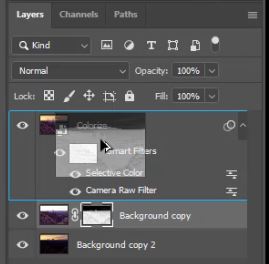
7. With Gradiate open, press on the big Colorize button at the top of the panel. This will create a new layer from the ones below with smart filters applied.
8. Hold down the ALT key on a PC or OPTION key on a Mac and left-click and drag the luminosity mask from the layer below to the top layer. This will duplicate the mask onto the Colorize layer, so that our adjustments are targeted to the foreground and midground.
9. In Gradiate, the first adjustment I made was to increase the warmth by sliding the temperature slider to the right.
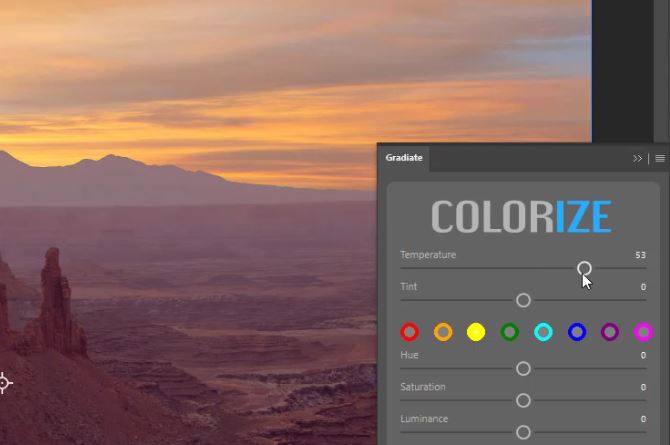
11. I then moved the Tint slider to the left to counter the magenta tint with a green tint to bring in more natural tones.
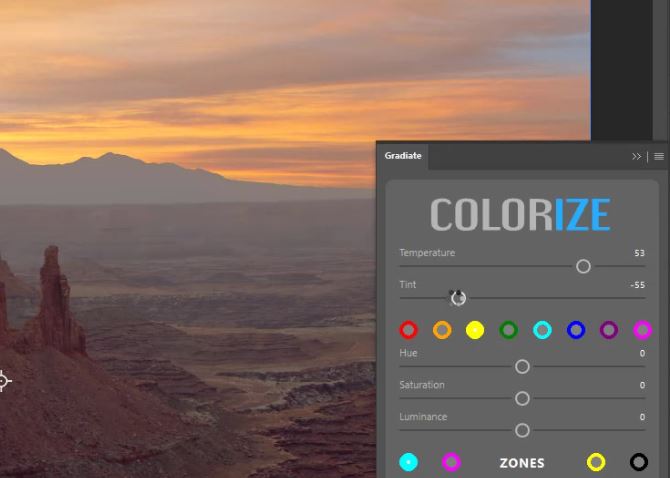
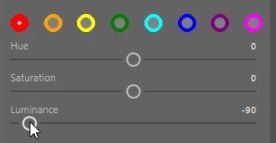
11. Because we don’t have a very complex colour palette in the image, I only needed to make adjustments to red, orange, and yellow colour ranges.
12. You could quite easily spend more time making finer adjustments and playing around with more of the sliders. In this example, we really didn’t need to.
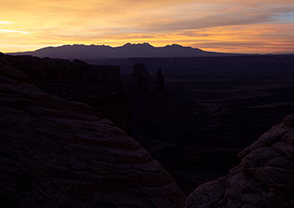
Dark Exposure 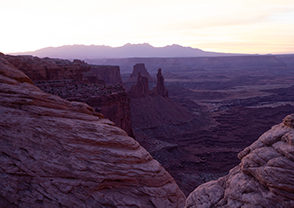
Light Exposure 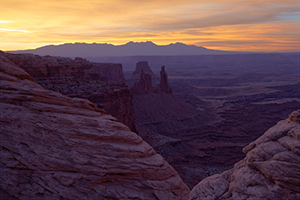
Exposure Blended
On the left is the Exposure Blended, compare to the image on the right where Gradiate was used for colour grading in Photoshop.
[compare]

[/compare]
FREE Easy Panel
Gradiate
Raya Pro

Colour Balance Articles That Might Interest You
How to Correct White Balance in Photoshop
How to Use Levels in Photoshop Correct Color and Contrast
How to Color Grade Your Photographs
Color Grading In Photoshop | 5 Ways To Manipulate Color
Thank you for reading this article, be sure to sign up for our newsletter for more tutorials and great offers.

Enter your email below and join our community of more than 100,000 photographers who have
- Subscribed to our newsletter.
- Downloaded our FREE Photoshop Course.
- Use our FREE Easy panel in Photoshop.