Photoshop Trick for Wide-Angle Landscape
In landscape photography one of the key principles is to fill the scene with as much excitement as possible. And, to have a prominent subject to serve as your main focal point. Using a wide-angle lens in landscape photography gives us the capability of capturing vast scenery. The only drawback is lens distortion. We could be poised behind our cameras in awe of what is in front of us, take our shot and think we’ve captured the moment. Only to discover in post-processing that those subject in the distance, seem much further away than they did in real life. Matt Kloskowski, has shared a simple but effective Photoshop trick for wide-angle landscape photography.
Our Thoughts on this Photoshop Trick
Wonderful! this photoshop trick can really help us save an image and recapture the scene. It’s such a simple trick. By resizing the important subjects in our images can really make them more impactful and enjoyable to the viewer. For this trick to work effectively you need a good image, to begin with. This is not something that can completely transform an image, it can only really be used to enhance an image. Even then, the balance has to be right.
What I really liked, is how this demonstration has been used to improve images in different scenarios.
Scenario 1:
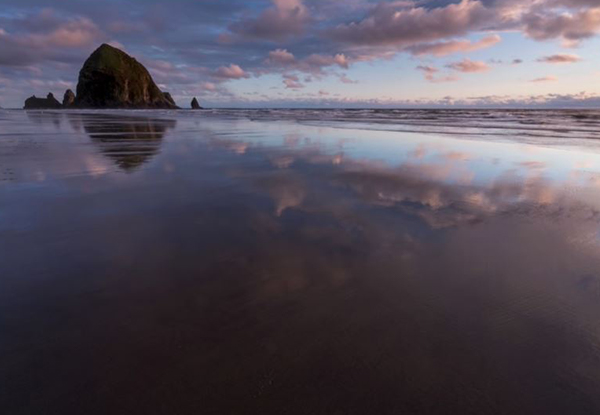
In this first example, there was only really one main feature, and that was the lone rock formation. Matt exaggerated the rocks ever so slightly to increase the impactfulness of the subject.


Scenario 2:
Matt takes the silhouette of the overhanging branches and leaves and stretches them to really effectively frame the scene.

Scenario 3:
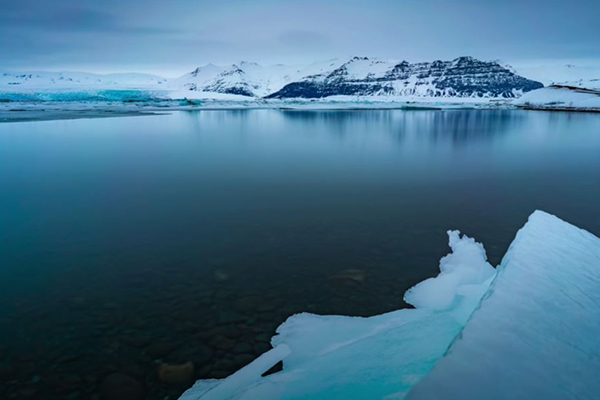
We have a well-balanced foreground but because of lens distortion, the size of mountains in the background have diminished. So, Matt used this little trick to bring back some scale to the mountains.

Photoshop Trick Steps
Naturally, because the video is only 16 minutes long and shows 5 examples of this photoshop trick, the finish isn’t great. Also, instead of using the Eraser Tool, I would be more inclined to use layer masks. Using a mask is a non-destructive way to hide or reveal information in the layer. If you make a mistake on a mask all you need to do is swap the foreground colour and paint back in the information that you want to recover.
- Make a selection.
- Feather selection (Selection>Modify>Feather or keyboard shortcut Shift+F6)
- Duplicate selection (Keyboard shortcut Ctrl+J or Cmd+J)
- Transform Selection (Edit>Free Transform or keyboard shortcut Ctrl+T or Cmd+T)
- Add a Layer Mask (Layer>Layer Mask>Reveal All)
- Select the Brush Tool (Keyboard shortcut B)
- To remove information paint on the mask in black. Use a soft edge and reduced opacity for a smoother blend.
Other Articles That Might Interest You
How to Resize an Object Within a Photoshop Layer
How to change the impression of space and depth within a scene
Thank you for reading this article, be sure to sign up for our newsletter for more tutorials and great offers.
Enter your email below and join our community of more than 100,000 photographers who have
- Subscribed to our newsletter.
- Downloaded our FREE Photoshop Course.
- Use our FREE Easy panel in Photoshop.


