
Black and White Photo Editing in Photoshop
Turning an image into a Black and White photo is not as simple as it sounds. Yes, it is very easy to do in any editing programme. There are often several ways to desaturate an image and suck the colour out of them. But, there’s so much more that is needed to edit a black and white photo. In this tutorial, we’ll show you a simple technique for Black and White photo editing in Photoshop. And, we’ll share some quick tips for editing black & white images.

If you wish to experiment with this, I would really appreciate it if you included my name (Duke McIntyre) and www.shutterevolve.com when you publish your image. If you post your published image on our Facebook page I’d be happy to check it out.
Tips for Editing Black & White Images
It’s easy to edit in colour. Colour can bring us character and mood, but expressing character and mood in Black and White is a whole different ball game. Monochromatic and Minimalist Photographers spend just as much time editing as everyone, but they have differing priorities from more conventional photography genres.
Things To Look Out When Making Black and White Images
- Contrast
Probably the most important element to consider. Striking the balance between having enough contrast to not having too much. An aid to balancing your contrast is your Histogram use it to ensure you have extreme black and white present in your image. - Grey Tones
Don’t neglect the grey tones, they are what breathes life into a monochromatic image. You can still add depth to a grayscale image by using simple techniques like Dodge and Burn. - Get it Right in-camera
Even though your shooting for Black and White. Always remember to shoot in RAW so you can fully control the metadata in post-processing. Set your shot up with the correct white balance, and always expose for the shadows.
– Tutorial continued below –
Enter your email below and join our community of more than 100,000 photographers who receive regular tutorials and have also

Subscribed to our newsletter,
Downloaded our FREE Photoshop Course
Got our FREE Easy Panel for Photoshop
And have our FREE Essential Guide To Luminosity Masks E-Book
Black and White Photo Editing in Photoshop
1. All we need is one layer and we’re going to use two Adjustment Layers.

2. To add our first Adjustment Layer we click on the Add New Adjustment Layer icon. You can also do this by going to the following option; Layer>New Adjustment Layer….

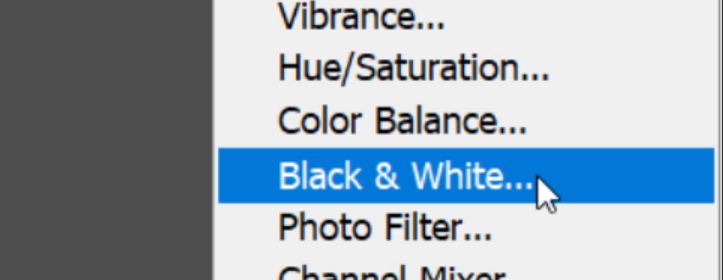
3. The first adjustment that we’re going to apply is a Black and White Adjustment Layer.
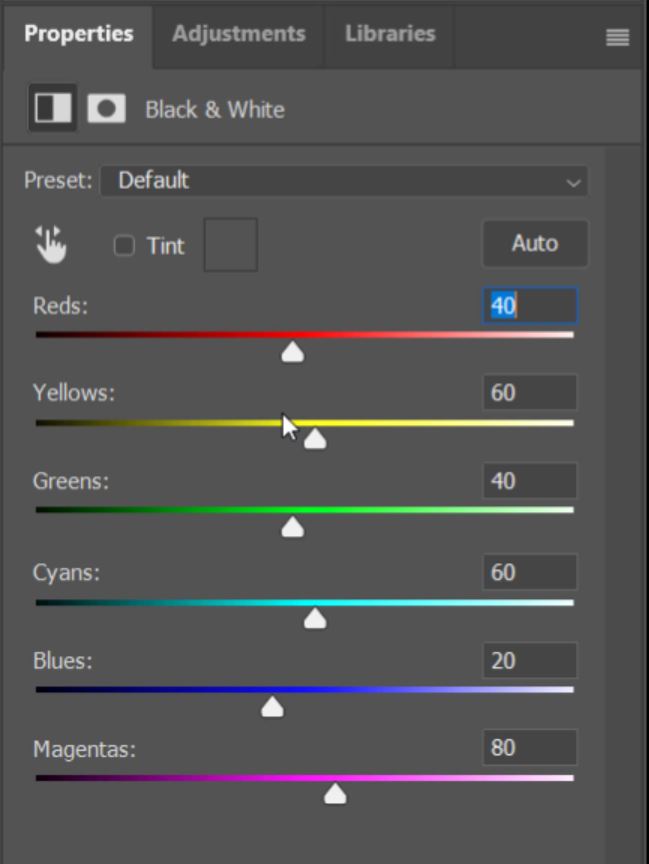
4. Once the Black and White adjustment layer is applied we can adjust the sliders to change the tonal balance of particular colour tones. This can be very effective when building character in black and white images.
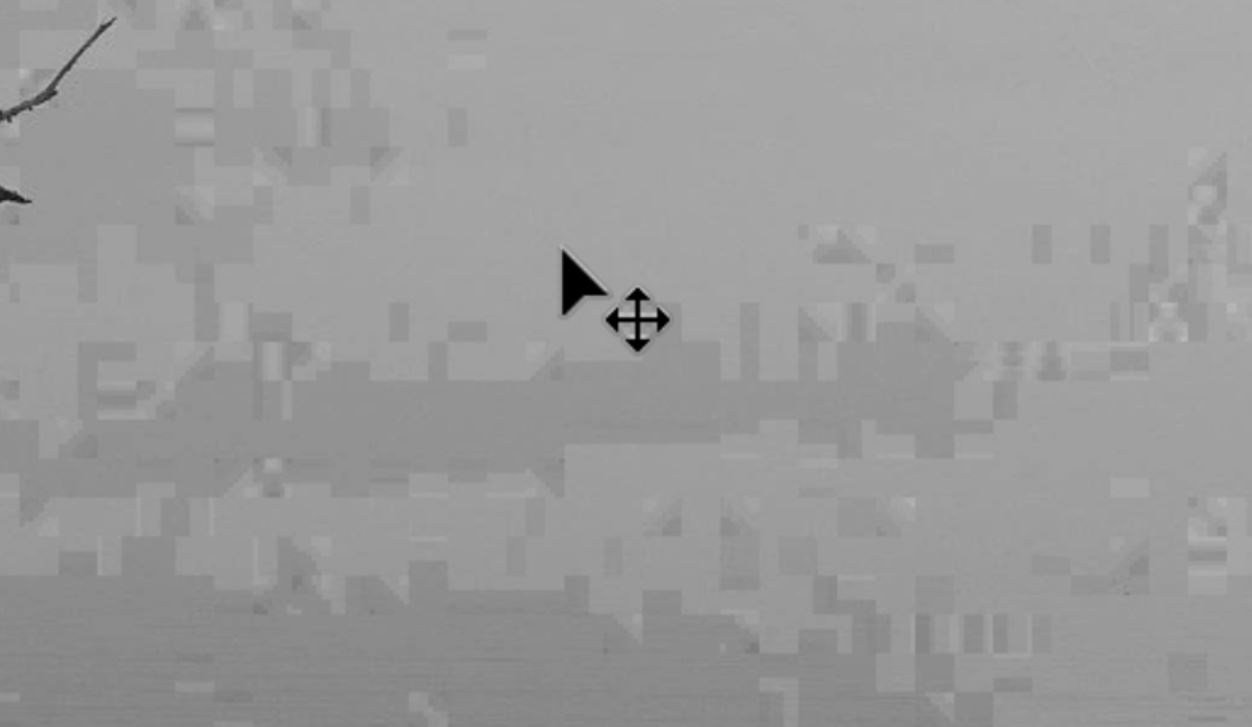
5. But, you really need to keep an eye on pixelations and just some really weird blending side-effects like this extreme example below.
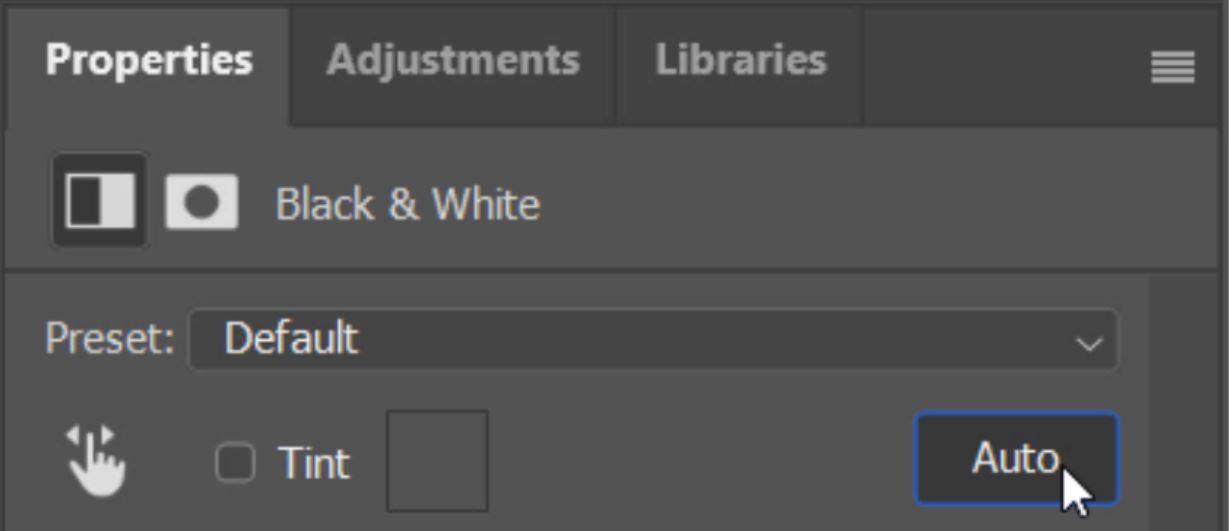
6. A good option to use to balance the tones is the Auto button in the Balck & White properties panel. This is what we used for ease in this tutorial.
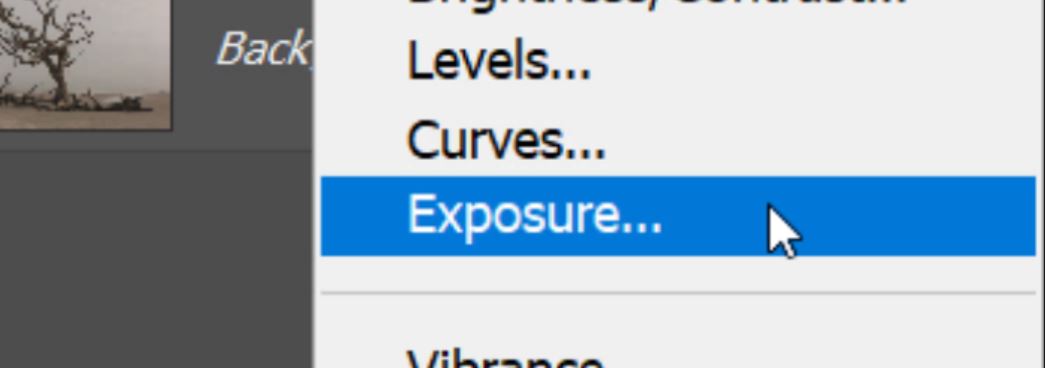
7. Now that we have a black and white image we can bring out the drama and mood by making the image a bit more extreme. The second adjustment layer that we use for this is an Exposure layer.
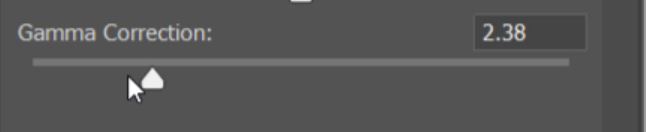
8. There are three sliders in the Exposure properties.

9. We started by moving the Gamma slider left. This softens the blacks in the image by shifting more of the mid-tones into the lighter tonal rage spectrum.
10. This has washed out a lot of the black in the image. But, we need to keep a strong black point. To bring back some of the black, slide the Offset slider left. This will darken the shadows and restore our strong black point.

11. The last slider in the Exposure properties is the Exposure slider. Moving this slider right we brighten the exposure and this further controls the black point.

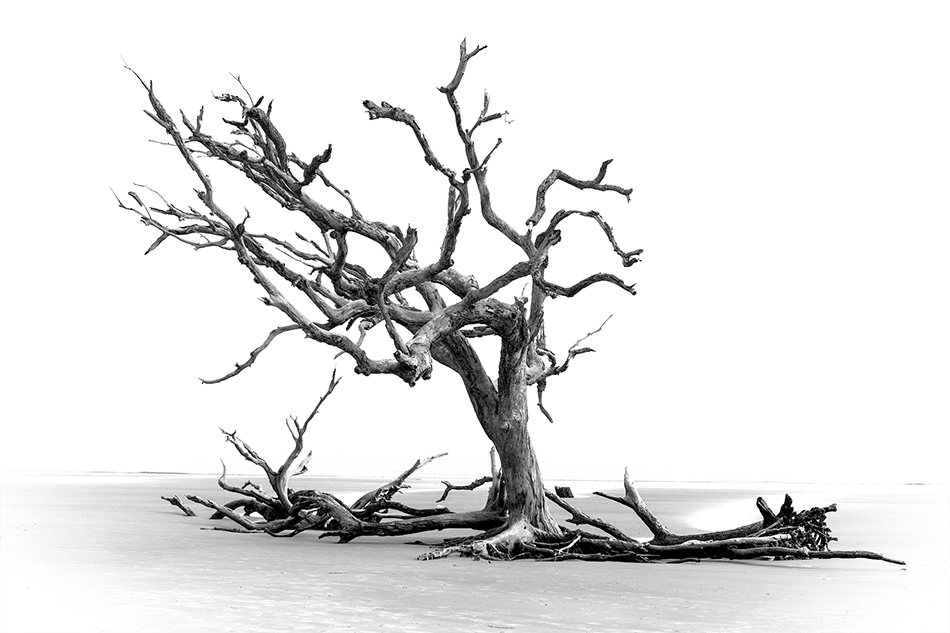
12. By Making many small adjustments you can tweak the image to balance the dramatic effect until you get the extreme black and white scene that you’re looking for.
Take a look at the before and after images.
[compare]
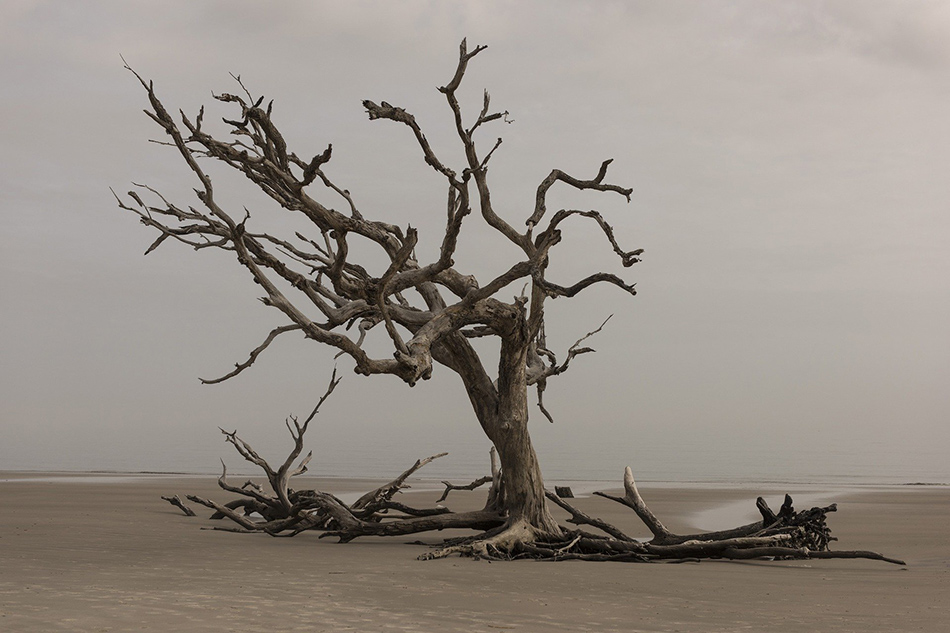
[/compare]
Image by Pam Patterson from Pixabay