How To Cleanly Blend 3 Exposures in Photoshop
A big thank you to Lin Dong for sending in his beautiful images for Challenge Jimmy. If you would like to take part in Challenge Jimmy, please send your initial jpegs (no RAWs please), to challengejimmymc@gmail.com.
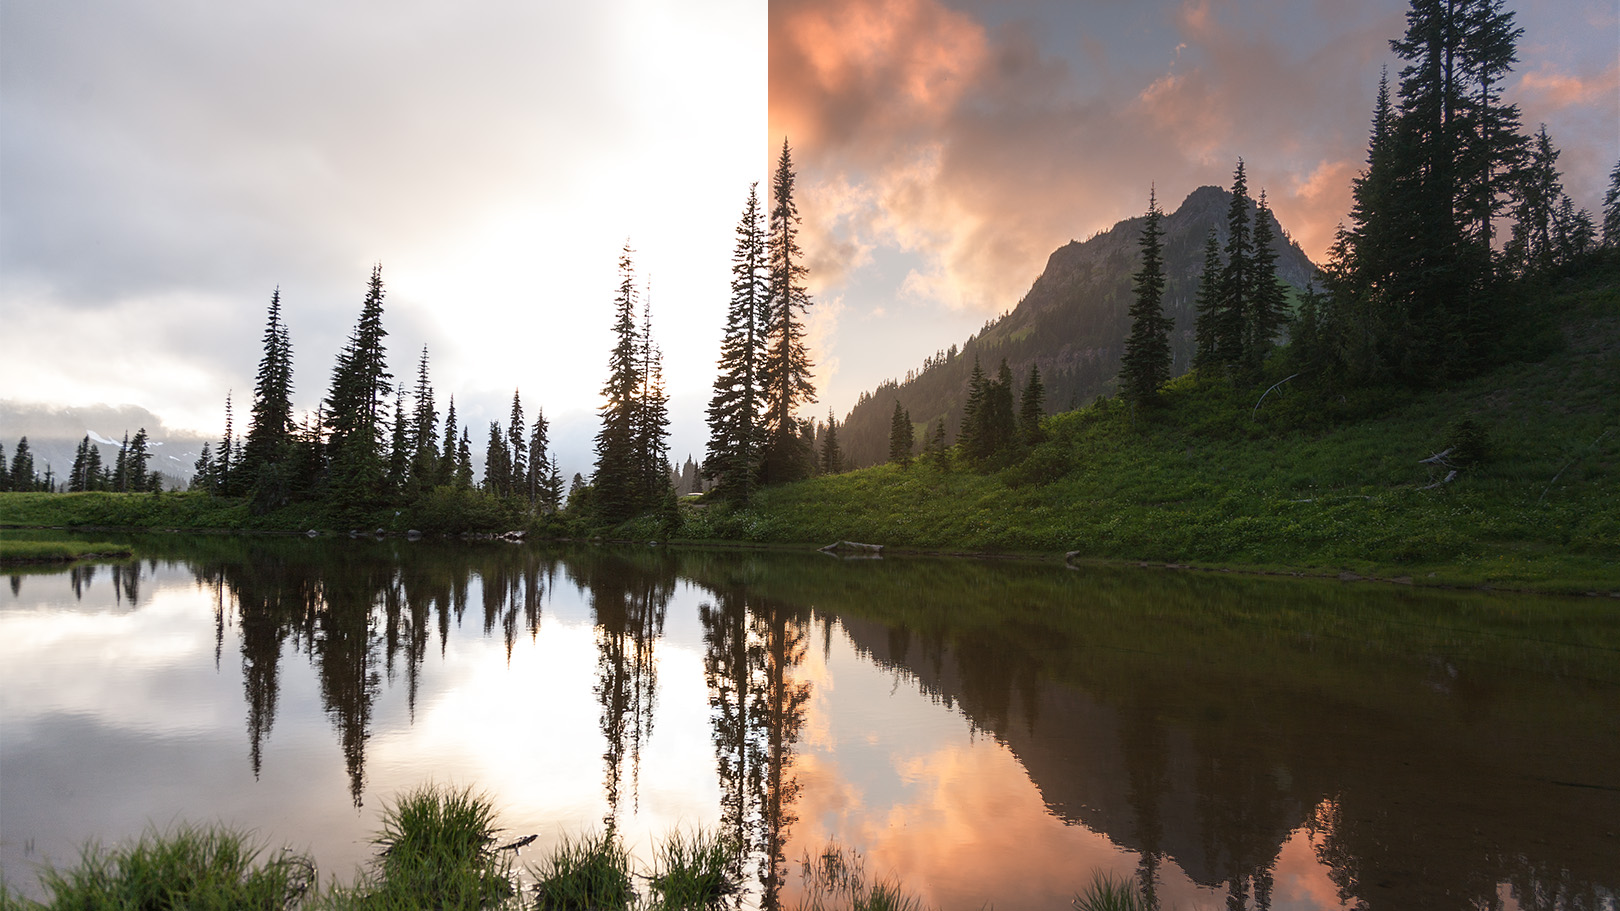
In today’s tutorial we look at how to naturally blend 3 exposures in Photoshop using a clean, 100% non-destructive workflow.
As always we see how to this with Raya Pro and without Raya Pro. In this example we use 3 exposures because the difference between the brightest exposure (also the base exposure) and the darkest exposure is too much. So we bridge the gap by using a middle exposure.
We learn how to use Precision Masks, and we manually adjust those masks to give us a more precise selection.
Our workflow is completely non-destructive because we can return to any step, make an adjustment, and it will affect our overall image. There is nothing we cannot undo, or adjust later down the line.
What makes this workflow even cleaner, is that we are working purely with 16 bit masks. When working in 16bit in Photoshop, our Precision Masks or the masks generated by Apply Image are also 16bit. And we are working with smart objects imported directly from Adobe Camera Raw, so we still have full access to our RAW files.
Making adjustments to RAW files is always cleaner than adjustments made to the 16 bit or 8 bit versions of our images in Photoshop.
As always, I hope you enjoy the tutorial.
