How To Add Ripples To Reflections in Photoshop
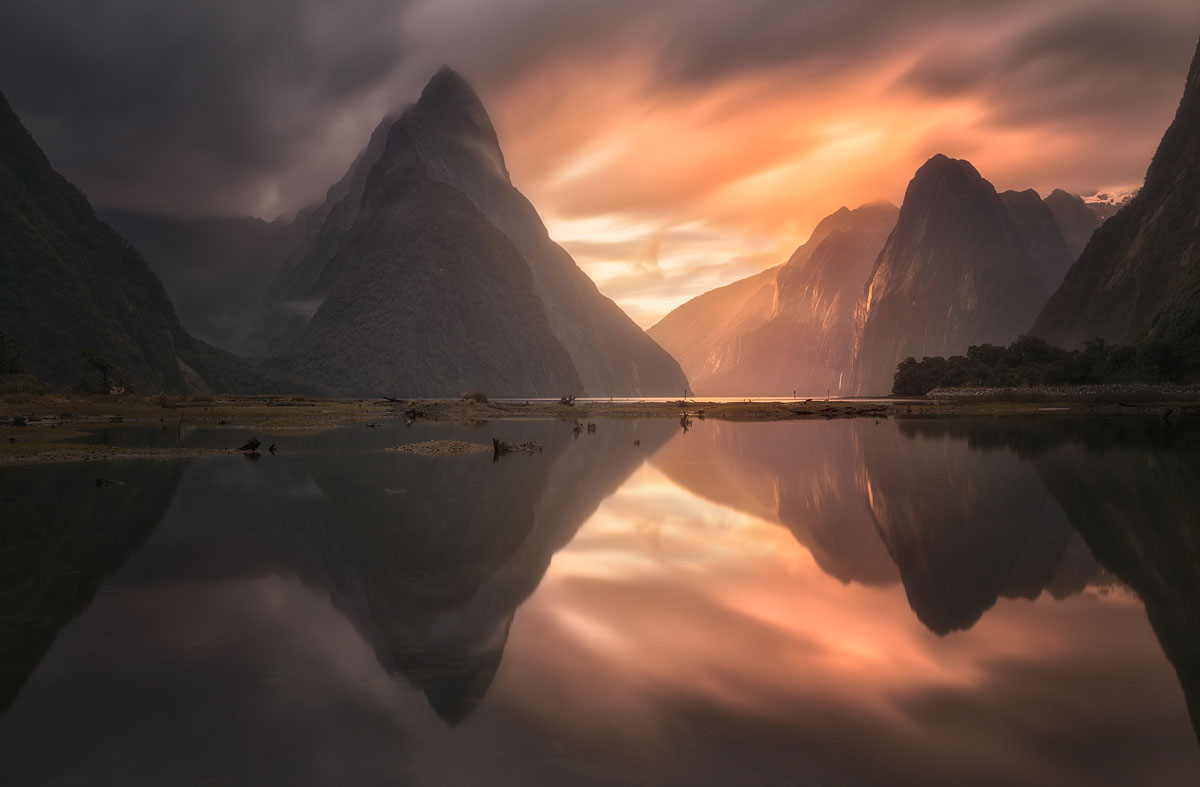
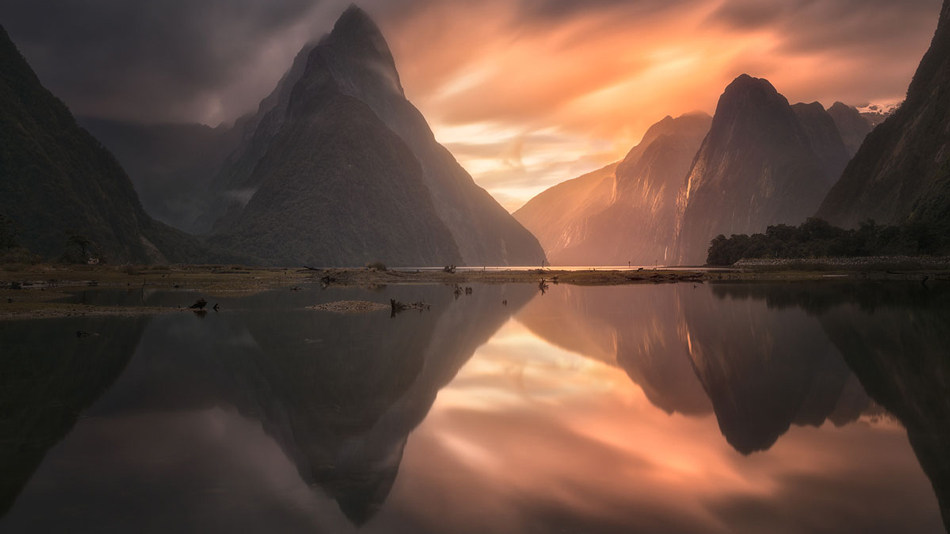
In this tutorial, we’ve used one of our favourite images of Milford Sound in New Zeland. The original image is almost exactly as it was in camera. We used an ND filter to capture a long exposure that filled the sky with colour and provided those long drawn out clouds. The water was calm anyway but the long exposure gave the water an almost mirror-like reflection. If you are making a composite with reflections in the water, an immaculate reflection can be a dead giveaway. Although this image isn’t a composite, it is perfect for showing you how to add ripples to a reflection in photoshop.

Step-By-Step Guide To Add Ripples To Reflections in Photoshop
1. Make sure your reflection is on a separate layer. I’ve duplicated the water from the image by selecting it and pressing Ctrl+J on a PC or Cmd+J on a Mac.

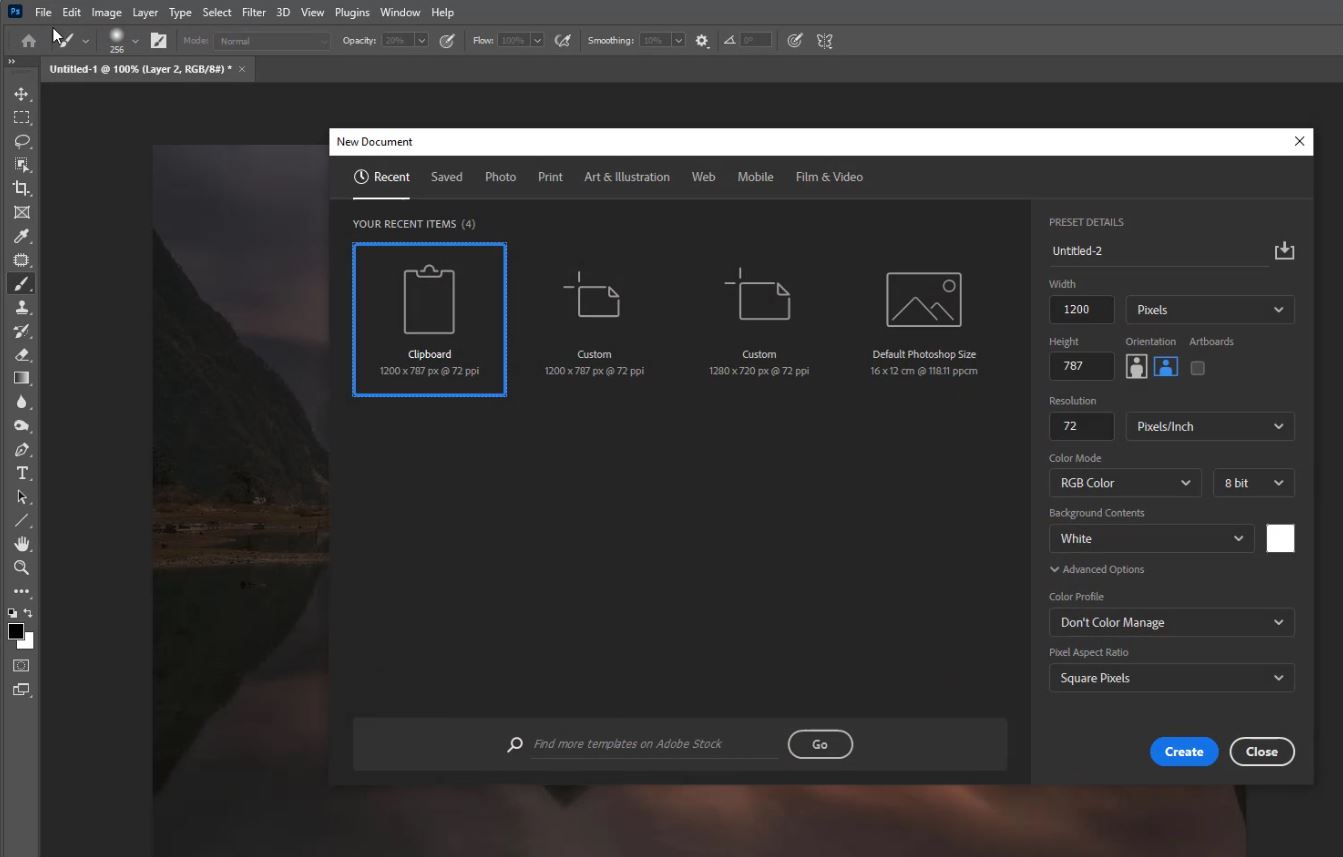
2. We need to make a displacement map. Go to, File > New and create a new file the same size as the image you’re working on.
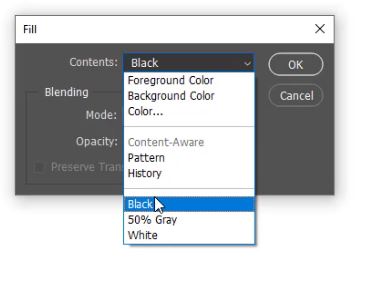
3. Fill the background layer with black by pressing Shift + Backspace, choose black and click OK.
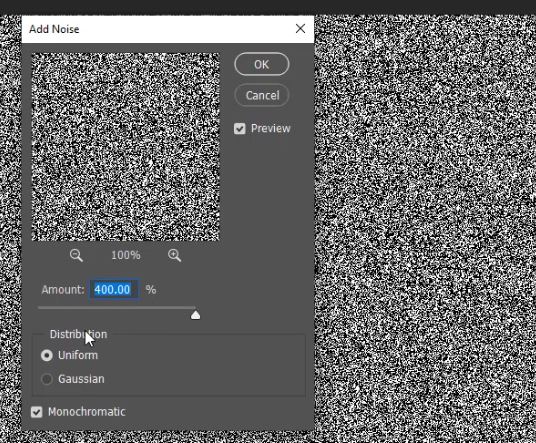
4. Next, Go to Filter > Noise > Add Noise. Change the settings to the same as ours and click OK.

Amount: 400%
Distribution: Uniform
Make sure Monochromatic is ticked
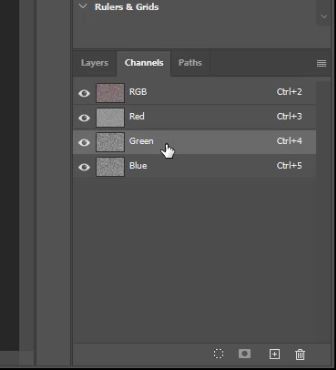
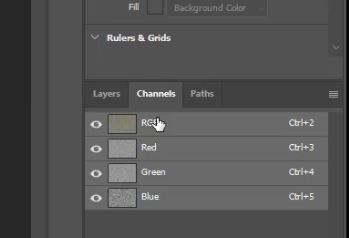
5. Now, go to the Channels panel and select the Red Channel. Make sure the RGB channel is visible but that the Red channel is selected.

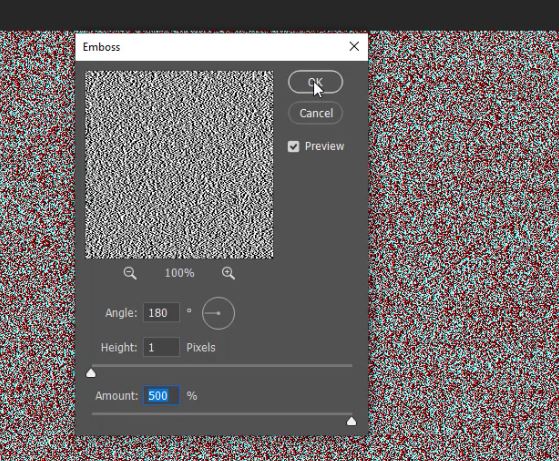
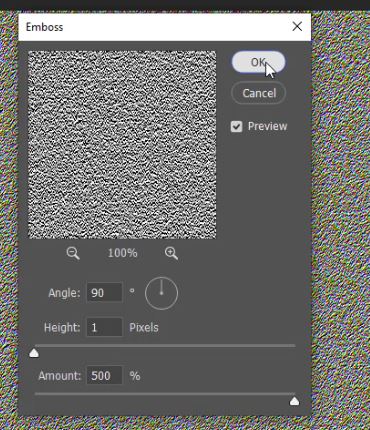
6. Go to Filter > Stylize > Emboss. Change the Emboss settings to the same as ours and click OK.
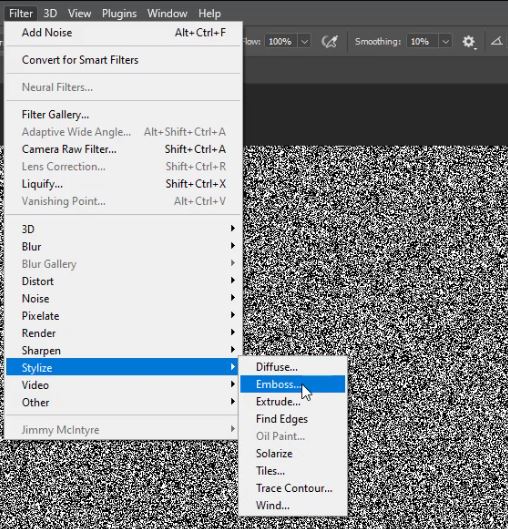
Angle: 180°
Height: 1 Pixel
Amount: 500%
7. Now, go to the Channels panel and select the Green Channel. Make sure the RGB channel is visible but that the Green channel is selected.
8. Go to Filter > Stylize > Emboss. Set the Angle to 90 this time, leave the other settings as they are and click OK.
9. Select the RGB Channel then go back to the Layers panel and select the layer to work on.
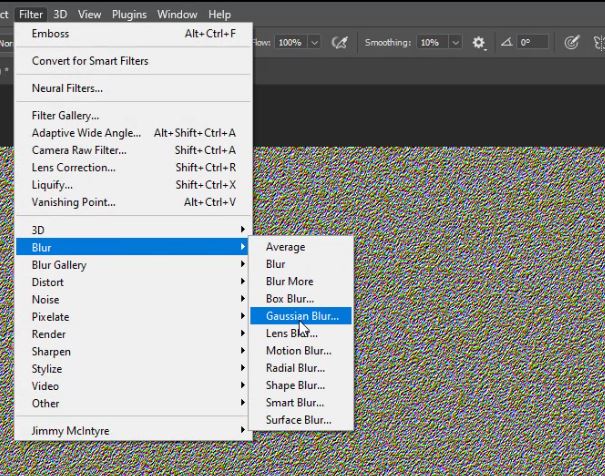
10. To soften the noise go to Filter > Blur > Gaussian Blur and set the Radius to 1 then click OK.

11. Unlock the layer.

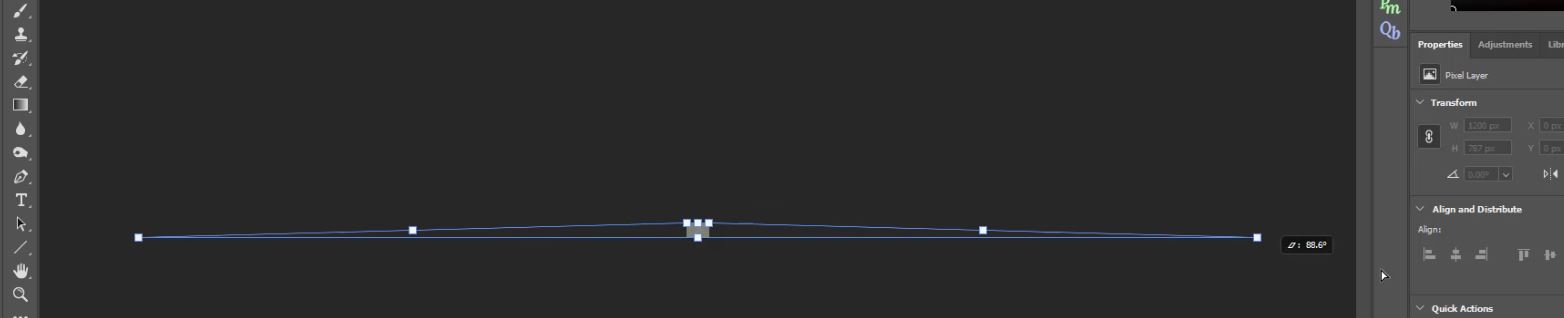
12. Press Ctrl+T or Cmd+T to select the Transform tool. Zoom out, in this example, I go to 2% zoom.
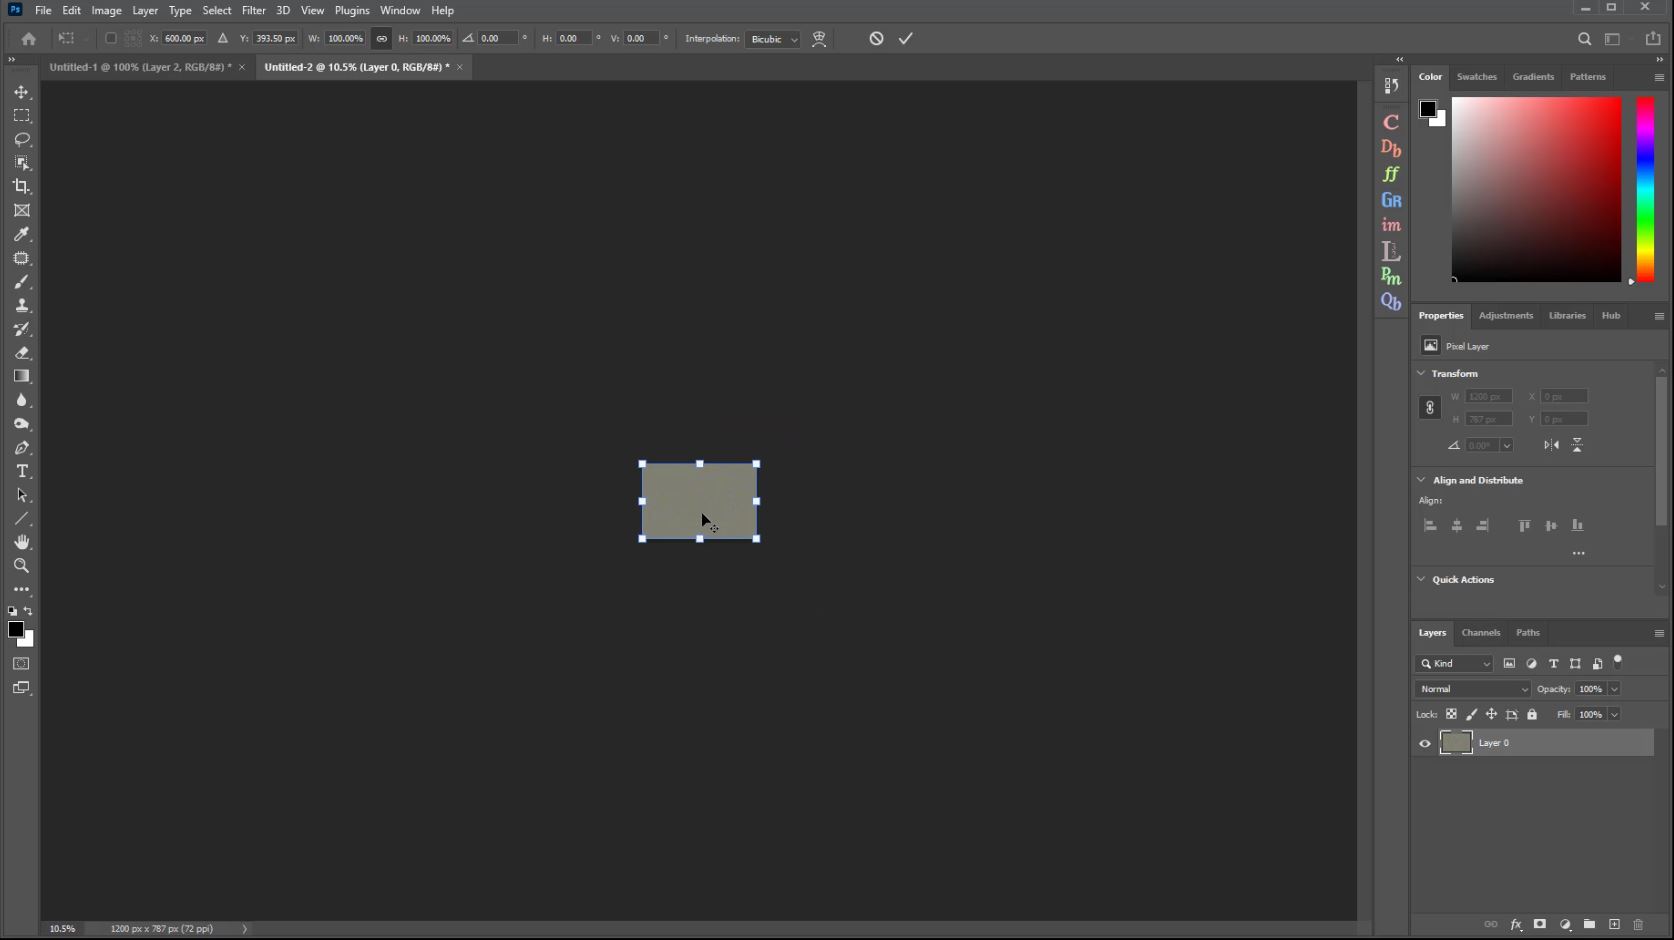
13. Right-click on the image and select Perspective.

14. Now, drag one of the bottom corners out as far as you can and hit Enter.
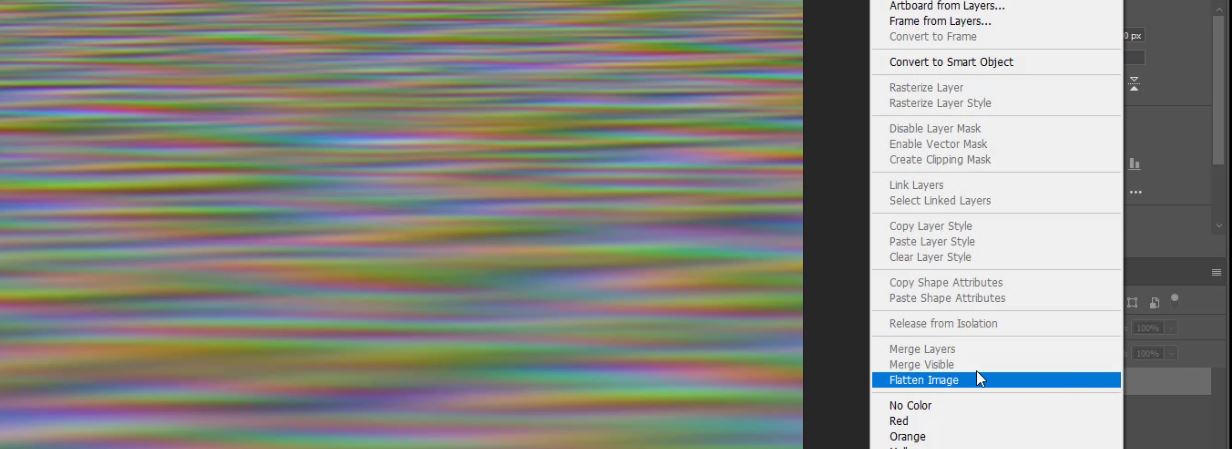
15. Right-click on the layer thumbnail and choose Flatten Image.
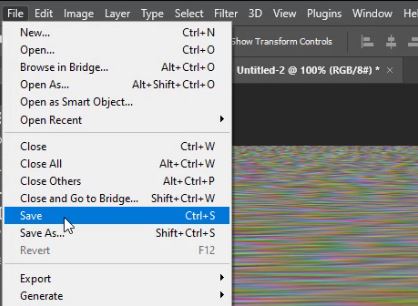
16. Save the image as a PSD file. I’ve called mine “Ripples”.
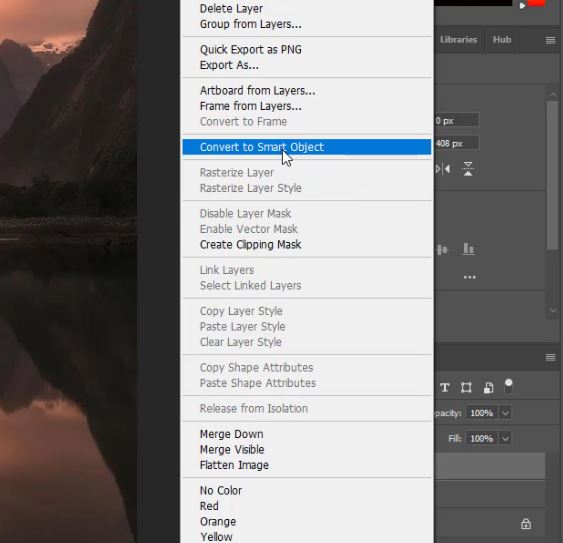
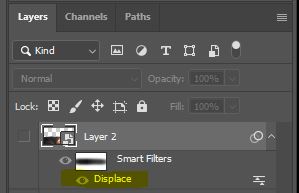
17. Go back to your image and select the layer that contains your reflection, right-click and choose Convert to Smart Object.
18. Go to Filter > Distort > Displace.

19. Make your settings the same as ours and click OK.
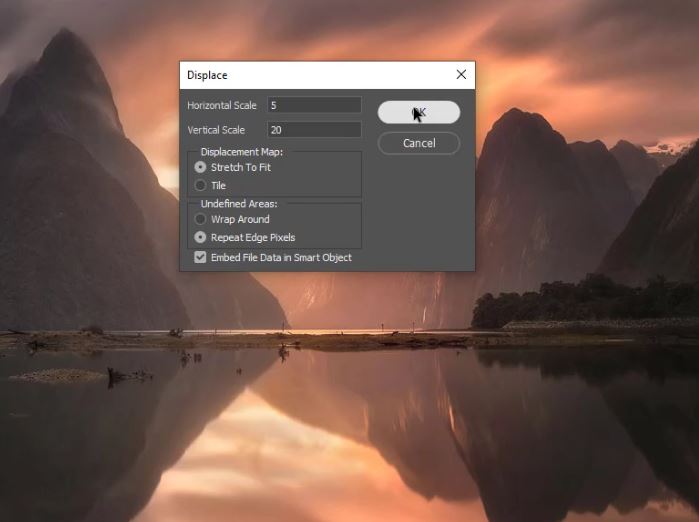
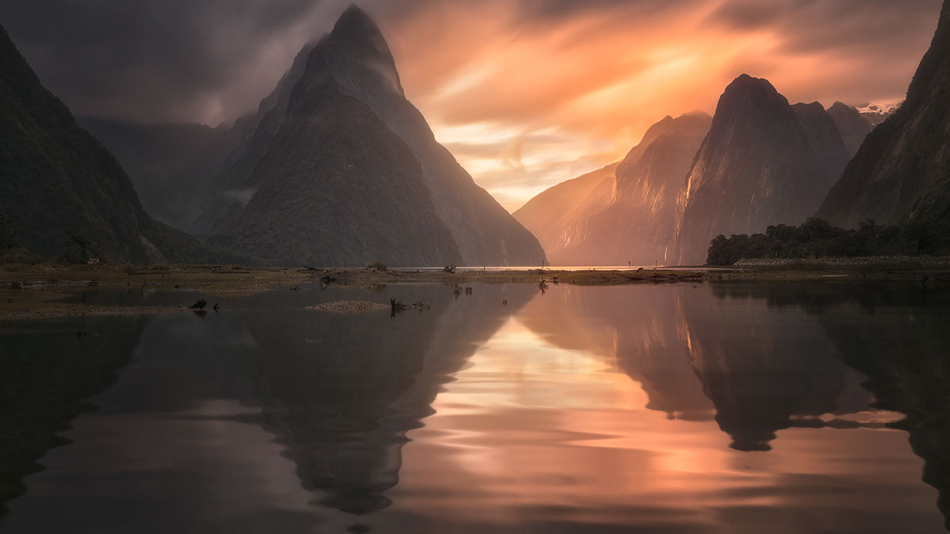
20. Locate your PSD file and open it. Your reflection will now have ripples in it.

21. Because we converted the image to a smart object first, we can double click on “displace” to change the settings if the appearance is not quite right.
22. When we applied the displacement map a lot to the water’s edge became messy. To clean it up we just used a black brush to mask out the affected areas.

More About Light Rays in Photoshop
Water Ripples Effect In Photoshop
How To Make Water Reflections With Realistic Ripples In Photoshop
Create a Realistic Reflection in Photoshop
Thank you for reading this article, be sure to sign up for our newsletter for more tutorials and great offers.

Enter your email below and join our community of more than 100,000 photographers who have
- Subscribed to our newsletter.
- Downloaded our FREE Photoshop Course.
- Use our FREE Easy panel in Photoshop.
Also you can now download our Photoshop course for beginners for FREE, click HERE.
FREE Photoshop Course

The Art Of Photography

Raya Pro
