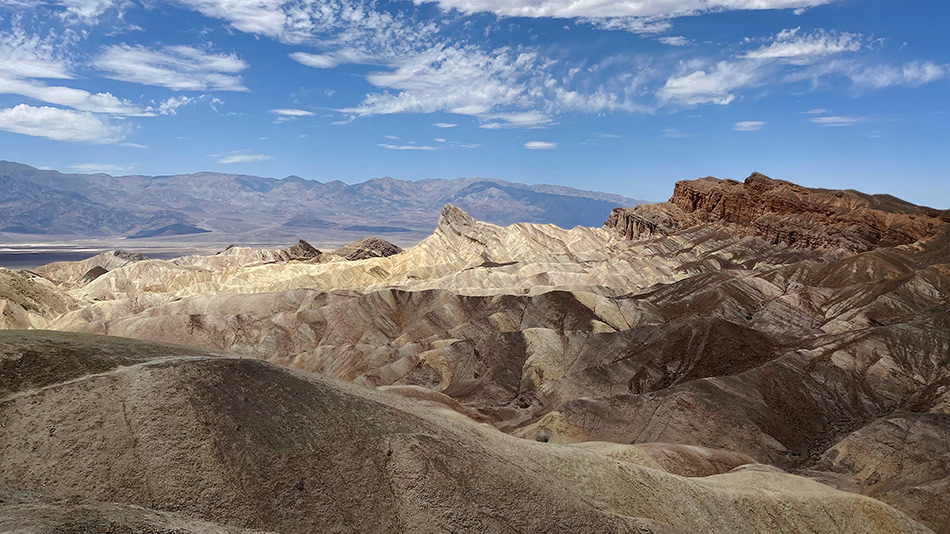
How to Auto Focus Stack using Photoshop
Focus stacking is a great tool to have in your arsenal when it comes to photo editing. If you understand the concept and how it is done you really can take your photography to a higher level. You can go out with your camera with more confidence by knowing an additional editing technique that will allow you to shoot in a completely different way. In this tutorial, we’ll explain what focus stacking is and why it is necessary. We’ll also show you how to auto focus stack using Photoshop.
If you wish to experiment with this, I would really appreciate it if you included my name (Duke McIntyre) and www.shutterevolve.com when you publish your image. If you post your published image on our Facebook page I’d be happy to check it out.
What is Focus Stacking and Why is it Necessary?
Focus stacking is a technique used to blend multiple images of the same scene, where each shot has varying depths of field. So we can take an image where the foreground is super-sharp, and blend it with another image where the background is super-sharp. This would give us a perfectly all over, sharp image.
Why is Focus Stacking Necessary?
Focus Stacking is used when it has not been possible to capture the scene that you wanted. For example, have you ever tried to shoot a waterfall in woodland? Waterfalls look incredible when captured in a long exposure. The problem with this is that the leaves and branches in the scene are almost always moving. So your waterfall looks great! all soft, smooth and creamy. But the rest of the scene is blurry.
With focus stacking, you could shoot that long exposure for your waterfall. Then for the rest of the scene, you could use a much wider aperture such as f/2.8 and capture a crisp scene. The reason why you use a wide aperture is so that you get get a really fast and sharp shot. However, also with a wide aperture, you get a shallow depth of field. Depending on the complexity and depth of the scene, you might have to take multiple shots with different focus points (or distances). Take all of your images into Photoshop and Focus Stack them depending on each layers sharpness and what appears to be in focus, then blend in your long exposure of the waterfall.
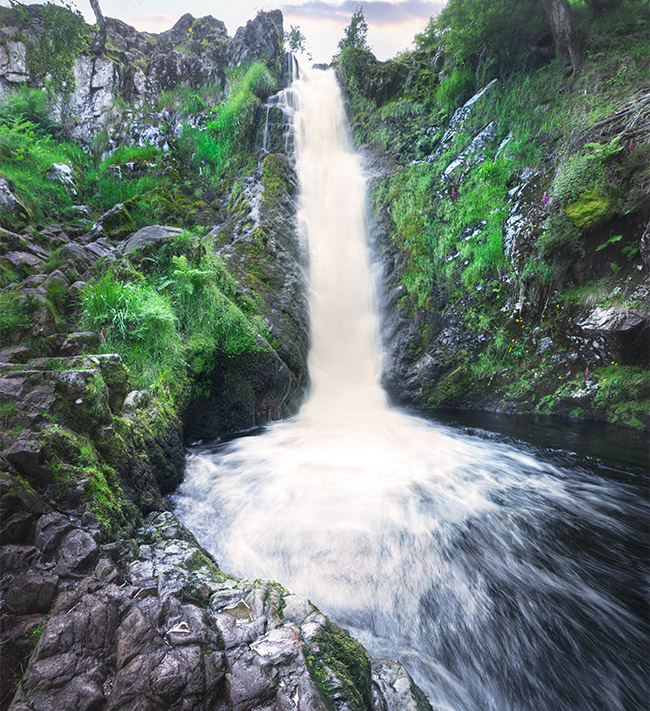 Photo by Duke McIntyre
-Tutorial Continued Below-
How to Auto Focus Stack in Photoshop
1. With all of your images in Photoshop, left-click on the top layer that you want to focus stack.
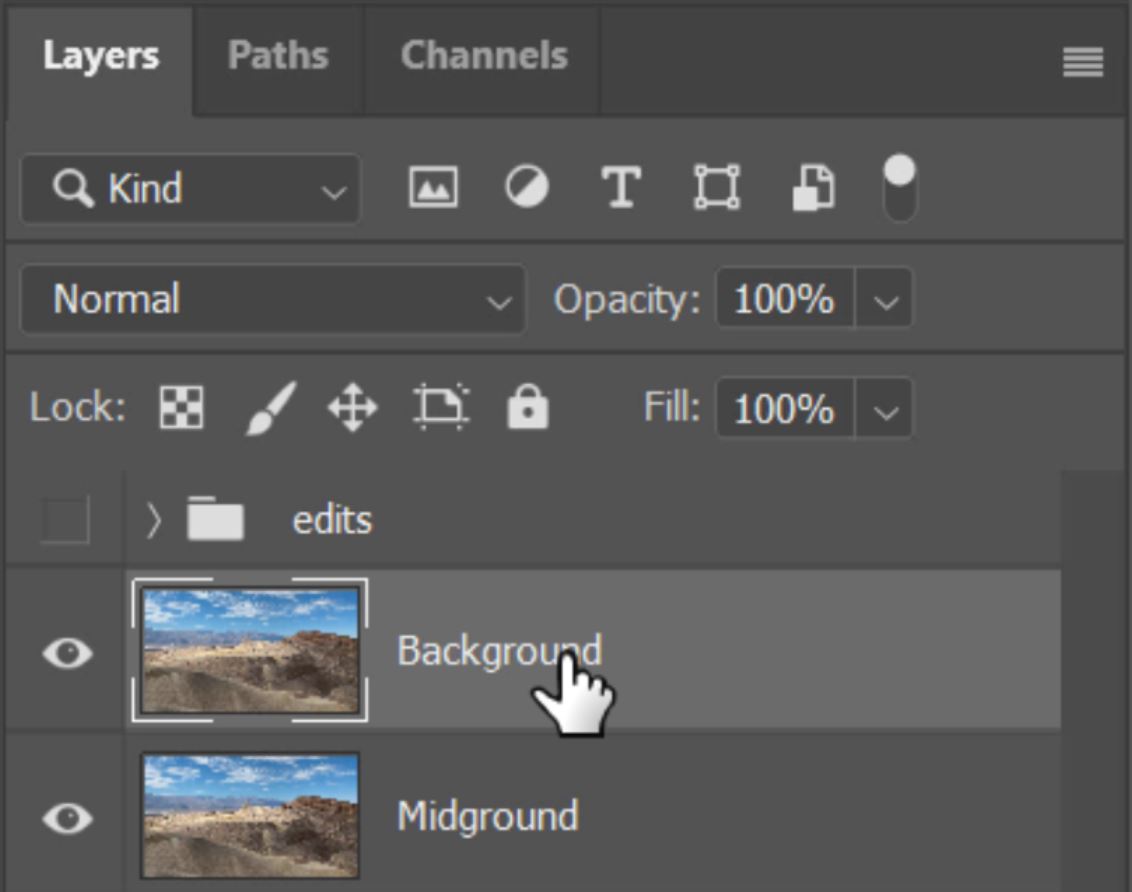
2. Hold down the SHIFT key and left-click on the bottom layer that you want to use.

3. You should have all of the layers that you want to focus stack selected.
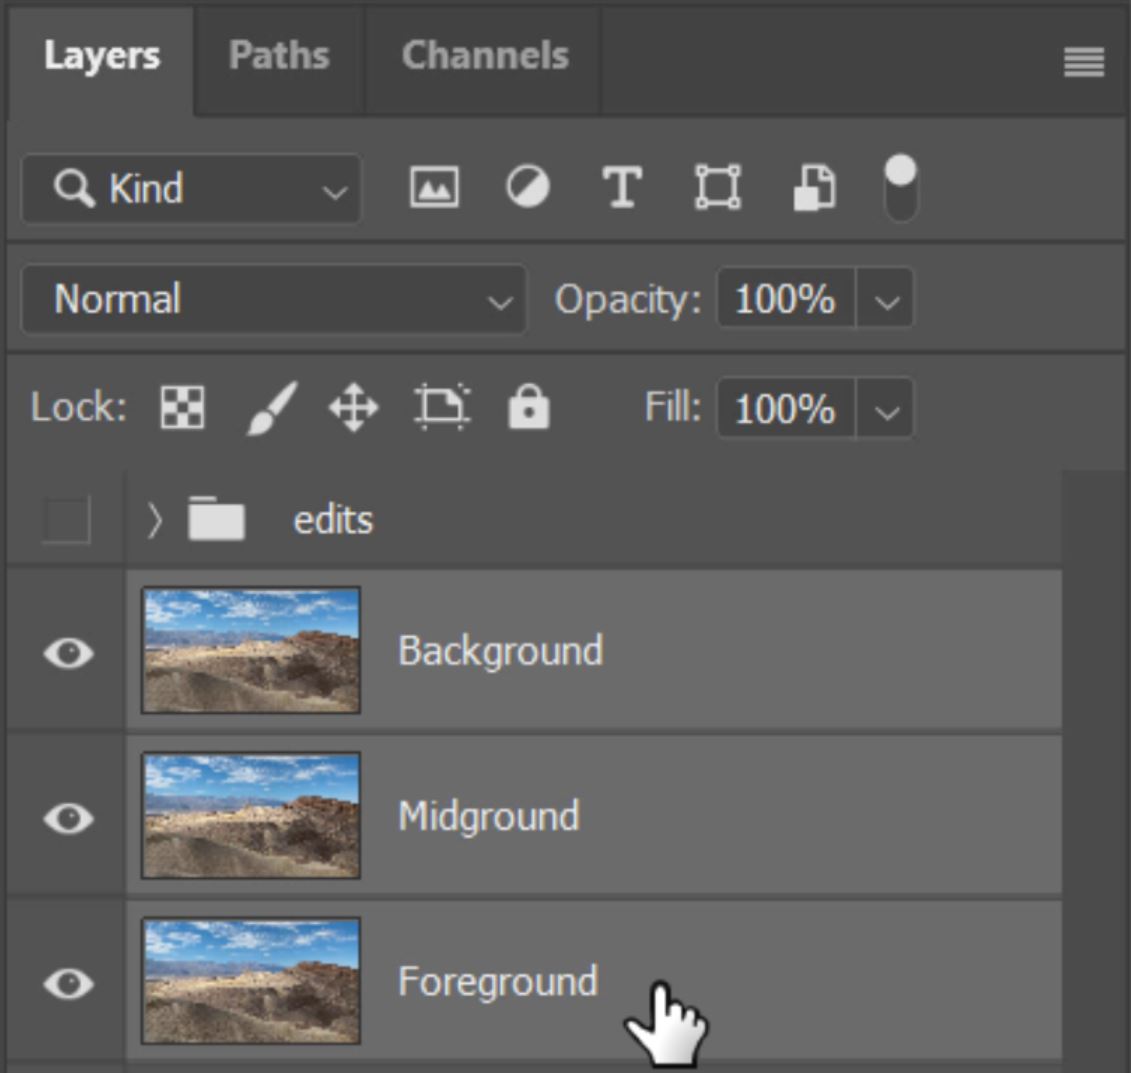
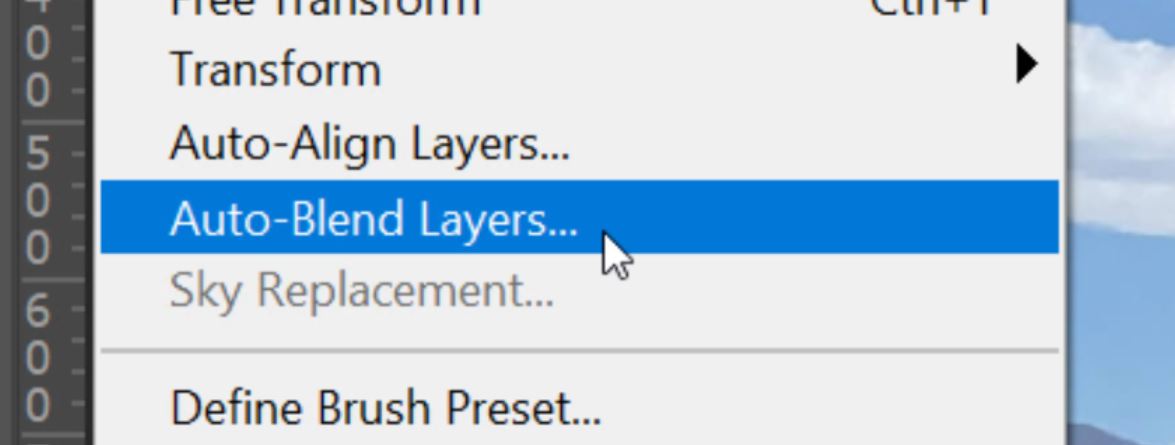
4. Go to the Edit menu in Photoshop.

5. The function we’re going to use for Focus Stacking is Auto-Blend Layers.
6. Because we’re Focus Stacking, select the radio button to Stack Images.
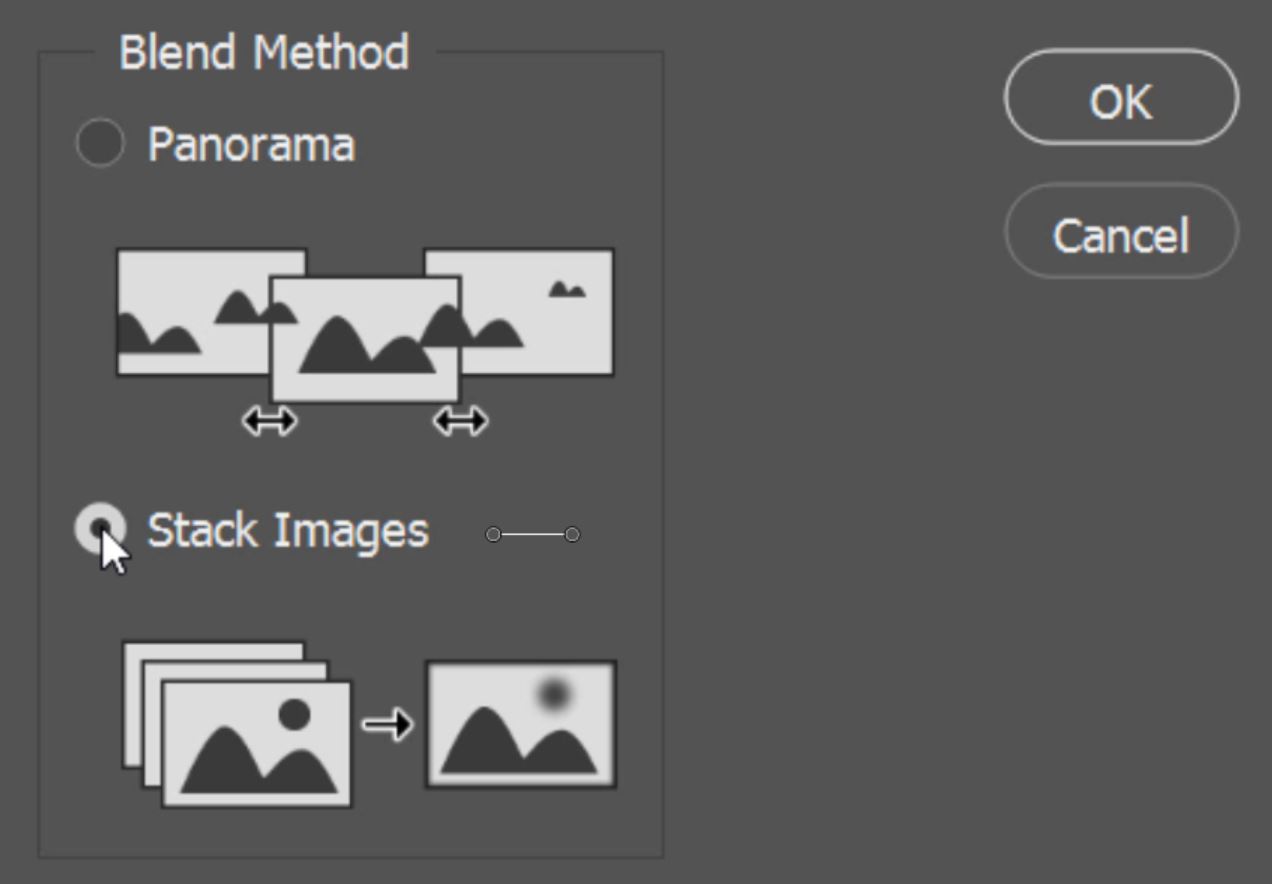
7. Also tick the boxes to select ‘Seamless Tones and Colors’ and ‘Content Aware Fill Transparent Areas’.

8. Click on Ok to start the auto-blending process.
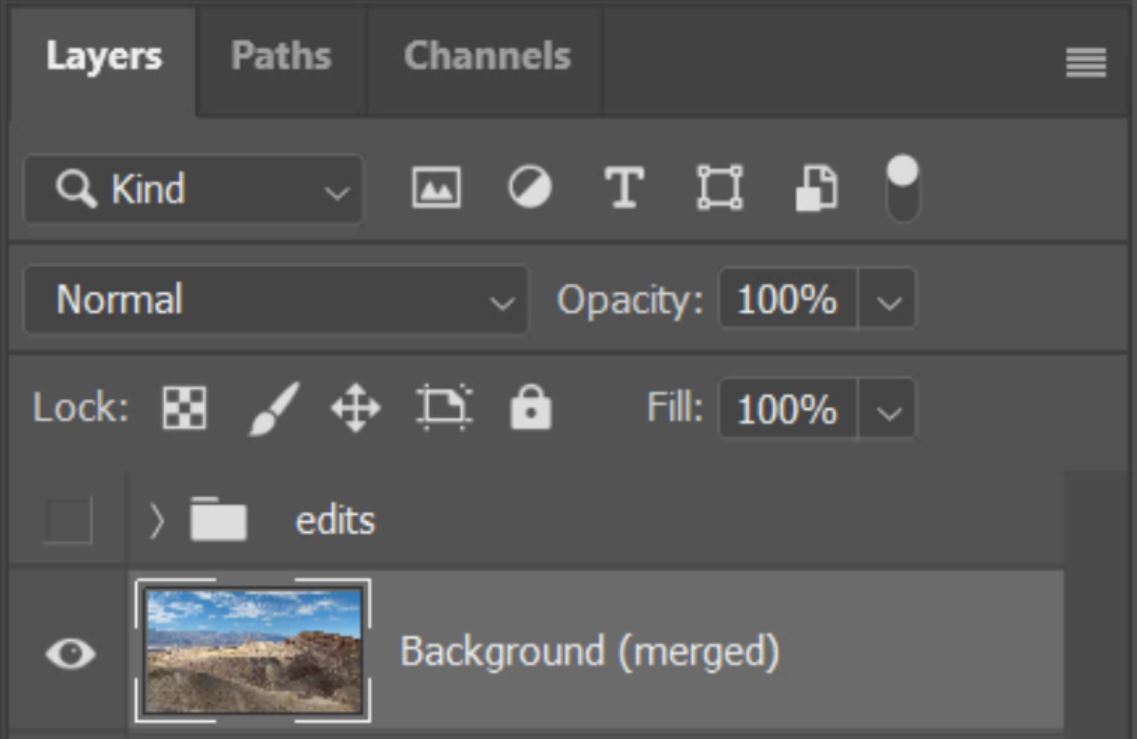
9. Masks will be applied to each of the layers hiding the out of focus parts.
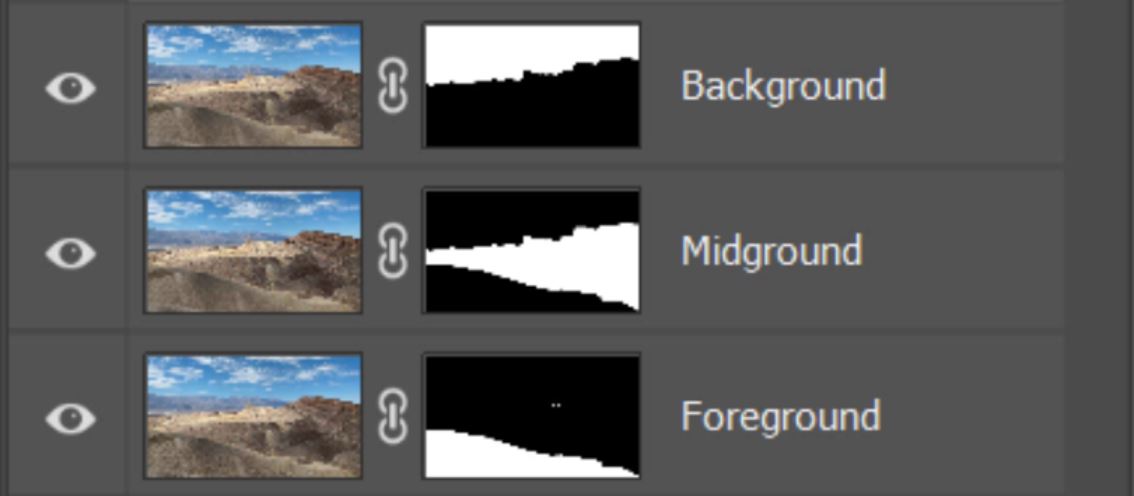
10. There will also be a new layer on top which is a merged visible layer of the stacked layers below.
WARNING
 |
Auto Focus Stacking in Photoshop isn’t perfect. It is advised that you hide the merged visible layer and go through the layer below, adjusting the masks as you go. Photoshop does do a pretty good job and on almost every occasion a very acceptable job. |

Sharp Foreground 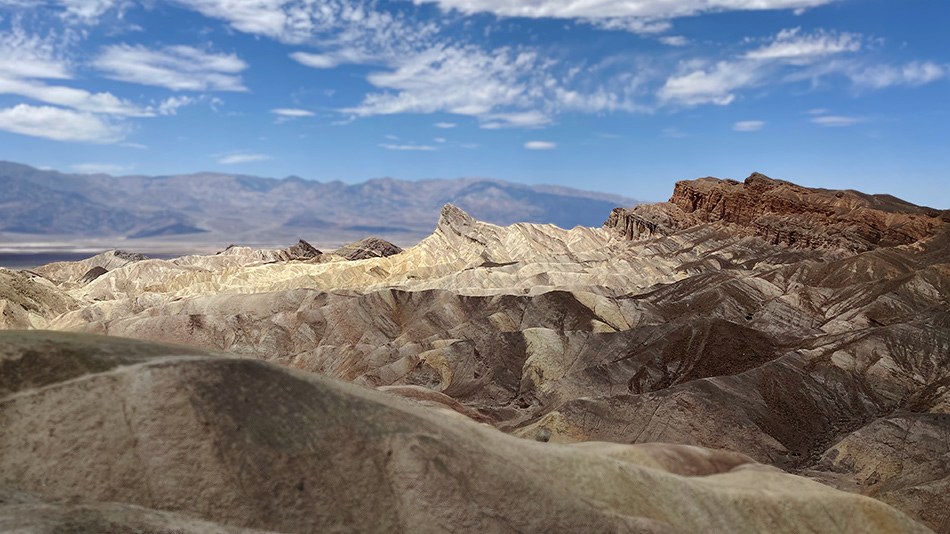
Sharp Midground 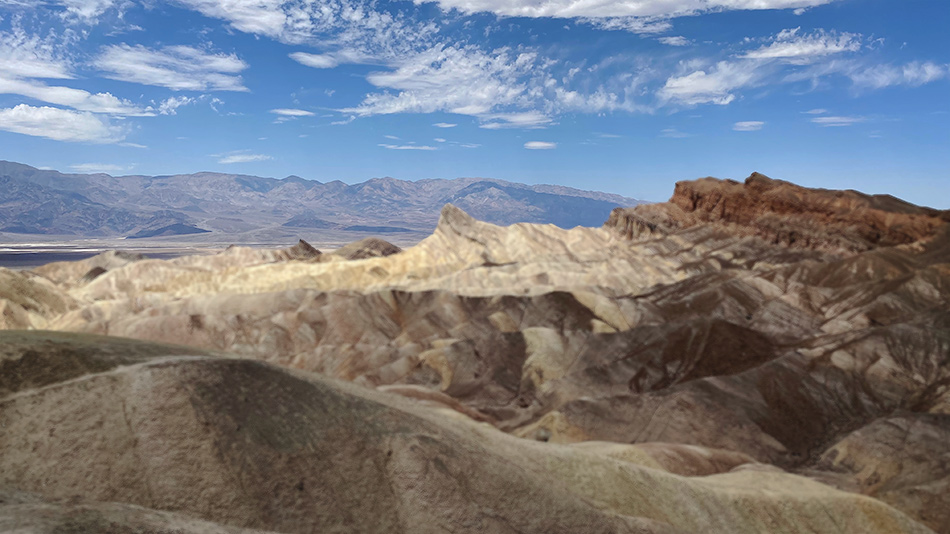
Sharp Background
Take a look at Auto Focus Stacked Image.
