How To Bring Out Details In Photoshop
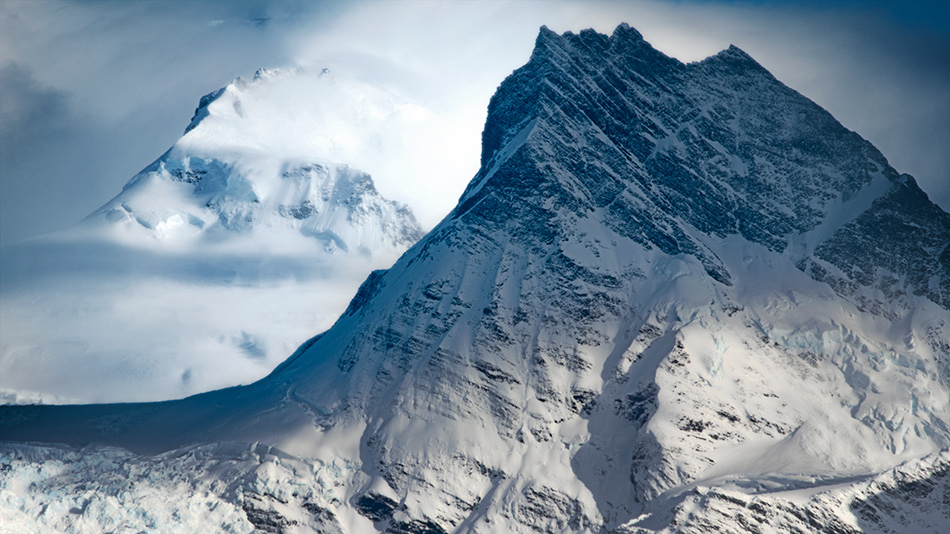
There’s an excellent way to enhance images in Photoshop. In this tutorial, we will show you how to bring out details in Photoshop by using the High Pass Filter. We’ll also show you how to target detail enhancements in specific areas using layer masks. Then we’ll finish off by showing you how to do a quick detail enhancement in shadows using Raya Pro.

Step-By-Step Instructions To Bring Out Details In Photoshop
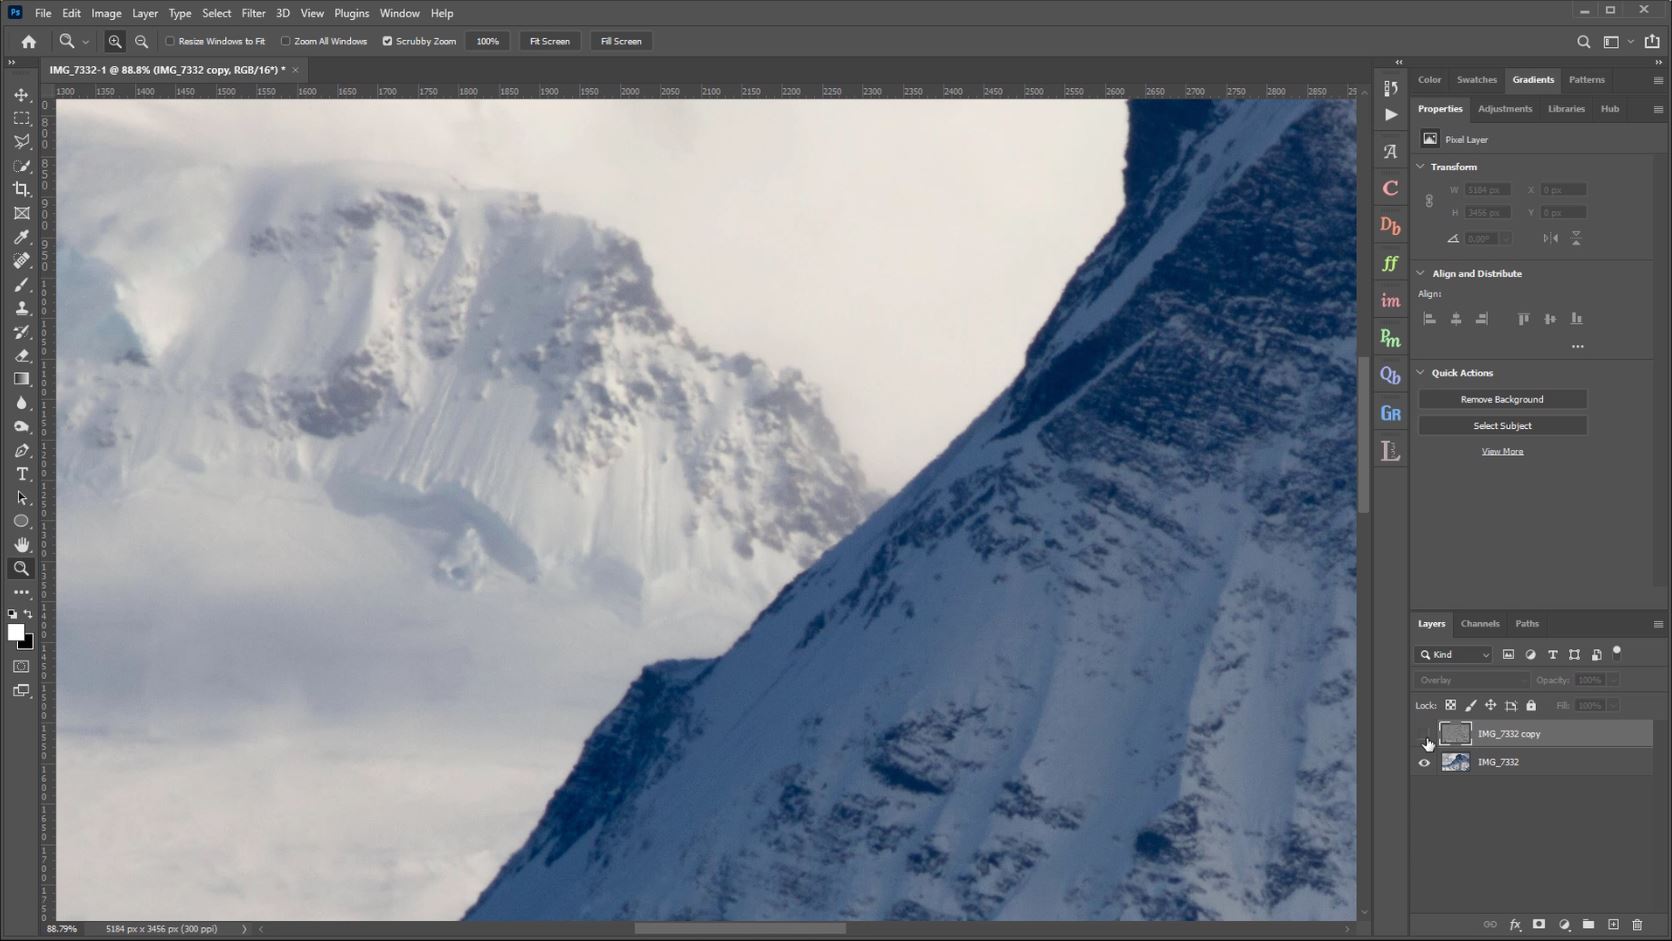
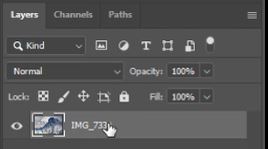
1. The first thing we need to do is to duplicate our image layer. I have done this by dragging the layer down to the [+] icon at the bottom of the Layers panel.

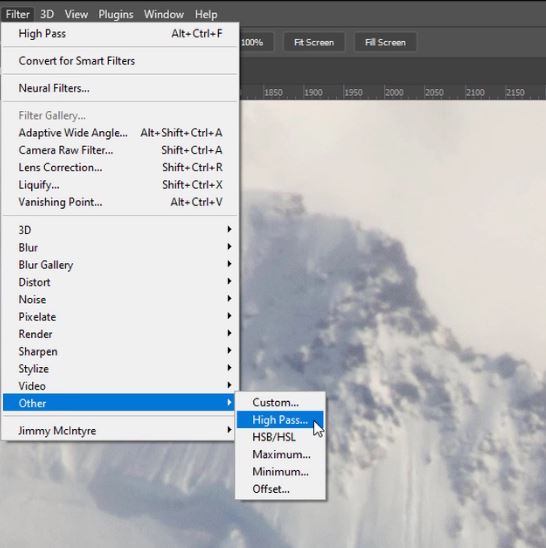
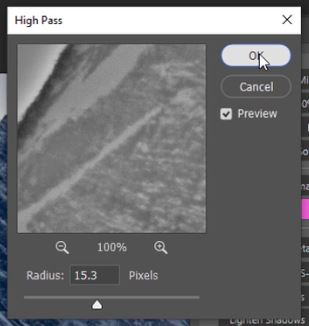
2. Left-click on the Filter menu and hover over Other, when the side menu appears select High Pass.
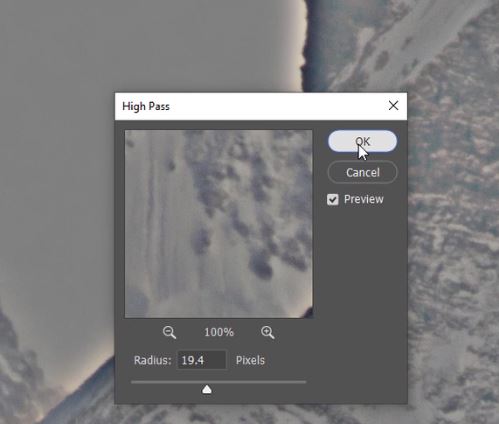
3. Adjust the radius slider so that there is some contrast visible but not as much as you can see below.
The only reason why the settings are so high is to demonstrate the enhancement in this video. Ideally, you want to try to minimize the amount of black and white edging as much as possible.
– Tutorial continued below –
Enter your email below and join our community of more than 100,000 photographers who receive regular tutorials and have also

Subscribed to our newsletter,
Downloaded our FREE Photoshop Course
Got our FREE Easy Panel for Photoshop
And have our FREE Essential Guide To Luminosity Masks E-Book
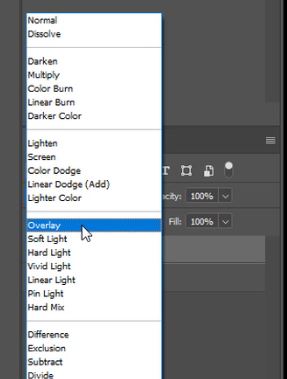
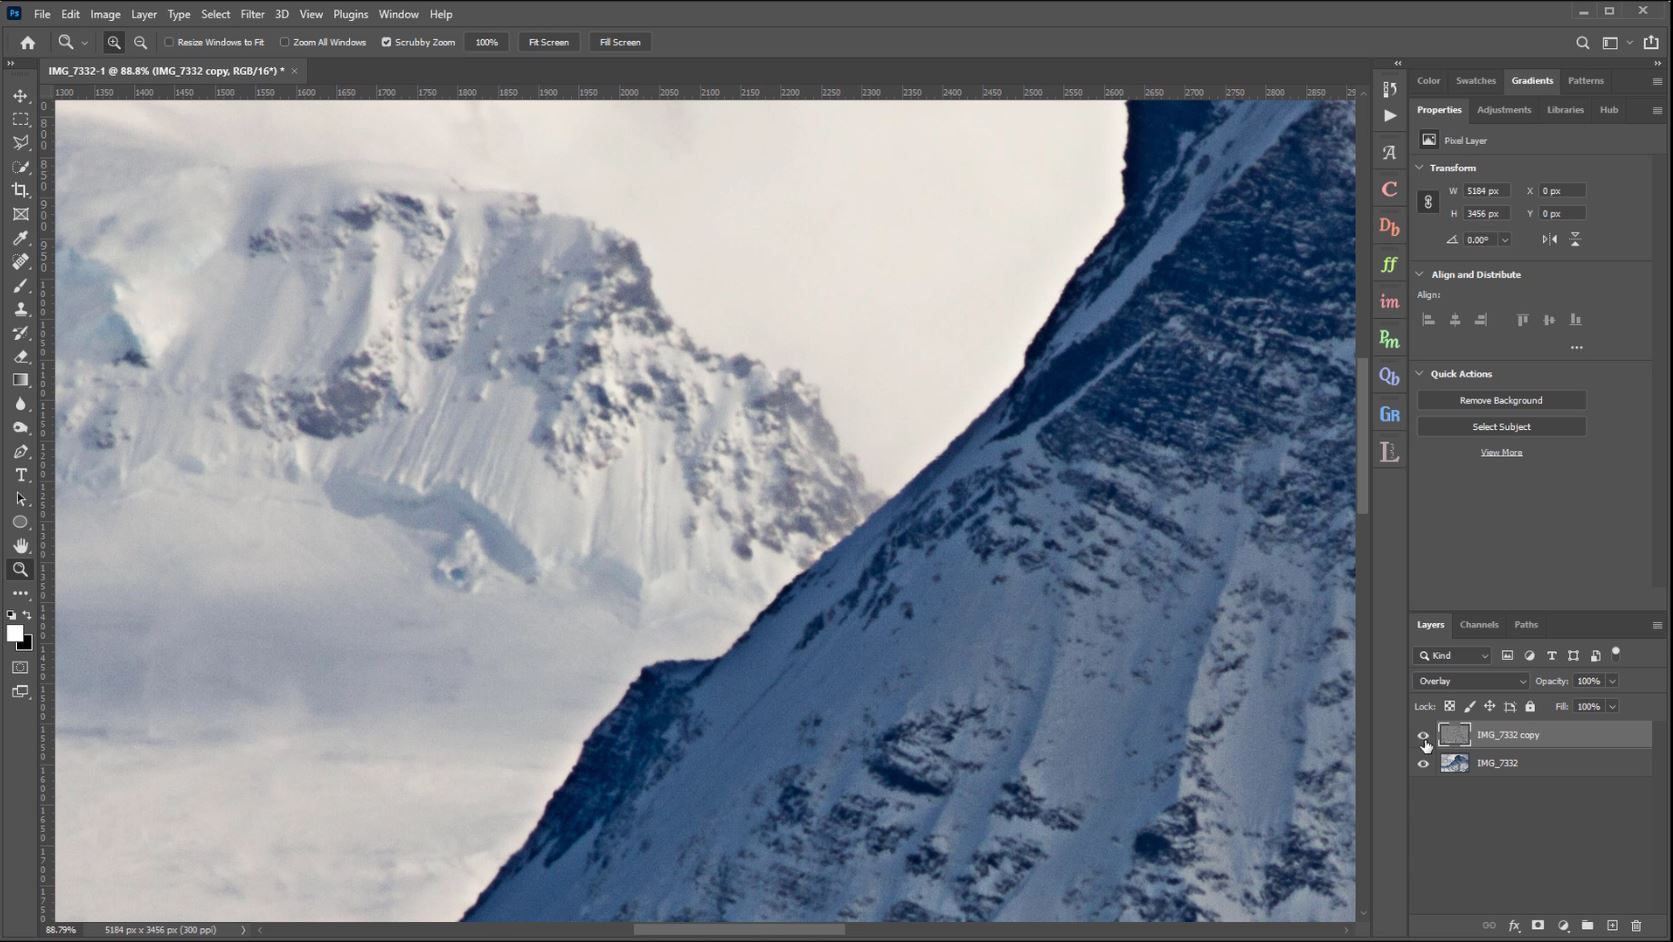
4. Now change the Blend Mode of the High Pass layer to Overlay.
5. That will apply an overall details enhancement to your image.
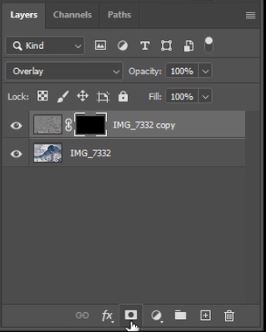
6. To concentrate the detail enhancement we use a mask. Hold down the Alt key on a PC or Opt key on a Mac and press the mask icon at the bottom of the layer panel.
This will apply a black mask which will hide the entire layer.
![]()
7. Press the B key to select your Brush Tool and choose a white foreground.
Adjust your brush size by holding down the Alt (PC) or Opt (Mac) key and hold down the right mouse button. Now, slide your mouse cursor left to decrease your brush size, or right to increase the brush size.
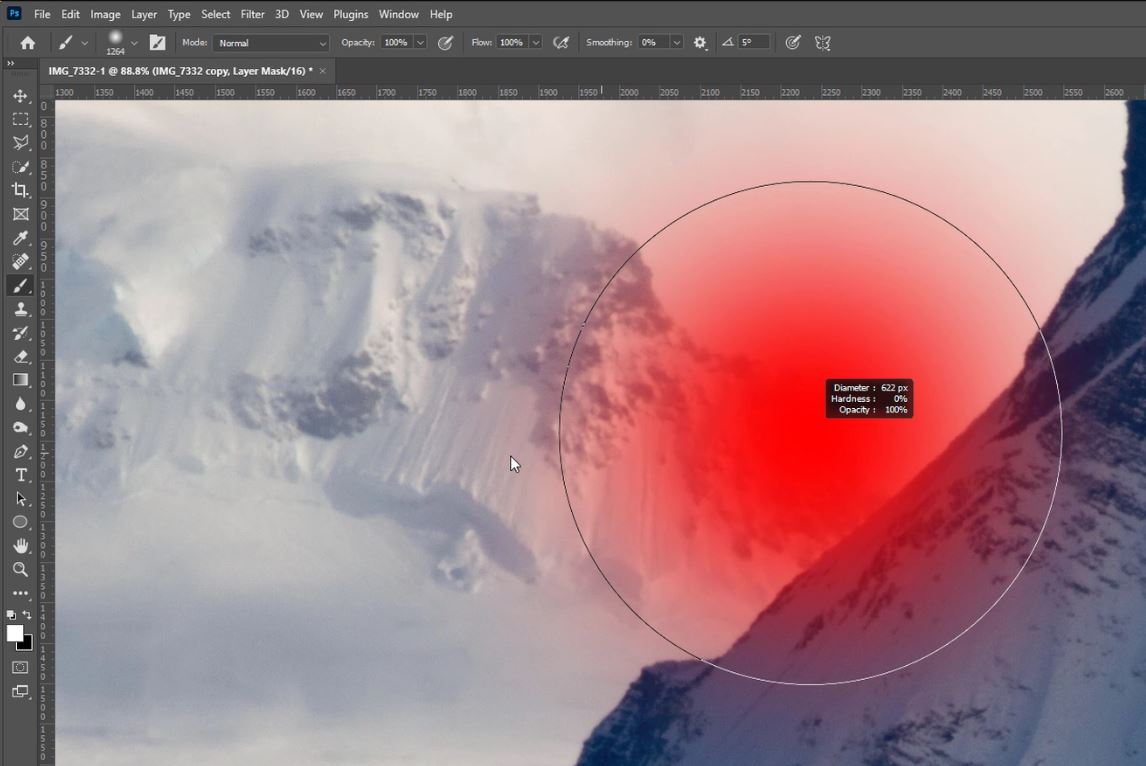
8. With the layer mask thumbnail selected begin painting the area where you want to bring details out.

9. Only the areas that are painted white in the layer mask will show the extra details of an image.
Using Raya Pro To Bring Out Details In Photoshop
1. All you need to do first of all is to select the image layer.
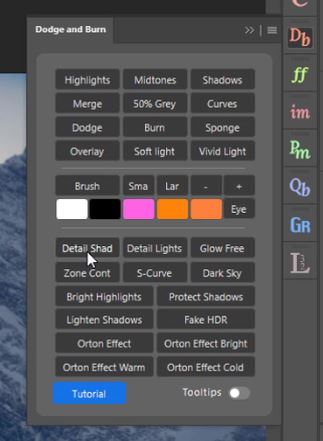
2. Open the Dodge and Burn panel.
![]()
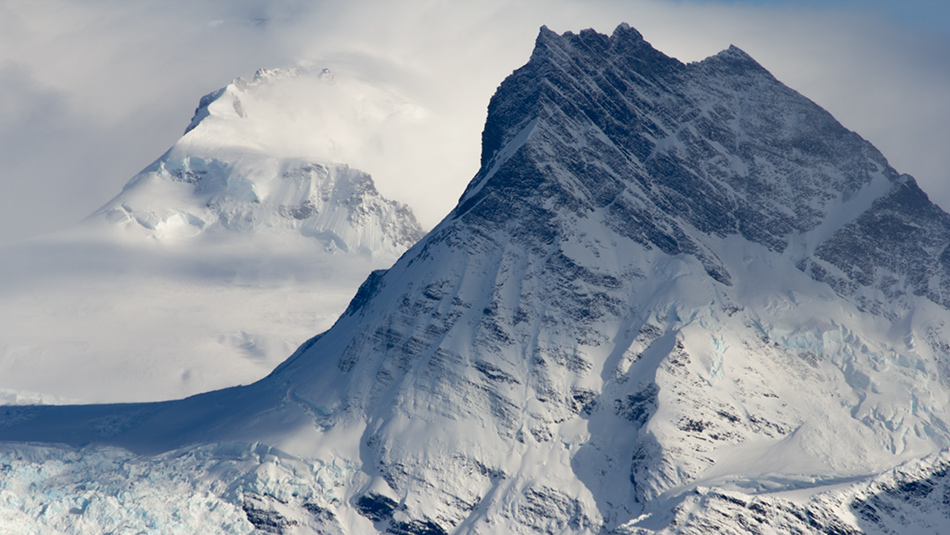
3. Choose the Detail Shad function.
4. Slide the Radius slider to raise the contrast to the level you want.
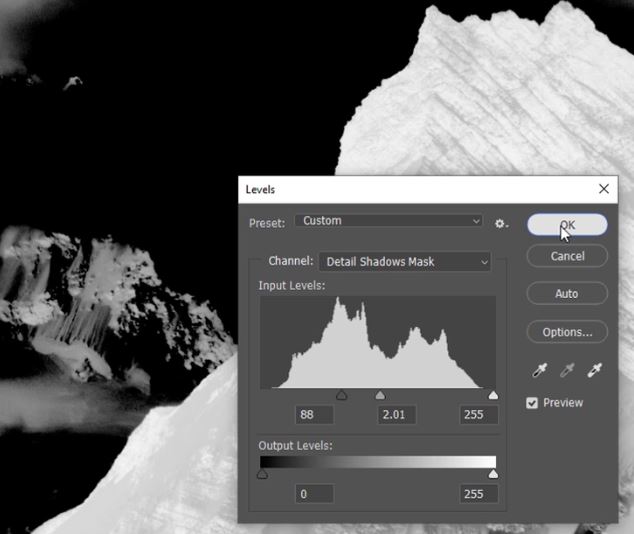
5. When the Levels properties box appears, adjust the controls to refine the mask.
The strength of the detail enhancement will be stronger in the brightest parts of the mask.

Thank you for reading this article on How To Bring Out Details In Photoshop, be sure to sign up for our newsletter for more tutorials and great offers.

Enter your email below and join our community of more than 100,000 photographers who have also
Subscribed to our newsletter.
Downloaded our FREE Photoshop Course.
Got our FREE Easy Panel for Photoshop.
And, have our FREE Essential Guide To Luminosity Masks E-Book.
FREE Photoshop Course

The Art Of Photography

Raya Pro for Photoshop
